

In today's daily inspiration as part of our March is for Making Series we take a look at building student leadership and ownership at the Burke School maker space by helping students create their own tools for their maker space. One way to do this is to create a wind tunnel for your maker space.
We started by researching DIY Wind tunnel instructions including these Directions from the Exploratorium and these Makezine directions.
Our next step was to order and organize any Build Materials. We found that we had most of what we needed except the following:
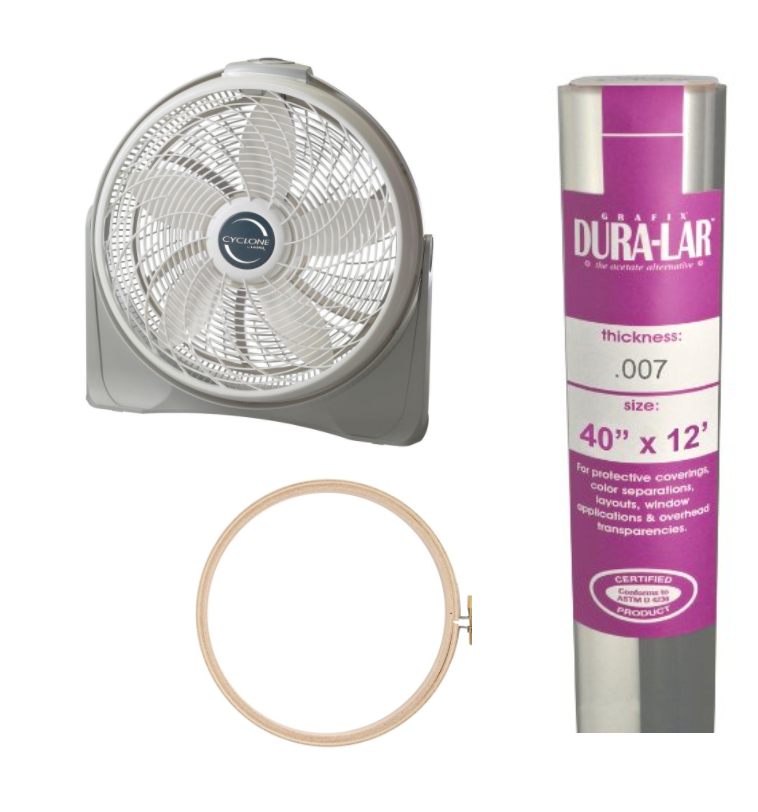
- Three 14 inch wooden hoops ¾ width
- Grafix Clear .007 Dura-Lar 40-Inch-by-12-Feet, Roll
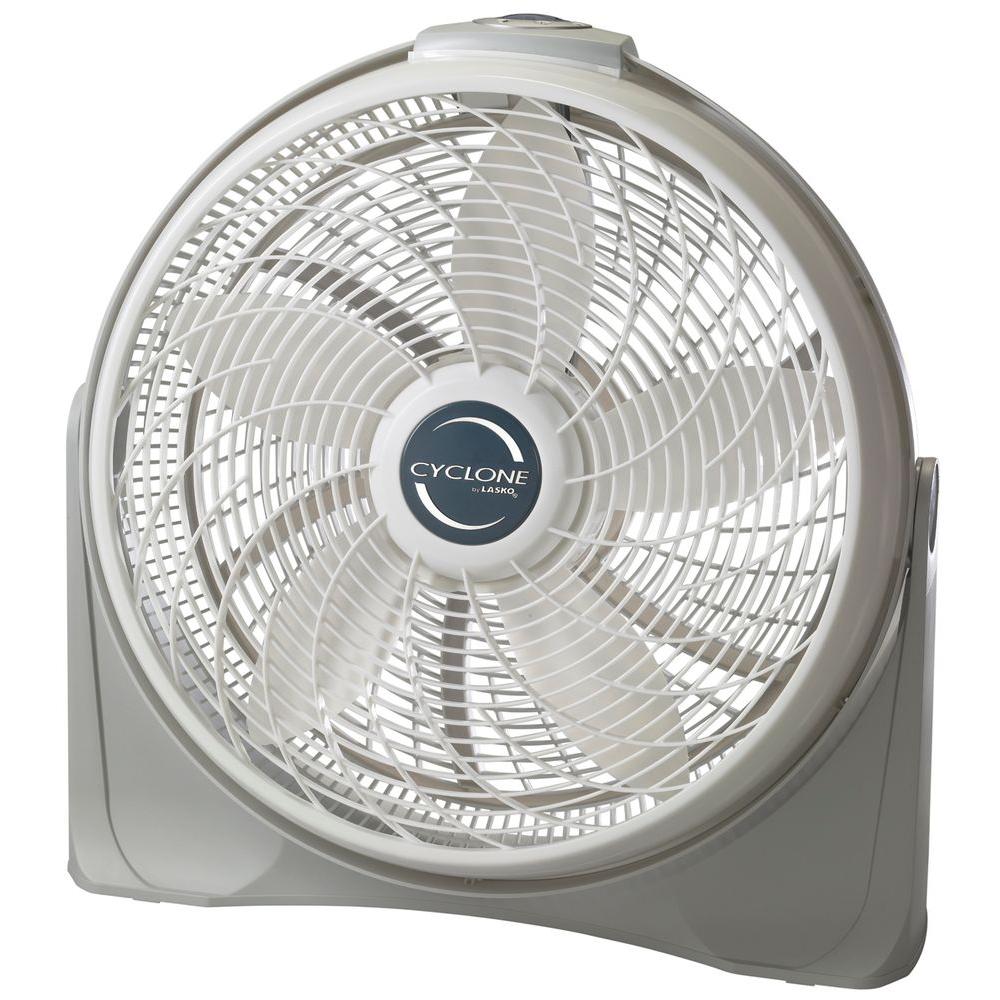
- Household Fan (should be powerful enough)
Following the directions from the Exploratorium and MakeZine for the main part of the Windtube was fairly straightforward.

We pulled the Burke School maker space student leadership team in for an internal field trip and invited a some interested community members to help.


Engaging your community into your maker space can help broaden the scope of what you can achieve in your makerspace. Having community connections might yield extra tools, but mostly it will bring extra expertise to the making process.

The main area where we felt we needed to do additional research in when building our Wind Tunnels was to create a base for the Wind Tunnel.

So we decided to use design thinking to design the best possible base for the new Wind Tunnel

By midday our maker space had two wind tunnels as a set of possible tools for students to use when exploring our maker space.

No comments:
Post a Comment