My OtherMill CNC router (now called Bantam Tools) came in this summer right before TechSavvyGirls Summer camp.
 |
| TechSavvy Girls 2017 and EMMA (mobile studio for creating and making) |
I didn't have time to play with it, so I threw it in the back of EMMA (mobile studio) and brought it to camp. I was eager to show it to our cadre of young women and share with them the story of female engineer Danielle Applestone - the maker of The OtherMill
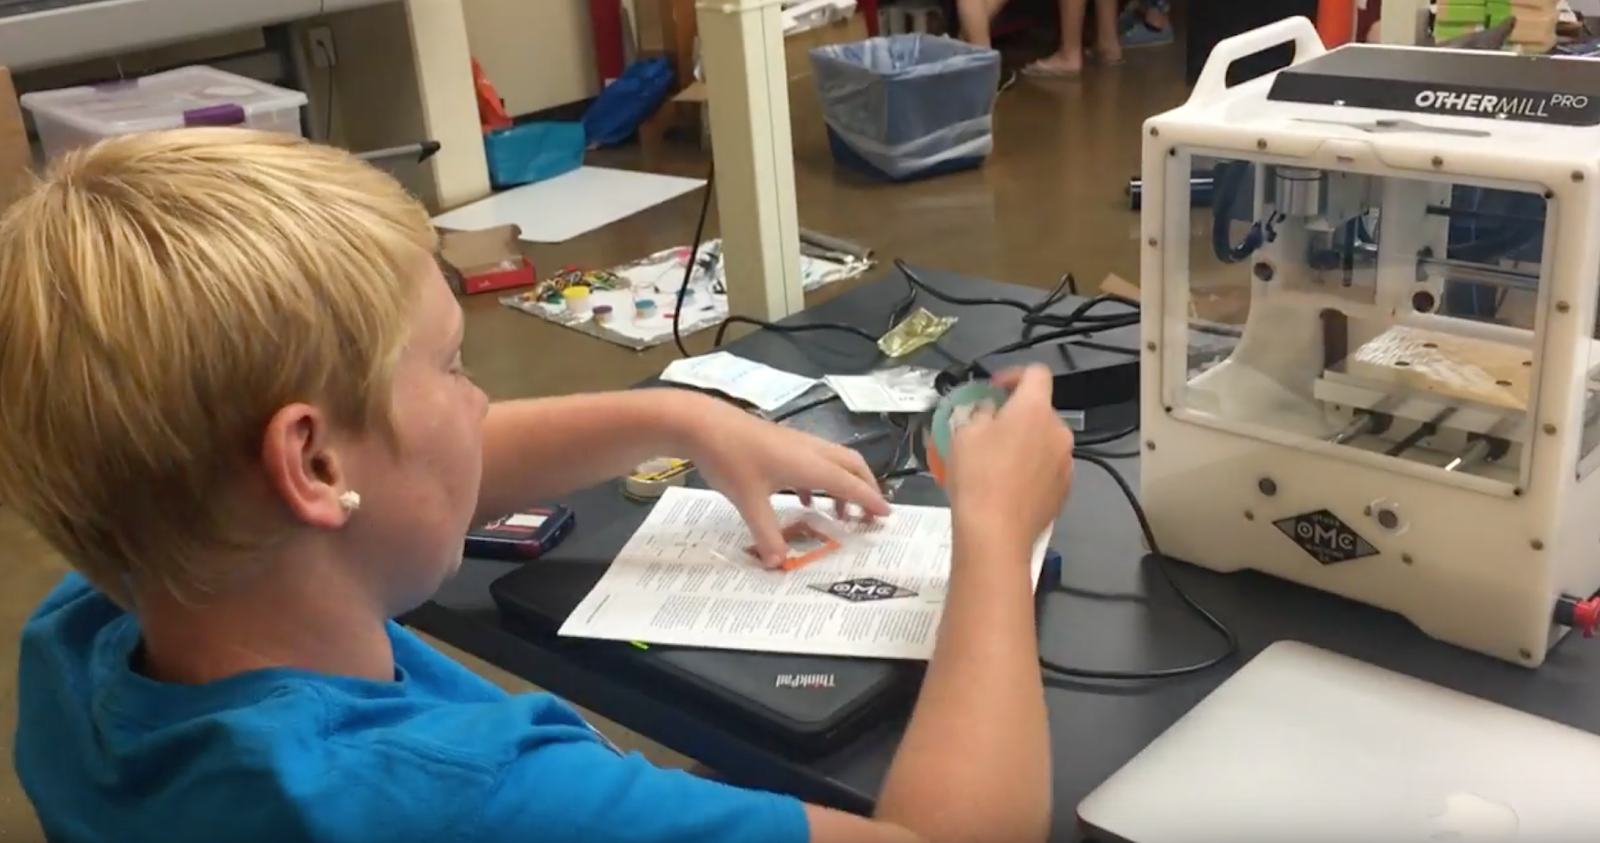
They were inspired and McKenna, one of my TechSavvy junior leaders who has a real maker mindset and experience with 3D printing was eager to unbox it. She grabbed some friends and they ripped the box open!

They explored the machine and materials.

And read through the instructions carefully completing each step.

They especially loved adding the Googley Eyes!
Unfortunately our HELLO WORLD project (our first CNC make) was cut short by a broken bit! Unfortunately we didn’t have an extra bit to use and had plenty of other technology projects to explore, so we packed the Other Mill back up. Meanwhile I ordered more bits!
Unfortunately, the summer was jammed packed and I was unable to get back to The Other Mill until last night! Encouraged by a friend who has 30 years of experience in electrical engineering, I pulled out the Other Mill and the new set of bits and we started to tackle the starter directions. The first step was to reacquaint ourselves with the new website, since the Other Mill had been purchased by a new company - Bantam Tools. I couldn’t find the Hello World Project I was so eager to make, but settled for the similar Rooster PCB starter project.
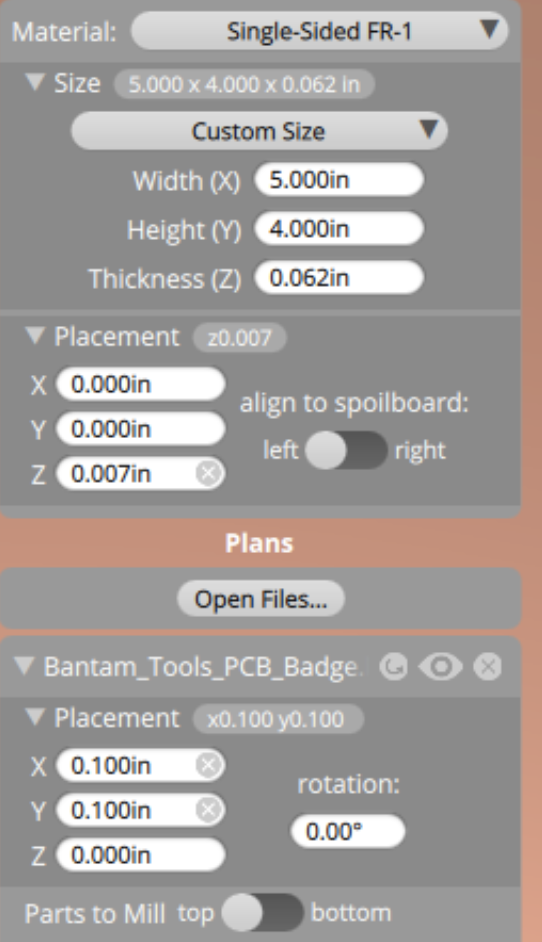
We replaced the broken bit, downloaded the Other Plan software, measured our materials, inserted the info into the software, added the double sided tape to our PCB and followed the directions as close as we could!

Unfortunately when it came to the last step - START MILLING -- that option was greyed out.
We kept checking and double checking our settings and realized that we had confused where to put the z axis information (I’m thinking that the software would be less confusing had they not used the word PLACEMENT twice in the interface.) Perhaps they could call one Material Placement and the other Plan Placement.
We kept checking and double checking our settings and realized that we had confused where to put the z axis information (I’m thinking that the software would be less confusing had they not used the word PLACEMENT twice in the interface.) Perhaps they could call one Material Placement and the other Plan Placement.
Unfortunately, even after we corrected our errors, the Start Milling button was still greyed out!

Scratching our head for several minutes, we finally noticed that only 3 of the plastic safety guides were installed and there was a 4th one buried on the work bench. Sure enough -- adding the 4th guide did the trick! My engineer friend immediately started to examine the OtherMill more closely looking for the sensors! ;-)
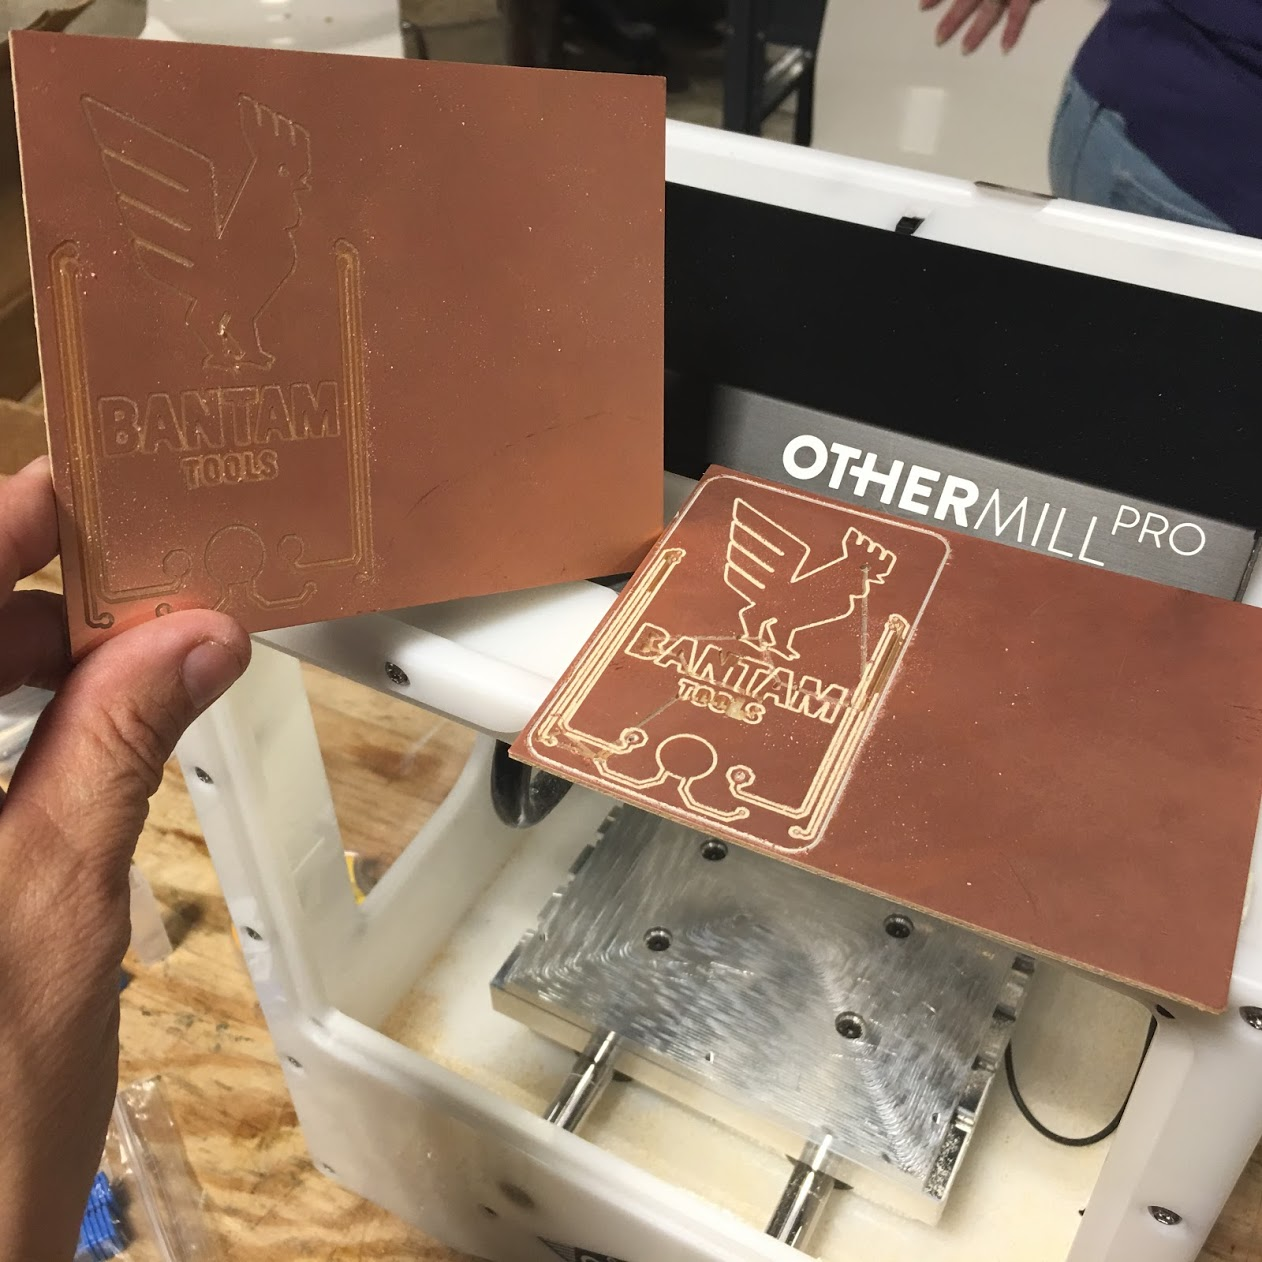
We were so excited to see see our PCB board cut into!
 But much less excited at the results! Another broken bit !
And this! YUK! We could see the toolpath which clued us in that the Z axis was not calibrated!
We reinserted the bit and realized that there was no ‘stop’ to guide us, so surely there must be another way to calibrate the z Axis.
After much more looking through the directions I spotted the step we had missed!
To load the 1/32” flat end mill into the machine, if you've never done this before, refer to the Inserting and Locating a Tool Guide.
Next to "Tool" on our software, click the Change button, select “1/32” Flat End Mill,” click Continue, verify tool position (it should be above an empty area of the spoilboard), and click Locate Tool. The end mill will lower until it touches the spoilboard, pause, then retract upwards. Now the software knows where the 1/32” flat end mill is located in space.
This is a HUGELY important part! I would certainly suggest that the instructions HIGHLIGHT this section! The step makes a LOT of sense! I’m not sure why we missed it! Perhaps our aging eyes!
Fortunately I had ONE more extra bit. NOTE TO SELF (order more bits!)
We secured another piece of PCB and followed the Locate Tool directions.
We secured another piece of PCB and followed the Locate Tool directions.
Watching the Other Mill calibrate the Z axis, we were convinced that this time it would work!
Crossing my fingers, I hit the START MILLING button!
And this time - we were smiling at the results!
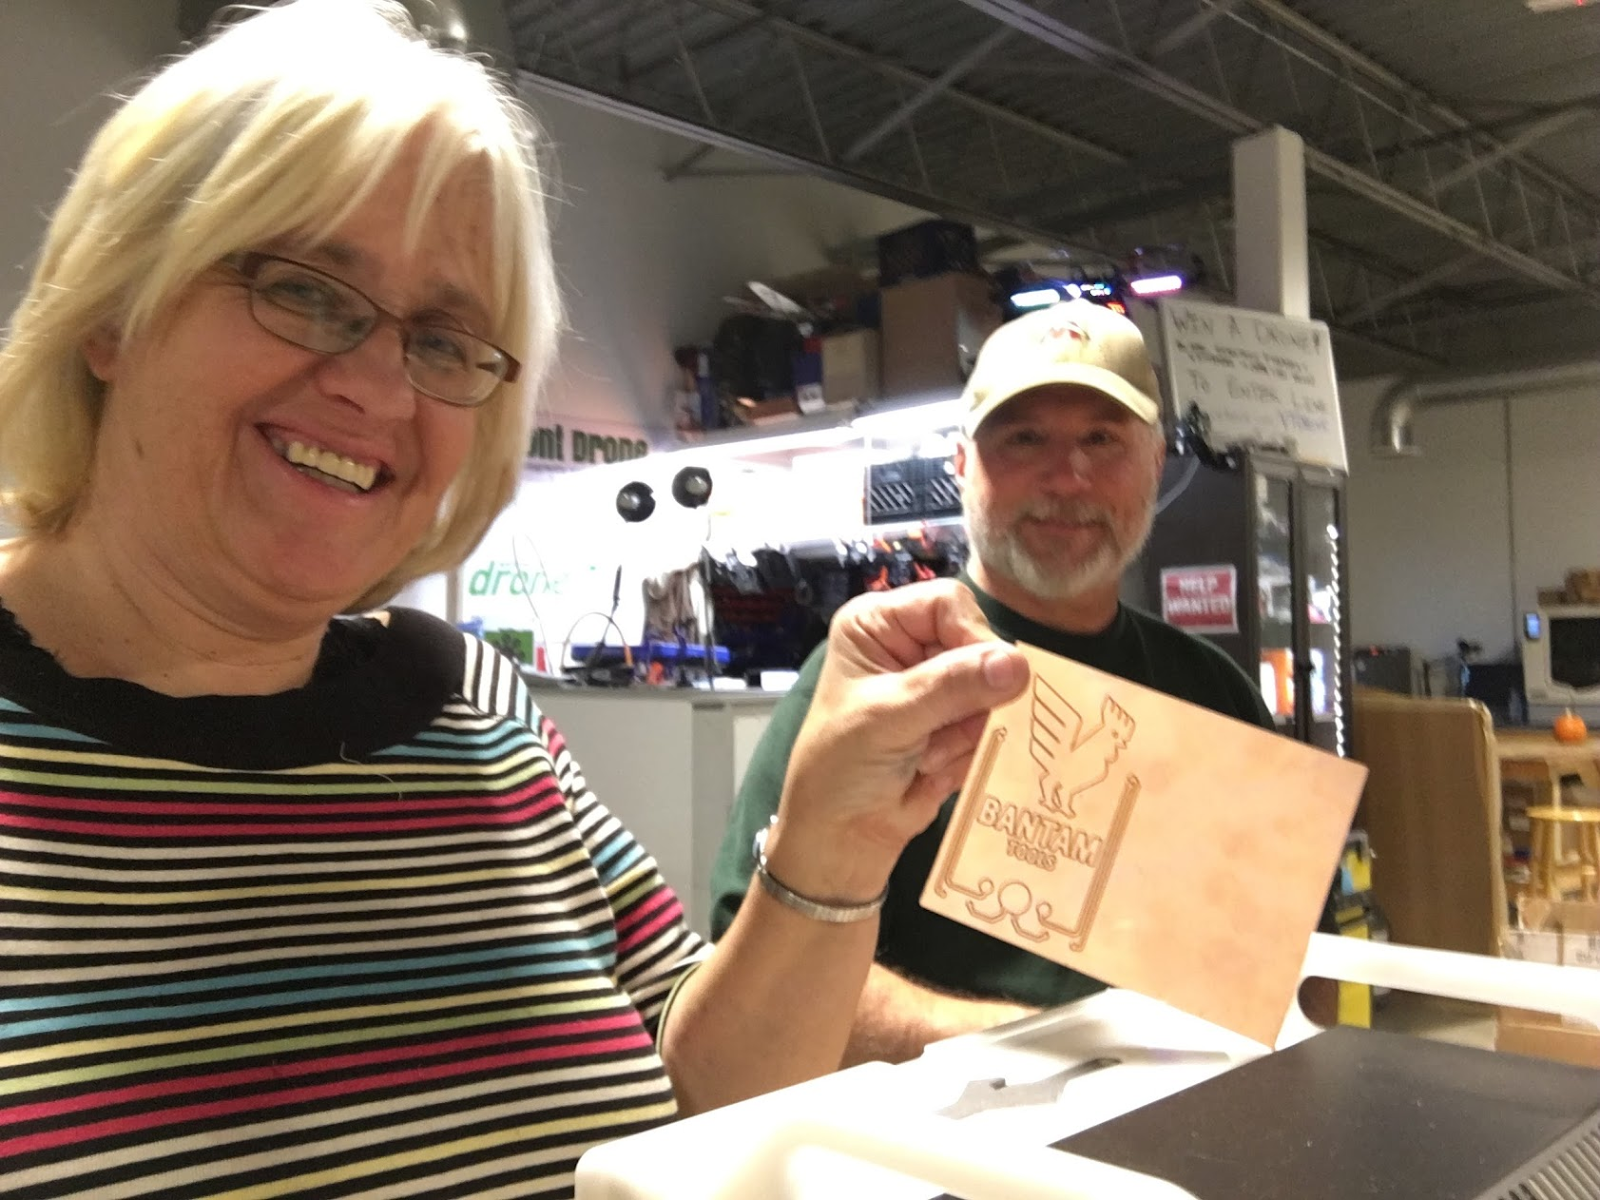
I’m so appreciative that smart experienced engineers are willing to spend their time with newbies like me when we’re needing a confidence boost!
And I can’t wait to tell my middle school group of TechSavvy Girls - that we MADE the same mistake they did and to show them MY FAIL and my SUCCESS…. And to give them an experience that will lead to their first successful CNC cut project