Subscribe to this blog to get new learnings ideas, discoveries, and inspiration from the CREATE MAKE LEARN community, along with updates about our upcoming Summer Institute and Workshops.
The current version of Scratch has an great audio editor built in.
It is free and can be used both in the cloud or offline.
Students can easily record, edit, and add special effects.
You can even export the audio created to your local computer and use it with other platforms.
So why not use it to create audio files for podcasting.
You could even create a cardboard boombox or other cardboard podcast player to activate the podcast by connecting it to a Makey Makey,FunKey or other micro-controller.
Now I can't wait to go try this with students. But since I don't have students this week, I decided to share a few projects where I leveraged the audio features of Scratch along with its ability to be used for physical computing.
But as soon as I have an opportunity to build off the idea of creating a podcast with students using Scratch that came from @CrisMageletti's tweet.
I'll create a followup post and let you know how it goes.
WHAT IF... your library was filled with hundreds of books
authored by YOUR students?
WHAT IF... anyone could purchase one of these books
to have in their own library?
WHAT IF... your community could readayd these books
for free - from their mobile device, anywhere, anytime?
WHAT IF... these books could not only be filled with
text and pictures, but also with rich multimedia, animations,
videos and interactive games and quizzes?
With Google Slides and a powerful prompt, your students can
get started authoring and publishing ebooks, TODAY!
In June of 2011, the City of St. Albans asked the St. Albans City School to help them name the new St. Albans City Fire Truck. The school was so excited to have this opportunity.
They held a writing and drawing contest for all students in 3rd and 4th grade with the following PROMPT:
"What do you think the name of the firetruck should be?
Write a story that tells us how the firetruck got its name?"
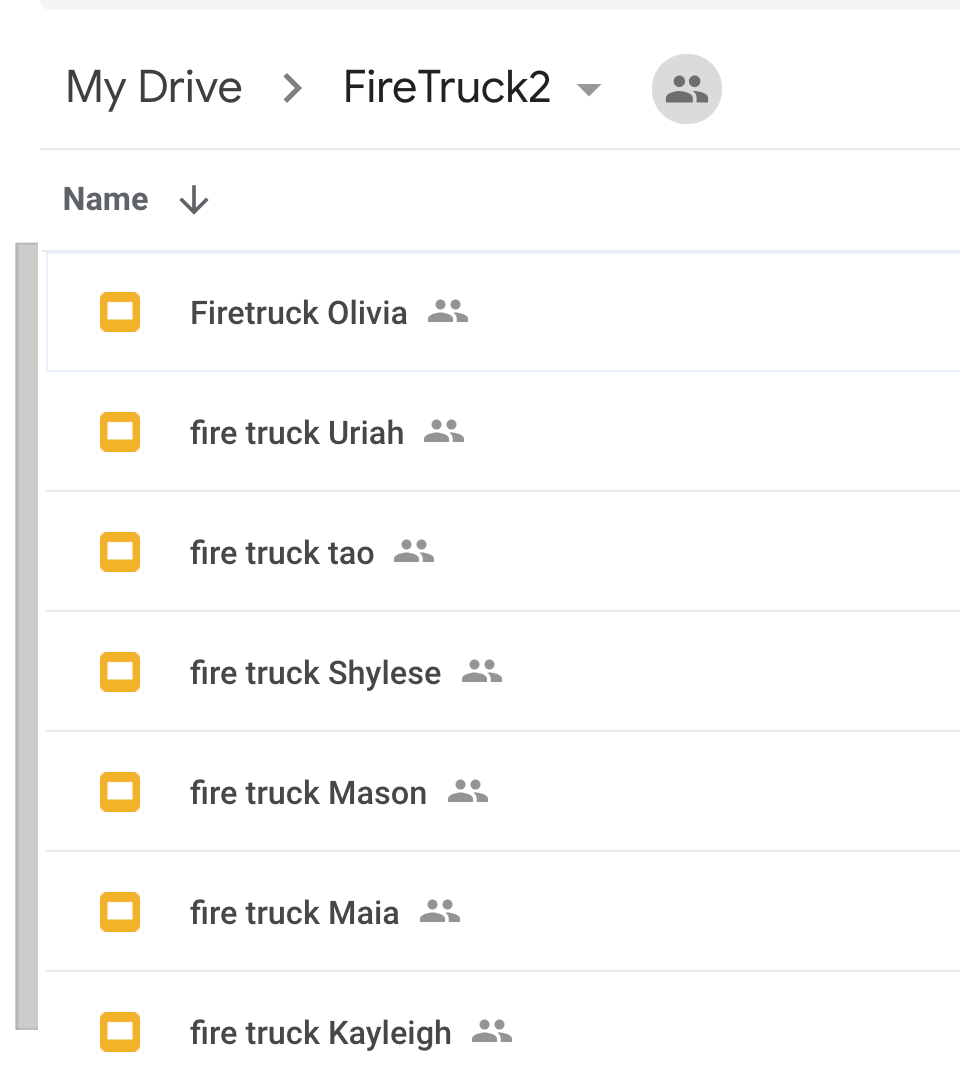
From these initial stories, 19 authors and illustrators were selected to share their potential firetruck names with the fire department. The authors worked for weeks getting their stories from a first draft to a final draft using Google Slides as their publishing tool. The collaborative features of Google slides allowed students to collaborate illustrating the stories as they were drafted. Using Google Slides made it easier for younger writers to chunk their stories into a beginning, a middle, and an end. Organizing the stories in a folder made it easy for their teachers to view the students' process.
An 8th grade writing mentor was assigned to each team. The comments feature of Google Slides was helpful throughout the process.
Did you know that if you add an email address with a + sign to a comment, that this person will get an email notification with the comment. If you click ASSIGN checkbox, they will also see a notification that a task has been assigned to them in their Google Doc dashboard.
When they were ready, the stories were delivered to the City Police/Fire Chief, Gary Taylor, who facilitated the selection process. We used a handy feature in Adobe Reader to automatically print each story in a booklet format. There are times when a printed version is the right choice. We wanted the fire fighters to be able to pass around our booklets as they read them. We also wanted each author and illustrator to have a printed version. This booklet format worked perfectly for both of these goals.
Here are the 3 steps needed to create your printed booklets.
(Students can author or illustrate their books using a Chromebooks, but the PDF booklet printing steps outlined below will only work on a Windows PC or Mac. If you are working on a Chromebook, you will want to find a PC or MAC to perform these step. A Chrome App like SimpleBooklet offers some Chrome Options for a nominal fee)
Step 1: Download your Google Slide deck as a PDF.
Step 2: Open the PDF version of your story with Google READER. If your PDF opens in Preview or another other program, the next step will NOT work. You will need to FORCE your computer to open your PDF in Adobe Reader by RIGHT CLICKING on the file name and clicking on the OPEN WITH. If Adobe Reader is installed on your computer, right clicking on the file name will provide you with the following options.
Step 3: When you select PRINT from Adobe Reader, you will get an option to print your PDF in BOOKLET format! I LOVE this feature! It prints all the pages in the right order to just fold in half and then provide each student their own hard copy as a take-away. Even though we live in a digital age, there are times when a PRINTED copy is the right choice! (Don't worry, we'll cover how to create the ebook version in the steps below)
On Monday June 13th each of the stories was read aloud to their peers. After two readings of each story, everyone gathered at the front of the school. The St. Albans City School Band played a song to get the community ready for the BIG ANNOUNCEMENT. Chief Taylor announced the fire truck’s new name, the band played, and everyone celebrated both the new fire truck and the hard work of the young authors and illustrated who helped name their town fire truck.
All 19 stories were assembled into one ebook and published online for anyone to ready anytime from anywhere using a computer or mobile device. Three students had written stories with BIG RED as the name. The rest of the stories were included in a section called "Other Names the FireTruck almost got".
Step 1: Assemble all the books into ONE Google Slide deck.
You can find the IMPORT SLIDES option under the FILE menu options.
Step 2. Insert a slide for the front and back cover. Add blank slides as necessary
We designed a front cover and added a few blank slides so that there would be blank pages on opposite sides of the the front cover and back cover.
Step 3: PUBLISH Your Google Slide deck to that viewers can click on it and view it one slide/Page at a time.
Once published you can COPY the LINK or URL anytime you want to share your ebook with someone. (Do NOT use the SHARE button on Google Slides. Used the PUBLISHED URL)
For example, if you click on the link below, it will take your to the NEWLY CREATED eBOOK for the fire truck stories.
You can add this link to your school webpage, to a student portfolio, to your library card catalog, or to any web page that readers might access to read your students ebooks.
I like to create web pages that display the cover of each book to visually entice readers to click on each book... like this.
If you prefer to EMBED the ebook right into a webpage, you can copy the EMBED code instead. Not all web pages allow you to embed HTML code, but if they do, your ebook will be visible like this:
You can check out this article for more information about publishing Google slides or sheets.
ENHANCED OPTIONS:
You can choose to leave your file as a Google Slide/eBook and access it as an eBook using the link or embed code that Google provides, or you can upload it to a third party service for enhanced options. Review the steps mentioned above for downloading your Google Slide deck as a PDF.
You can then upload the PDF services that will give you enhanced digital hosting and viewing options such as digital viewing platforms with page turning effects such as ISSU or FLIP SNACK.
You can upload your PDF to a print publishing service where readers can order PRINT copies of your book such as LULU. Lulu also offers ebook services.
You can upload your stories to VoiceThread either as a PDF or directly from your Google Drive to add voice or video comments as an author or to allow your readers to interact with your story through text, audio, or video comments.
Here's a fun project we tried this summer in two different learning environments hacking into an electric toothbrush.
We first explored the idea of hacking into a cheap electric toothbrush at the Create Make Learn Summer Institute with a group of teachers who were just getting started with making.
Later in the week, we brought our dollar store toothbrushes to TechSavvy Girls Camp - where over 60 girls we exploring and gaining confidence with technology. Check out what happened!
There were so many wins to this project!
1) Affordable Making - Promotes upcycling
Purchase a dollar store electric toothbrush and you will end up with a hobby motor, a battery, and some toothbrush parts that can be repurposed into a new invention. Buying these parts separately could cost between $2 - $3
Even though we purchased a 'new' electric toothbrush for this exploration, taking it apart for parts helped increase awareness of the parts that can be gained from objects that we consider 'disposable'.
2) Learn to Solder
The fact that our new motor only had tiny metal clips to connect wires to, gave us the perfect reason to learn to solder on wire leads. Learning to solder expands your capacity to make and increases your feeling of empowerment.
After our first two girls succeeded in soldering some wire leads to the motor, they taught each other and by the second day of camp, many of the girls felt empowered and comfortable reaching for the soldering iron throughout the rest of the week.
3) Inventive Thinking
Equipped with new soldering skills and new parts from tearing into our toothbrushes, the girls started to imagine possibilities. Their inventive spirit kicked in and our hacked toothbrushes took on new shapes, forms, and functions!
Looking back at this project, I can easily spot all 3 capacities described in one of my favorite #makered frameworks from Agency by Design
Looking Closely
Exploring Complexity
Finding Opportunity
It was amazing to see how something as simple as a dollar store toothbrush provided us with an opportunity to engage both our minds and our hands through creating and making.