Subscribe to this blog to get new learnings ideas, discoveries, and inspiration from the CREATE MAKE LEARN community, along with updates about our upcoming Summer Institute and Workshops.
If you follow my blog, you know that I'm a big fan of Cuttle.xyz. I truly believe that having a tool like Cuttle.xyz in your digital toolbox opens up lots of possibilities to grow the next generation of creative and practical problem solvers. If you're interested in adding Cuttle to your toolbox, please join me for a FREE series of workshops that will have you feeling confident using the free version of Cuttle in your school.
Create with Cuttle.xyz
Session 1 – Intro Jan 21 3:30 – 5:30 (Zoom)
Session 2 – Intermediate Jan 28 3:30 – 5:30 (Zoom)
Session 3 – Layered Maps Time & Location TBA
Cuttle.xyz is my new favorite tech tool. It allows teachers and students to design their own SVG files that can be used to create projects on a laser cutter or electronic cutter (i.e. Cricut) —Works on Chromebooks —The company has signed data privacy agreements — Company is making their basic editor available to K12 public schools for free
Join us for a series of FREE workshops to help you create confidence with Cuttle.xyz The first two workshops will be held over Zoom after school. If the time doesn’t work for you, register to watch the recording.
The 3rd workshop will be face to face with location and time to be determined by participants who attend the the first two workshop. We’ll create our own layered laser cut maps! Cost will be the cost of the materials.
This summer Create Make Learn is collaborating with the Community Engagement Lab for its annual summer institute: Project Design Lab. I'm excited to introduce two of my favorite tools to support project based learning with participants.
From Confidence to Creation: Making Something Meaningful
This is the second post in our series documenting the Covered Bridge Laser Cut Map Project at Cambridge Elementary School, where 4th grade students applied their newfound maker skills to create something truly meaningful for their community--layered laser-cut maps featuring the 12 covered bridges from Cambridge's history.
In the first post in this series , we shared the first two phases of the framework used in the Create Make Learn residency process (Inspire and Create Confidence). Feeling inspired and confident with using Cuttle.xyz to create designs and the laser cutter to cut their designs, the 4th graders were ready for the final phase of our Create Make Learn framework: Make Something Meaningful.
While the 4th grade students were learning to use Cuttle and the laser cutter, the third graders were working hard creating physical models of each bridge as part of this year's annual Cambridge History project.
Guest speakers from Cambridge shared stories and historical context about each bridge, enriching both projects with community knowledge that couldn't be found in textbooks. These conversations helped students understand that they weren't just making maps—they were preserving and sharing their community's heritage.
Google Maps became an invaluable tool throughout this project. It helped students understand the geographic relationships between the 12 bridge locations and the broader landscape of their community.
Only three of the original bridges still exist as covered bridges, eight have been replaced, and one has been moved to the Shelburne Museum.
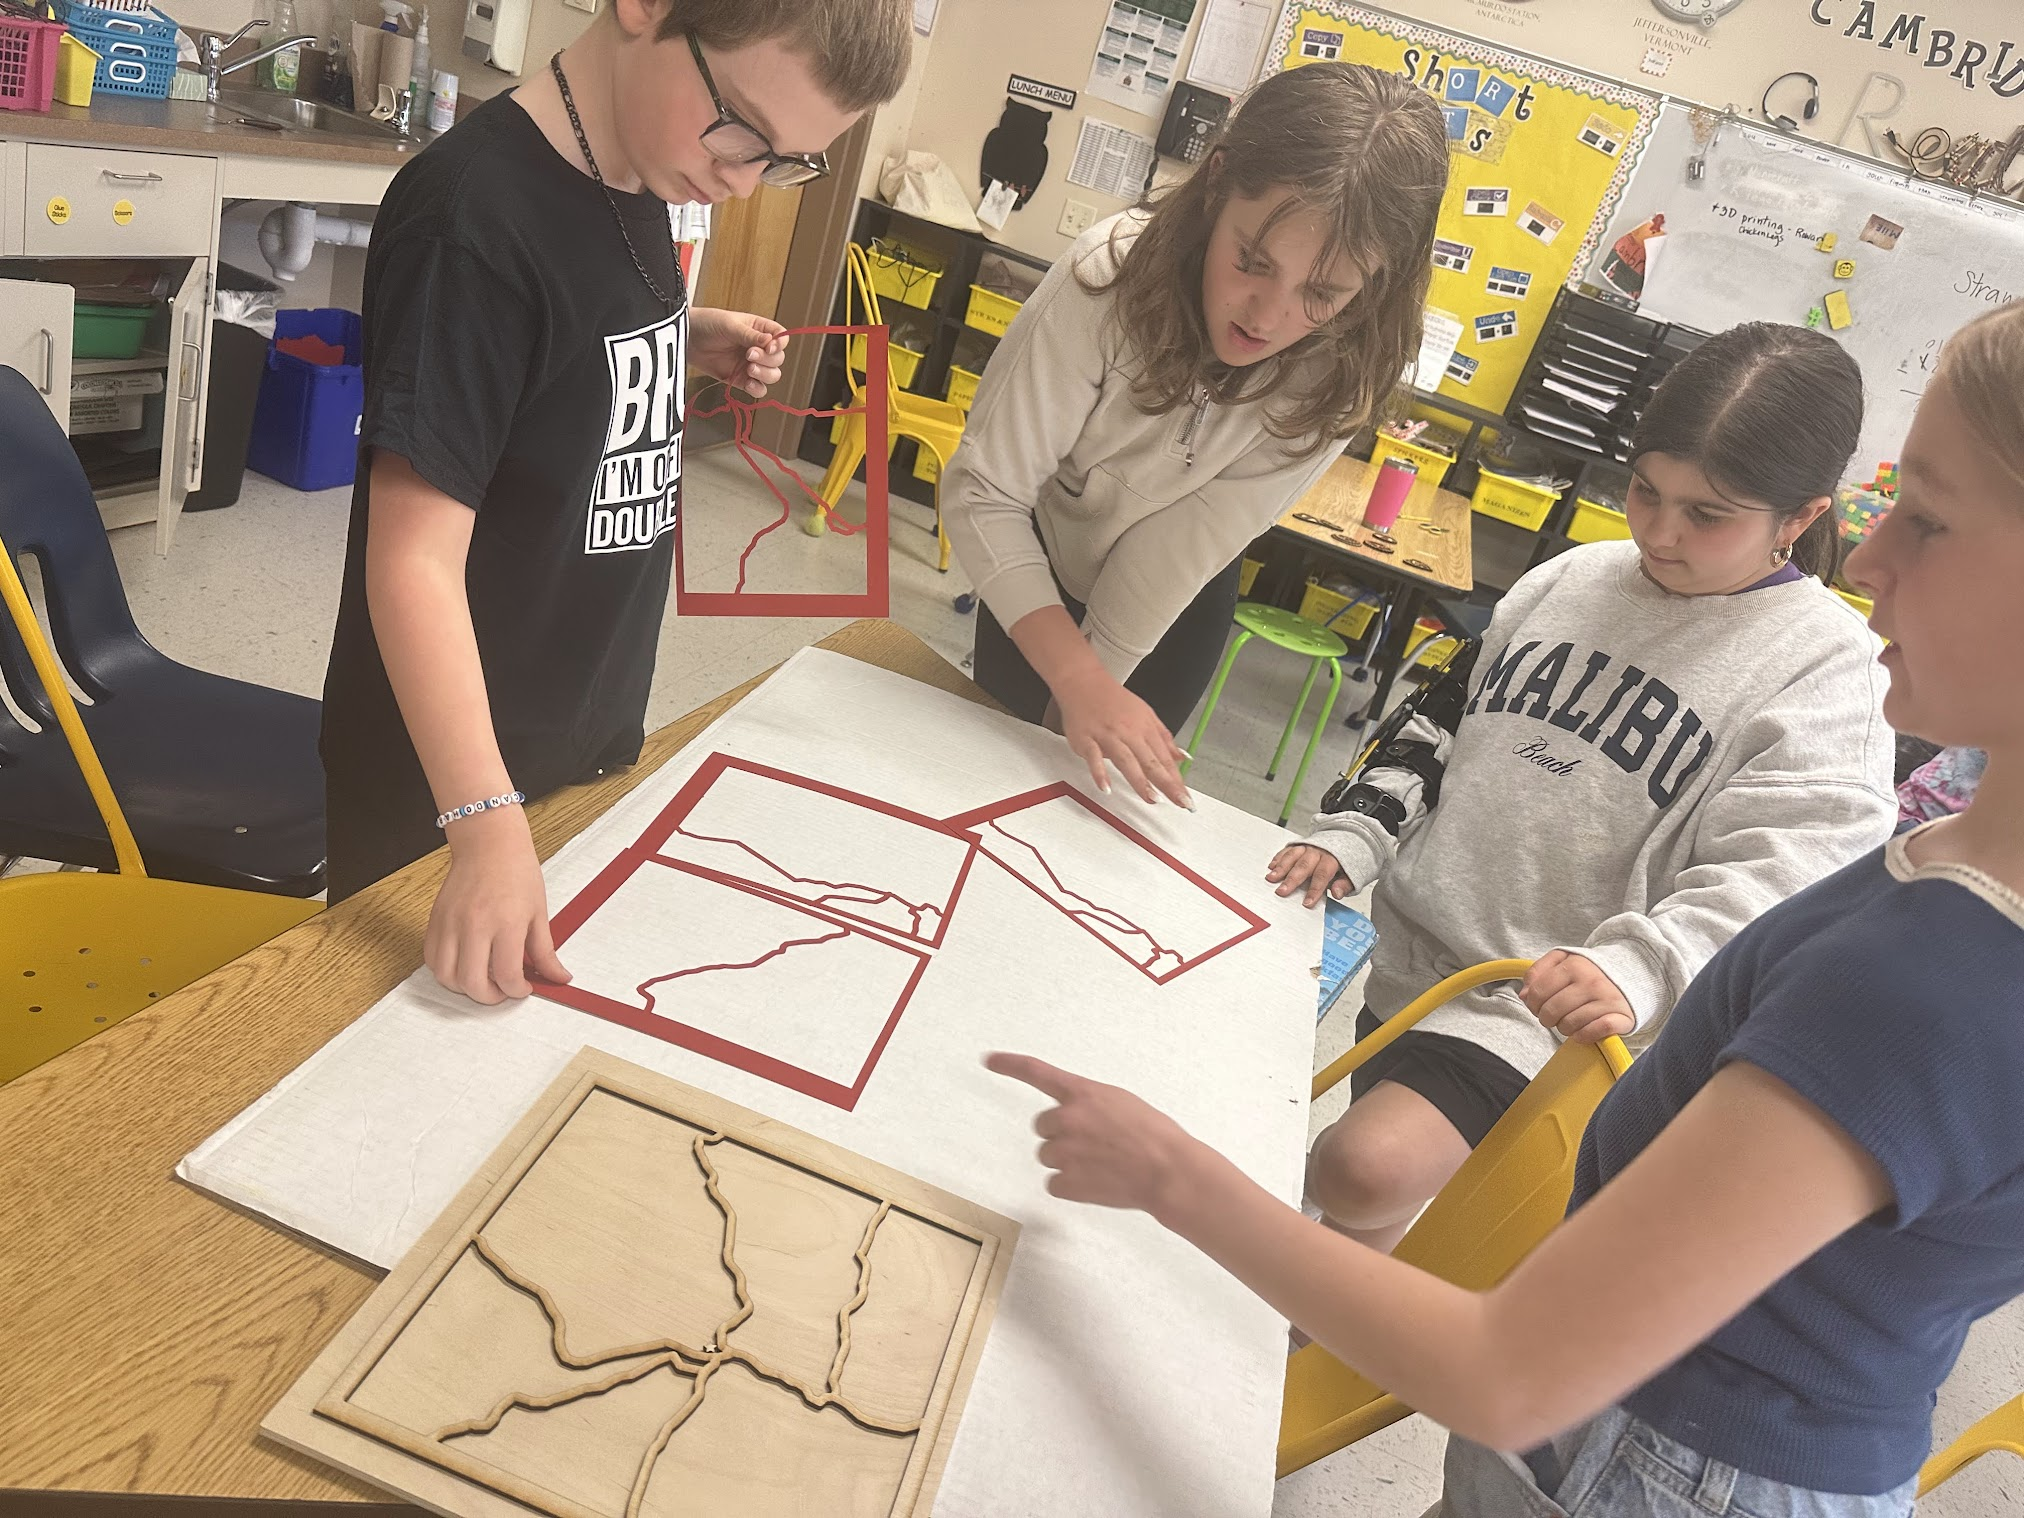
Before designing their laser-cut maps, students worked with a physical laser-cut outline of Cambridge's major roads alongside Google Maps. This tactile exploration helped students understand their community's geography in ways that digital maps alone couldn't provide.
Student Choice and Voice through Design Decisions
This stage of the residency was filled with opportunities for student voice and choice as they begin to make collaborative design decisions. The blend of practical problem-solving and creative expression provided evidence Vermont's transformative skills. Each decision required experimentation and compromise and gave the students an authentic project based learning experience.
Design Decision 1: Individual Maps vs. Collaborative Tiles
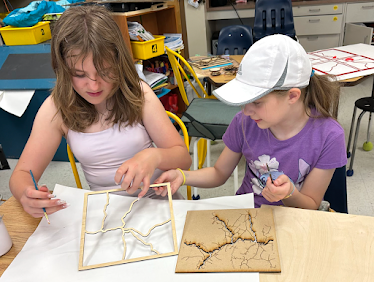
The size of the laser cutter bed offered some constraints. Initially, we considered creating one large tiled map where each student pair would create a section. After discussion, students chose a different approach: each pair would create their own complete map of the entire area scaled to the size wood we could cut with the laser cutter. This decision allowed for personalization and also helped each student better understand the local geography.
Design Decision 2: Representing Water
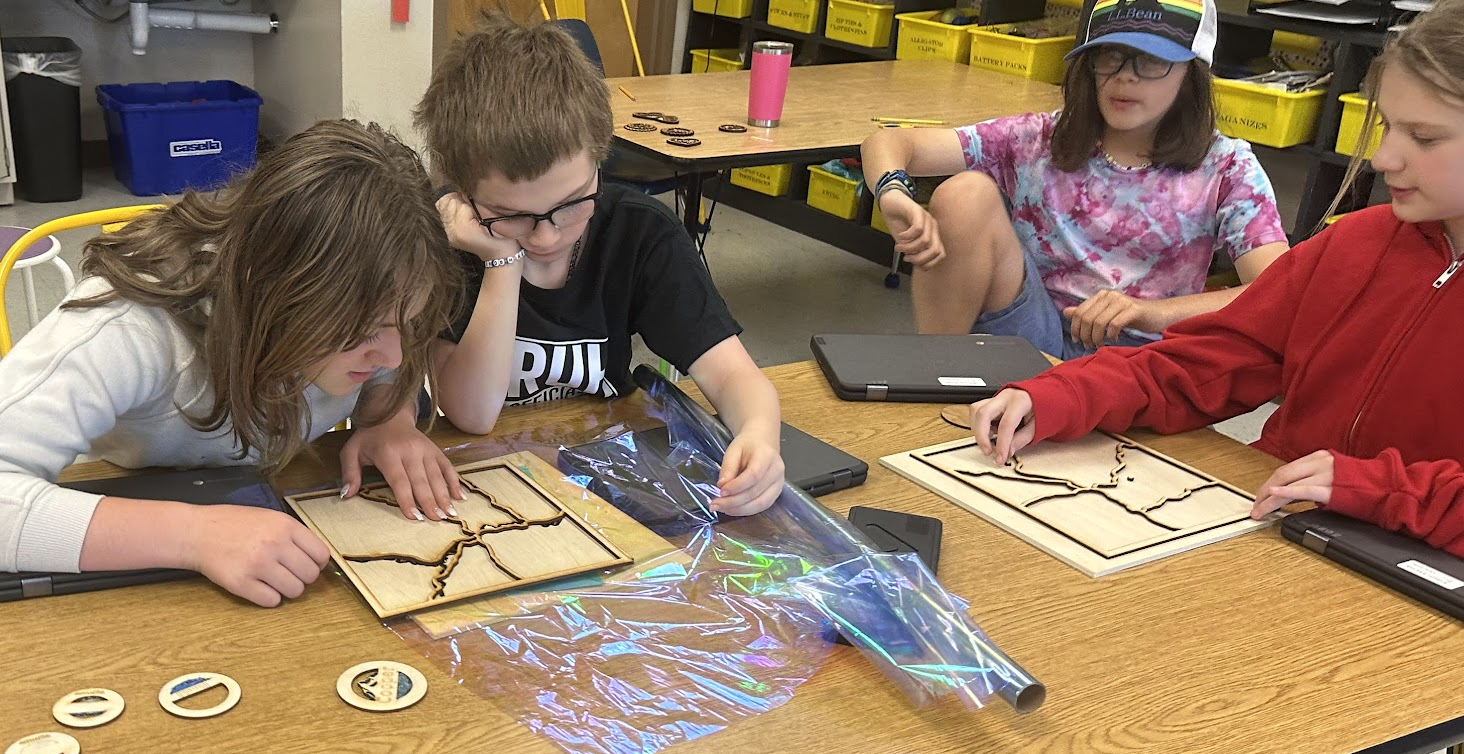
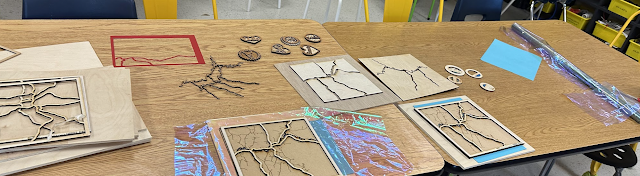
How do you make water look like water on a laser-cut map? Students considered multiple materials—resin, blue wax, glitter glue—before discovering that blue poster board covered with Celebrate It™ Opal Transparent Packaging Wrap created a sparkly ripple effect that beautifully represented the Lamoille River and drew attention to bridge locations.
Design Decision 3: Primary Roads
We decided to highlight each road that the bridge was on a raised layer made from maple plywood. This would include Rte 115, Rte 108 S, Rte 108 N, Rte 109, and Pleasant Valley Road. This created both visual hierarchy and tactile distinction on our finished maps.
Design Decision 4: Secondary Roads
Secondary roads would be scored rather than cut on draftboard layers, providing additional geographic context while creating visual contrast with the maple layer of primary roads. Scoring proved faster than engraving while still creating clear definition.
Watching our maps come to life as we worked with different materials was super exciting. We worked closely with Google Maps, LaserMapMaker.com, and Cuttle.xyz to design files to cut on our Glowforge laser cutter.
Students considered creating 3D bridge models but realized they would be too small at map scale. Instead, they developed a map key system with location markers—some teams chose stars, others used traditional teardrop map markers—creating consistency while allowing for creative expression.
Design Decision 6: The Compass Rose
One of the design ideas that came to us near the end was to add a compass rose to the map. We used the “Boolean Union / Weld” feature of Cuttle to join together, a covered bridge icon, Compass points, and a circle. We engraved the compass points in the right location. Mr. Jeremy used Google Earth to help us place it on the map in the correct orientation.
Design Decision 7: Personal Signatures and Route Markers
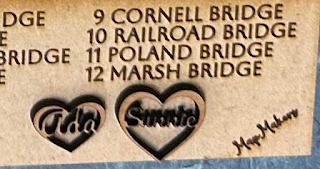
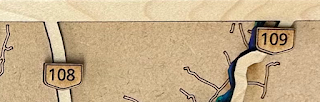
As finishing touches, students laser-cut miniature versions of their original mapmaker badges as signatures, claiming ownership of their work. They also added route number markers to help viewers better understand bridge locations within the road network.
Design Decision 8: Display and Community Impact
The final design decision emerged organically: where should these maps be displayed? Students toured their school, conferenced with staff members, and ultimately decided to place one map on each floor. They used upcycled frames to finish up their display and added added laser-cut connected text title lettering.
Showcase of Learning:
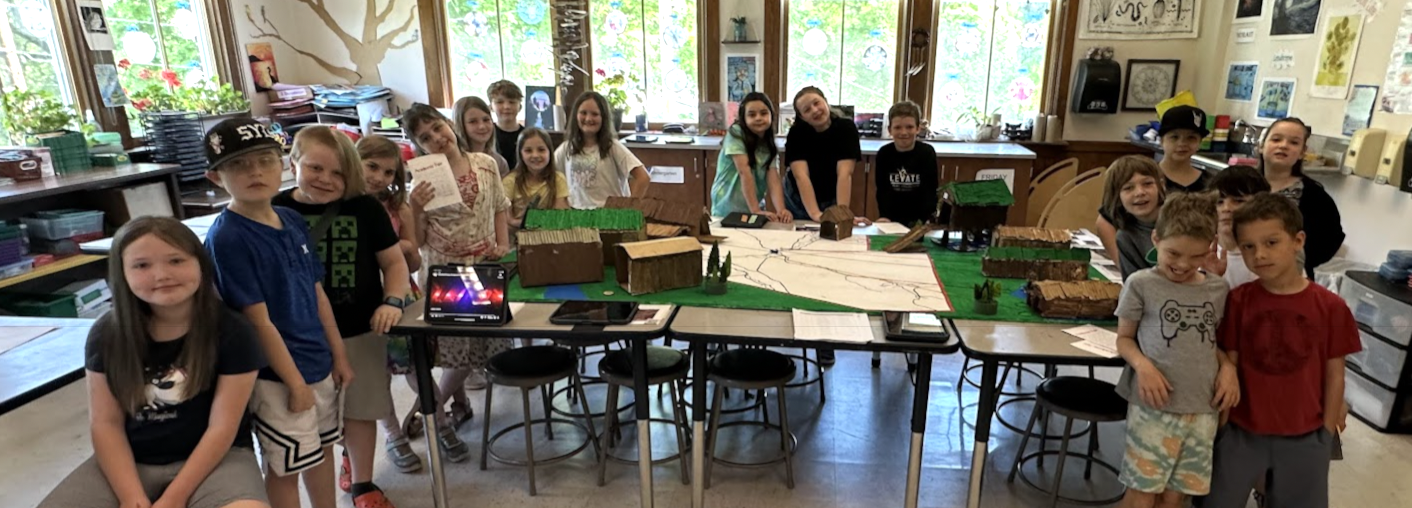
Both the 3rd grader Cambridge History Project and the 4th grade Laser Cut Map were on display at the School’s Showcase of Learning. Each of the Covered Bridge Models made by 3rd graders surrounded a large wooden map of the area. Each bridge included a QR code that lead to a Student Newscast Video about the history of the bridge. These videos can also be viewed on the school website and are attached to the Google Map of the Bridges.
The 4th grade MapMakers displayed their beautiful works with pride and answered lots of questions from both staff and their peers about their process.
As the final student maps were unveiled to the third grade class, a hush fell over the students—just for a moment—before it was replaced by a rising chorus of excitement. “Wait—that’s mine! I see it! That’s my bridge!” exclaimed one student, pointing eagerly to a miniature model nestled beside a printed river bend. His classmate leaned in closer, tracing the lines of the map with her finger. “They made the whole town,” she whispered, wide-eyed.“Yeah,” said another, with excitement, “It’s like all our bridges fit together on one map!”
Later during the community showcase, our school board chair paused in front of the student’s display and spent several minutes taking it in. Watching children move from one model to the next and hearing students explain how they used 3D printing or laser cutting to bring their vision to life, he turned to our principal and said, “This is exactly what we mean when we talk about high-quality project-based learning. They're not just building bridges—they're connecting history, technology, and community. This should be a model for the whole district.
The Meaningful Making Difference
What made this project meaningful wasn't just the final products—though they were beautiful and professionally crafted. The meaning emerged from students' genuine investment in preserving and sharing their community's history, their collaborative problem-solving around real design challenges, and their pride in creating something that would educate and inspire others long after the project ended.
These weren't practice exercises or assignments to be completed and forgotten. These were contributions to their school community, preserved pieces of local history, and evidence of what young people can accomplish when given professional tools, authentic challenges, and the confidence to tackle complex creative problems.
The success of this project demonstrates the power of the Create Make Learn framework in action. When we start with inspiration rooted in authentic community connections, build confidence through manageable technical challenges, and culminate with meaningful making that serves others, students don't just learn skills—they develop the identity and mindset of makers, historians, and community contributors.
Our Cambridge mapmakers didn't just complete a project; they became stewards of their community's heritage, skilled users of professional design tools, and confident creators ready for their next meaningful making challenge.
The Cambridge Covered Bridge Map Project exemplifies how project based learning and maker education can serve authentic learning goals while building both technical skills and community connections. . When students create something meaningful, the learning becomes meaningful too.
The residency model blends student enrichment and teacher professional development to support integrating hands-on minds-on STEAM learning in your school. Contact Lucie deLaBruere ( ldelabruere at gmail) for more information about adding a Create Make Learn residency to your school.
Special thanks to the Vermont Arts Council, the Vermont Community Foundation and The Cambridge PTA for supporting this residency and to Ellen Koier and Faith Horton for inviting me to co-design this residency with them and for years of dedication to Cambridge Elementary School.
This is the first in a series of blog posts documenting the Covered Bridge Laser Cut Map Project—a collaboration between Cambridge Elementary School students and Maker in Residence, Lucie deLaBruere. (Part 2 can be found here)
Every Create Make Learn residency is built on a framework driven by the question:
"How might we inspire our students andcreate the confidence they need to make something meaningful?"
The Create Make Learn framework is built on three interconnected phases:
INSPIRE → CREATE CONFIDENCE → MAKE SOMETHING MEANINGFUL
Each phase builds upon the last, creating a foundation where students feel empowered to tackle more complex creative challenges while developing real technical skills.
Phase 1: Inspire
The inspiration for this project emerged naturally from the school annual Cambridge History project. As the 4th graders entered the STEAM makerspace, we connected them to their own learning journey—reminding them of their Cambridge history project from the previous year, then introducing them to the current 3rd grade project featuring the covered bridges of their community.
We shared an exciting possibility: "One of our goals this week is for you and your teachers to create confidence with using one of the amazing tools in our makerspace —our Glowforge laser cutter—and then make something beautiful and meaningful for your school community."
Phase 2: Create Confidence
Once students are inspired, we focus on building confidence with new tools and processes. Our first skill-builder sprint guided learners through designing a personalized laser-cut badge using Cuttle.xyz—a vector design platform that works seamlessly on the Chromebooks available to our students.
Skill-Builder 1: Personal MapMaker Badges
Students learned essential vector design skills through creating something personal and immediately meaningful to them:
The Learning Process
We broke down the badge creation into manageable steps:
Shape Basics: Students browsed shapes, selected one, and resized it to 2.5 inches, learning about layers, fill, and stroke properties
Layer Management: They duplicated their shape, renamed layers, and practiced expanding and collapsing layer groups
Text Integration: Students added their names using connected text, positioning it thoughtfully on their design
Boolean Operations: They learned to create holes using boolean difference and to weld elements together using boolean union
File Export: Finally, they saved, titled, and exported their designs as SVG files
From Digital to Physical: Our Workflow
We used the following workflow to get student designs from Chromebooks to the laser cutter.
1. Students export their SVG files and submit them through a Google Form
2. Responses are collected in a spreadsheet with downloadable links
3. Files are downloaded to the computer controlling the laser cutter
4. Students upload their SVGs to the Glowforge app, select materials (cherry plywood for the top layer), and configure cut settings
5. With a "fire buddy" present, students watch their designs come to life
Adding Complexity: Two-Layer Design
After successfully cutting their top layer from cherry plywood, students designed bottom layers using different colored wood (draftboard or maple). This second layer included personalized images to be scored rather than cut, giving students practice with the complete workflow they'd need for the larger map project.
The final step—gluing the layers together—gave students their first tangible success and immediate pride in their work.
The Power of Personal Connection
By starting with something personal, students were immediately engaged and motivated to master the technical skills they'd need. These weren't abstract exercises; these were their badges, with their names, created with their hands using professional-grade tools. The badges would later become part of the final laser cut map das a signature of their contribution to their community.
This personal investment created the perfect foundation for confidence-building. Students troubleshot design challenges, learned from mistakes, and celebrated successes together. By the end of our skill-builder session, they had not only mastered vector design basics and laser cutter operation—they were eager to tackle something bigger.
What's Next: Making Something Meaningful
With inspiration sparked and confidence built, we were ready for the final phase of our framework: making something meaningful. Armed with their new skills, students were prepared to create layered laser-cut maps featuring the locations of the 12 covered bridges from their Cambridge History project.
In our next blog post, we'll share how this confidence translated into the creation of something truly meaningful for their school community - several laser cut maps of the covered bridges in their community. Here's a sneak preview.
The Create Make Learn framework demonstrates that when we start with inspiration, build confidence through manageable challenges, and connect learning to meaningful outcomes, students don't just acquire skills—they develop the mindset of makers who can tackle any creative challenge.
Coming Next: How 4th graders transformed from badge-makers to cartographers, creating detailed laser-cut maps that brought their community's history to life.
For each of these projects, students will be using either the laser cutter or Cricut cutter available in their school. In this post we'll focus on the skillbuilding activity we used to introduce both students and teachers to a workflow that students could use with the school's brand new Glowforge laser cutter.
This workflow will also work when students are designing for their Cricut Cutter. Although both these tools do offer a subscription based design tool, I recommend that students learn to design files using non-proprietary software for designing vector files needed when using a laser or cutting maker tools - like Cuttle.xyz. It's a great choice for schools for several reasons.
It's browser based - so it even works on Chromebooks.
Cuttle.xyz has signed data privacy agreements with several schools
It's accessible for middle grade students
They have affordable K-12 pricing
You can try before you buy with 3 free projects.
One Day 1, we lead each students to creating a hanging constellation disc of the Big Dipper cut from cardstock. We carefully went over safety protocols for using the laser cutter and explained that prototyping often starts with paper and cardboard before moving to wood, acrylic and other materials for the final version.
This tutorial video features the steps we used to provide sixth grade students the foundational skills they needed to design laser cut files for all three project choices available for this residency.
The next step was to get the downloaded SVG files from the students' Chromebooks to the laser cutter. My favorite workflow for this is to create a Google Form using the ADD File question. The link to this Google Form is made available to the students via their Google Classroom or other LMS Students quickly learned to submit and resubmit new iteration of SVG files to the laser cutter with helpful comments.
In this residency, both the teacher and I used our laptopss to display the SPREADSHEET associated with the Google Form used to submit their SVG files. One of us circulated around the room assisting students with designing their vector files while the other supervised students cutting their files at the laser cutter.
Students quickly learned the following steps and were teaching each other the sequence of
1. Submit SVG file to laser cutter using the Google Form (above).
2. Download their SVG file from the spreadsheet (Google form response) to computer controlling the laser cutter
3. Upload the SVG file to the Glowforge app.
4. Order the cut layers so the inside cuts before the outside.
5. Change the setting to match the material in the laser cutter.
6. Use AutoFocus to measure depth of the material.
7. Press Print and check the estimated time to make sure it feels reasonable.
8. Make sure you have a fire buddy with spray bottle on standby, then press TEAL GO button on laser cutter.
9. Always supervise you cut. Never walk away from the laser cutter.
10. Wait for the laser cutter to cool down . Open Lid and remove your cut.
By the 2nd or 3rd iteration students felt confident with the sequence and were independently switching materials between cardstock, cardboard, and draftboard as they revised their designs.
It was amazing to watch the projects come to life as students safely used real world tools and developed the growth mindset necessary to iterate their way from prototype to a successful project.
Stay tuned for three more posts that showcased the steps featuring each of the 3 project choices during this integrated STEAM based MAKER residency.
Subscribe to this blog or Sign up for our newsletter to get notified of new post, new resources and tutorials or new events
And if you'd like to learn how to design your own integrated STEAM infused project using creativity, circuits, & stories this summer, join me and other creative educators for a fun filled week of hands on learning at the Project Design Lab June 23 - 27 in Burlington Vermont. (includes lodging and graduate credit)


.png)


.png)
.png)
.png)

.png)


.png)
.png)
.png)
.png)
.png)


.png)
.png)
.png)
.png)
.png)
.png)
.png)
.png)
.png)
.png)
.png)
.png)
.png)
.png)
.png)
.png)


.png)


