Showing posts with label glowforge. Show all posts

Monday, March 31, 2025

Creating Confidence with Designing our first Cut Files using Cuttle.xyz

In the two previous blog post I introduced three project possibilities that focused on our Night Sky residency at Newport City Elementary Skills and some stellar books and literature connections.


 For each of these projects, students will be using either the laser cutter or Cricut cutter available in their school.  In this post we'll focus on the skillbuilding activity we used  to introduce both students and teachers to a workflow that students could use with the school's  brand new Glowforge laser cutter. 

This workflow will also work when students are designing for their Cricut Cutter. Although both these tools do offer a subscription based design tool, I recommend that students learn to design files using non-proprietary software for designing vector files needed when using a laser or cutting maker tools - like Cuttle.xyz.  It's a great choice for schools for several reasons.

  • It's browser based - so it even works on Chromebooks.
  • Cuttle.xyz has signed data privacy agreements with several schools
  • It's accessible for middle grade students
  • They have affordable K-12 pricing
  • You can try before you buy with 3 free projects.

One Day 1, we lead each students to creating a hanging constellation disc of the Big Dipper cut from cardstock. We carefully went over safety protocols for using the laser cutter and explained that prototyping often starts with paper and cardboard before moving to wood, acrylic and other materials for the final version. 


This  tutorial video features the steps we used to provide sixth grade students the foundational skills they needed to design laser cut files for all three project choices available for this residency. 


The next step was to get the downloaded SVG files from the students' Chromebooks to the laser cutter. My favorite workflow for this is to create a Google Form using the ADD File question.  The link to this Google Form is made available to the students via their Google Classroom or other LMS  Students quickly learned to submit and resubmit new iteration of SVG files to the laser cutter with helpful comments. 


In this residency,  both the teacher and I used our laptopss to display the SPREADSHEET associated with the Google Form used to submit their SVG files.  One of us circulated around the room assisting students with designing their vector files while the other supervised students cutting their files at the laser cutter.  


Students quickly learned the following steps and were teaching each other the sequence of 
1. Submit SVG file to laser cutter using the Google Form (above).
2. Download their SVG file from the spreadsheet (Google form response) to computer controlling the laser cutter
3. Upload the SVG file to the Glowforge app. 
4. Order the cut layers so the inside cuts before the outside.
5. Change the setting to match the material in the laser cutter.
6. Use AutoFocus to measure depth of the material.
7. Press Print and check the estimated time to make sure it feels reasonable.
8. Make sure you have a fire buddy with spray bottle on standby, then press TEAL GO button on laser cutter.
9. Always supervise you cut. Never walk away from the laser cutter.
10. Wait for the laser cutter to cool down . Open Lid and remove your cut.


By the 2nd or 3rd iteration students felt confident with the sequence and  were independently switching materials between cardstock, cardboard, and draftboard as they revised their designs. 

It was amazing to watch the projects come to life as students safely used real world tools and developed the growth mindset necessary to iterate their way from prototype to a successful project. 

Stay tuned for three more posts that showcased the steps featuring each of the 3 project choices during this integrated  STEAM based MAKER residency.


Project options (paper circuit journal cover,  interactive constellation poster,  projection device) 


Subscribe to this blog or Sign up for our newsletter
to get notified of new post, new resources and tutorials or new events 

And if  you'd like to learn how to  design your own integrated STEAM infused project using creativity, circuits, & stories this summer, join me and other creative educators for a fun filled week of hands on learning at the Project Design Lab June 23 - 27 in Burlington Vermont.  (includes lodging and graduate credit)  


Monday, January 4, 2021

Making your #OneWord into a physical artifact


If you want to join my workshop
and learn how to create an SVG file
to help you with this challenge
let me know here and I'll send you registration link for either
  
OPTION 1  Thursday  January 14 at 8:30


OPTION 2. Thursday January 14 at 3:30


I've been enjoying the stream of #oneword and #oneword2021 resolutions or focus for the upcoming year and I've been thinking a lot about what my #oneword should be. I feel so much HOPE in that stream of One Words. After thinking deeply about several contenders I've picked my #oneword.


There are so many reasons I chose REGROUP  - but the main reason was that 2020 really turned out to be a year to UNGROUP that has set us up for an opportunity to REGROUP in a intentional way. As we regroup let's be inentional about keeping the best, deleting pieces that are not working,  rearranging what worked well, and even adding new elements. 


Both professionally and personally I'm reflecting on the process of regrouping.  I've been collecting articles that can encourage deeper thinking about how our schools might regroup in 2021. Devin Vodicka's  How Might We questions provide a great launching point as does Scott Muri's pledge for his school to not return to normal.  and many others from the EdSurge's 2020 series:  Vision: Reflections on Hope and Learning in a Most Challenging Year .   Thankfully my state (Vermont) has laid the groundwork for us to take our lessons learned and create opportunities for students to learn how they learn best through Flexible Pathways and Personalized Learning. 


I've also been taking many of the pieces of my personal life that were ungrouped in 2020 and considering how I will regroup them to in ways where I can have more intentional impact that aligns with my priorities and values.   

During the past few days I've been thinking about the many ways that I can create physical artifacts that can help me stay focused on my #OneWord.  So many possibilities come to mind - from Keychains, to T-Shirts, to Laptop Stickers to Wall Hangings.  I have so many fun tools in my mobile makerspace from cardboard cutters, to vinyl cutters, to 3D printers to laser cutters that I could use.  


No matter what I choose to make,  the process starts with turning the word into an image.  Although there are many ways to do this, the barrier I faced for many years when using my maker tools, was that I didn't have the skills to create images in the SVG format.   After years of using Bitmap images, the SVG format did not make sense to me.  Finally in 2020,  after completing a personal maker project where I was working through the loss of some very special young people in my life, I feel like I've started to develop more creative confidence creating SVG files.  This confidence with working with SVG files  has open up so many possibilities for using my maker tools. 


In 2021, one of the pieces in my REGROUP journey will be to increase opportunities for teachers and students to LEARN through CREATING and MAKING.   As I think about how I can do this, one way is to continue to invite others along in my journey. 

Therefore I'm decided to kick off the new year by inviting others to create a physical artifact of their #ONEWORD. 

You don't need fancy maker tools. Tools and supplies as simple as a cardboard cutter, copper tape, fabric, needle and thread can be used as well as fabrication tools such as Vinyl Cutters (Cricut or Silhouette), 3D printers, laser cutters, or even a scroll saw. 

What do you say?  Who wants to join me in the challenge of taking our #ONEWORD and creating or making a physical artifact?  Let's create a virtual gallery of the physical artifact we create and tag them #makered #oneword.


The process of using your hands to  take what's in your heart and head into a physical object is so powerful.  That whole process becomes a sort of ungroup and regroup process.  

As a way to kick off this #ONEWORD challenge, I'd like to help anyone who wants to learn how to turn your #ONEWORD into an SVG file from free software that you can use to create your physical artifact to join me for a free workshop.   I'll share tips for grouping letters together or preventing the middle of letters from falling out.  

Once you have your #oneword as an SVG file you can cut it from cardboard,  vinyl, wood,  fabric, acrylic as part of creating your physical artifact. 


If you want to join my workshop and learn how to create an SVG file to help you with this challenge, let me know here, and I'll send out more info after I find  out what day and time will work for most.


Oh- and a special shoutout to Downers Grove Grade School 58 for the inspiration for this challenge. 


And for a wonderful set of short intro video tutorials to Gravit, check out John Umekubo's series here starting with his BASICS tutorial below

5) Creating Laser Cut Designs using Inkscape - Getting Started
6) Creating Laser Cut Designs using Inkscape - Next Steps

Inkscape Tutorial for Laser Cutter from Washco Utah Library Makerspace


Friday, December 27, 2019

Google Drawing to GlowForge Laser Cutter Workflow


How might we make designing with maker tools more accessible to all students?  

Use tools that work on their Chromebooks, of course! 

This series of blog posts will feature accessible tools and workflows  that increase equitable access to learning through  creating and making for all students. 

Get started with this Part 1 tutorial or dig deeper with the why's and how's below. 


While I was a teacher and a technology and equity specialist in Vermont schools,  I always insisted on using the same tools my students had access to.  During that time,  I stayed away from a MacBook, because my students were using Windows based computers. At one point, I turned my laptop  into a dual boot (Windows/Linux) platform so I could improve my fluency with Linux and open source software. Open source software helped us  make more computers available to students.   In today's schools, Chromebooks have replaced Linux and open source software as the tool that makes it  possible to create 1:1 student:computer environments.   


The increase in access is great news, but provides some challenges as Chromebooks limit the tools students have access to. Not only do the tools have to be cloud-based, they also have to be free (or close to free) and have to meet student data privacy standards of the district.  Unfortunately, this is a presents a barrier for schools who are introducing laser cutters in their school's makerspace.

I've spent quite a bit of time recently looking for workflows that might help students and teachers work within those constraints.   (I've also spent quite a bit of time thinking how we might make changes that would reduce the number of constraints -- but that's for another blog post).  


The following is the first in a series of posts that I'm planning which increase possibilities for students and teachers using makerspaces in their schools.   The first few  blog posts in this series will include:


From Google Drawing to  Laser cut Designs for the Glowforge - Getting Started


Why Glowforge? 


I've had my Glowforge Lasercutter for over a year now. It was one of the first consumer grade laser cutter to enter the market. This made it accessible to schools in both 'price' and 'ease of use".   I purchased the basic model at about $2000 during it's kickstarter phase. After using it for a year and watching other schools adopt the Glowforge, I can say that it definitely has a place in our schools.  I don't feel it eliminates the needs for some of the the higher costs lasercutters to meet certain needs in our educational landscape.   (more about that in a future blog post) 


The Glowforge has shortened the learning curve necessary to be able create using a laser cutter. The satisfaction and excitement of seeing your first product cut out of the laser cutter increases engagement and increases your motivation to learn more!  Once a student's motivation is at play, perseverance and grit kicks in and the learning process reaches places beyond expectation.  Some of the features of the Glowforge (especially its dual cameras has made it possible to get from point A (idea) to point B (product) much more quickly.   With other laser cutters, there is a lot more front loading that needs to happen.  Sometimes those skills are the goals (i.e. preparing for careers, and learning advanced design skills), but other times, the the amount of time and skills needed detract from your goals.  The Glowforge is the right tool for so many learning goals.  It is an accessible tool for younger learners.  It is an accessible tool for those just getting started.  It's an accessible tool for educators who don't have a background in design and tech.  And it's accessible  for those with a smaller budget. 


Why Google Drawing? 


Honestly, the right tools for the job when it comes to designing for a laser cutter include vector programs like Adobe Illustrator and Corel Draw. However, these program require quite a few hours to master and are not accessible to many students due to the cost or to the fact that most schools use Chromebooks as student devices.  There are few choices for creating with vectors that work with Chromebooks.  Gravit.io is one of the few tool that works on Chromebooks for creating vector designs; it also has a free and Pro version.  However, it is not available in all schools.  

One tool that many students have access to is Google Drawing.  Many students have some degree of familiarity with Google Drawing already since it is part of the Google Apps environment that comes with their Chromebook.  Therefore Google Drawing it is an accessible tool in both price, platform, and ease of use.  

So let's give this a try. Here's what we are going to make.  In my case it's an ornament for my grandson, Cedar.  But this project could be used for creating suncatchers or badges.  This project was designed as a skill-builder that will lay the foundation for future laser cut projects. It also allows for personalization - which is a great motivator in any learning experience. 

That being said, Google Drawing is not the perfect tools for the job, and it does require some work arounds.  So in this tutorial I'm going to share what I learned when I challenged myself to create a laser cut design for my GlowForge using Google Drawing. 

We'll use primitive shapes available in Google Drawing and manipulate color in a way that will make it easier for an SVG picture converter to successfully create a file that can be cut on a laser cutter.  We  will also use the WordArt feature of Google Drawing and a Stencil font to cutout text in a laser safe way - so the centers of letters do not fall out. 

Caveats! 

  • I'm not a design teacher and this worfkflow may not work with other laser cutters. 
  • This was not meant to suggest Google Drawing as the ideal tool for the job, but simply an accessible tool.
  • Lasercutting cardboard requires care and supervision as to prevent fires. You can complete this lesson by skipping the cardboard prototype and moving directly to cutting wood or acrylic. 
  • Glowforge does not have a cardboard cutting setting, but with a little digging you can find them online.

For this first tutorial, I will strongly suggest that you stay within the constraints of using fonts and shapes found within Google Drawing.  In the next tutorial, we'll learn how to find and use other shapes and fonts. It was my goal to help you build confidence with some basic entry level skills and end up with a fun project that you could be proud of.

So let's get started. 


The following is a lesson I recorded for those of you who would prefer a step by step walkthrough followed some highlights of the workflow. 


Workflow highlights


Use primitive shapes to create your design. (Do NOT import images. Yet!) 
Feel free to also use symbols!  We'll play with in Tutorial 2.


Feature Request to Google:  Please add the ability to merge shapes.


Use Word Art to add text! 
Change the font, but for this tutorial- Limit your text to STENCIL fonts so the 'holes' in your letters don't fall out when cut. 
We'll learn how to work around that in the next tutorial.


Use color to create a design that has two contrasting colors (silhouette look)
Make the borders or all shapes and Word Art TRANSPARENT. 


Download your Google Drawing as a PNG. 
(Note: even though it looks like you can download in the SVG format, this will most likely NOT work for many designs such as this one because of overlapping cut lines and the inability to perform a true merge of shapes. I explain this more in the video tutorial)


Using a site like  Picsvg  to convert your PNG to an SVG

Import your PNG file into PicSVG and play around with different settings until you find a setting that will create a clean look that will import into your GlowForge.  Export the file as an SVG.  I demonstrate some settings that will and won't work well with explanations of why they won't work at this in the video tutorial.


Upload the SVG file into your Glowforge software. 
Play with size and placement of your design. 
Add the right CUT  settings for your material. 


I use cardboard to prototype with then cut the final project in Glowforge's 1/8 inch poplar.
Take necessary caution when using cardboard.


And voila!
You know have a fun artifact that is evidence that you have the gained the foundational skills necessary to create a basic design in Google Drawing that can be cut on a Glowforge laser cutter. 


In the next tutorial,  I'll show you how to personalize your project with images and fonts outside those available in Google Drawing!  Here's a sneak preview of my second ornament personalized for my grand daughter.  


Ready for Part 2?  Here you go!


Friday, February 9, 2018

Makers on the Move - Adopting Our Glowforge

Makers on the Move - Adopting our GlowForge Laser Cutter


During our recent stay in San Diego county, we took possession of our long awaited GlowForge laser cutter.


This was not an easy task!


When we got the “Your GlowForge is ready to be shipped” email, we were so excited and quickly provided them the address of our campground in Desert Hot Springs only to learn that GlowForge wanted us to give them a delivery address that would be good for a 6 week window.

We are rarely in any location for 6 weeks during this time of year. In just 3 weeks, we would be moving the bus to Quartzsite, Arizona where we’d be off grid for a couple weeks, then off to spend 3 weeks at Guajome Regional Park in San Diego county to be near family.

 
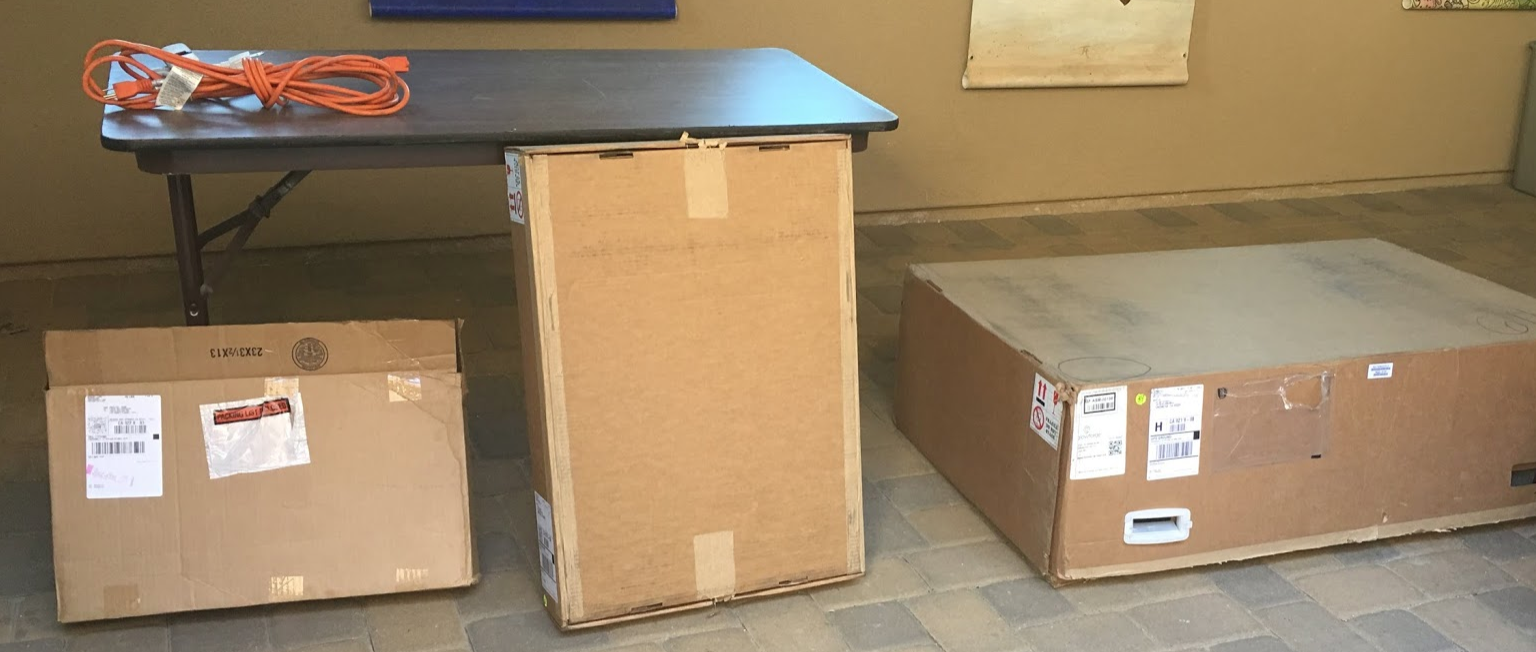
It seemed like the safest thing to do was to ask my sister-in-law if we could have a package delivered to her house, since we knew we’d be seeing her near the end of that six week window. I must have forgotten to give her details about how big the package was. When it arrived a few days before Christmas, she curiously opened a package from “GlowForge” thinking that her children had bought her an electric fireplace for Christmas.


Meanwhile, it was killing me to know my GlowForge had arrived and was sitting in their garage for weeks before I could get my hands on it. I guess a few more months isn’t that bad when you’ve been waiting for over 2 years.


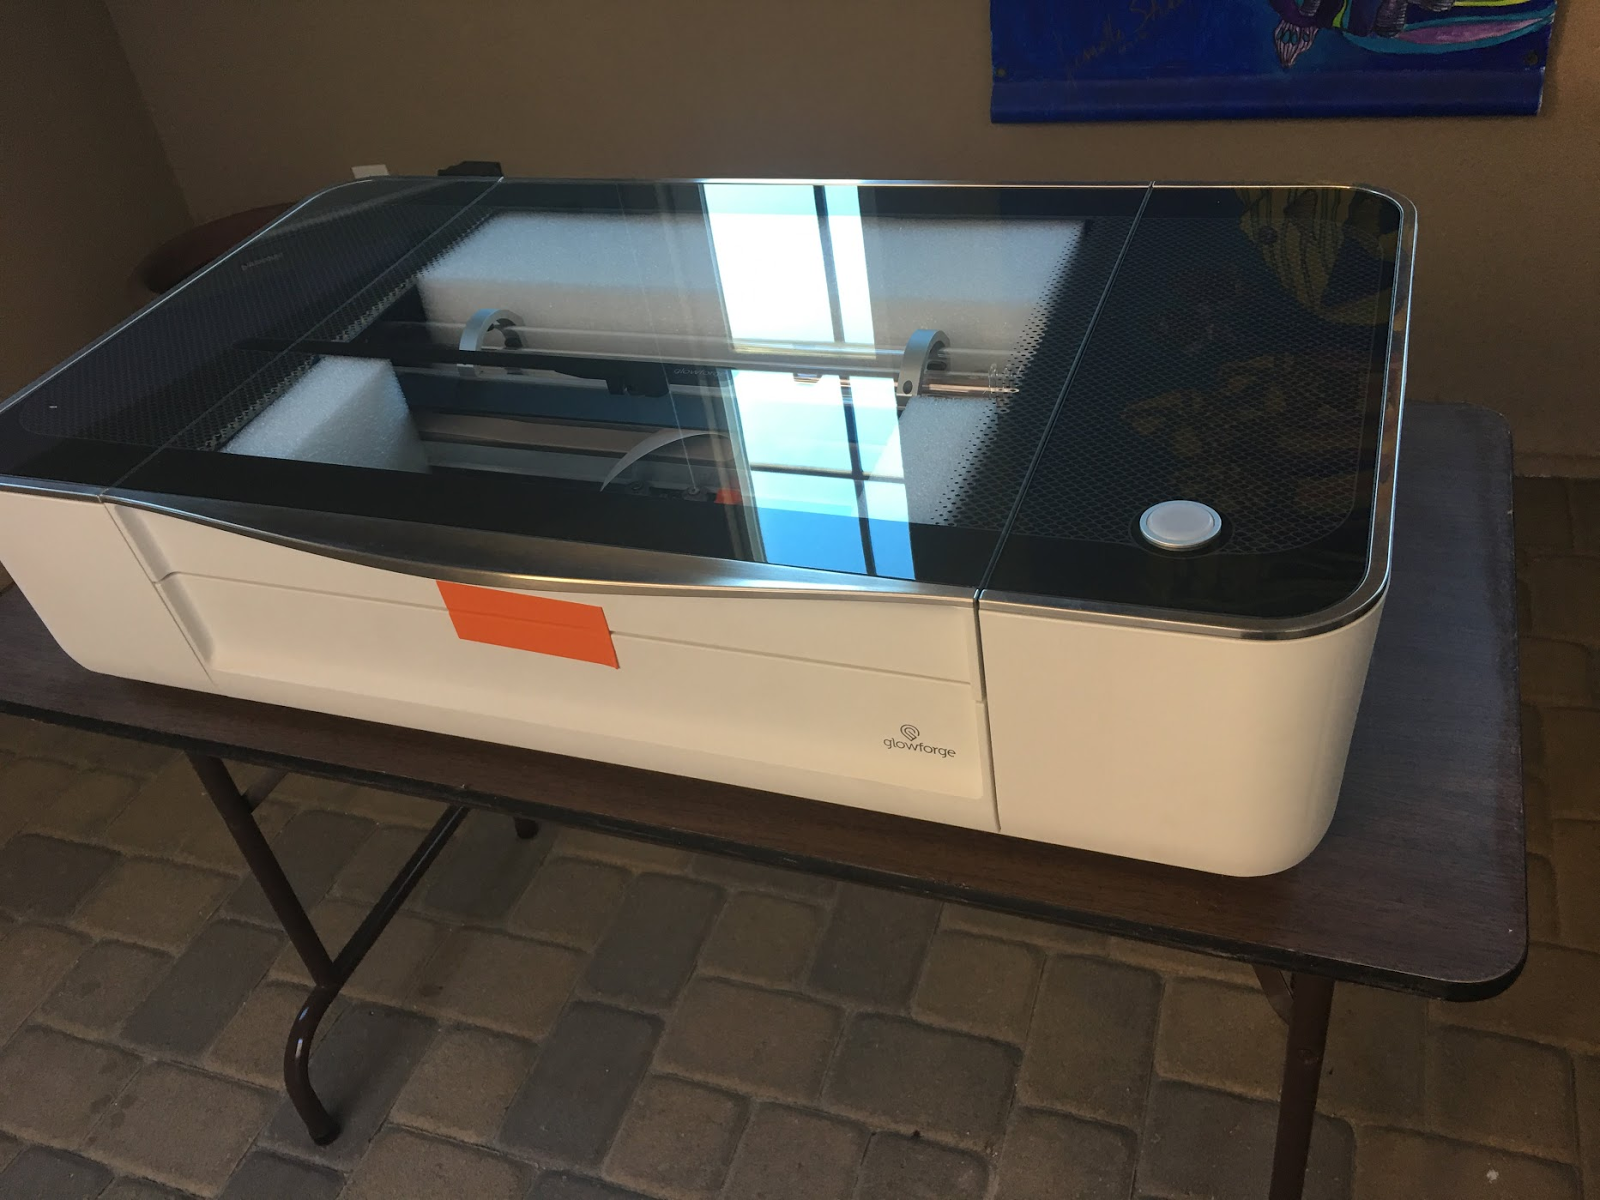
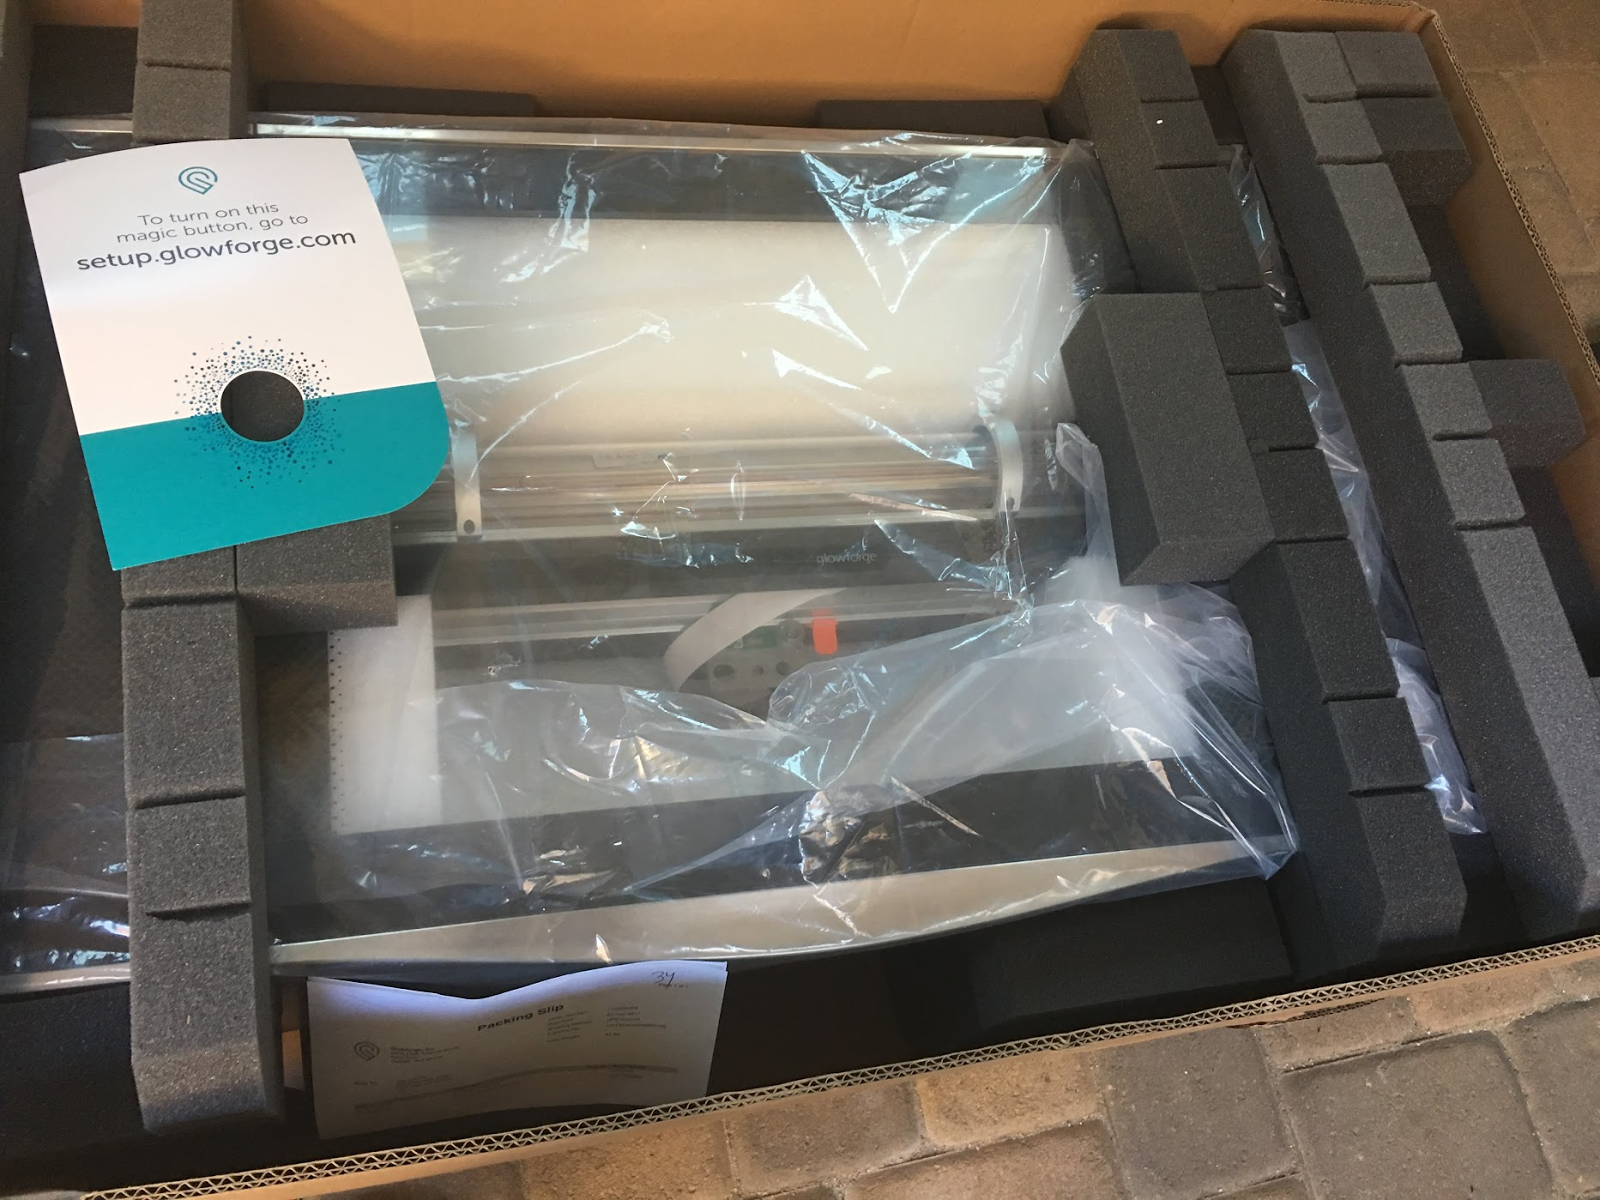
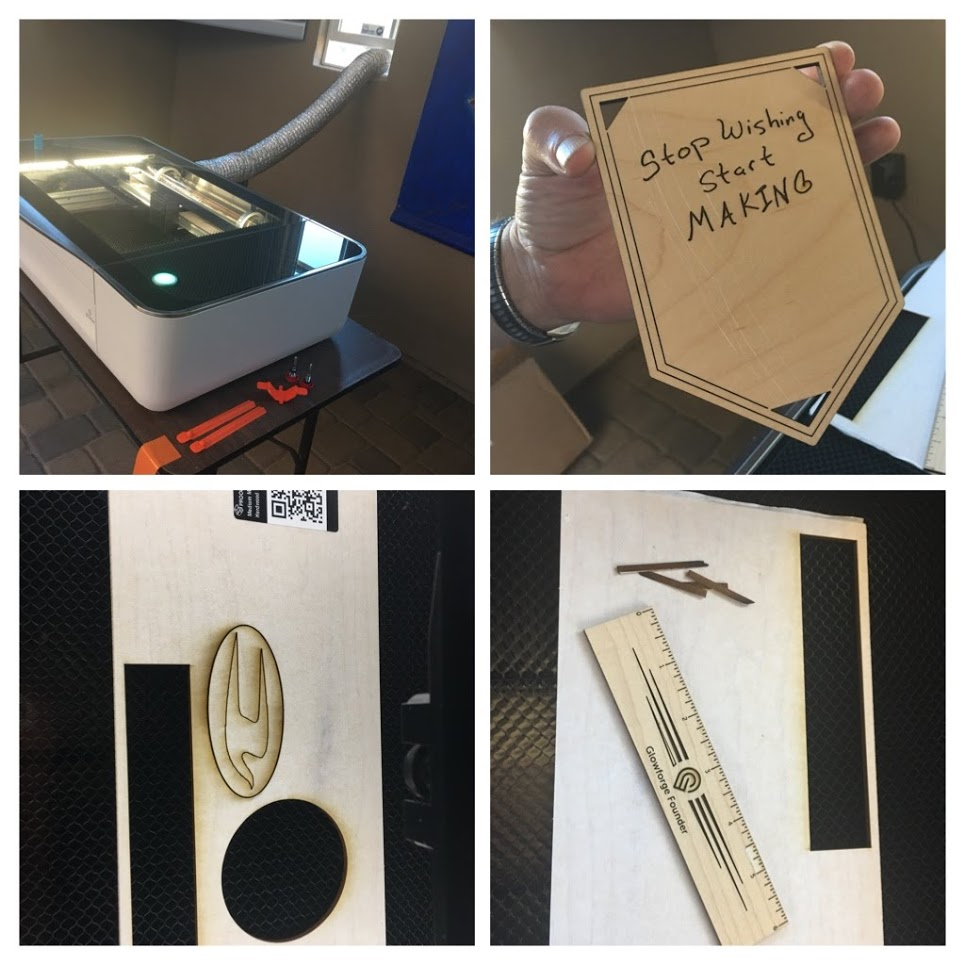
On January 31, 2018 we finally got to unbox the GlowForge laser cutter.

The unboxing was a delightful almost magical experience.


We were literally up and running and had our first print within the hour. Some very smart people put a lot of thought in that experience.

Unboxing the GlowForge Video


The GlowForge was obviously well protected during its travel to us.


Out of the box, our first impression was -

THIS is a beautiful piece of equipment!


Steve Jobs would have been impressed!

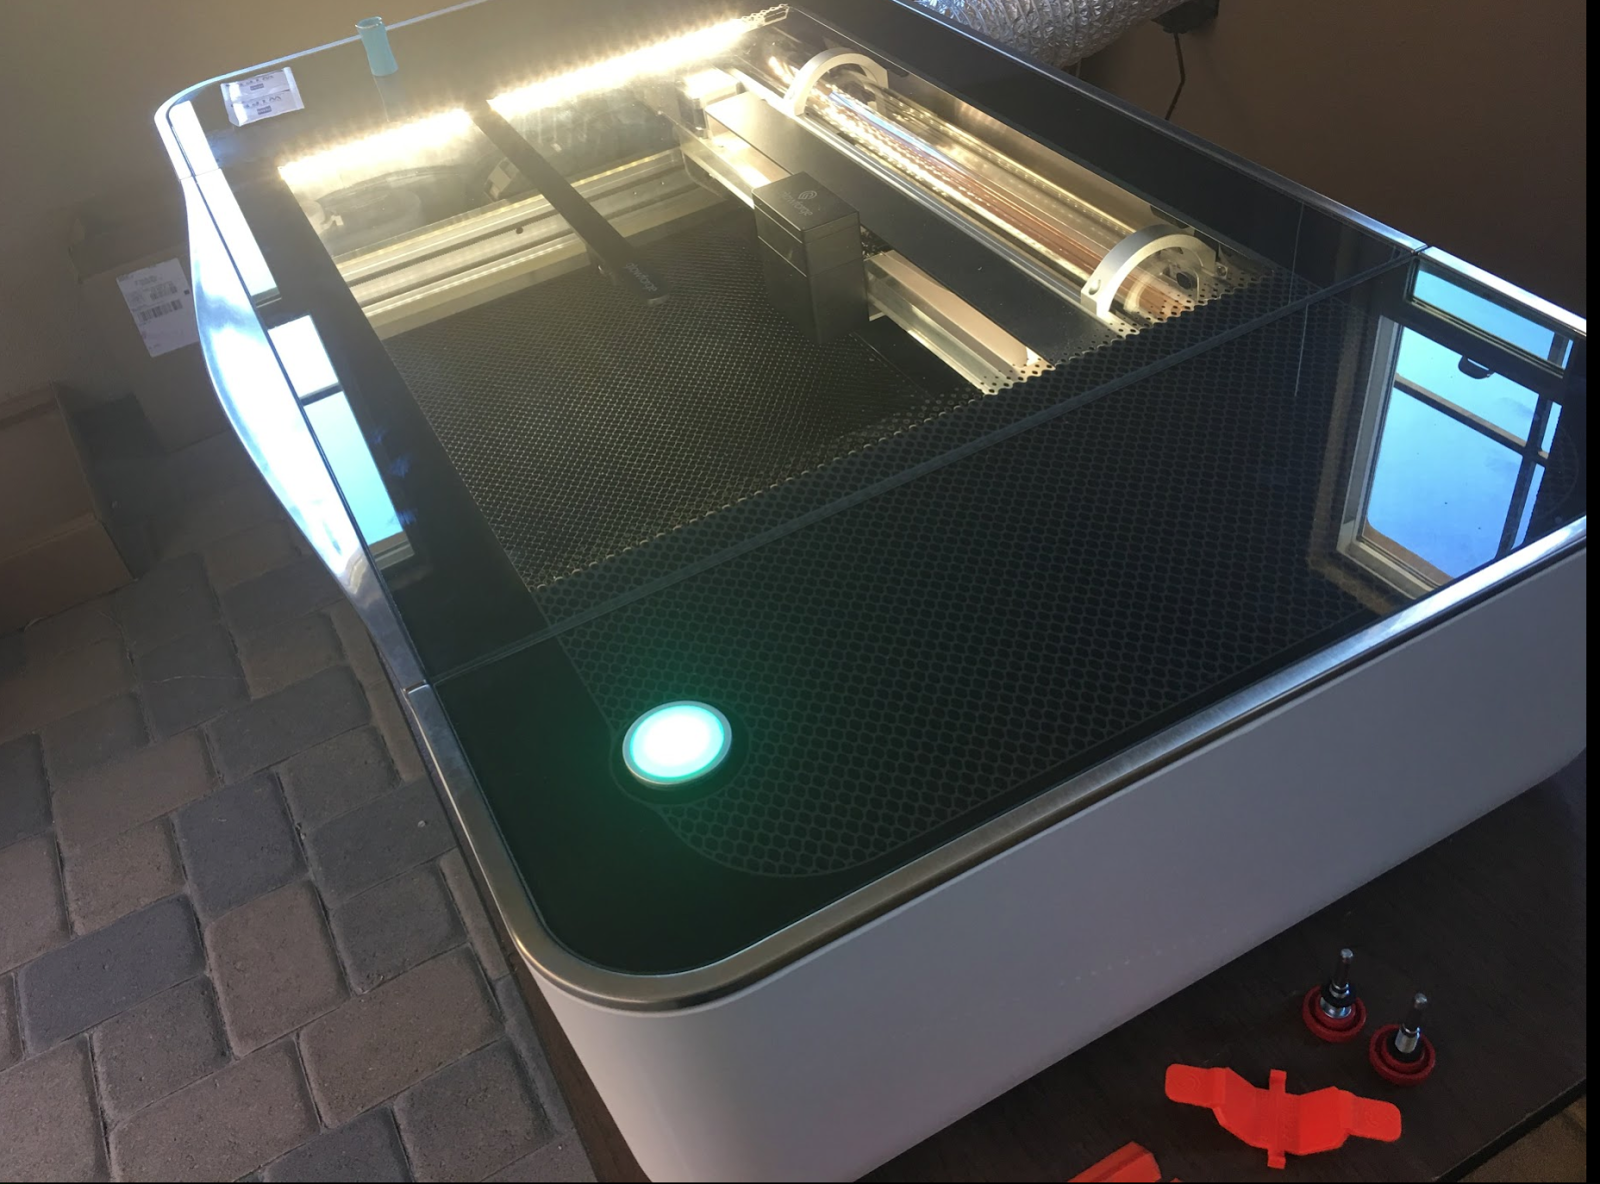
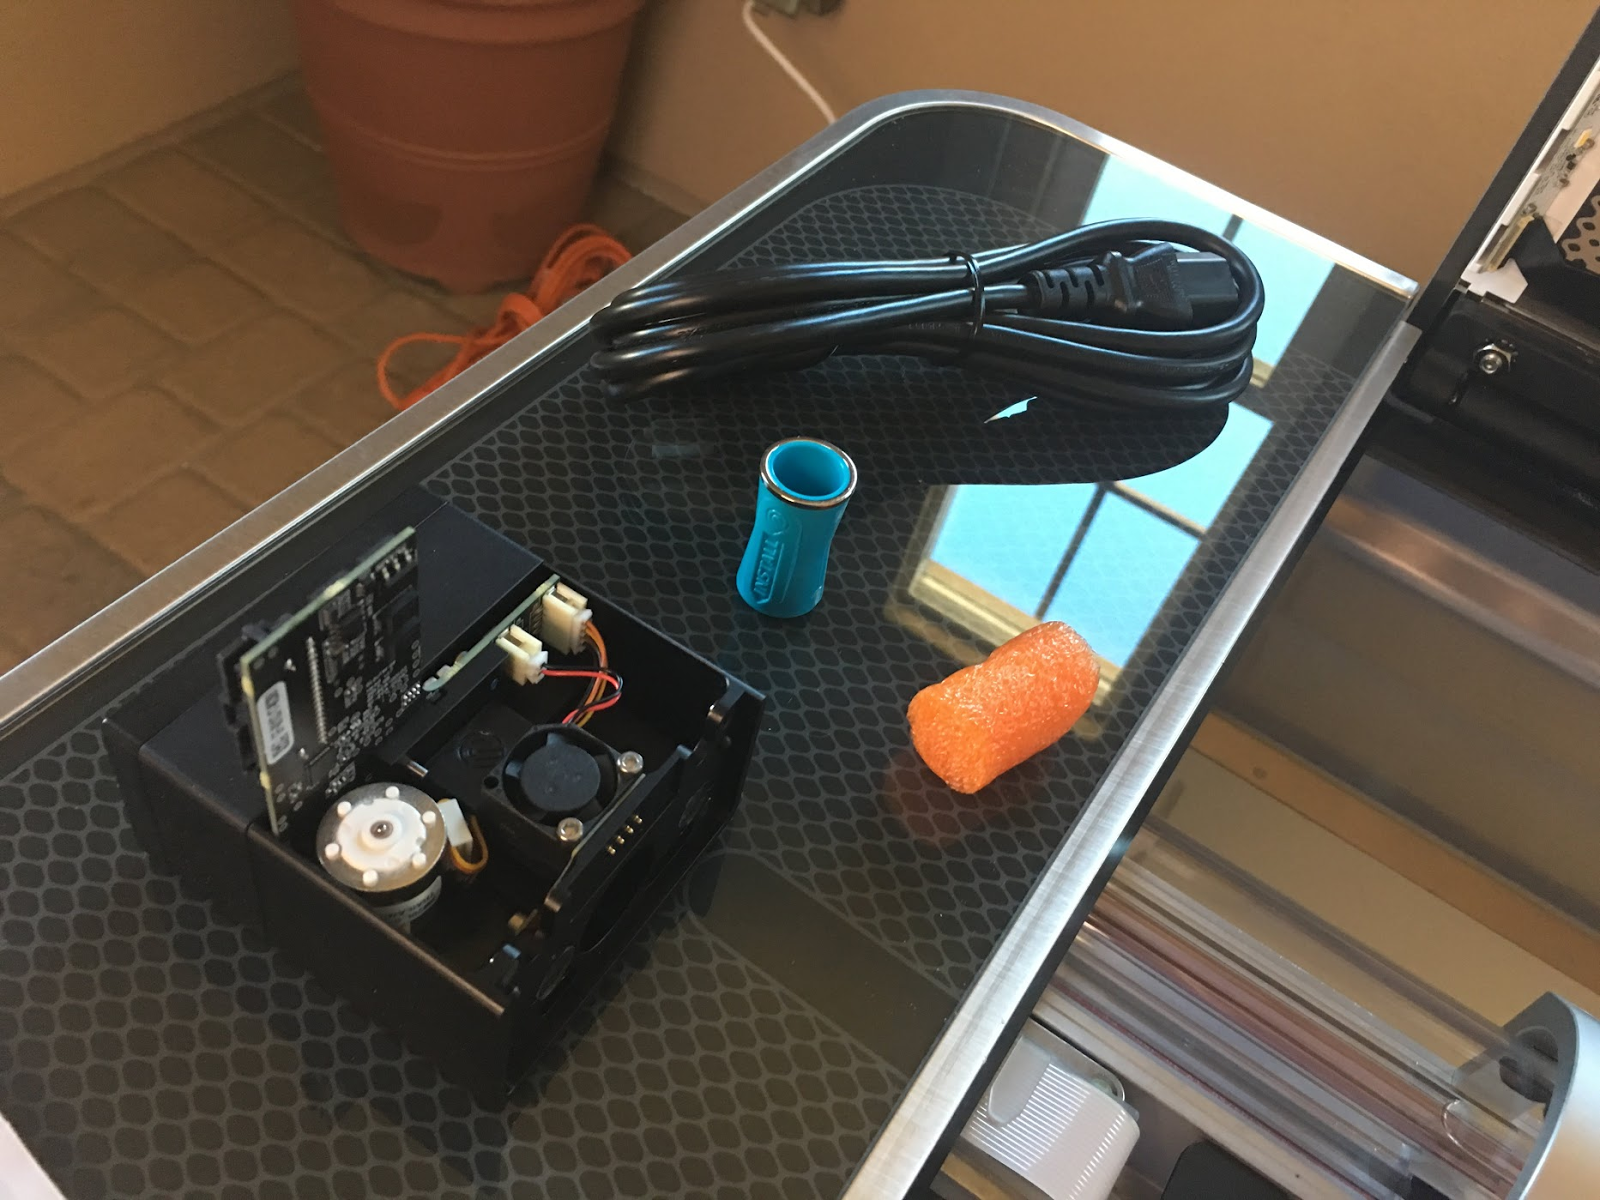
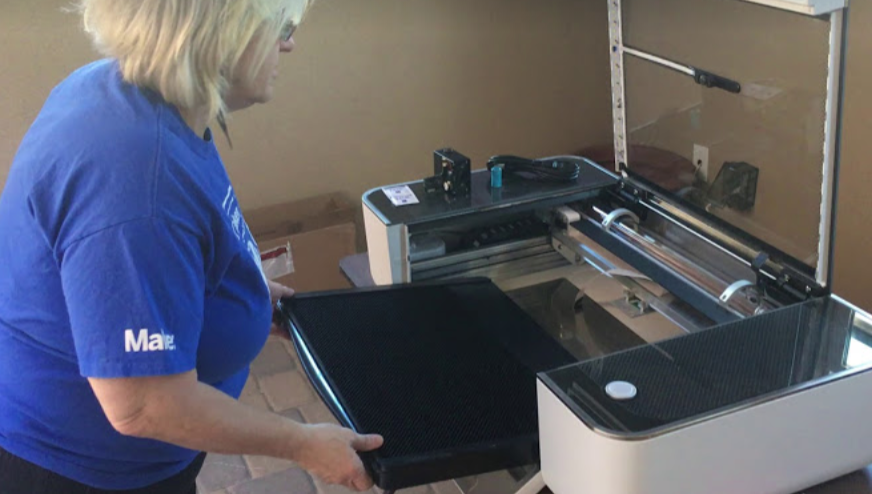
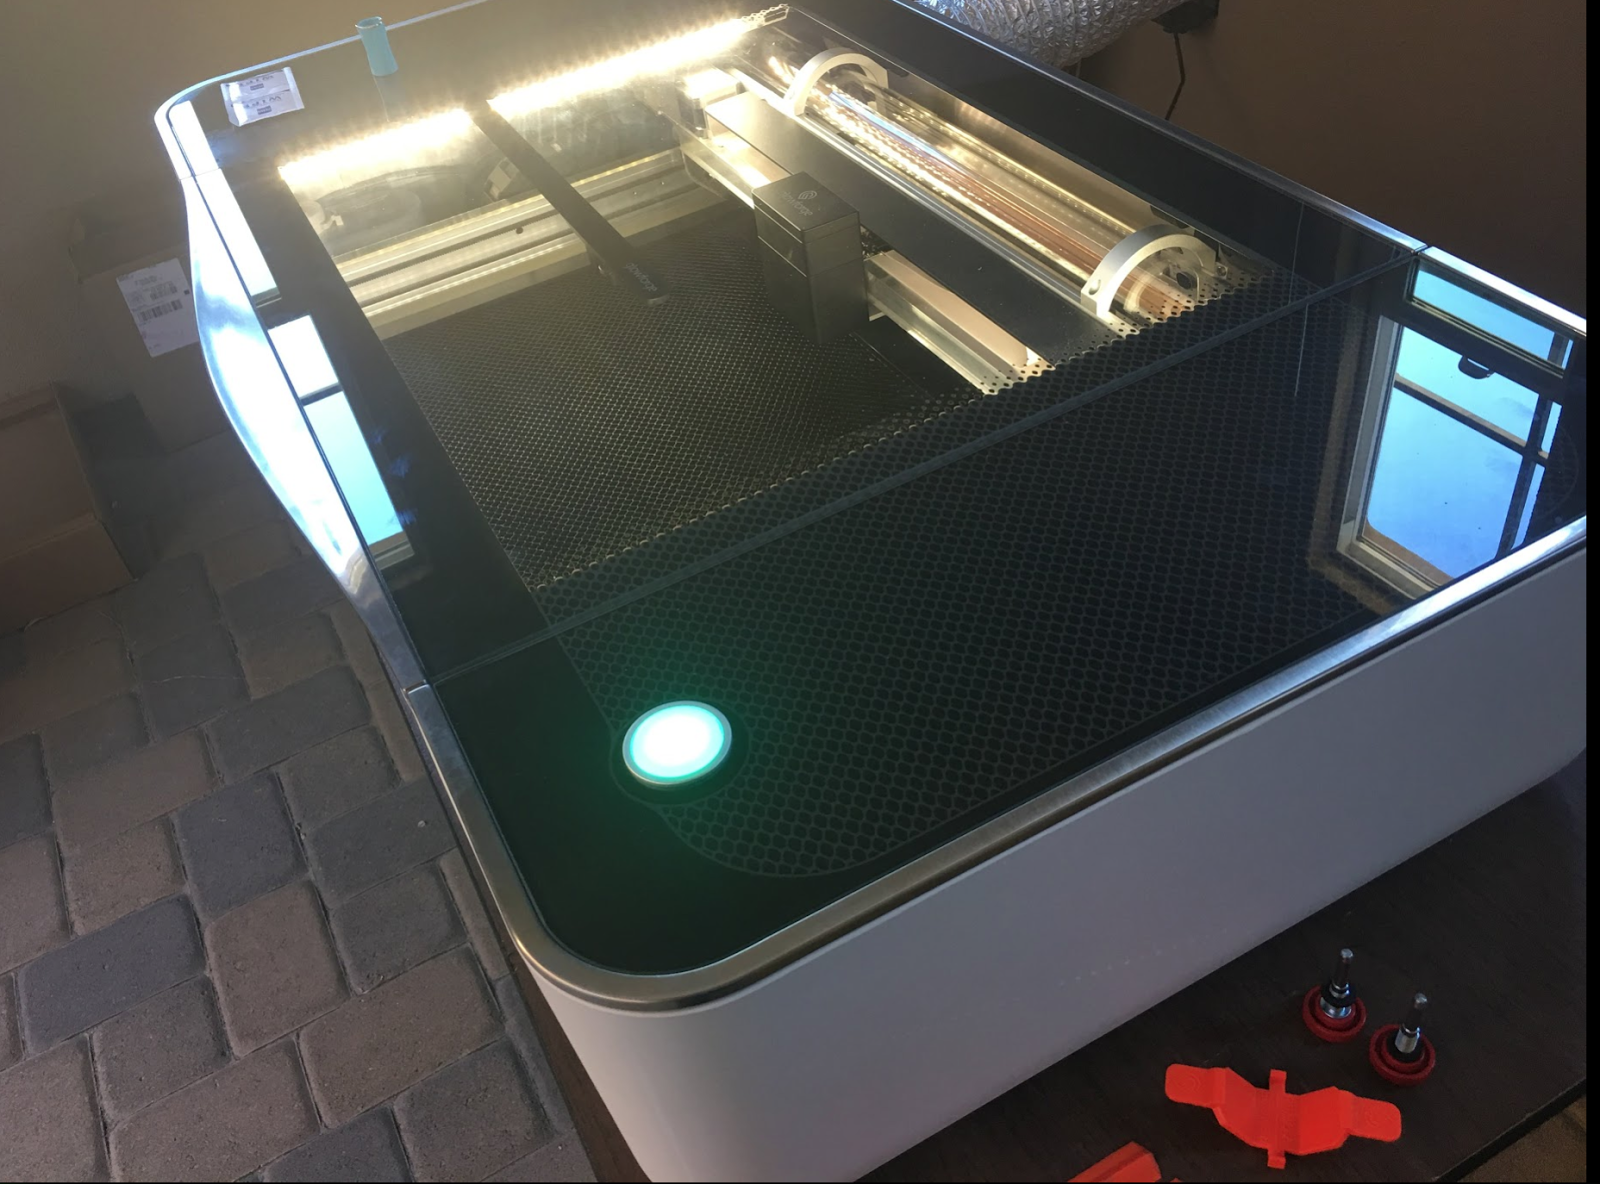
The Glowforge came in two boxes which contained the unit itself, a black crumb tray, a power cord, a print head, and blue cylinder. Some orange clips, and a few pieces of red hardware protected the GlowForge during travel. 


The crumb tray slid right in. 

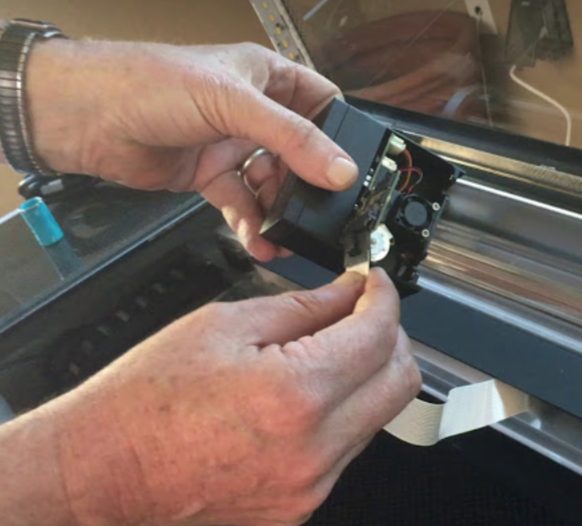
The Printhead and ribbon cable snapped right into plac

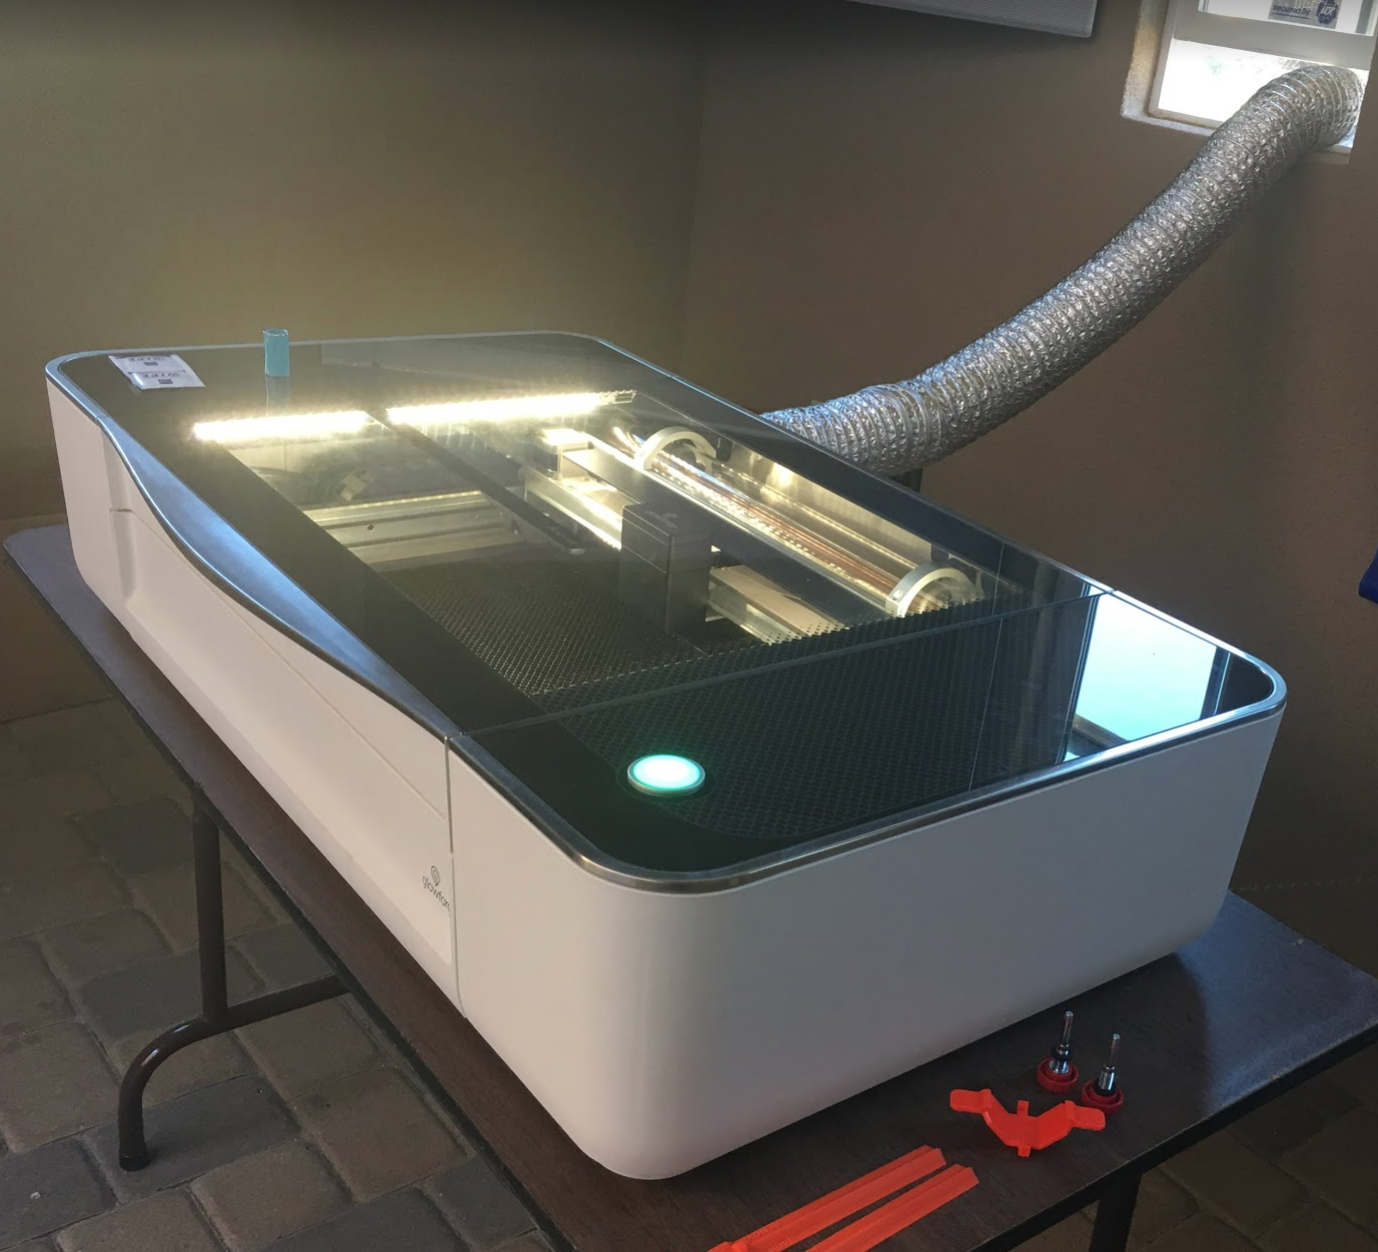
We attached the venting tube to the Glowforge and place it out the window.


Within minutes we were plugging the power cord into the wall and ready to press the prominently placed ON button - which was begging to be touched!

Watching the coolant start to bubble and flow through the laser tube made us feel like we were about to experience something magical.


The GlowForge setup process lead us to connecting the GlowForge to wifi, and through 3 well done tutorials that introduced us to the cloud based workflow for laser cutting with the GlowForge. Within an hour we had completed the 3 tutorials showing us how to engrave, cut and score with a GlowForge. We were totally impressed with the seamless and friendly user interface, the GlowForge cameras that allowed you to cut your own drawings, and how easy it was to bring in color coded files created with 3rd party software.


I promise to follow up blog post with a more detailed look at how easy it is to interact with the GlowForge.


Unfortunately, we couldn’t take the Glowforge back to the bus until we prepared a space for it, but thankfully we had a second playdate planned.

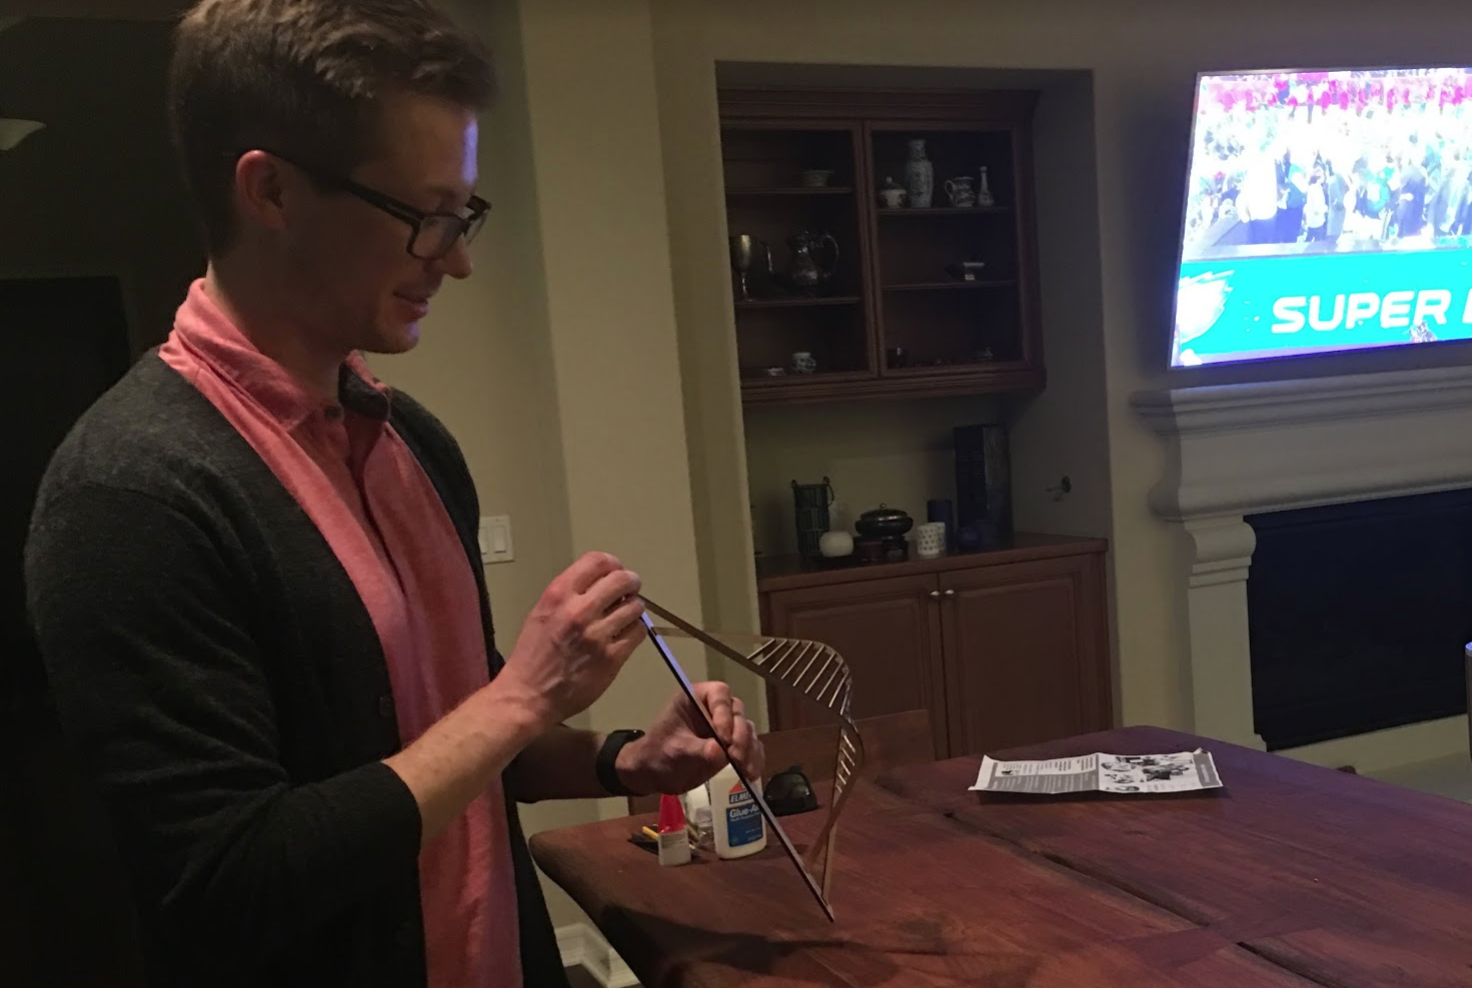
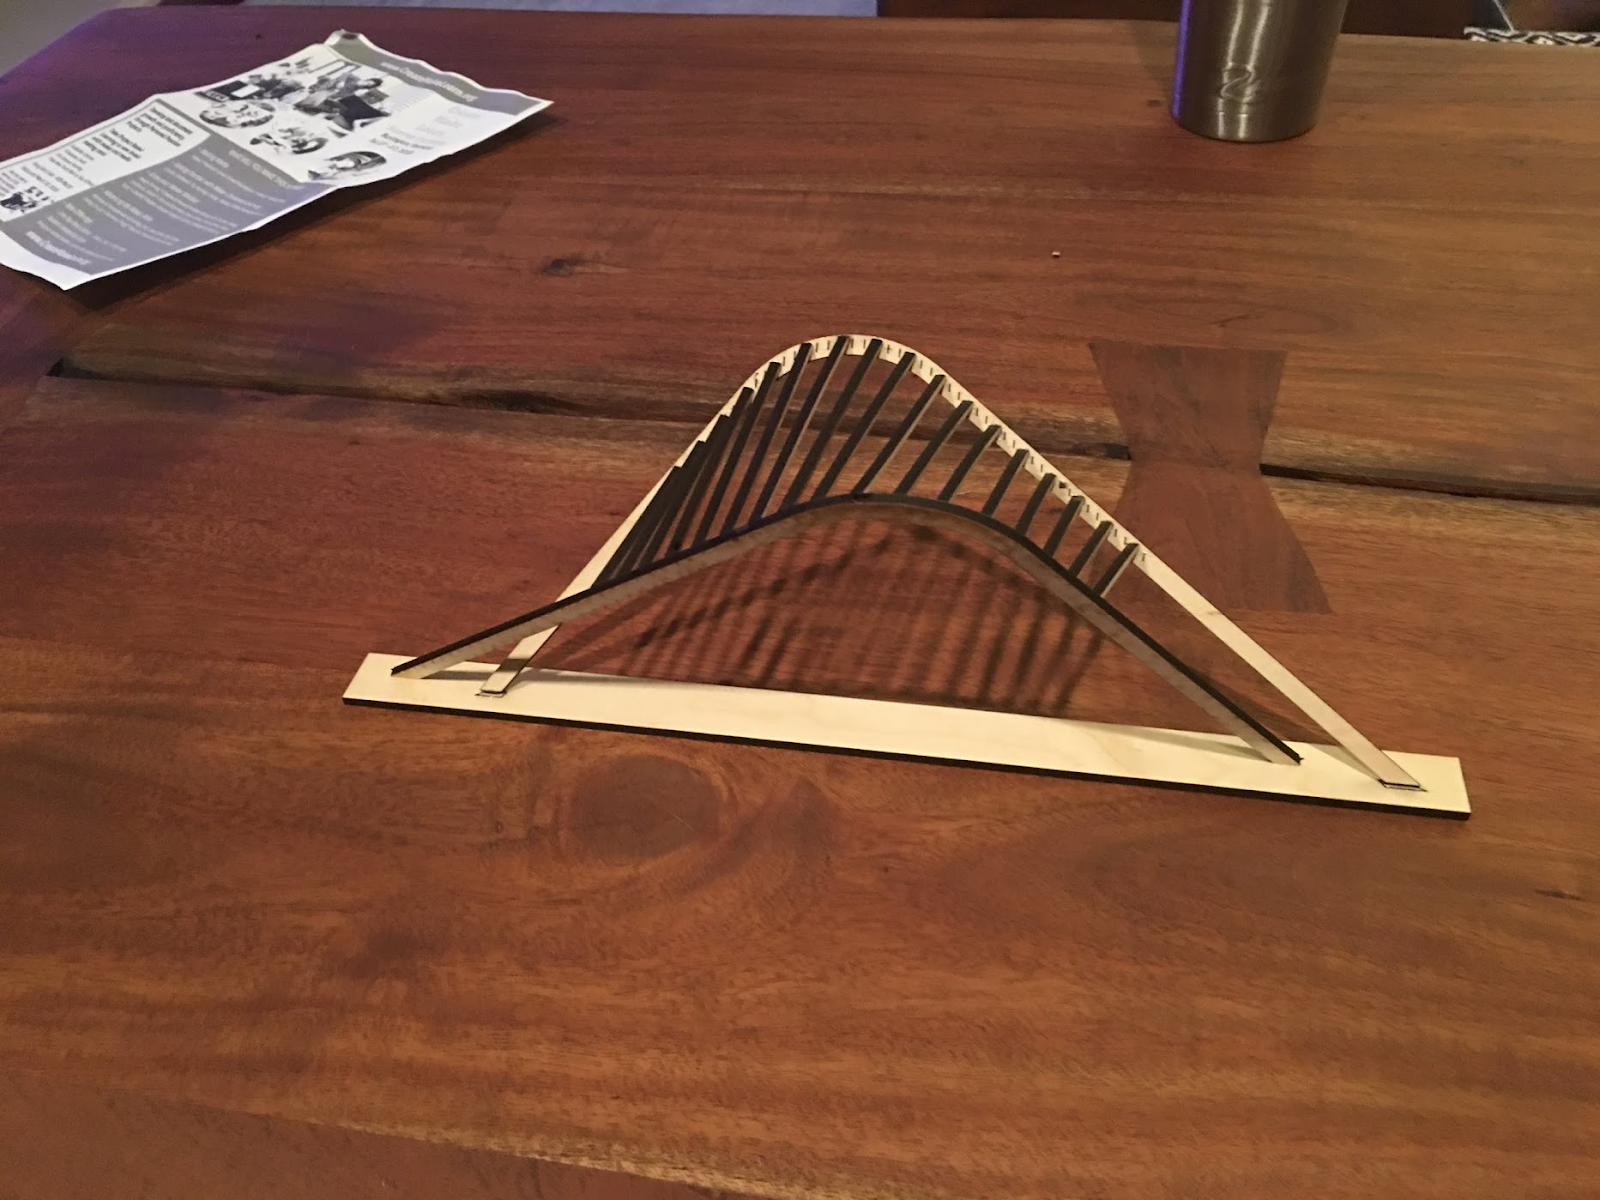
A few days later,  on Super Bowl Sunday, my nephew-in-law and I spent a few hours playing with the GlowForge while everyone else watched the Eagles beat the Patriots and Justin Timberlake entertain  the crowds. 


What a honor it was to have my second playdate with the Glowforge be with a talented young architect! Everyone agreed that the precision was amazing and the results met his standards as a professional.

GlowForge on Super Bowl Sunday


After this successful Super Bowl playdate, we finally were ready to bring our GlowForge home.

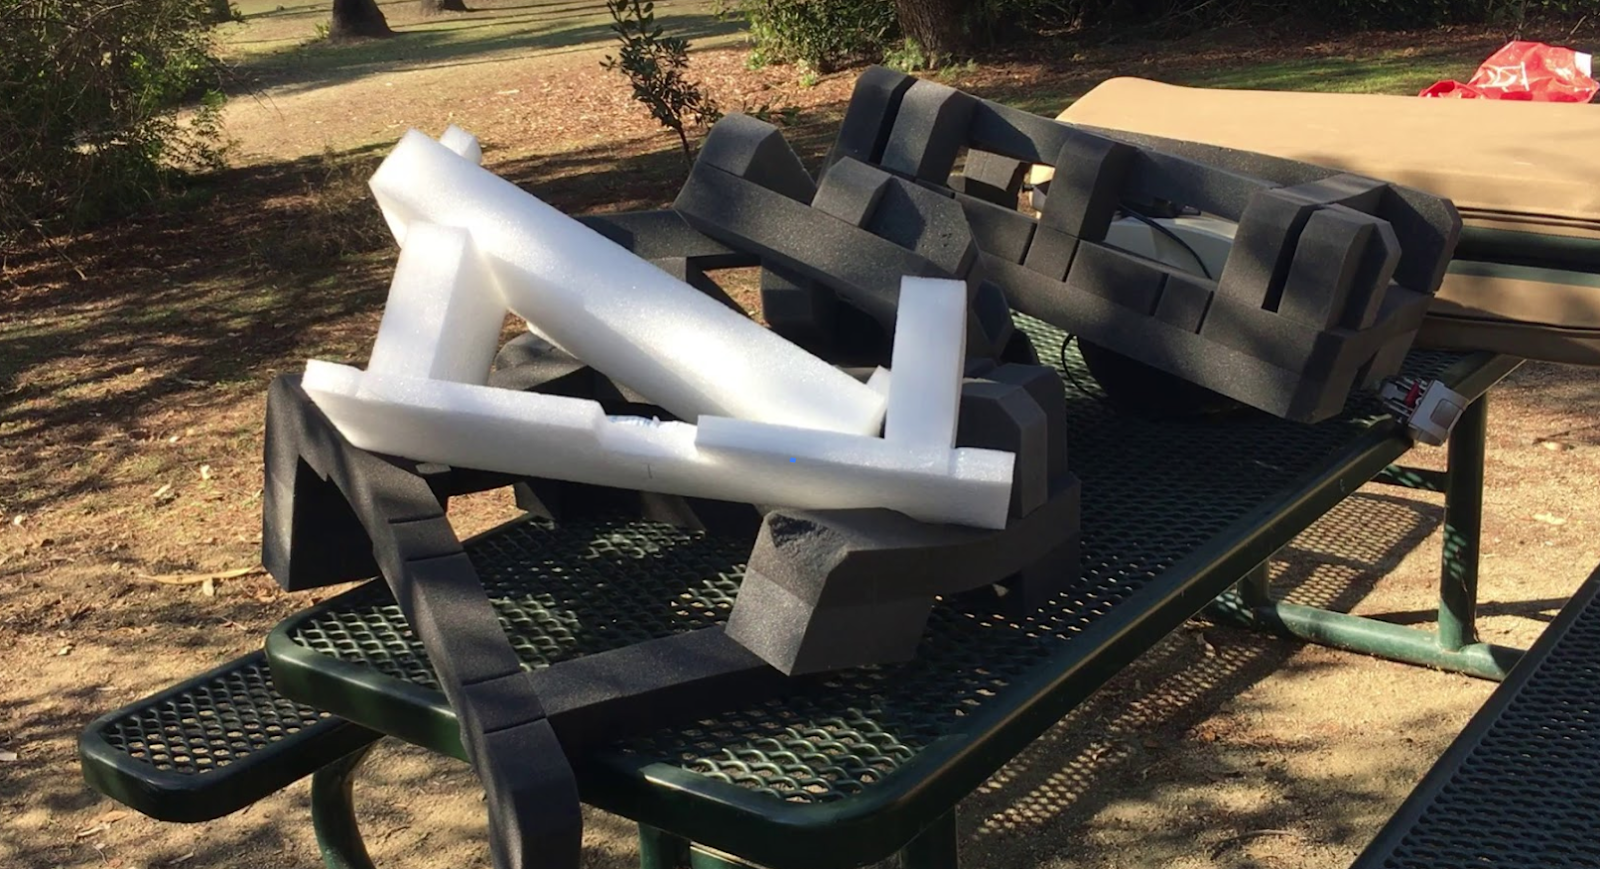
We measured carefully and concluded that we would be able to transport the GlowForge in our Jeep if we left most of the packaging behind. 


One of the challenges we faced was what do do with all this packaging. GlowForge warned us to KEEP the $250 dollars worth of packaging in case we needed to ship it back! Well when you live in a bus, every square inch needs of space is premium. I vividly remember trying to convince my husband that we could find space for an extra cutting board! After much deliberation, we  strategically selected a few pieces of packing material to keep the laser from being damaged during transport to its new home and the rest of the materials went into the recycle bin. I seriously considered mailing it back to GlowForge! But for now, positive thinking - and hoping my GlowForge experience will be trouble free!
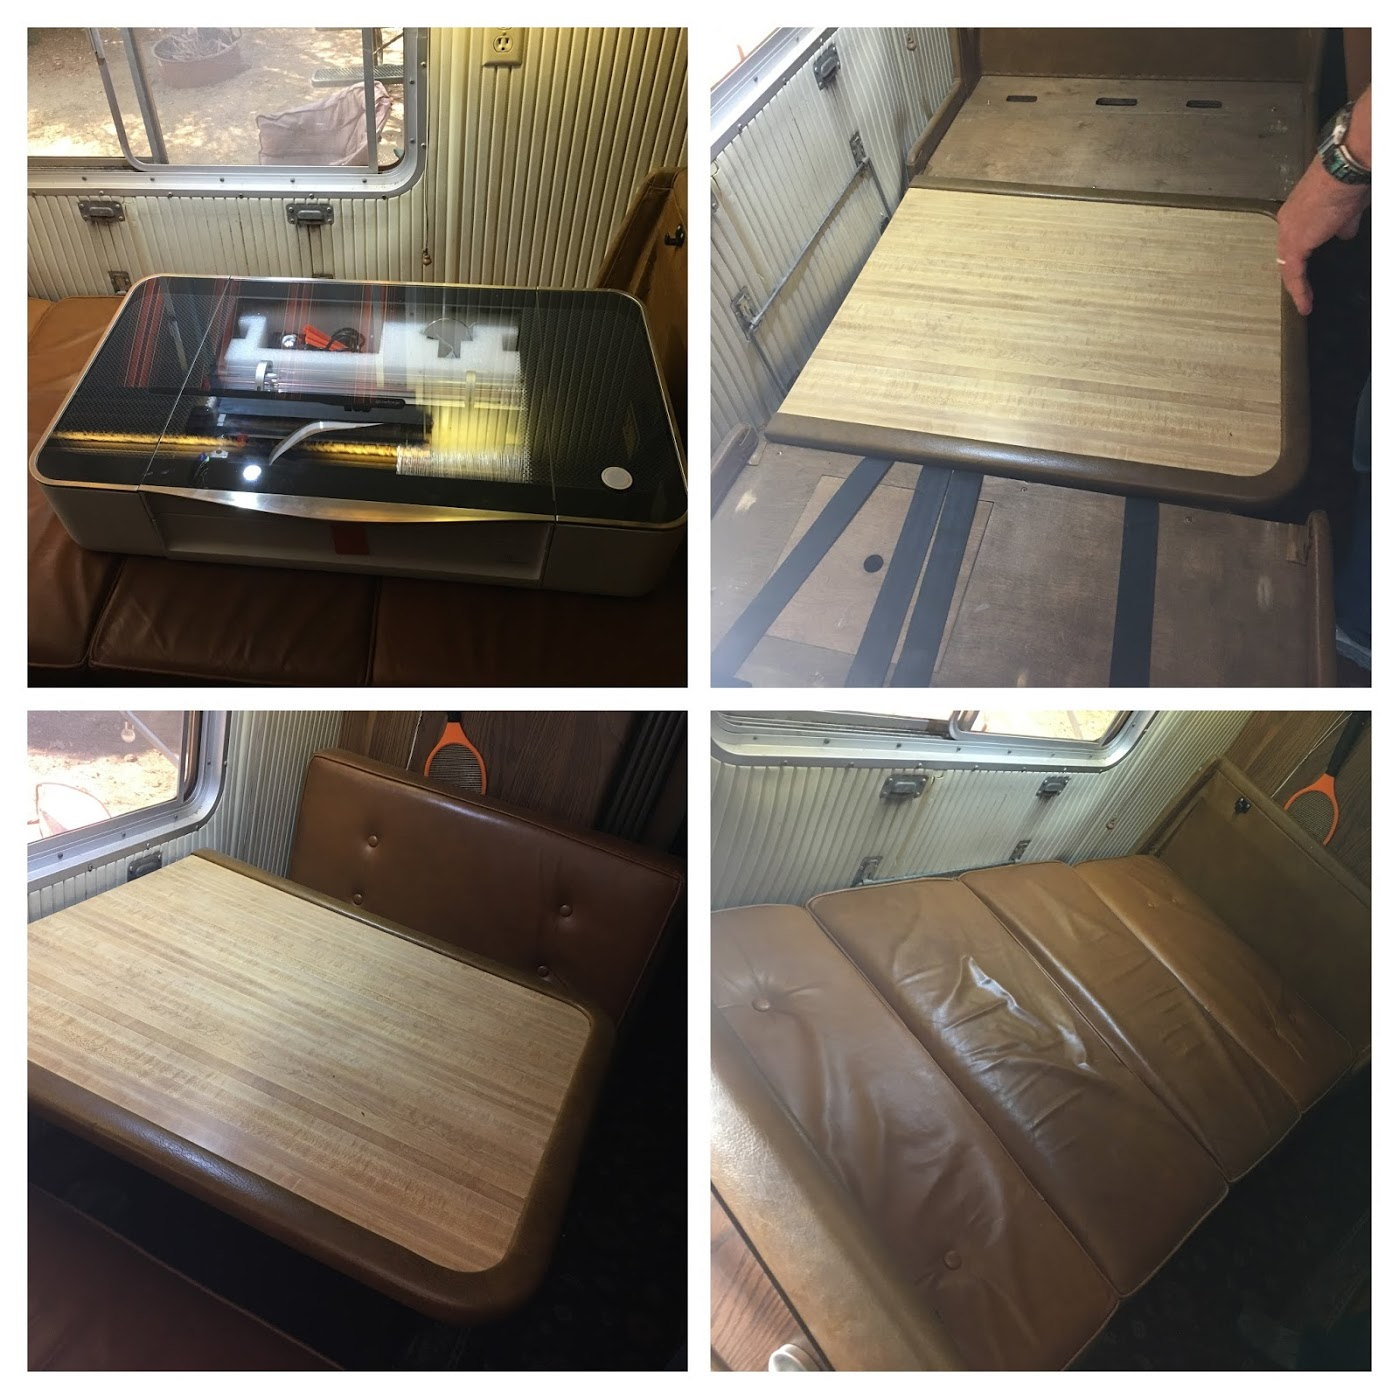
After quite a bit of conversation and brainstorming, we decided that we could give up our kitchen table and eat at our workspace desk to make room for the GlowForge.


GlowForge Moves into the Bus


Alas our time in San Diego County has come to an end, and we’re ready to hit the road again.

We’re gearing up to spend the next few weeks off grid in the desert!

It will be our first time traveling with GlowForge in tow! It will also be the first time we will be using our GlowForge off grid!


Stay tune! 

Blog Post on Deck  
  • Moving off grid with our GlowForge 
  • The GlowForge Cloud-based Workflow
  • First impressions from the Classroom Educators

travel blog icon