

Welcome to our second annual March is for Making series, where we strive to share 30 posts in 30 days that are filled with inspiration from our #makered community.
Our second post features inspiration from a group of young ladies who discovered making with vinyl this summer during TechSavvy Girls camp.
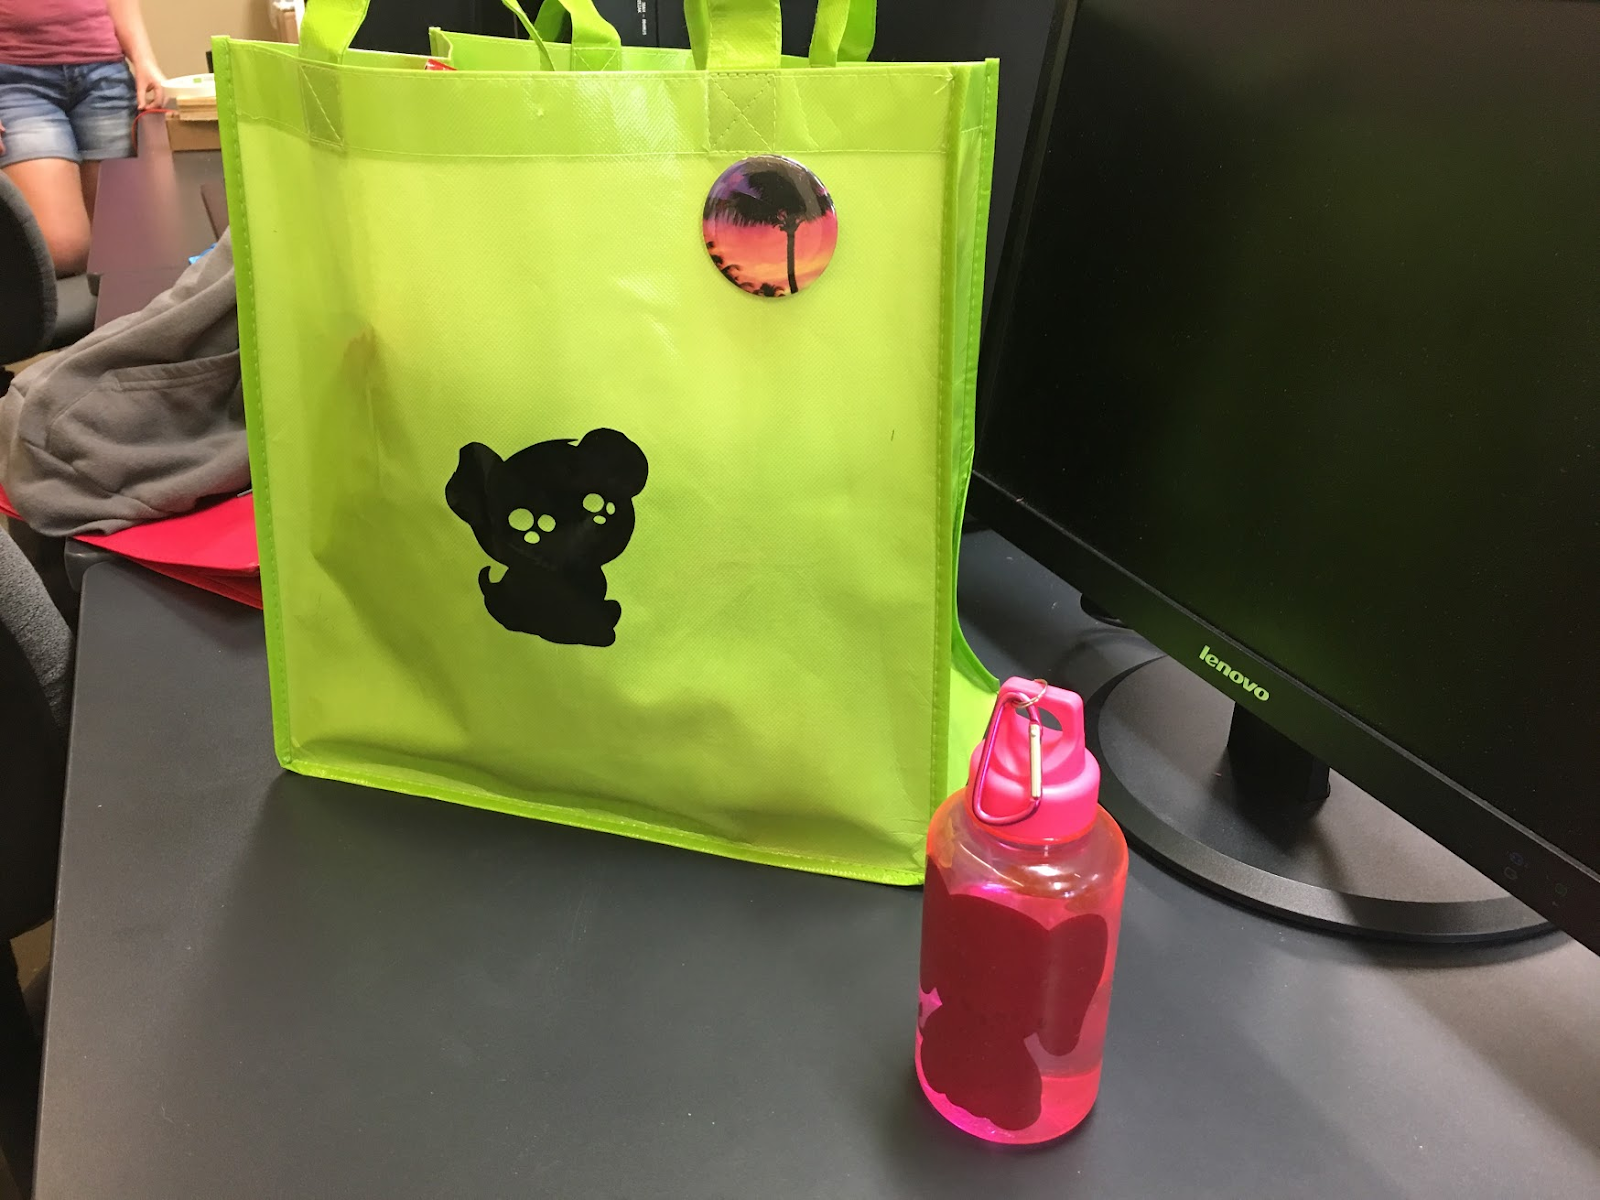
Check out the tips they share on how to use the Cricut Explorer to personalize water bottles, shopping bags, and more.
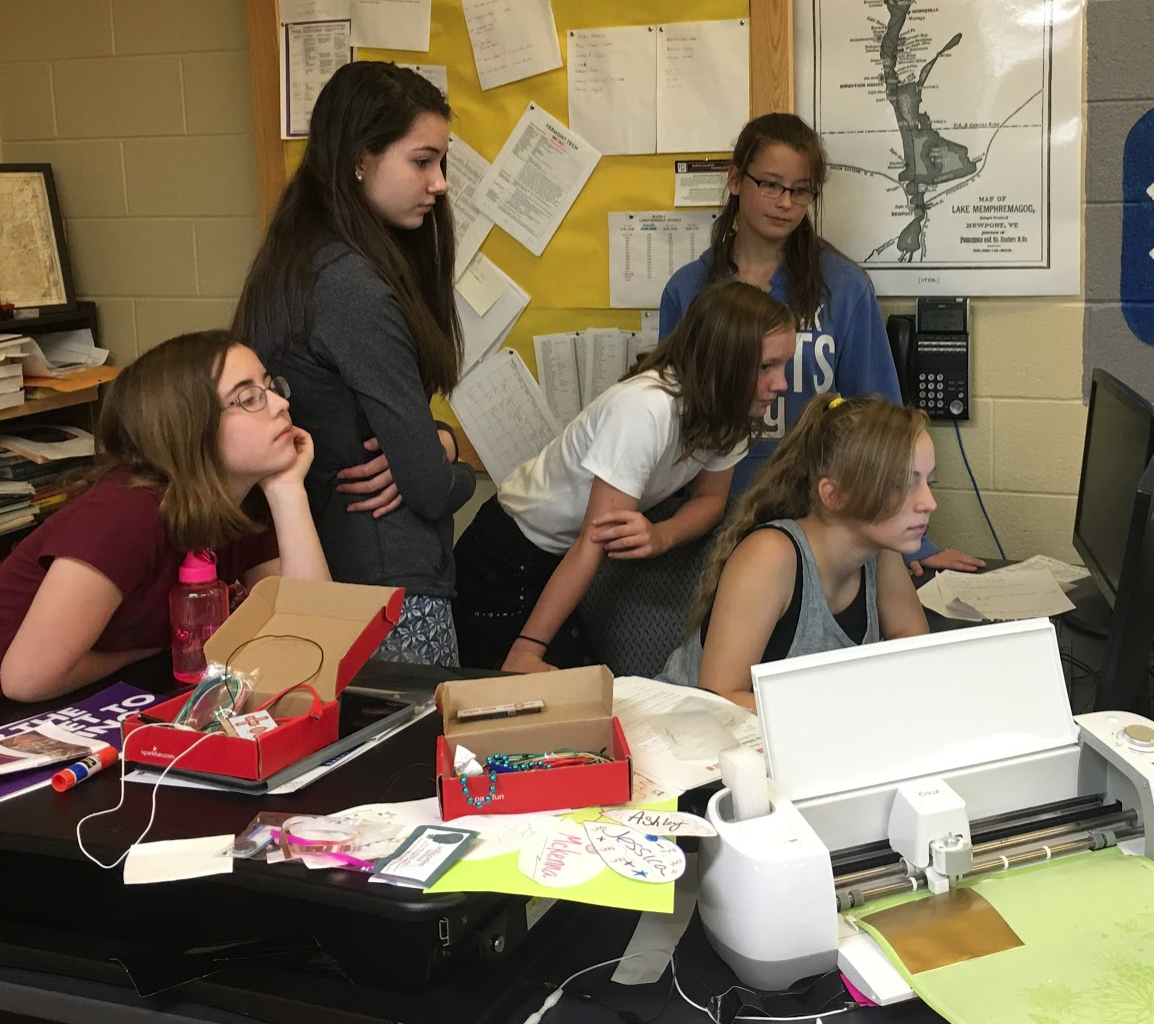
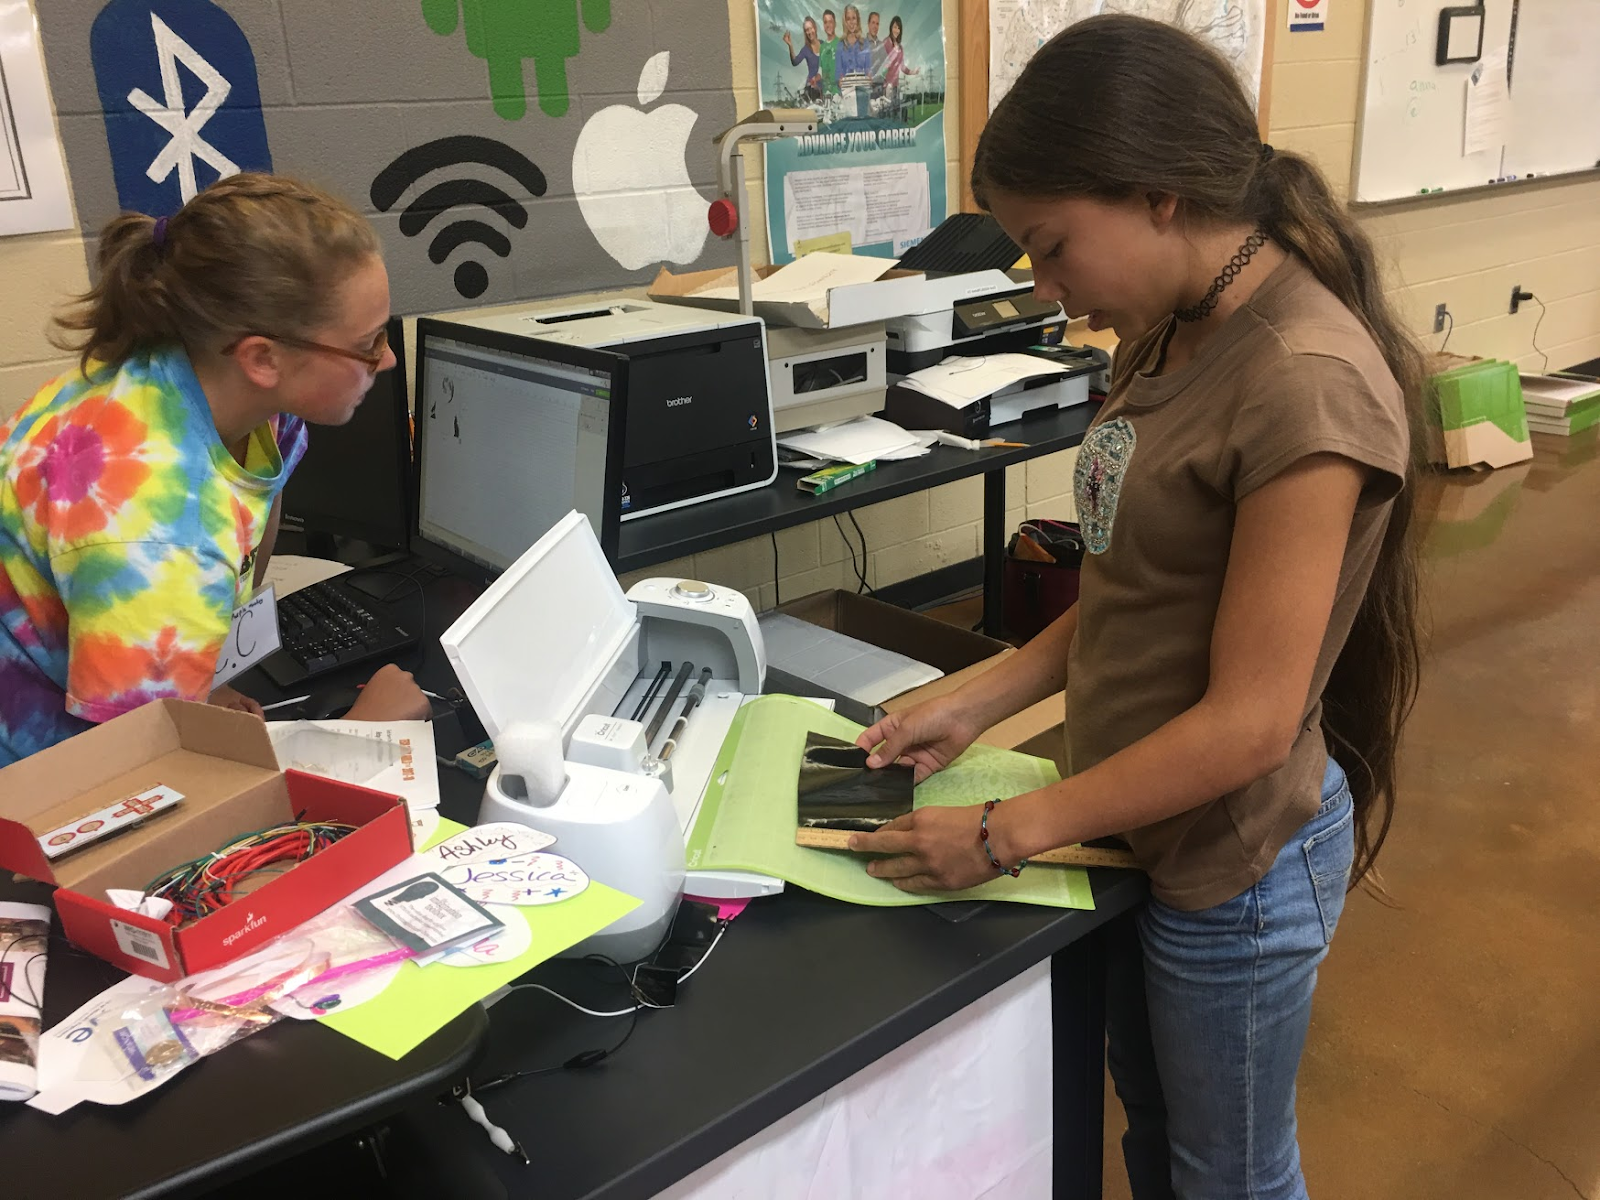
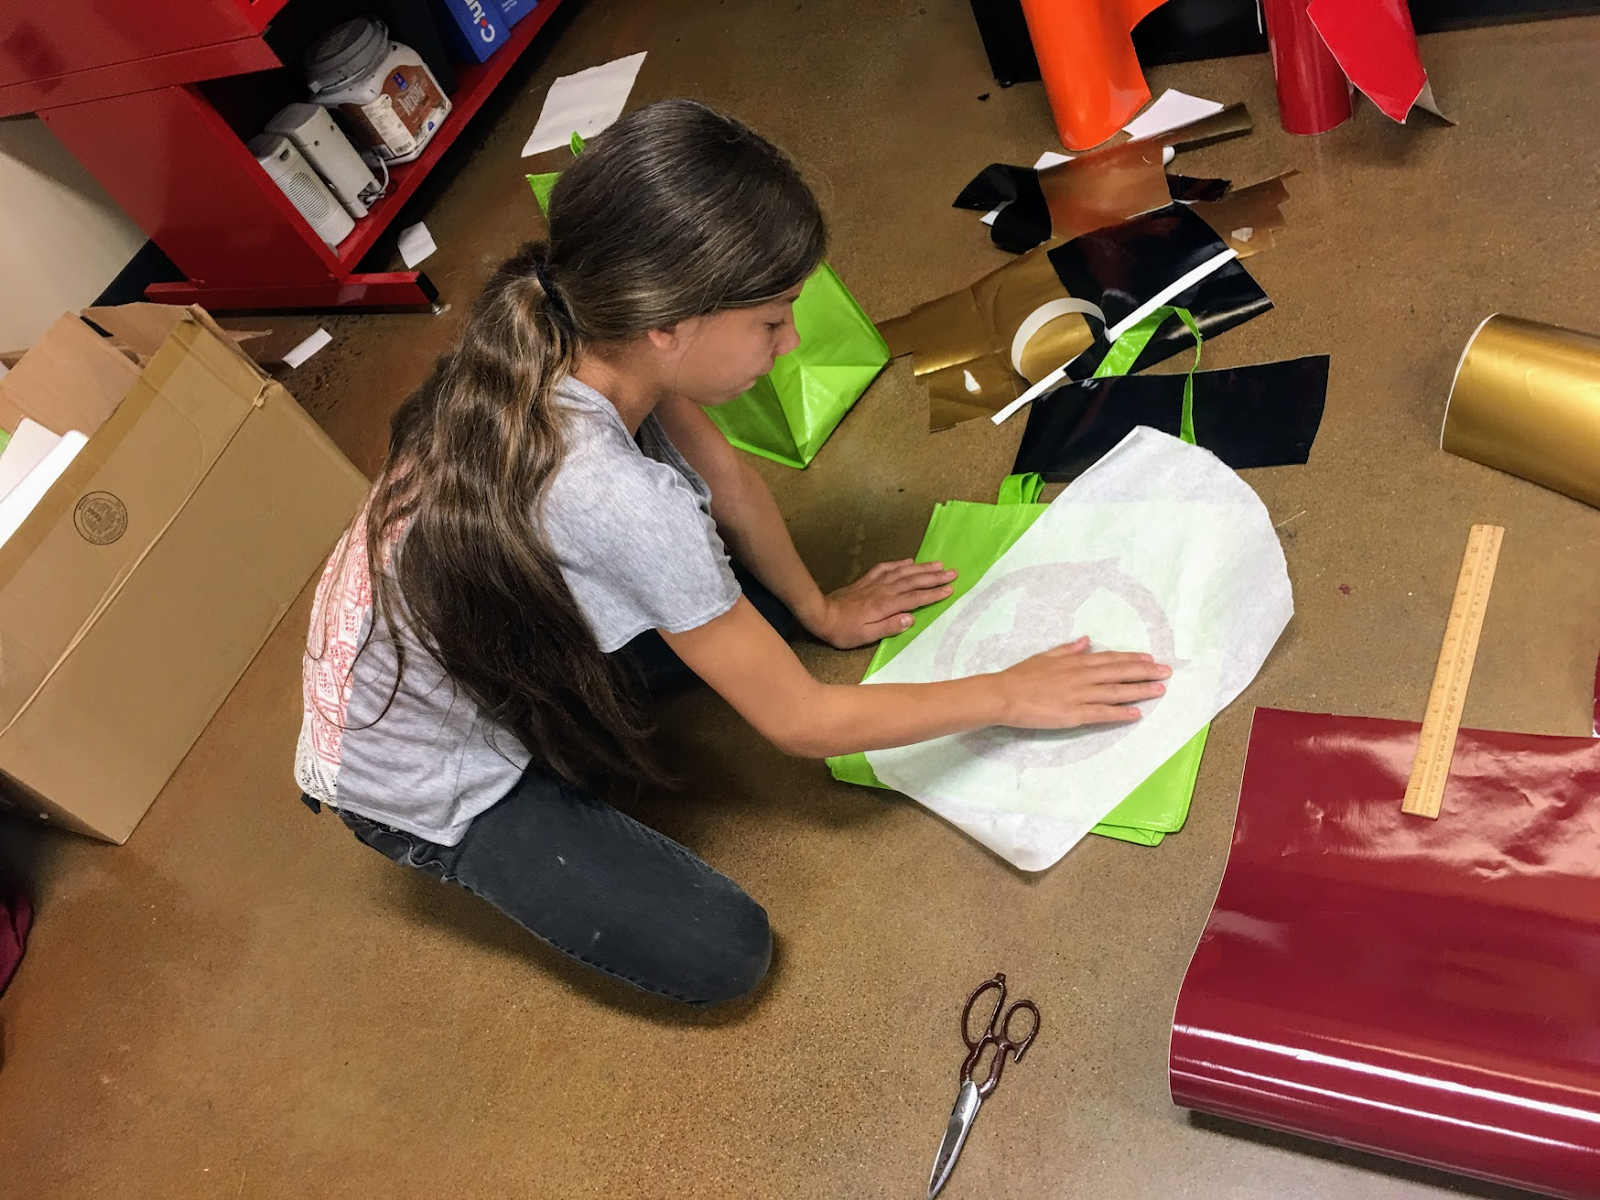
During our week-long TechSavvy Girls camp, we encourage the girls to explore new technologies. The week includes both guided exploration and open time to create, make, and explore new technologies. Hands down -- the favorite piece of technology this summer was the CRICUT EXPLORER and a large box filled with colorful rolls of vinyl.
After a brief tour of how the machine works, the girls were quickly figuring out how to create new designs in Google draw and produce decals that personalized some of their favorite items - from shopping bags to water bottles.

The experience gave the girls a chance to not only design decals, but it also provided them with the opportunity to design a workflow that would allow a roomful of students to successfully create to their hearts content sharing a single Cricut Explorer.
Terms of Service: If you are under thirteen (13) years of age, then please do not use our Site or engage in any Sponsored Activity. There are many other great websites for you. Talk to your parents about what sites are appropriate for you.
At one point the girls created a Wait List so everyone would know where they were in line. There were plenty of other fun activities, but the Cricut was always in use.
Tip: Next year, I think we will want two Cricut accounts.
 The next step is to make sure the Cutter is properly set to CUT the vinyl. To do this, click on your image layer in the right hand side right below the word LAYERS . If you click on the little scissor or little printer icon, the layer window should pop up like this.
Tip: Water bottles, plastic shopping bags, laptop cases, waste baskets or other items from the dollar store are great places to start!
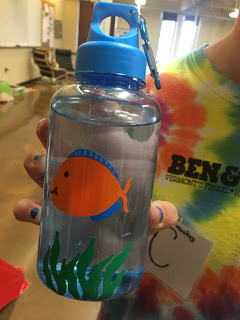 Once the girls felt confident with the process, their imagination started to run and before we knew it one of the girls had figured out a way to achieve a multi-colored fish bottle.
The Workflow for Creating the Cricut involved 4 parts
Part 1 Imagine and Plan - Creating your Design using Google Draw
Part 2 Layout your Design exported from Google Draw into the Cricut Design Studio and get it ready to send the Design to the Cricut Software.
Part 3 Load the colored vinyl into the Cricut Carrier and watch the Cricut cut the vinyl
Part 4 Weed away the vinyl that is NOT part of your design.
Part 5 Transfer the design to your object (water bottle, shopping bag, etc)
Check out this video to see all 5 parts of the process and keep reading to pick up some tips and tricks we learned along the way.
Before you Start
Tip # 1 - Install the driver on one a school computer and test the cutter at least a day before you plan to use it with students.
We discovered was that the school’s firewall made it challenging to install the drivers on the school computers. After some work with Cricut’s tech support and the school tech coordinator, we were successful using a manual command line solution That computer became the ONE computer that would be tethered to the Cricut Explorer for the rest of the week.
Tip #2 - Do not encourage students to create their own CRICUT accounts if they are under 13.
Not only does this violate their legal terms of service due to COPPA regulations, but it also would result in your students getting lots of unwanted email from the company!
Terms of Service: If you are under thirteen (13) years of age, then please do not use our Site or engage in any Sponsored Activity. There are many other great websites for you. Talk to your parents about what sites are appropriate for you.
What we did was to create a Google account that would be the primary account to access the cutter. (ie - cricut@yourgoogledomain.org)
Tip # 3 Create a shared Google Folder for designs to be dropped into.
Place the link to that Shared Google Folder on your class webpage, Google Classroom, LMS, or simply make a short URL that you put on the board or taped to the Cricut Cutter itself.

Part 1 Imagine and Plan - Creating your Design using Google Draw
Tip #4 Some important skills
- Customize the size of their Google Drawing
- Locate creative commons images to add to their design
- Keep designs SIMPLE - START with ONE color designs!
- Use the Tool options of Image Search
- Use large fat fonts or Word Art when adding text to their Google Drawing
- Download the Google Drawing Design as a PNG
Then drop the PNG to the Shared Google Drive


Part 2 Layout your Design exported from Google Draw into the Cricut Design Studio and get it ready to send the Design to the Cricut Software
The second part of the Process happens on the computer that is hooked up to the Cricut.
This Google Account controls the Cricut. It also has access to all the files in the shared folders.
This Google Account controls the Cricut. It also has access to all the files in the shared folders.
We soon had a backlog on this machine, but the girls were great at learning from each other.
There was usually 3 campers working through the process.
- The person who was setting up their design in the Cricut software
- The person who just finished with their design was there as coach.
- The person on deck to use the cutter there was shadowing to learn the process.
At one point the girls created a Wait List so everyone would know where they were in line. There were plenty of other fun activities, but the Cricut was always in use.
Tip: Next year, I think we will want two Cricut accounts.
One for the person who is cutting their design and one for the person on deck. By going through two computers one station can be for doing the Part 2 image manipulation with the other computer station reserved for cutting the vinyl.
Tip: Follow these steps to load your Google Drawings into the Cricut Studio Software.
Find your image in the shared folder and download it to the computer running the Cricut Design Studio.
Create a New Project on the Studio
Choose UPLOAD image.
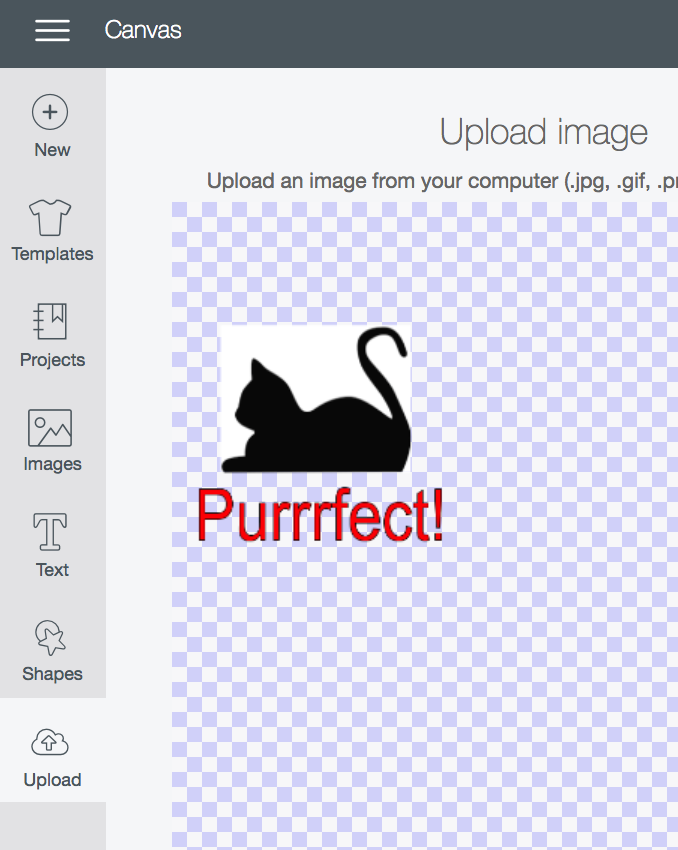
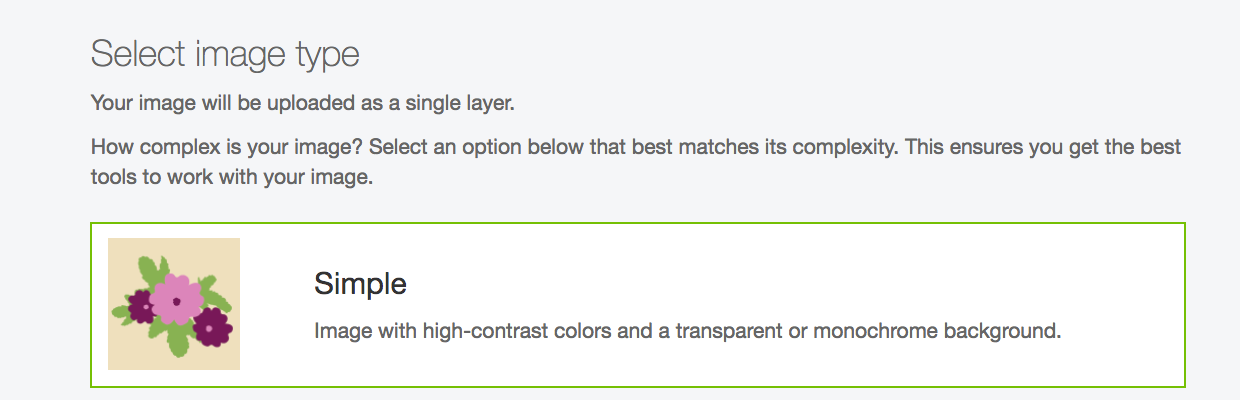
Select the Simple IMAGE type (since we decided to make simple designs) then hit CONTINUE
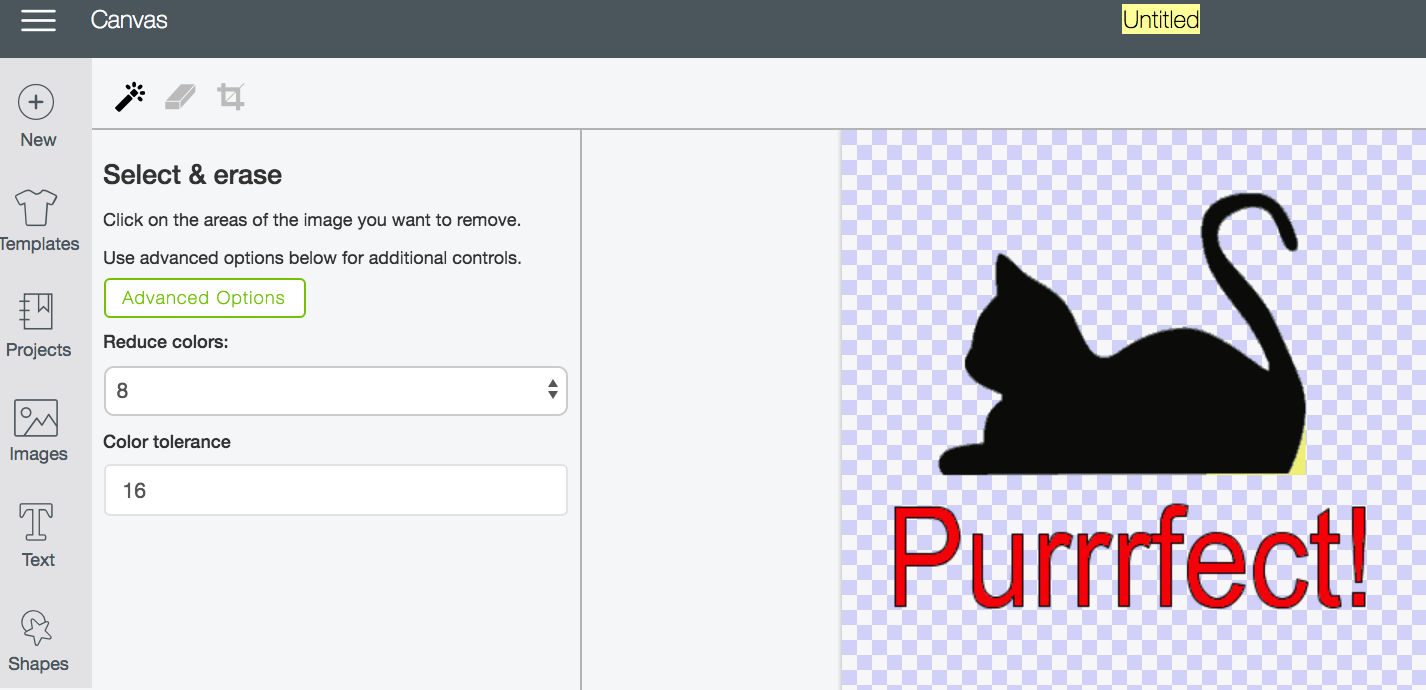
Look for the ERASE Tools
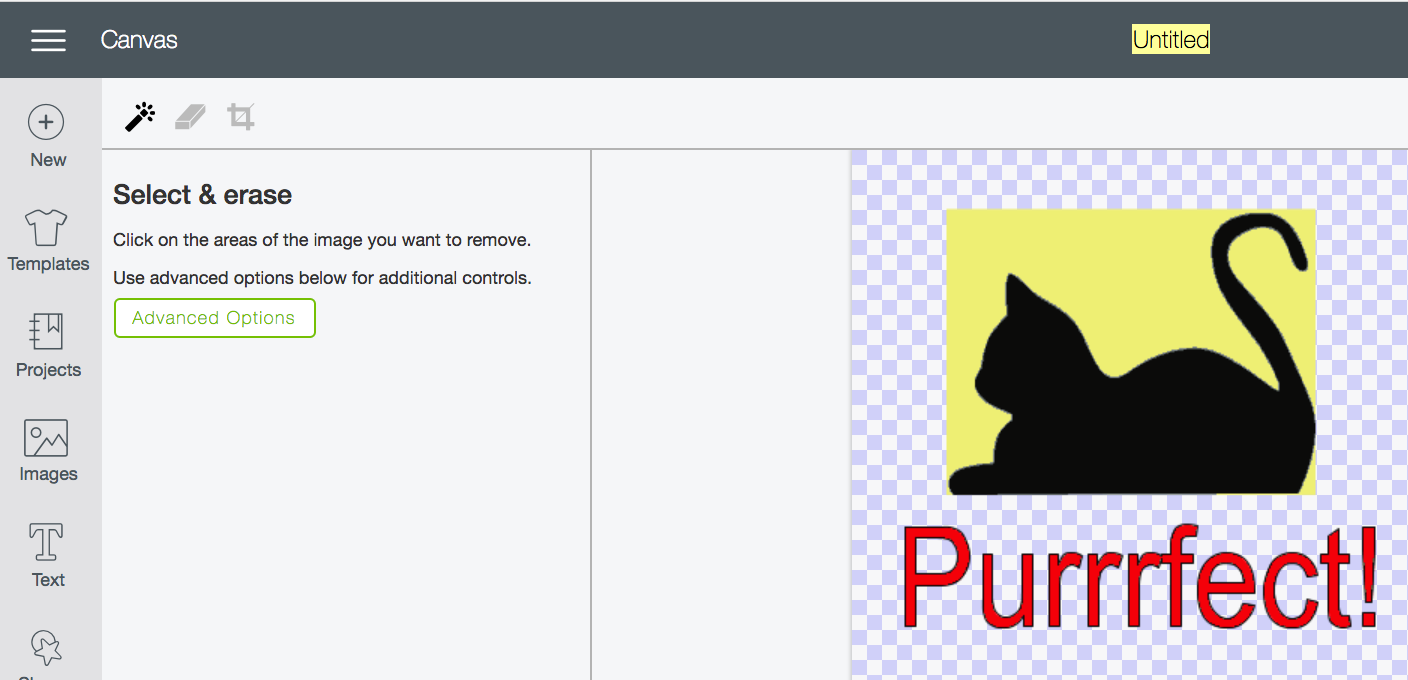
Use the Select and Erase Tools to erase areas of the picture that you want to remove

TIP: SAVE as Cut Image and Label the files carefully.
Be careful here! Its easy to miss this step.
THEN choose SAVE as a CUT IMAGE -
Be careful here! Its easy to miss this step.
THEN choose SAVE as a CUT IMAGE -
Make sure to Add a name and TAG to make it easier to find your image later as the list of images grows quickly and becomes hard to manage.
Then click UPLOAD Image and select the image you just saved by clicking on it in the images. TIP: If you can’t find it, use type the name you used to save your image in the search box

Click on the Image you want then click INSERT in bottom right hand corner

Scale or move your image to a place where you have placed some vinyl on the map
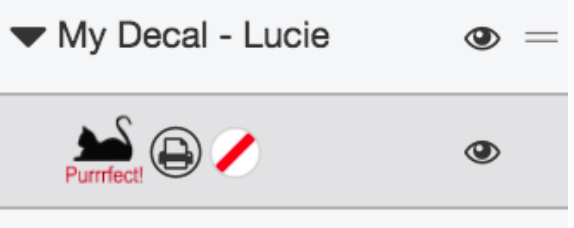
 The next step is to make sure the Cutter is properly set to CUT the vinyl. To do this, click on your image layer in the right hand side right below the word LAYERS . If you click on the little scissor or little printer icon, the layer window should pop up like this.
When the layer attributes opens up, click on the CUT icon right under the words Layer Attribute to turn your layer into a layer that will actually be cut! You should now see that the scissors icon instead of the print icon on your layer.
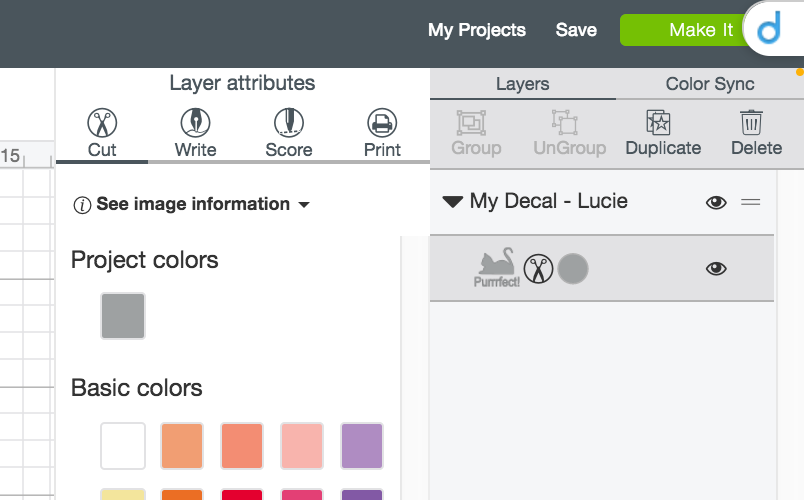
YOU are almost ready! Look at the top right corner and lick the green MAKE IT button.
Preview your project one last time!
Make sure everything looks good!
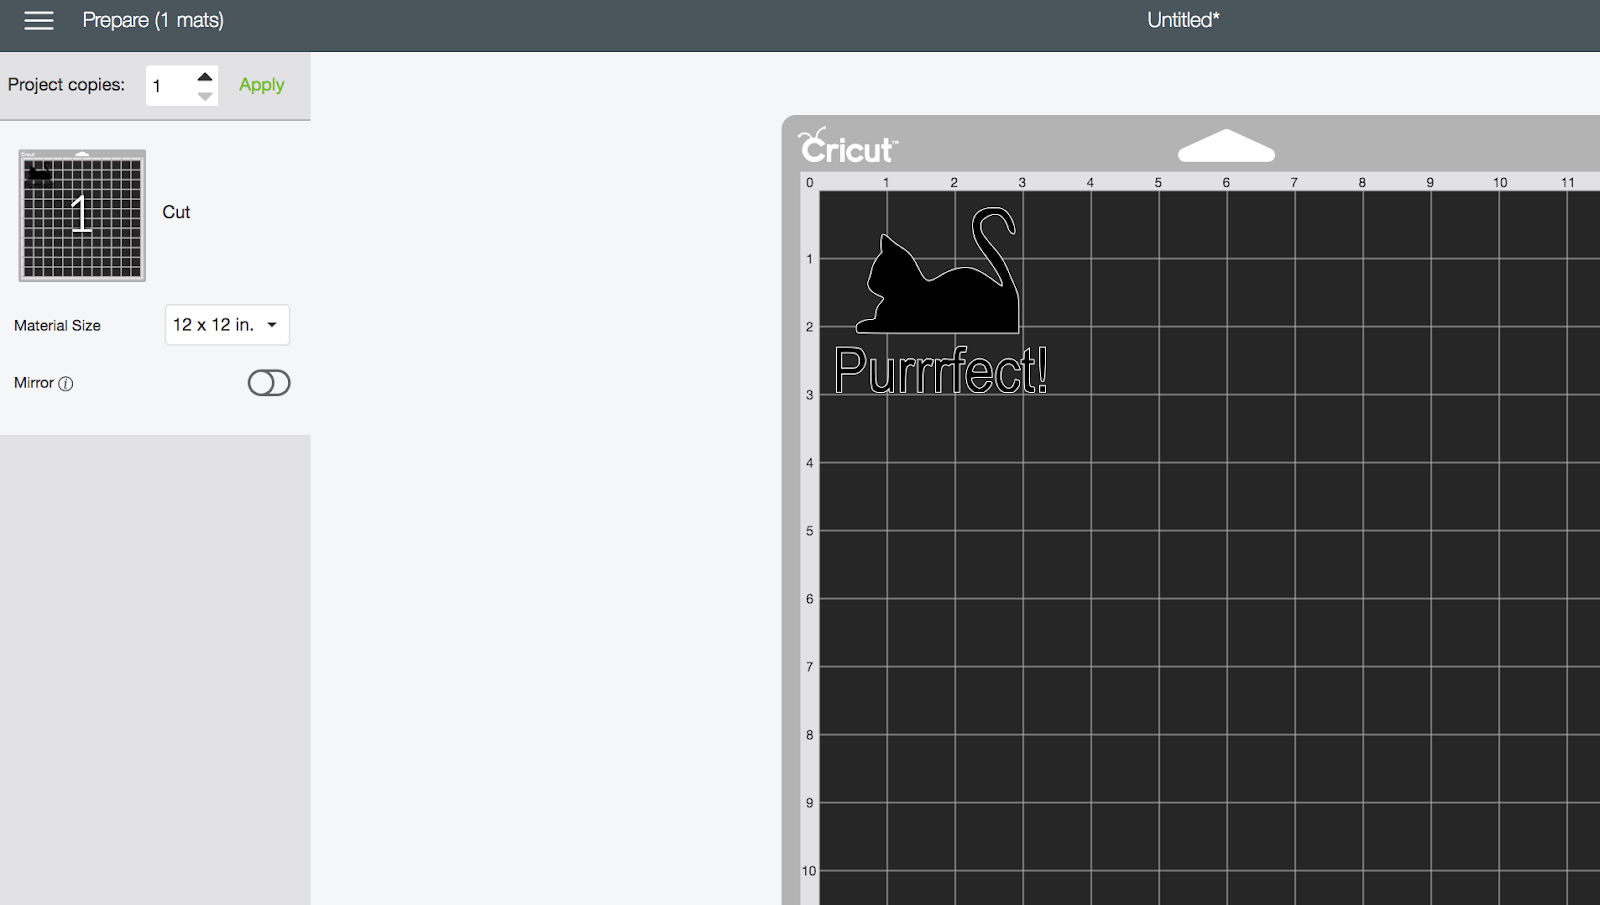
Hit Continue!
You’ll get one last opportunity to make some changes. This step previews where the vinyl will cut on your Cricut Mats.
If you need to move the item over on the mat.. Simply hit EDIT
Tip: Try to layout your design to use as little Vinyl as possible.
Keep the extra pieces around for little projects.
Keep the extra pieces around for little projects.

Part 3 - Load the colored vinyl into the Cricut Carrier Mat and watch the Cricut cut the vinyl
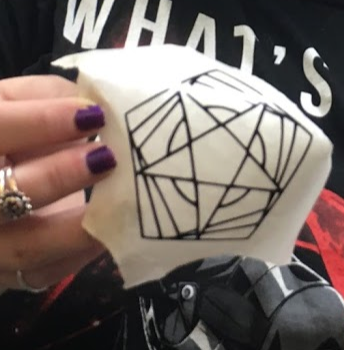
Part 4 - Weed away the vinyl that is NOT part of your design.

Tip: Dental picks work great for this!
Part 5 - Transfer your new vinyl design to your object to personalize it.
Tip: Water bottles, plastic shopping bags, laptop cases, waste baskets or other items from the dollar store are great places to start!
Tip: Be prepared for the unexpected!
Once the girls felt confident with the process, their imagination started to run and before we knew it one of the girls had figured out a way to achieve a multi-colored fish bottle.
Still others started imagined blinky lights and added sewable LED’s to their bags.
They were ready for more! Even on the last day of camp, the Cricut Vinyl cutter was the last thing packed up as the girls refused to leave it and some parents had to use some creative coaxing to drag their daughters away!
How would having a Vinyl cutter in your school library or maker space give students new ways of expressing themselves! Would it be a tool they would reach for? Would their new confidence and skill help them imagine new ways to show what they know?
I bet these students would! What type of communication tools do your students have access to.
This comment has been removed by a blog administrator.
ReplyDelete