What happens when you mix the collaborative power of Google Slides with the creative power of WeVideo! You get the easiest fastest way to make a collaborative movie.

When I discovered that WeVideo can import a PDF, it opened up all kinds of new ways to create movies, including using Google Slides export to PDF feature!
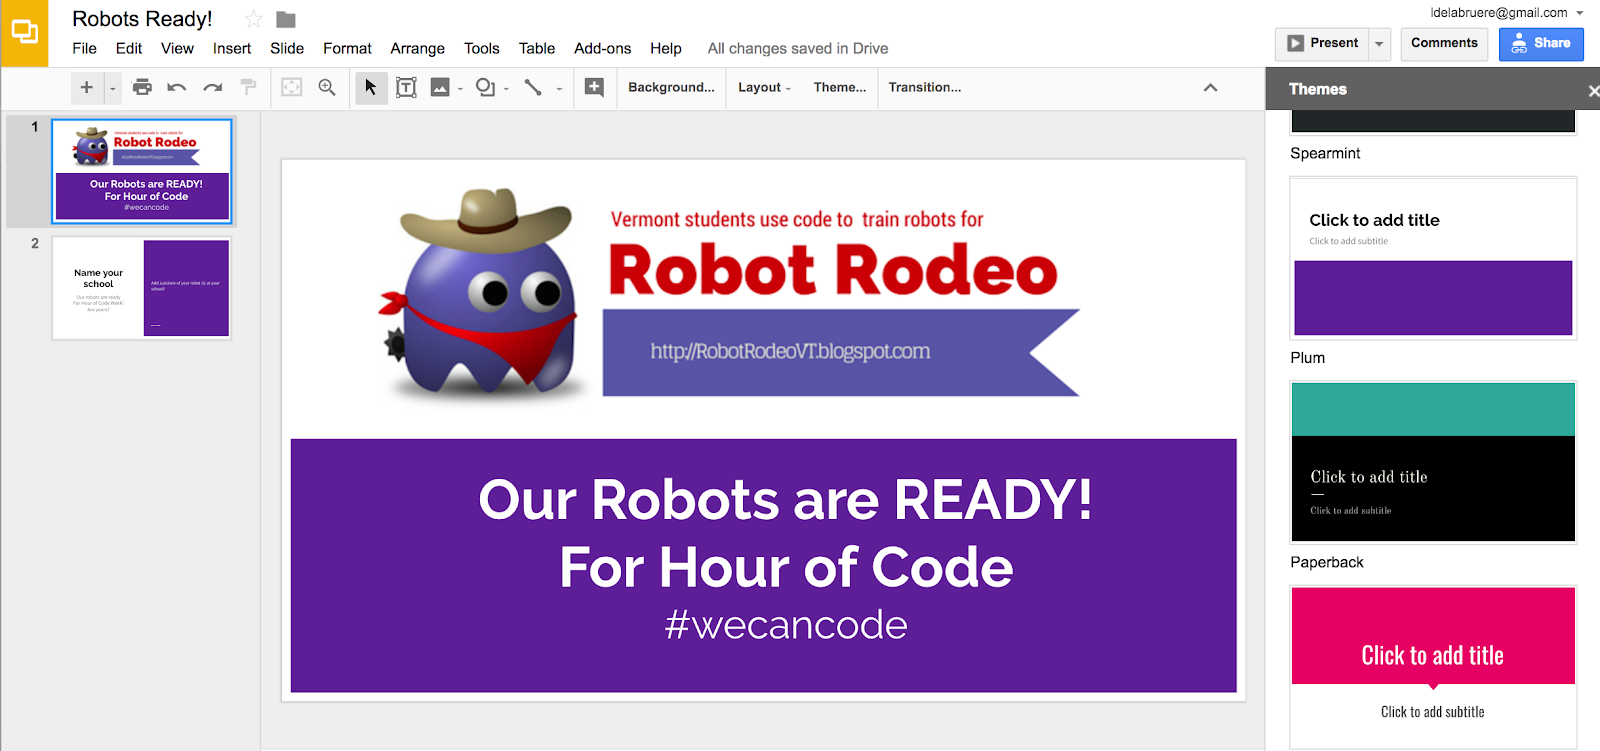
Just this week I challenged other educators around Vermont to share what types of Robots they were planning to use for the upcoming Hour of Code event during Computer Science Week by adding a slide to this Google Slide deck. In the first 24 hours, 24 schools introduced us to their robots. In just minutes, I was able to use Google’s download as PDF feature and WeVideo’s ability to import PDFs as media to create this FUN movie!
Want to make one too? Go ahead and follow these steps!
First create a Google Slide deck and make it pretty!
You can use the built in themes or look for a wider variety of themes online at sites like. Slide Carnival
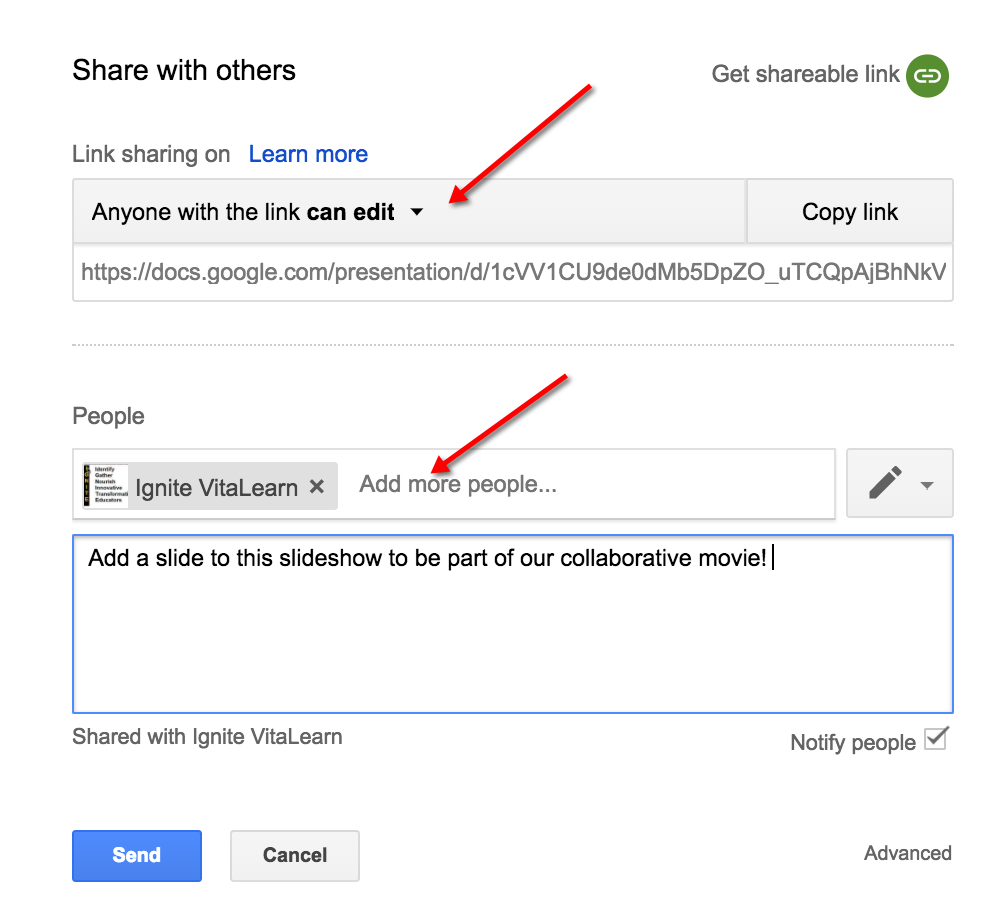
Then SHARE the Google slideshow with specific collaborators.
OR you can change the setting to anyone with the link and edit and copy/share the link via email to a trusted group of friends.
Invite others to add a slide. Once your friends have added their slides to the slide show! PROOFREAD the whole slide deck!
Finally download the slide deck as a PDF!

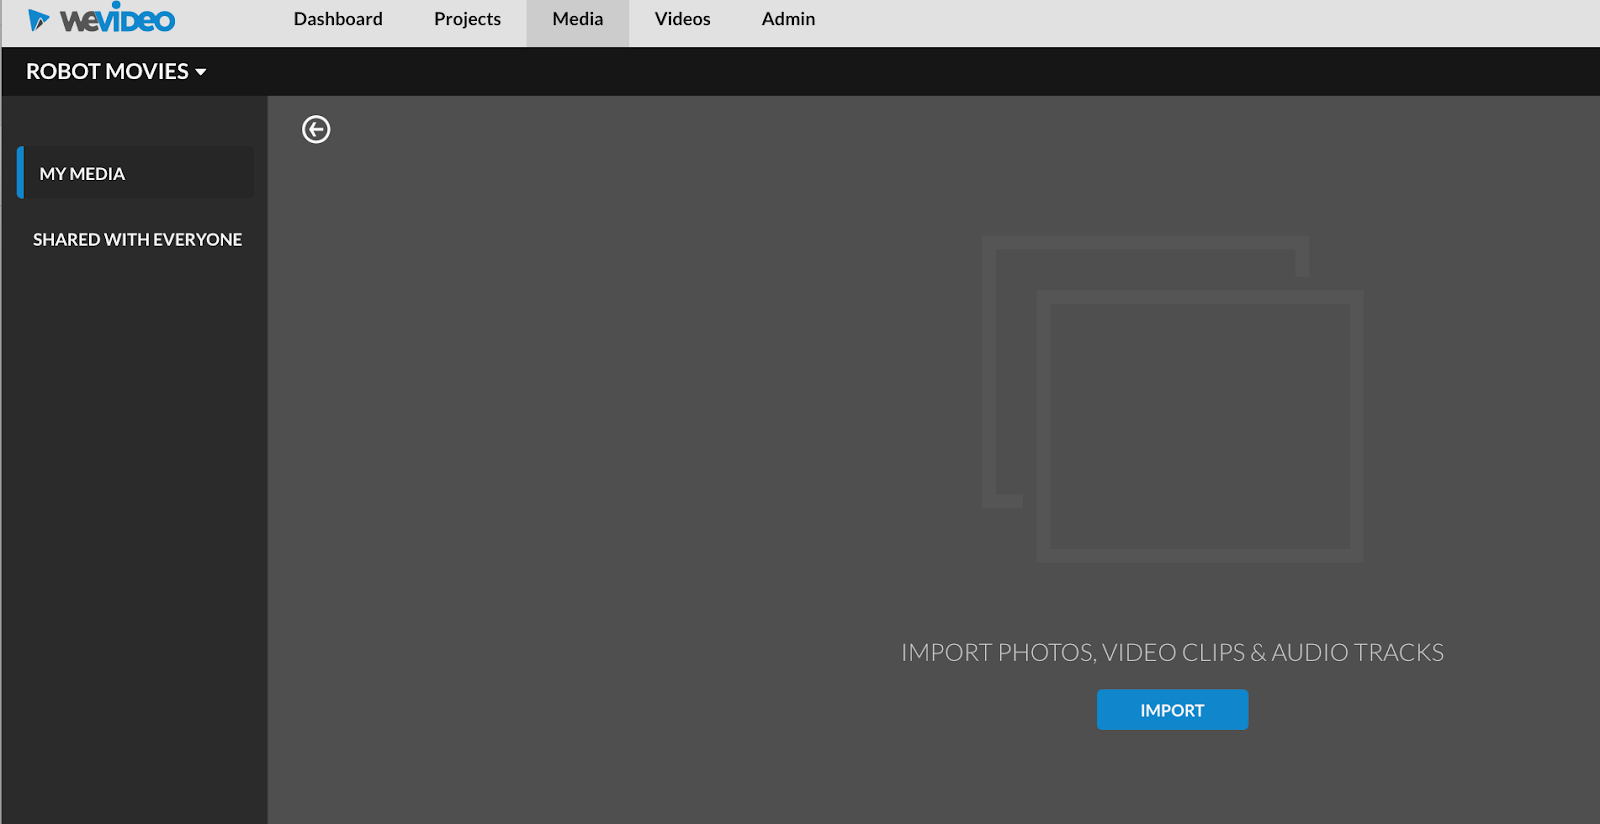
Now it’s time to import your PDF into WEVIDEO.
Your approach may follow slightly different steps.
Here are the steps I followed.
I like to create a new folder to organize my media for new projects.

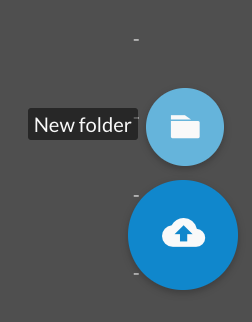

OPEN the NEW Folder
And choose IMPORT
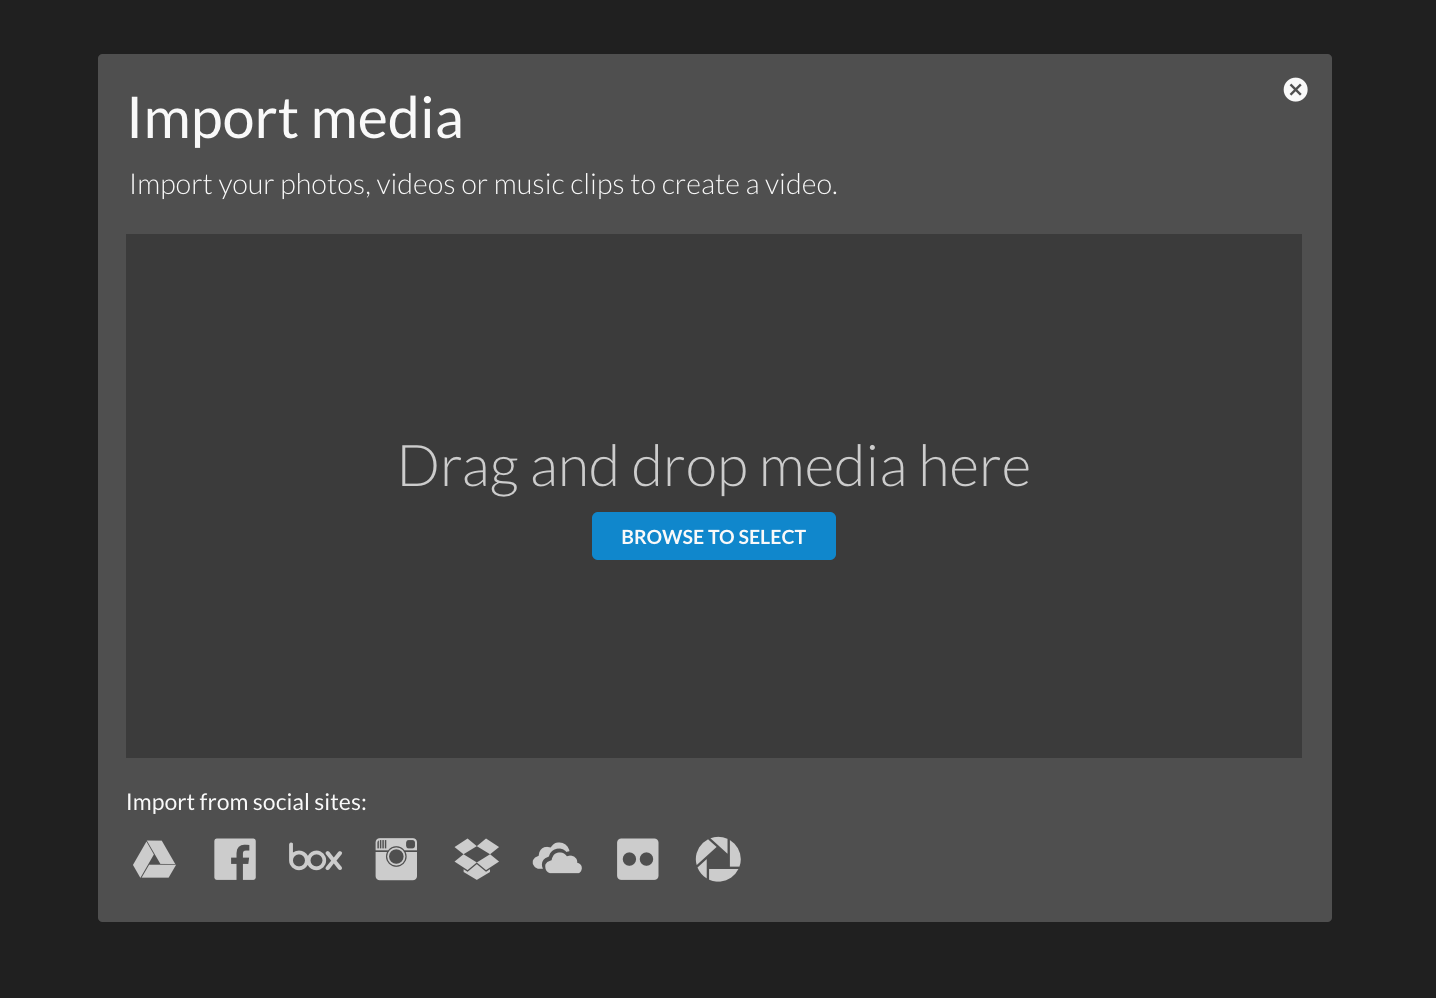
Select BROWSE to SELECT and select the PDF file you just downloaded.

Then get ready to watch the magic! 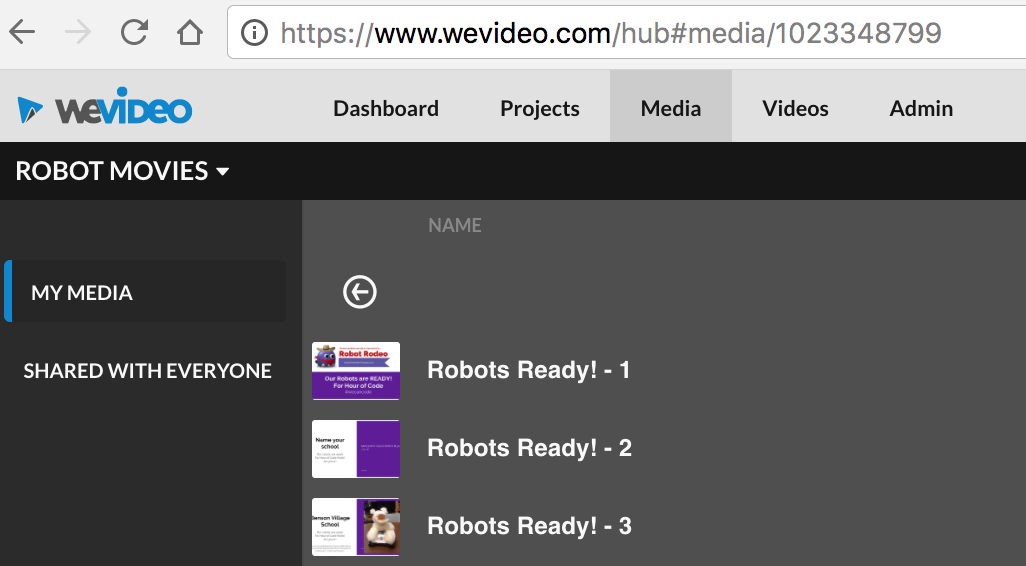
All the pages of the PDF get imported each as an individual image for you to use in your movie!
Now let’s make a movie with all these fun new images from our Google Slide Show!
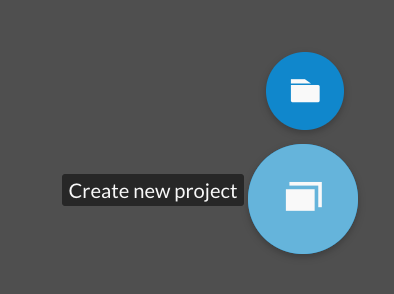
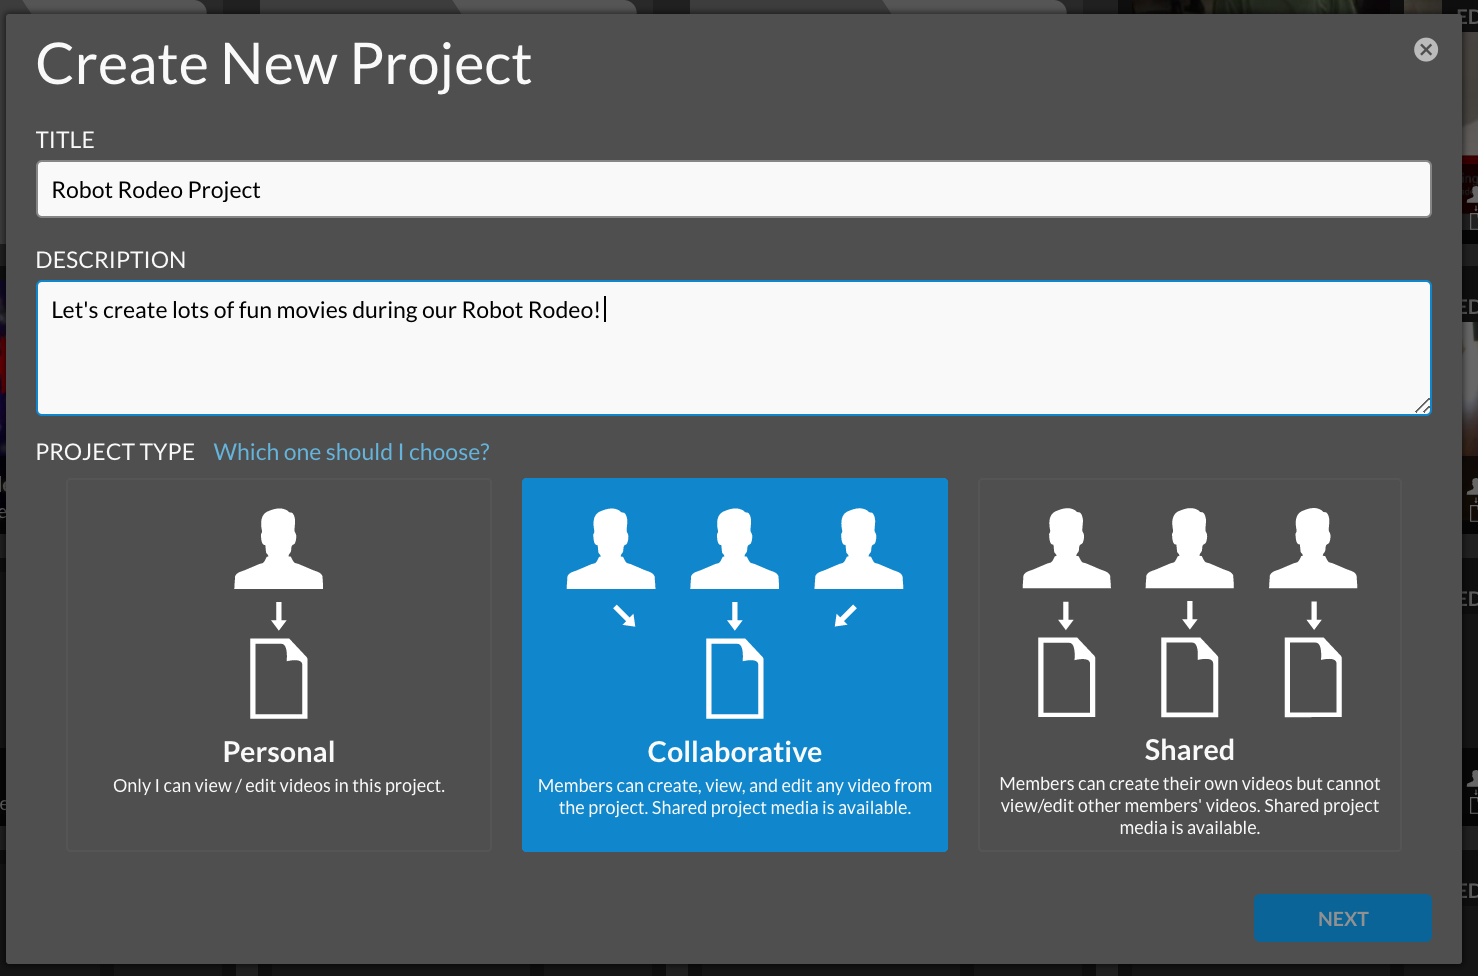
I created a new Project for all my Robot Movies this year!

I’ll select Collaborative Project in case someone else from my WeVIDEO DOMAIN wants to help with this project later. They’ll be able to edit and add movies to this project!
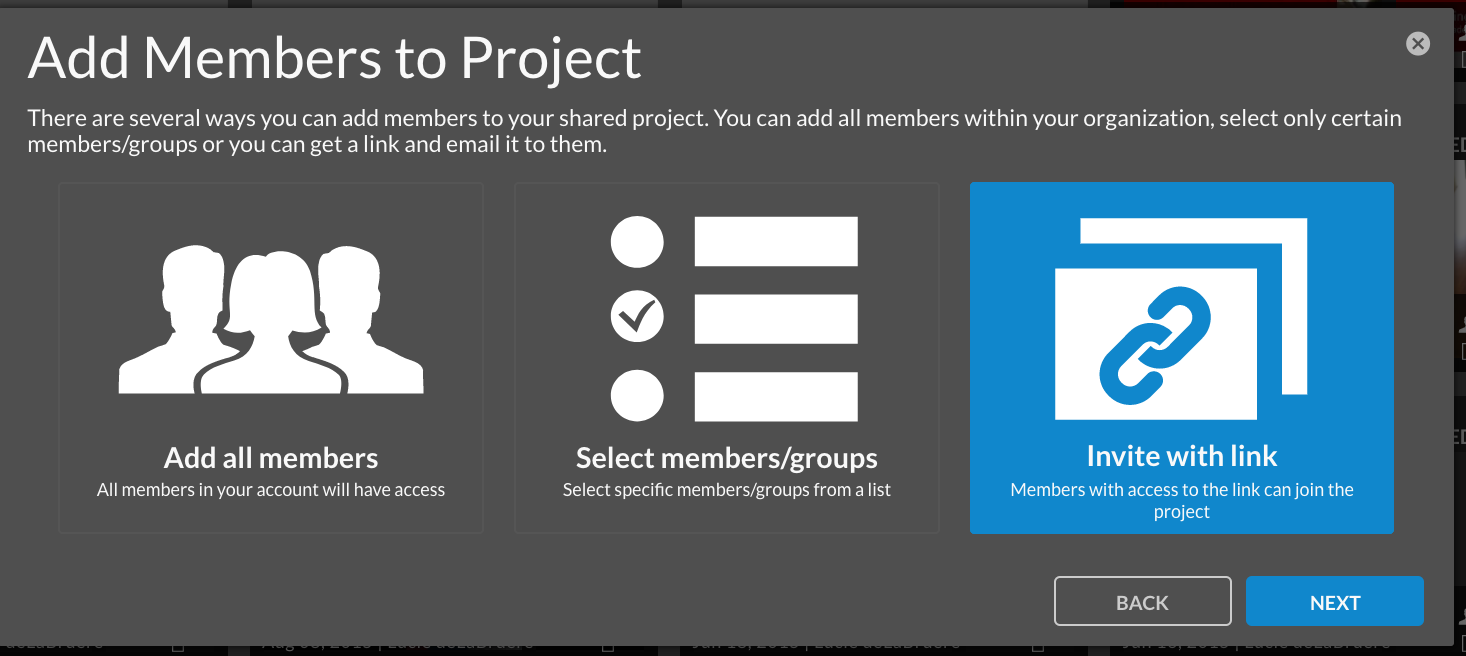
I use the INVITE with LINK method to create a link that I can use to add others to this project in the future. (This link will only work with other WeVideo users from your organization or WeVideo domain - At this time We Video only allows collaboration inside a project from inside your own WeVideo org/ domain).
Now all I have to do is ADD MEDIA to get the new slides/images into my movie.
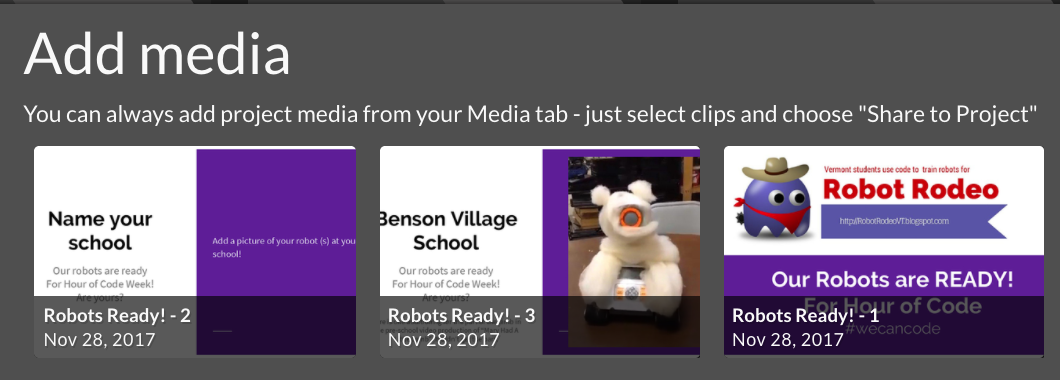
Select the slides you want to add to your projects. Hint: Use Shift click to select a large set of slides.
Then hit NEXT
Then hit NEXT

You can copy the link and send it to others from your WeVideo domain who might be helping with this project. In this case.. I’m working solo for now, so I can go ahead and just click on
CREATE VIDEO
A new BLANK Timeline will appear!
To see the slides you selected for this project - Click on PROJECT MEDIA!
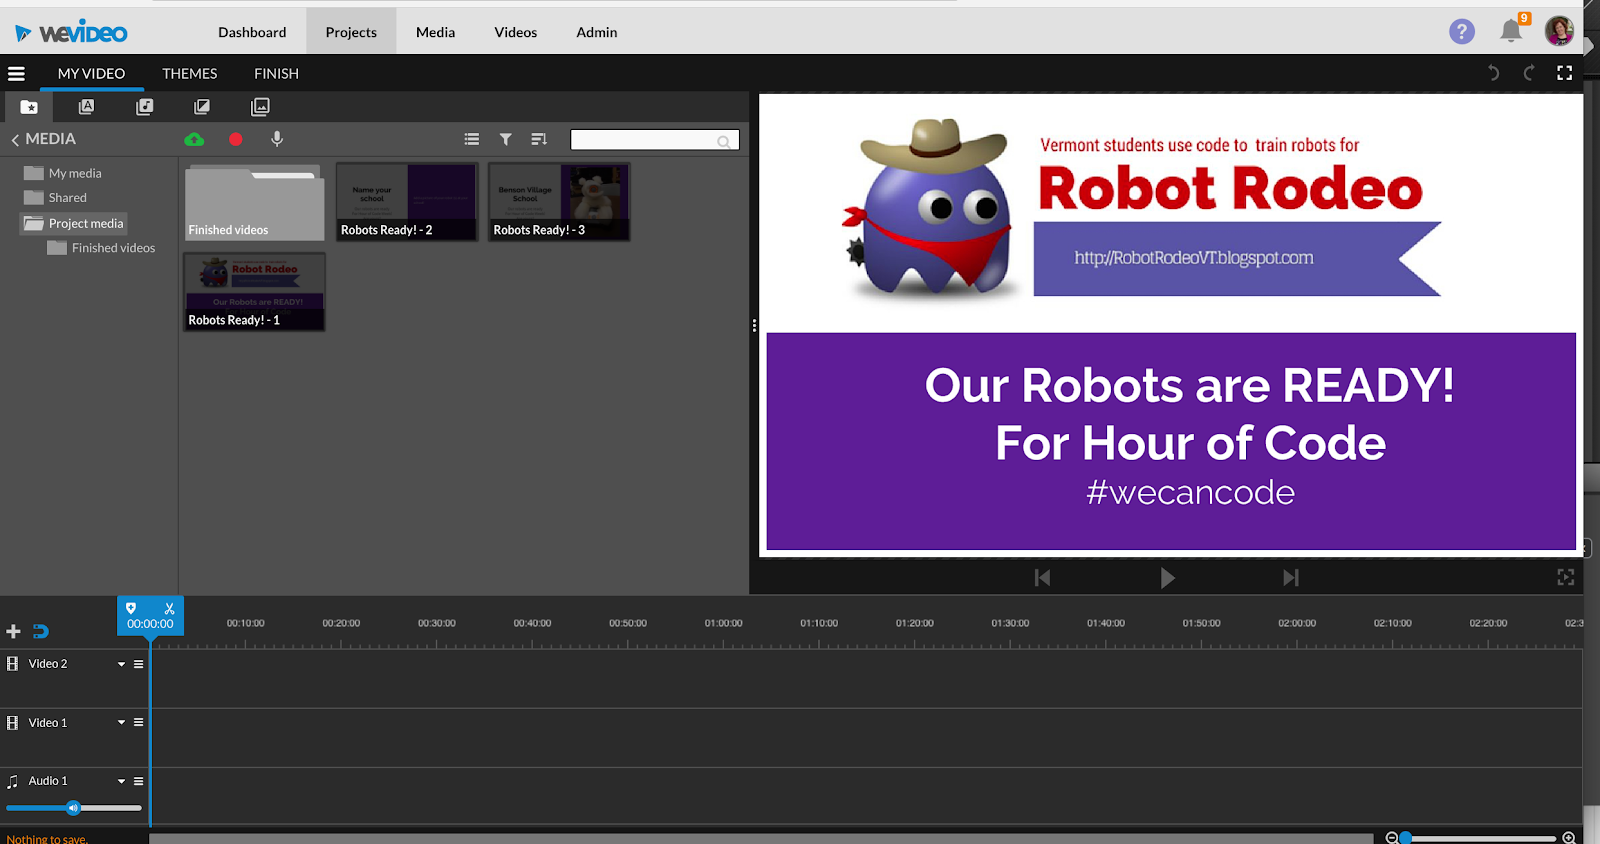
Select the slides/images you want included in your movie. You can select all at once by using shift or by dragging the selection tool around all the slides you want. DRAG all the selected slides DOWN to the VIDEO TRACK of your Timeline! Note: If you want the slides in a different order, you might have to drag them down individually in the order you want them to appear!
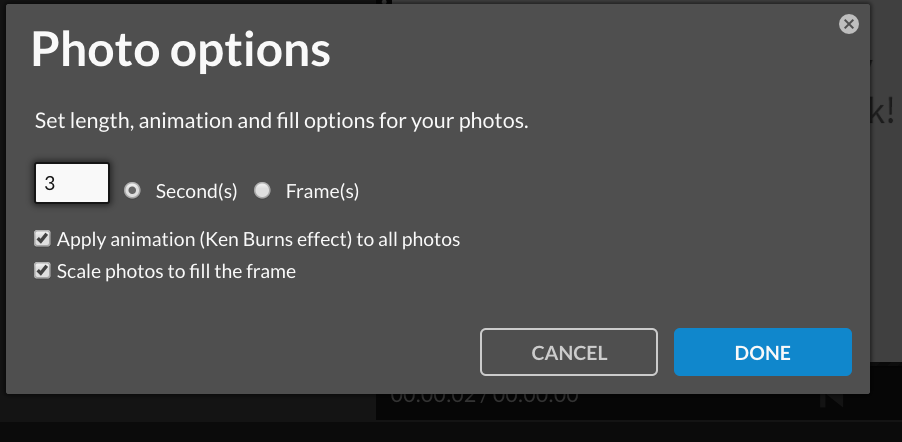
I choose to shorten the length of my slides to 3 seconds each!
And of course I wanted the Ken Burns effect for variety.
If you want to - you can select one of WeVideo’s THEME templates.
OR you can simply click on the audio button to select some fun music to your slide show!
Drag your selected audio clip to the AUDIO track.
Drag your selected audio clip to the AUDIO track.

Shorten the music so it is not longer than your slides!
Play your Video through to make sure it’s the way you like it!
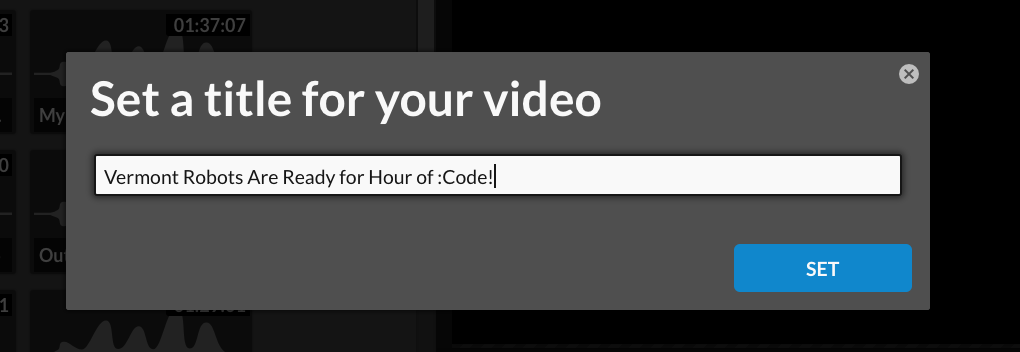
Then click on Finish!
Name your Video!
Select the quality preferences and the locations you want your video to be stored!
We often publish our videos in our Google Drive!
In this case I chose high quality setting and to publish it to both YOUTube and my Google Drive!
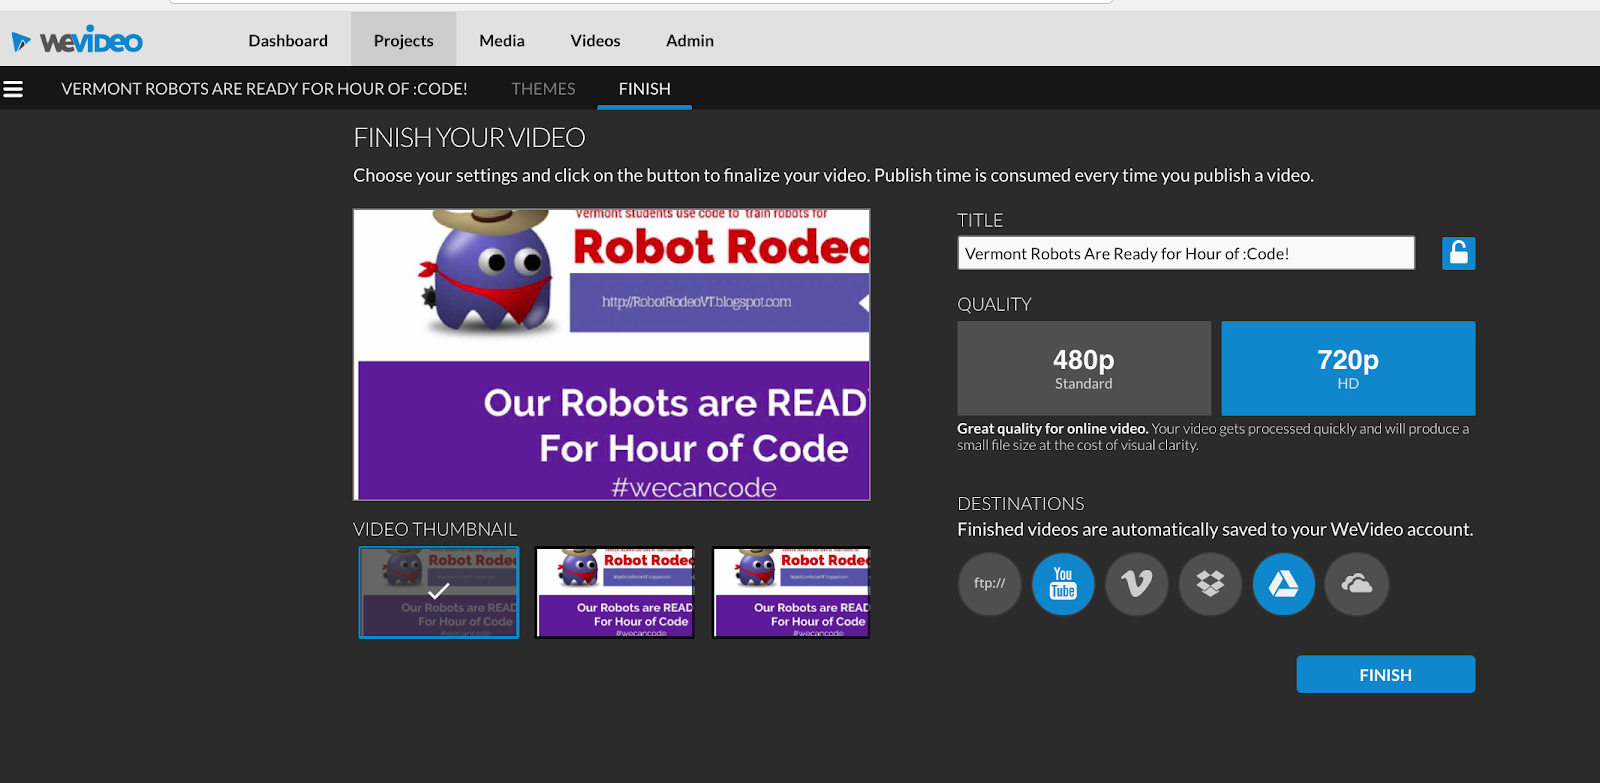
Click on FINISH
Now all I have to do is to wait for my video to be processed!
You don’t have to wait here for it to be ready!
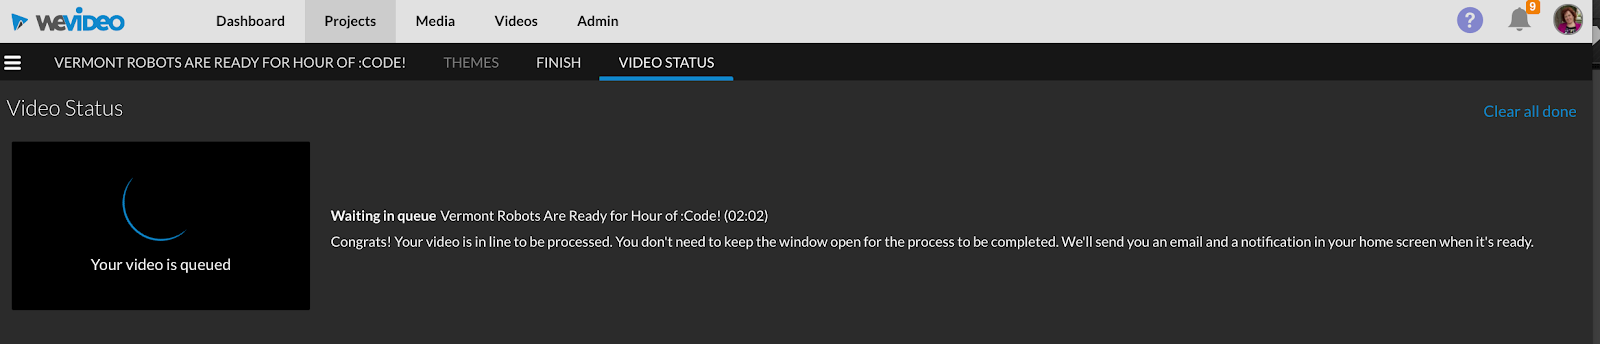
When it’s ready, you will see this message and you’ll also get a message in your inbox, so no need to stay on this screen!
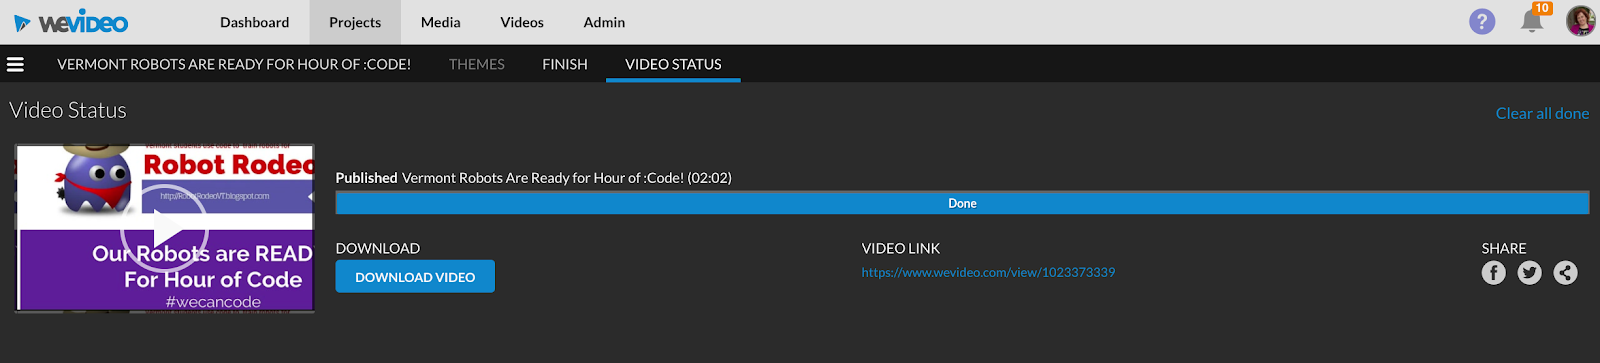
VOILA! You’ve just turned a collaborative Google Slide show into a video in minutes with WEVIDEO’s ability to import PDF as media!
Note: This works great for quick and easy photo slideshow type of movies. If you want to collaborate using videos instead of just images, you will want to use WeVideo’s collaborative project feature.
This method works great with when using images in a movie. It also works great for teachers who work with younger learners. Imagine your young authors turning stories they create in Google Slides into a narrated movie. Or how about having a teacher turn a collection of student work into a quick movie!
I also use two other Google Tools when making movies with WEVIDEO.
- Create a Google Drive folder and collect movies and images
- Make a quick fun movie from a Google Photos Shared Album
But that’s for another time!