
Makers on the Move - Adopting our GlowForge Laser Cutter
This was not an easy task!
When we got the “Your GlowForge is ready to be shipped” email, we were so excited and quickly provided them the address of our campground in Desert Hot Springs only to learn that GlowForge wanted us to give them a delivery address that would be good for a 6 week window.
We are rarely in any location for 6 weeks during this time of year. In just 3 weeks, we would be moving the bus to Quartzsite, Arizona where we’d be off grid for a couple weeks, then off to spend 3 weeks at Guajome Regional Park in San Diego county to be near family.
Meanwhile, it was killing me to know my GlowForge had arrived and was sitting in their garage for weeks before I could get my hands on it. I guess a few more months isn’t that bad when you’ve been waiting for over 2 years.
On January 31, 2018 we finally got to unbox the GlowForge laser cutter.
The unboxing was a delightful almost magical experience.
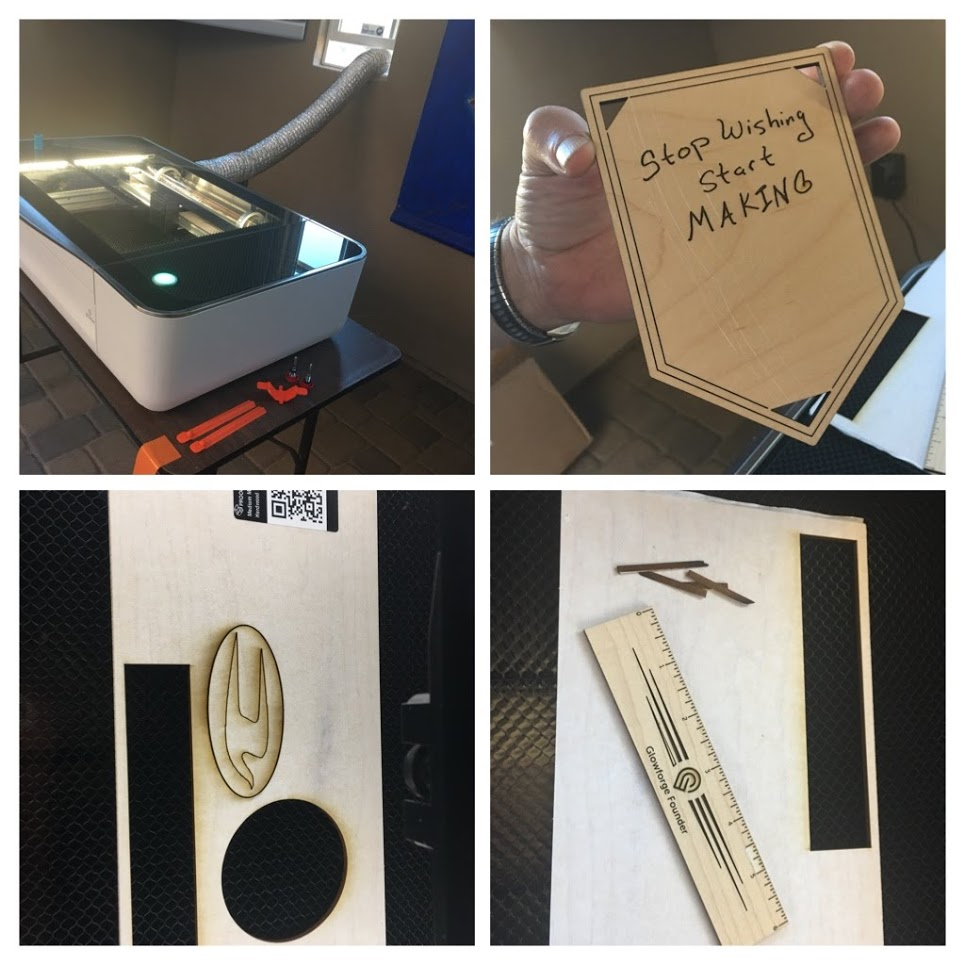
We were literally up and running and had our first print within the hour. Some very smart people put a lot of thought in that experience.
THIS is a beautiful piece of equipment!
Steve Jobs would have been impressed!

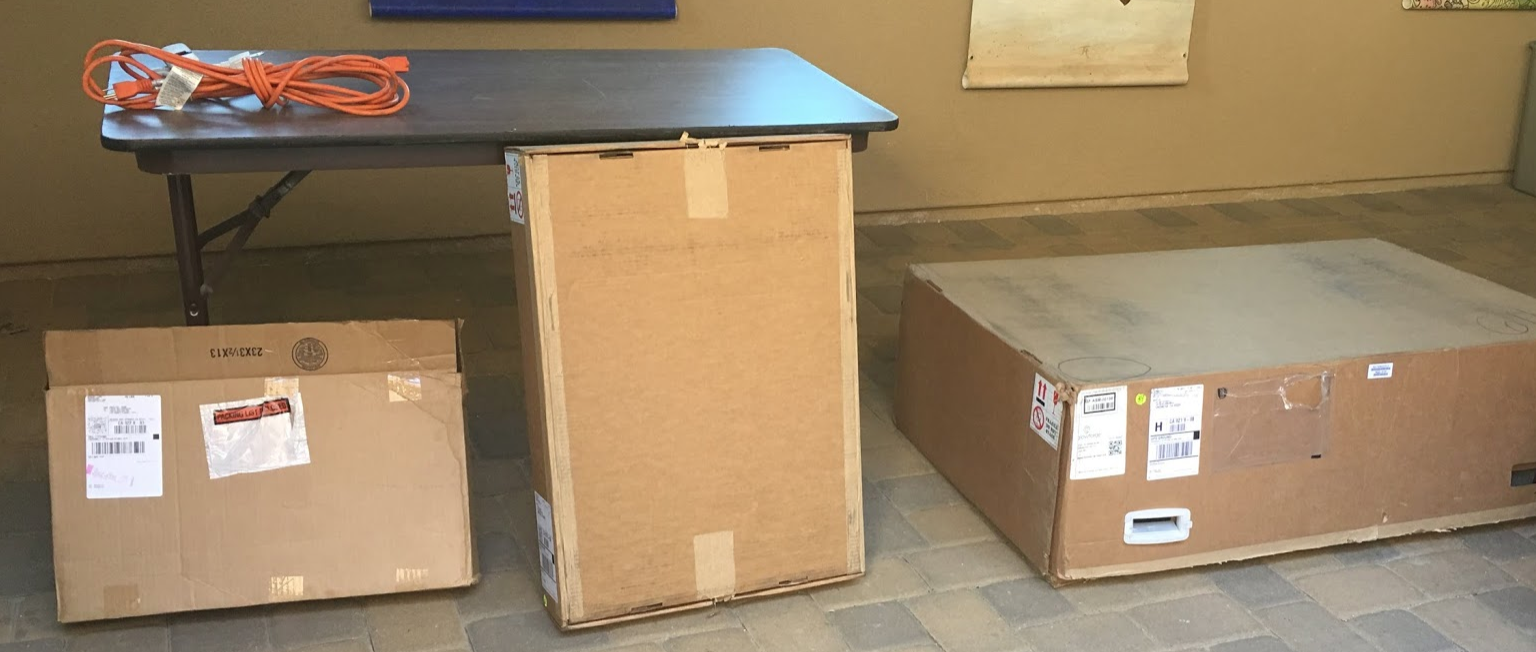
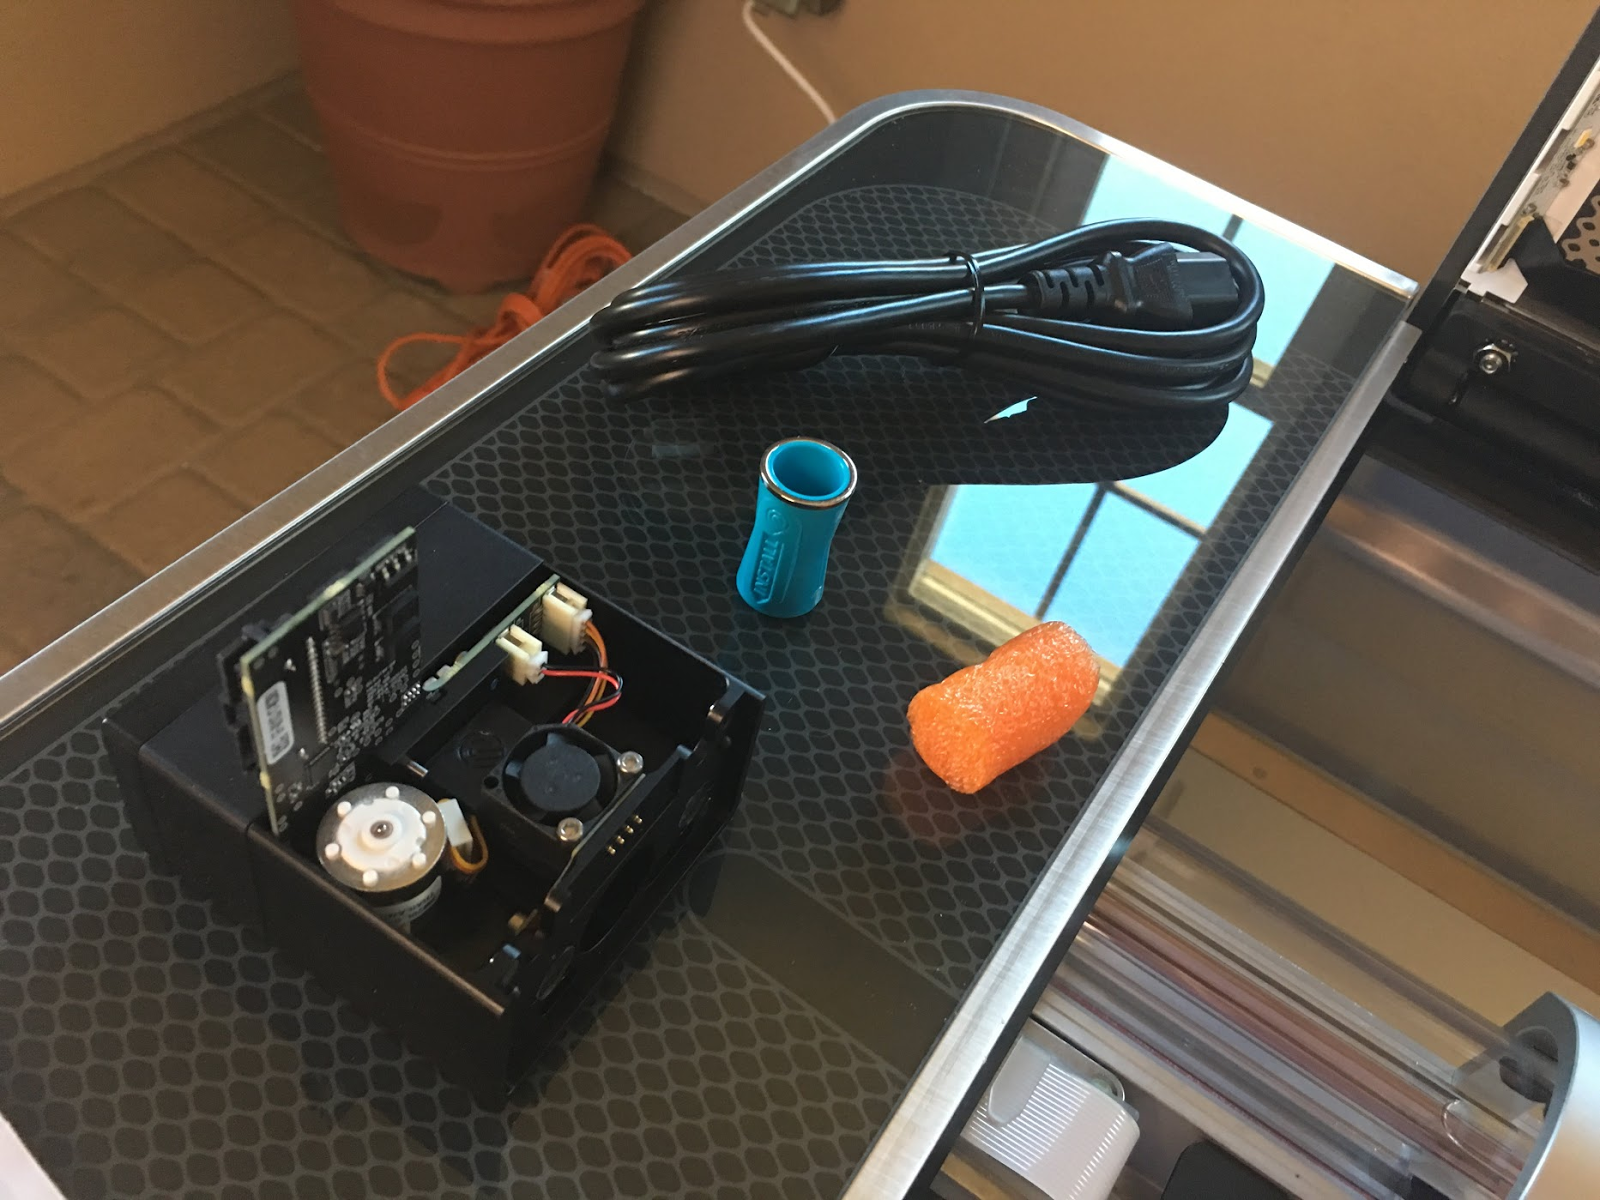 The Glowforge came in two boxes which contained the unit itself, a black crumb tray, a power cord, a print head, and blue cylinder. Some orange clips, and a few pieces of red hardware protected the GlowForge during travel.

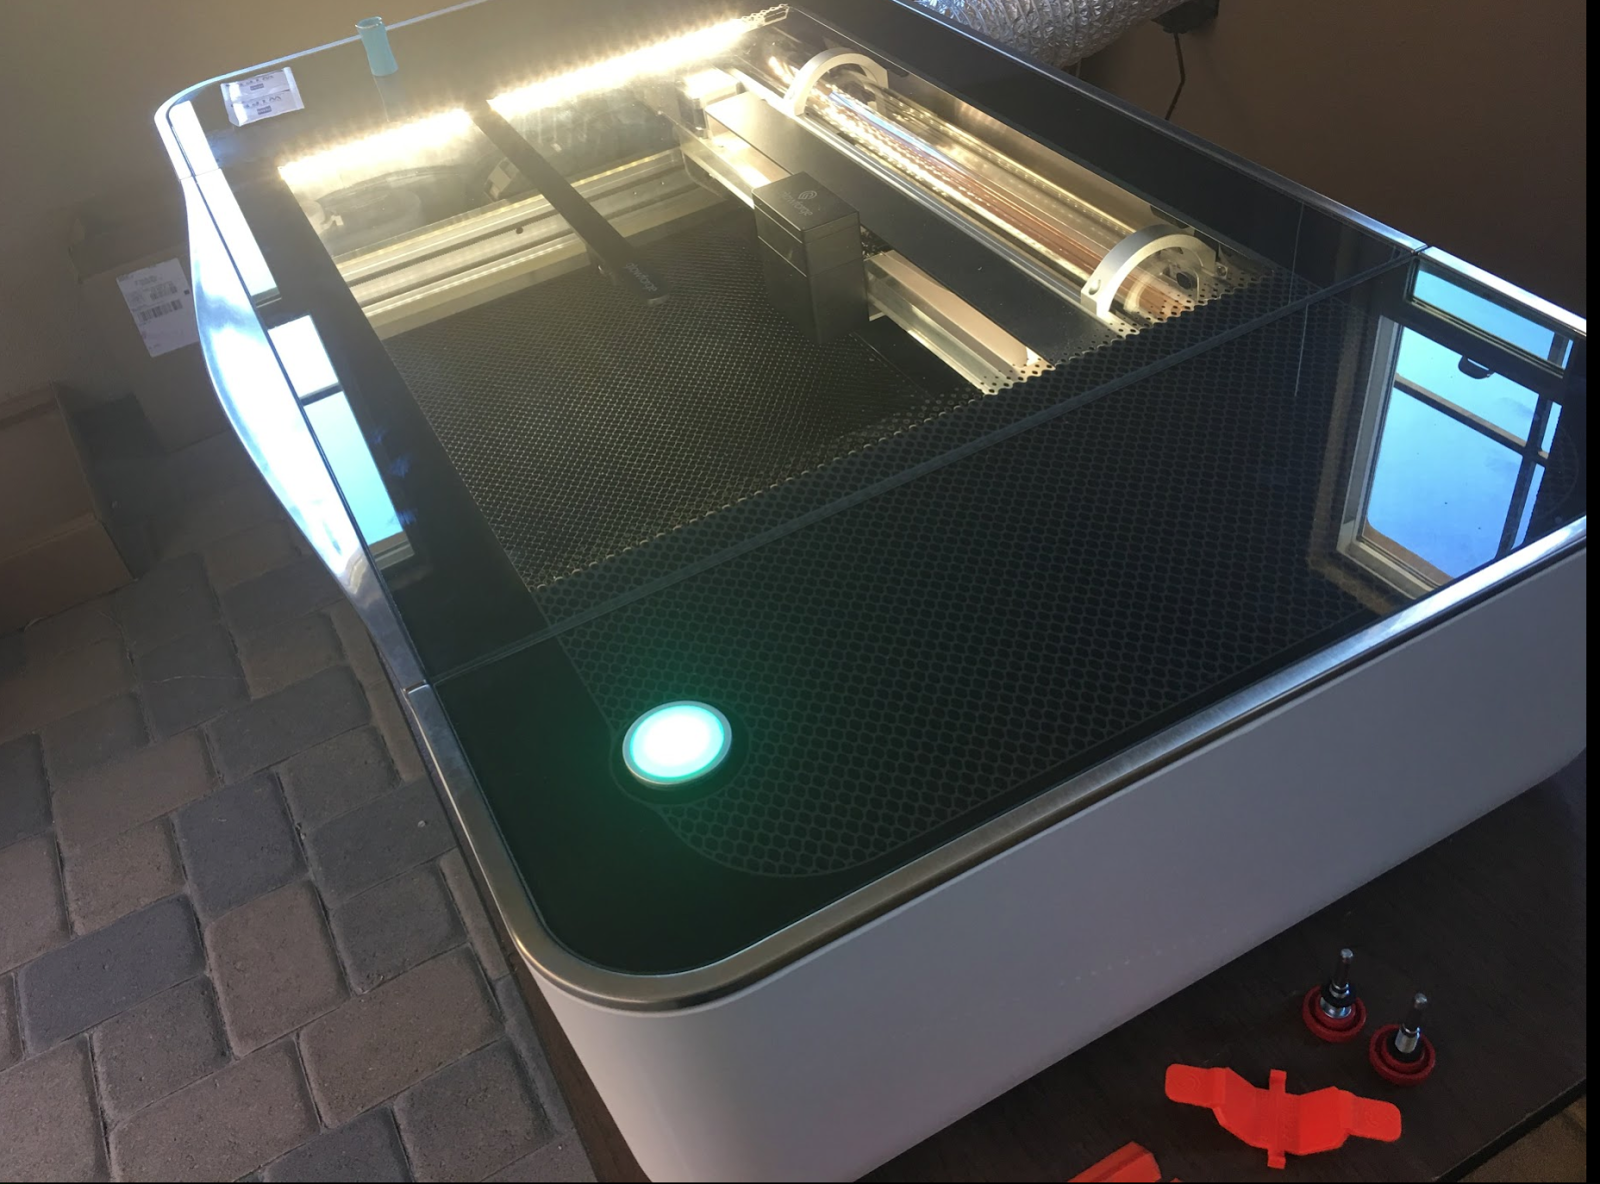
Within minutes we were plugging the power cord into the wall and ready to press the prominently placed ON button - which was begging to be touched!
Watching the coolant start to bubble and flow through the laser tube made us feel like we were about to experience something magical.
The GlowForge setup process lead us to connecting the GlowForge to wifi, and through 3 well done tutorials that introduced us to the cloud based workflow for laser cutting with the GlowForge. Within an hour we had completed the 3 tutorials showing us how to engrave, cut and score with a GlowForge. We were totally impressed with the seamless and friendly user interface, the GlowForge cameras that allowed you to cut your own drawings, and how easy it was to bring in color coded files created with 3rd party software.
Unfortunately, we couldn’t take the Glowforge back to the bus until we prepared a space for it, but thankfully we had a second playdate planned.
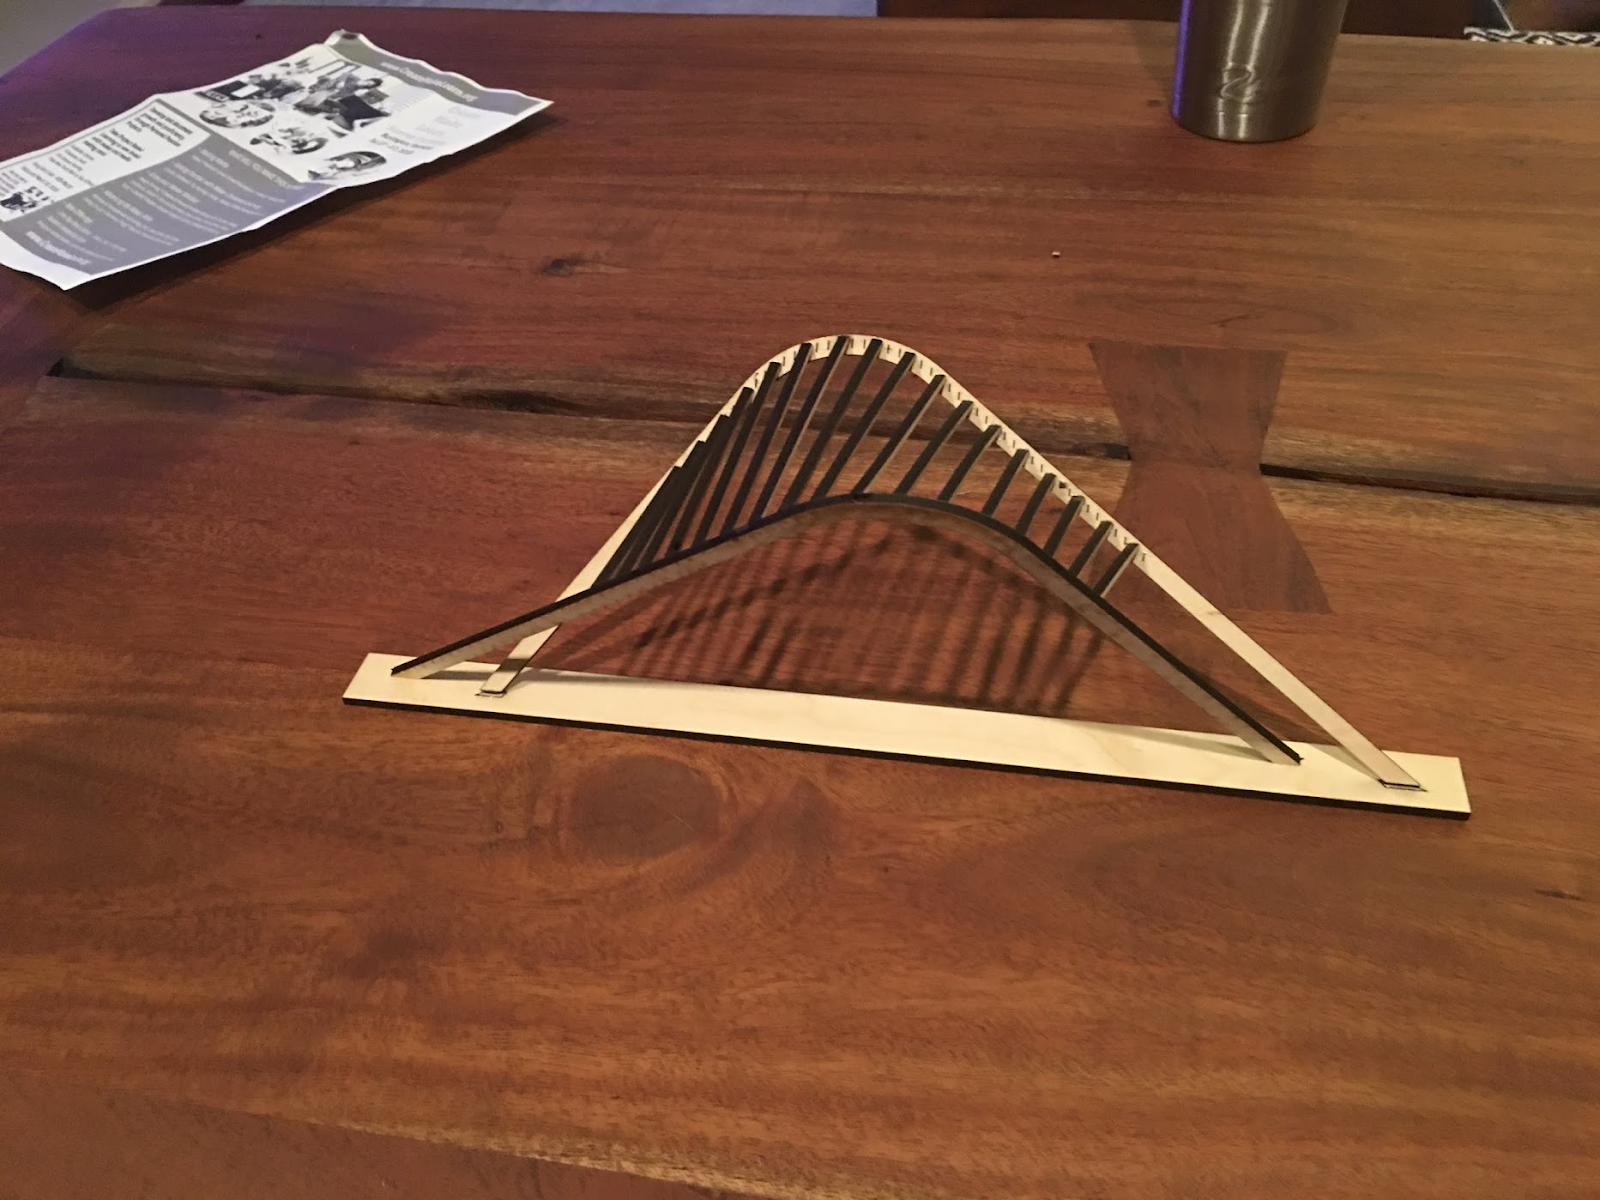
A few days later, on Super Bowl Sunday, my nephew-in-law and I spent a few hours playing with the GlowForge while everyone else watched the Eagles beat the Patriots and Justin Timberlake entertain the crowds.
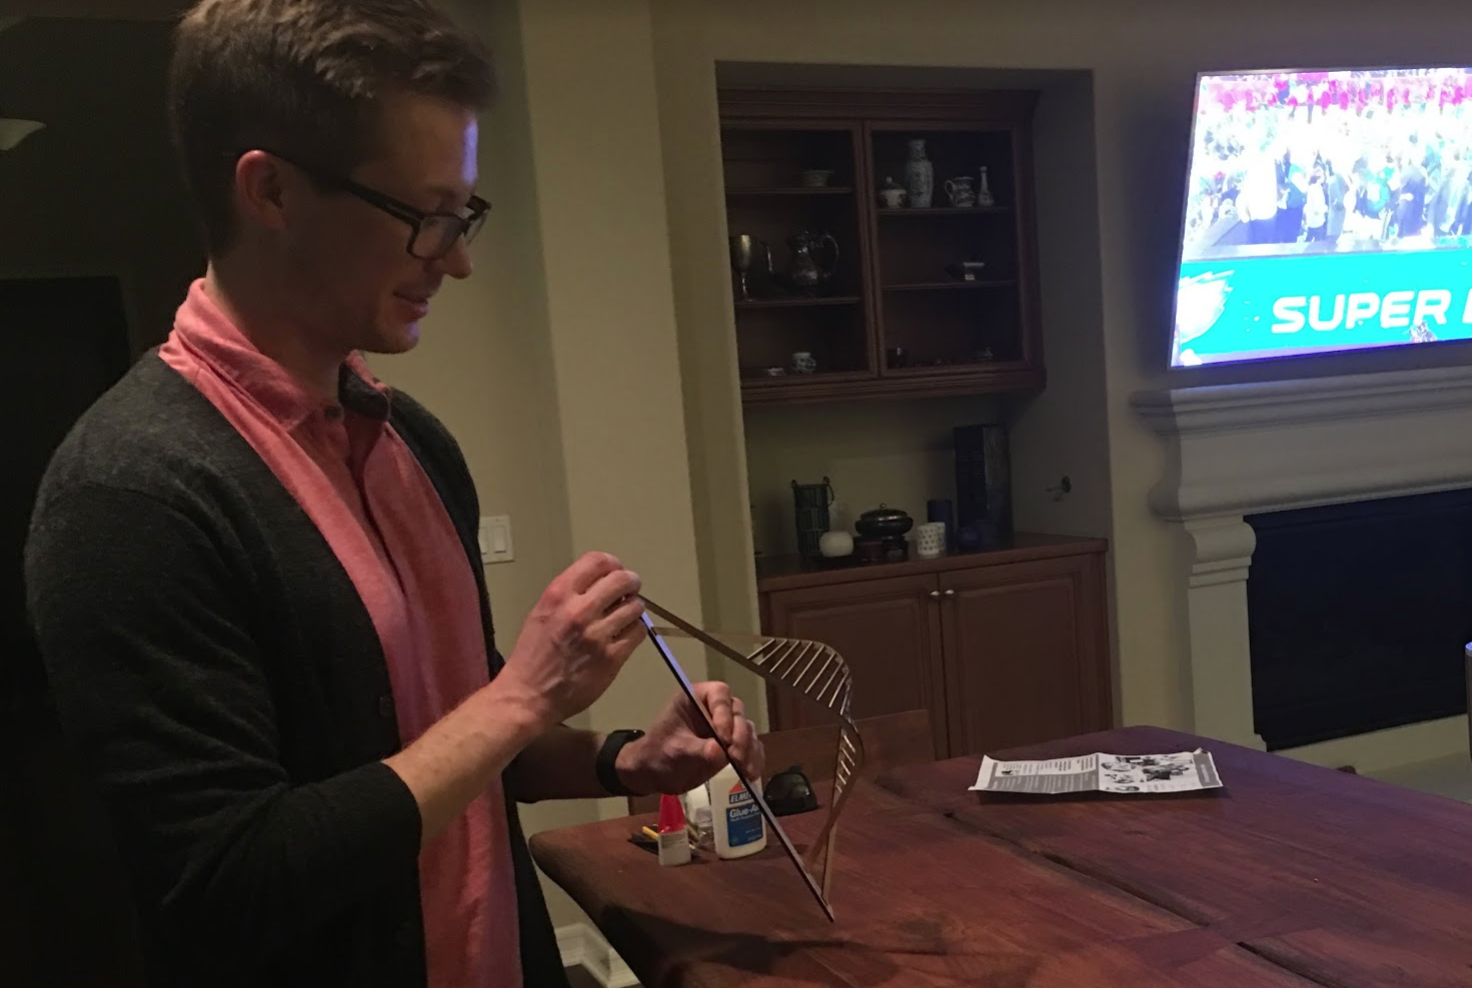
What a honor it was to have my second playdate with the Glowforge be with a talented young architect! Everyone agreed that the precision was amazing and the results met his standards as a professional.
After this successful Super Bowl playdate, we finally were ready to bring our GlowForge home.
We measured carefully and concluded that we would be able to transport the GlowForge in our Jeep if we left most of the packaging behind.
We were literally up and running and had our first print within the hour. Some very smart people put a lot of thought in that experience.
Unboxing the GlowForge Video
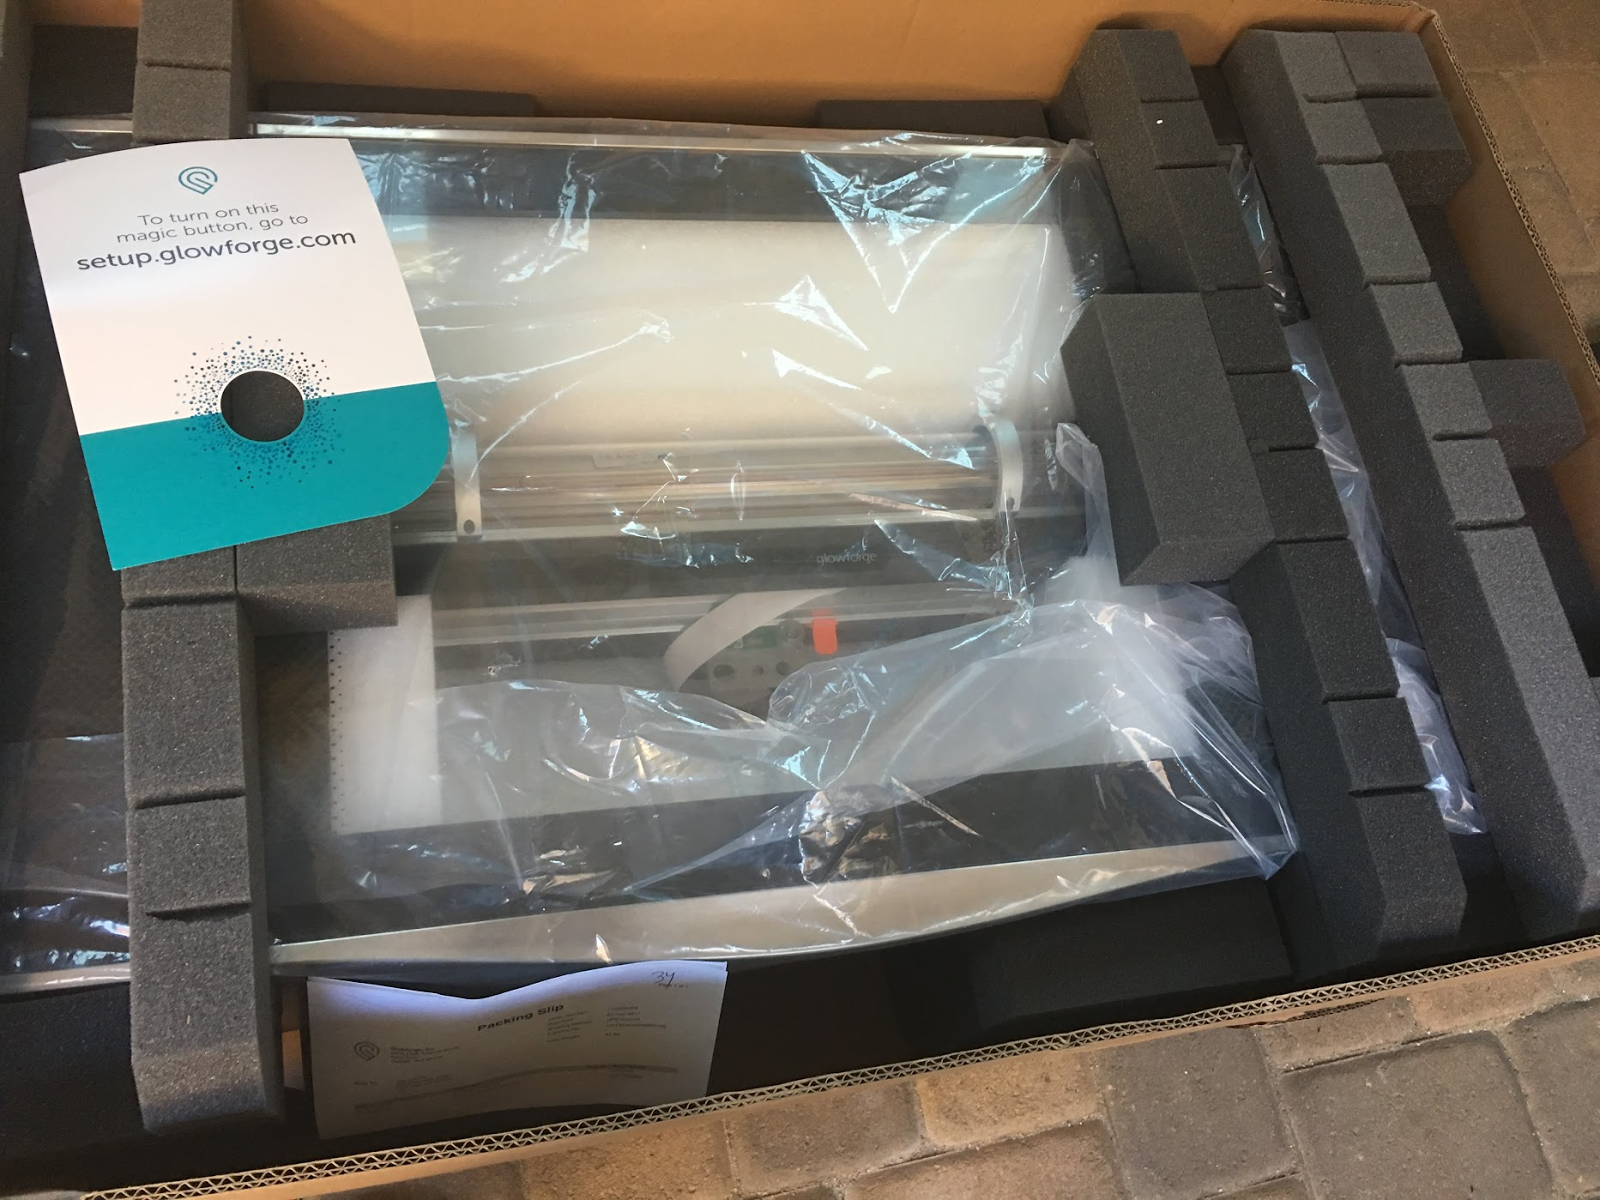 |
| The GlowForge was obviously well protected during its travel to us. |
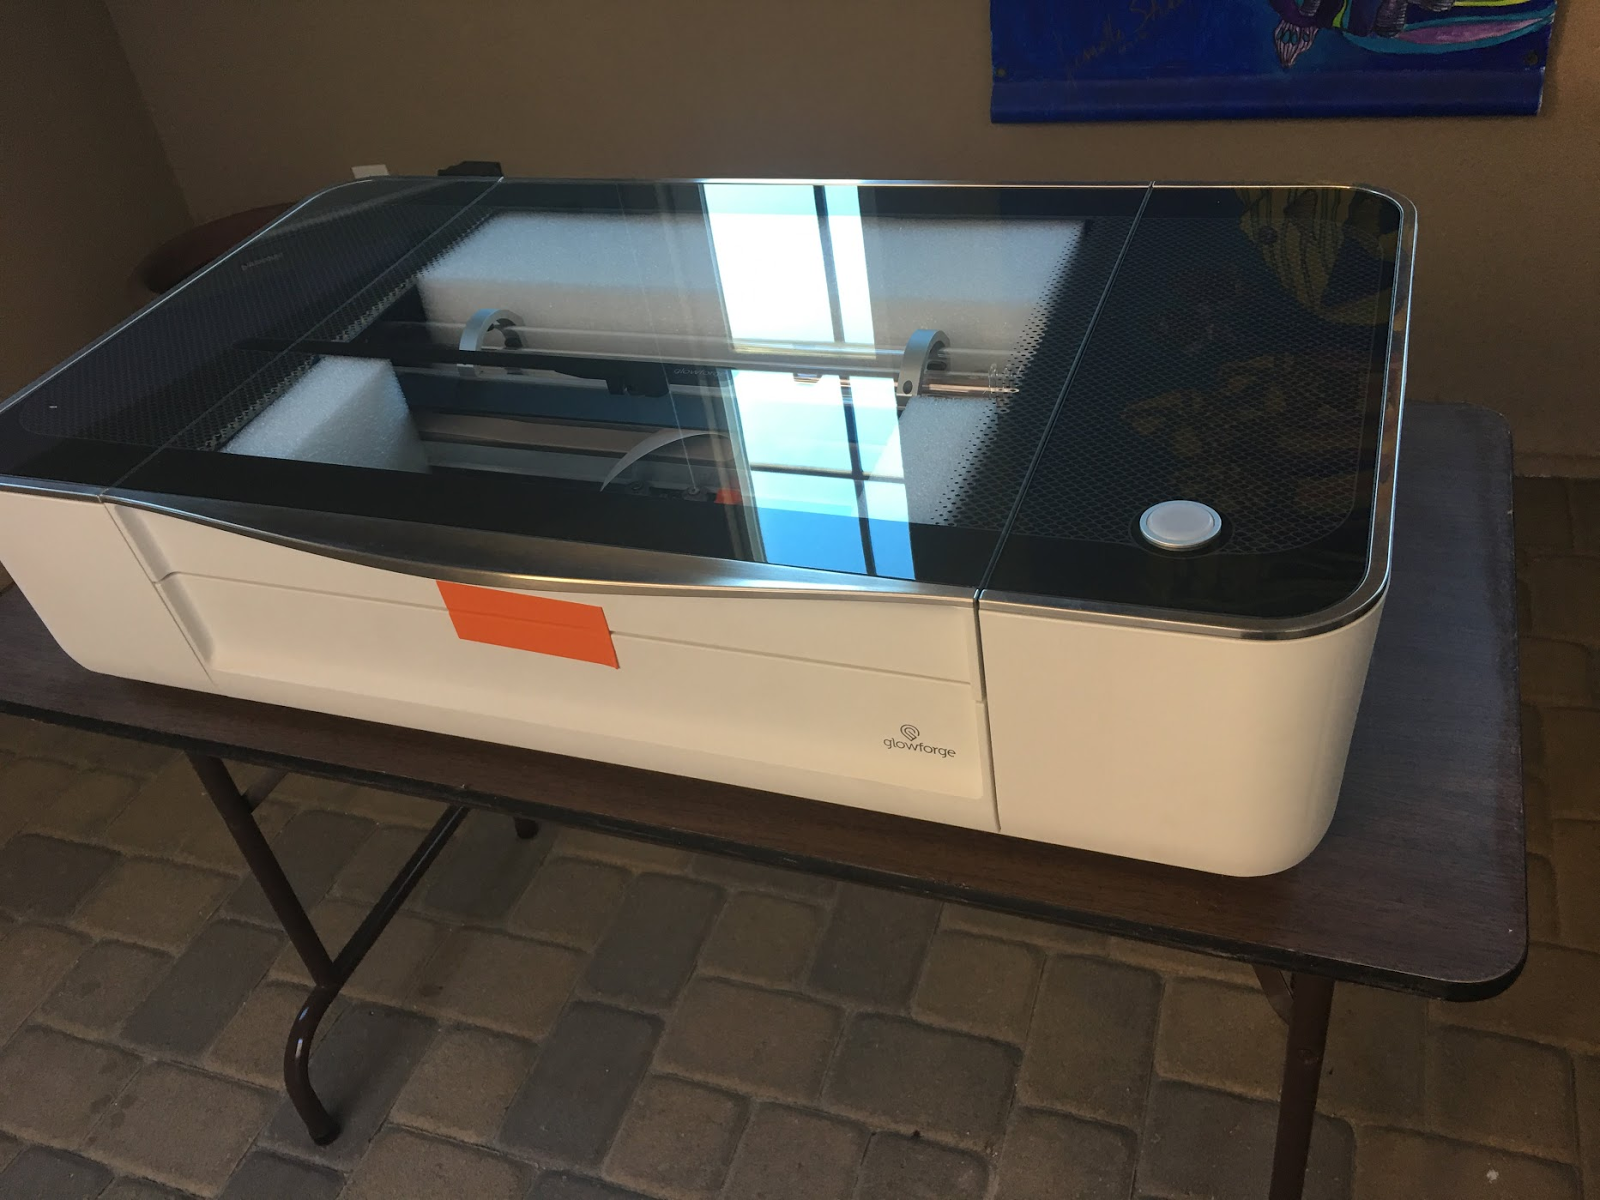
Out of the box, our first impression was -
THIS is a beautiful piece of equipment!
Steve Jobs would have been impressed!
The Glowforge came in two boxes which contained the unit itself, a black crumb tray, a power cord, a print head, and blue cylinder. Some orange clips, and a few pieces of red hardware protected the GlowForge during travel. 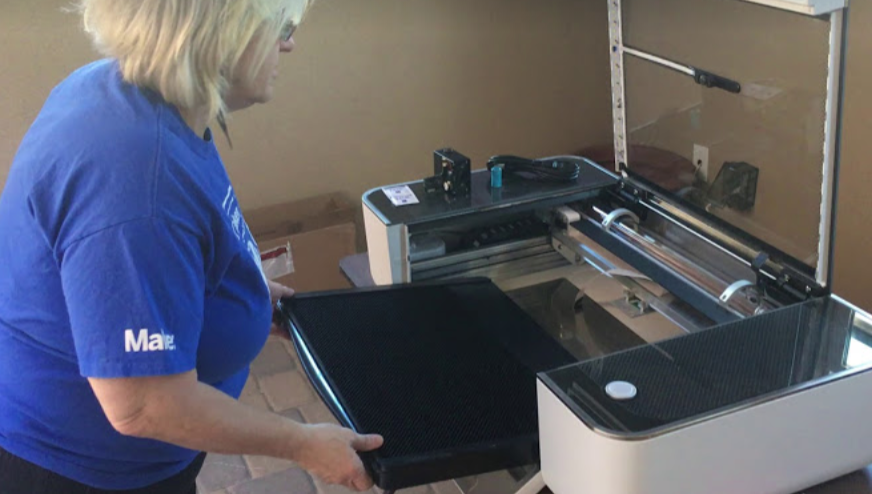 |
| The crumb tray slid right in. |
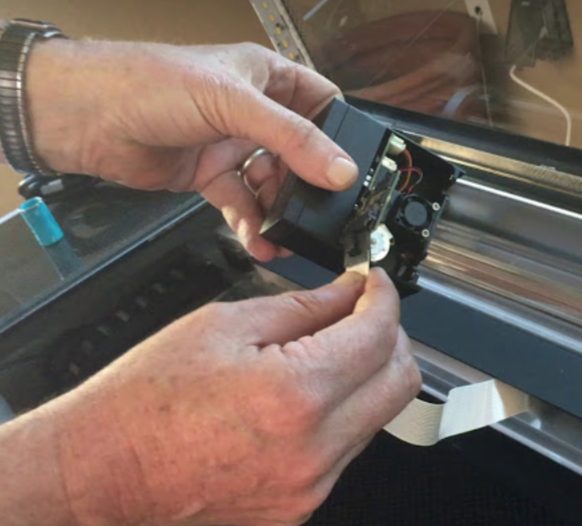 |
| The Printhead and ribbon cable snapped right into plac |
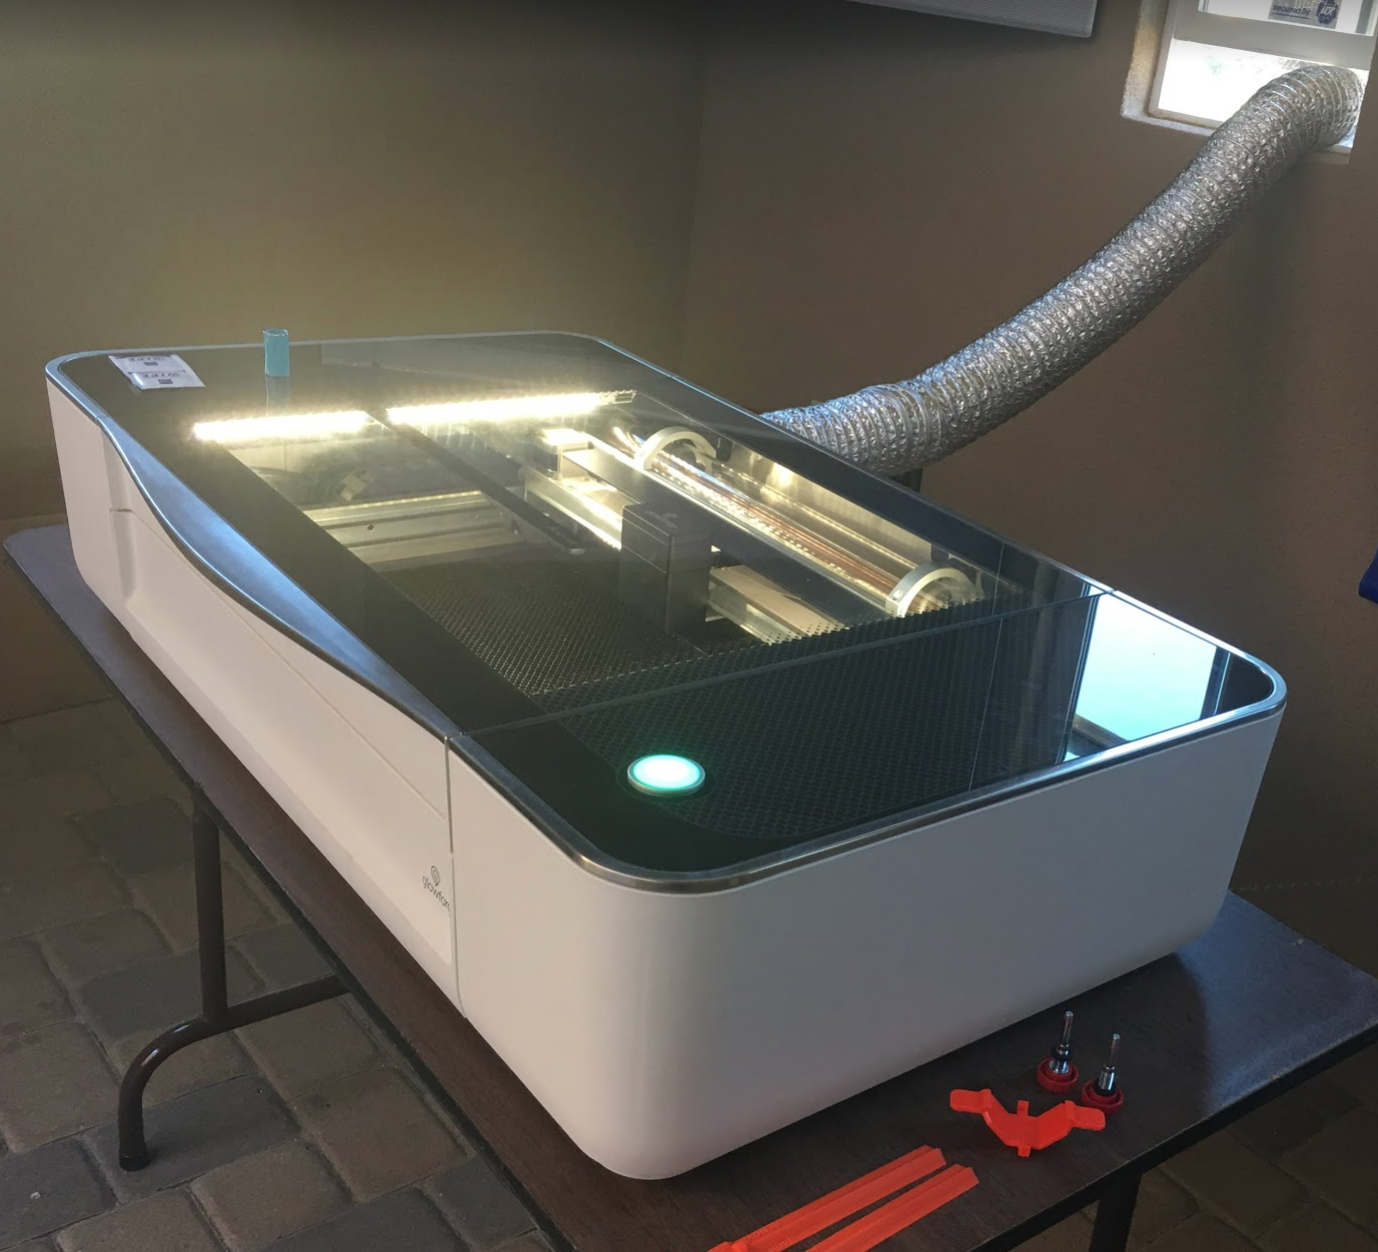 |
| We attached the venting tube to the Glowforge and place it out the window. |
Watching the coolant start to bubble and flow through the laser tube made us feel like we were about to experience something magical.
The GlowForge setup process lead us to connecting the GlowForge to wifi, and through 3 well done tutorials that introduced us to the cloud based workflow for laser cutting with the GlowForge. Within an hour we had completed the 3 tutorials showing us how to engrave, cut and score with a GlowForge. We were totally impressed with the seamless and friendly user interface, the GlowForge cameras that allowed you to cut your own drawings, and how easy it was to bring in color coded files created with 3rd party software.
I promise to follow up blog post with a more detailed look at how easy it is to interact with the GlowForge.
Unfortunately, we couldn’t take the Glowforge back to the bus until we prepared a space for it, but thankfully we had a second playdate planned.
A few days later, on Super Bowl Sunday, my nephew-in-law and I spent a few hours playing with the GlowForge while everyone else watched the Eagles beat the Patriots and Justin Timberlake entertain the crowds.
What a honor it was to have my second playdate with the Glowforge be with a talented young architect! Everyone agreed that the precision was amazing and the results met his standards as a professional.
GlowForge on Super Bowl Sunday
After this successful Super Bowl playdate, we finally were ready to bring our GlowForge home.
We measured carefully and concluded that we would be able to transport the GlowForge in our Jeep if we left most of the packaging behind.
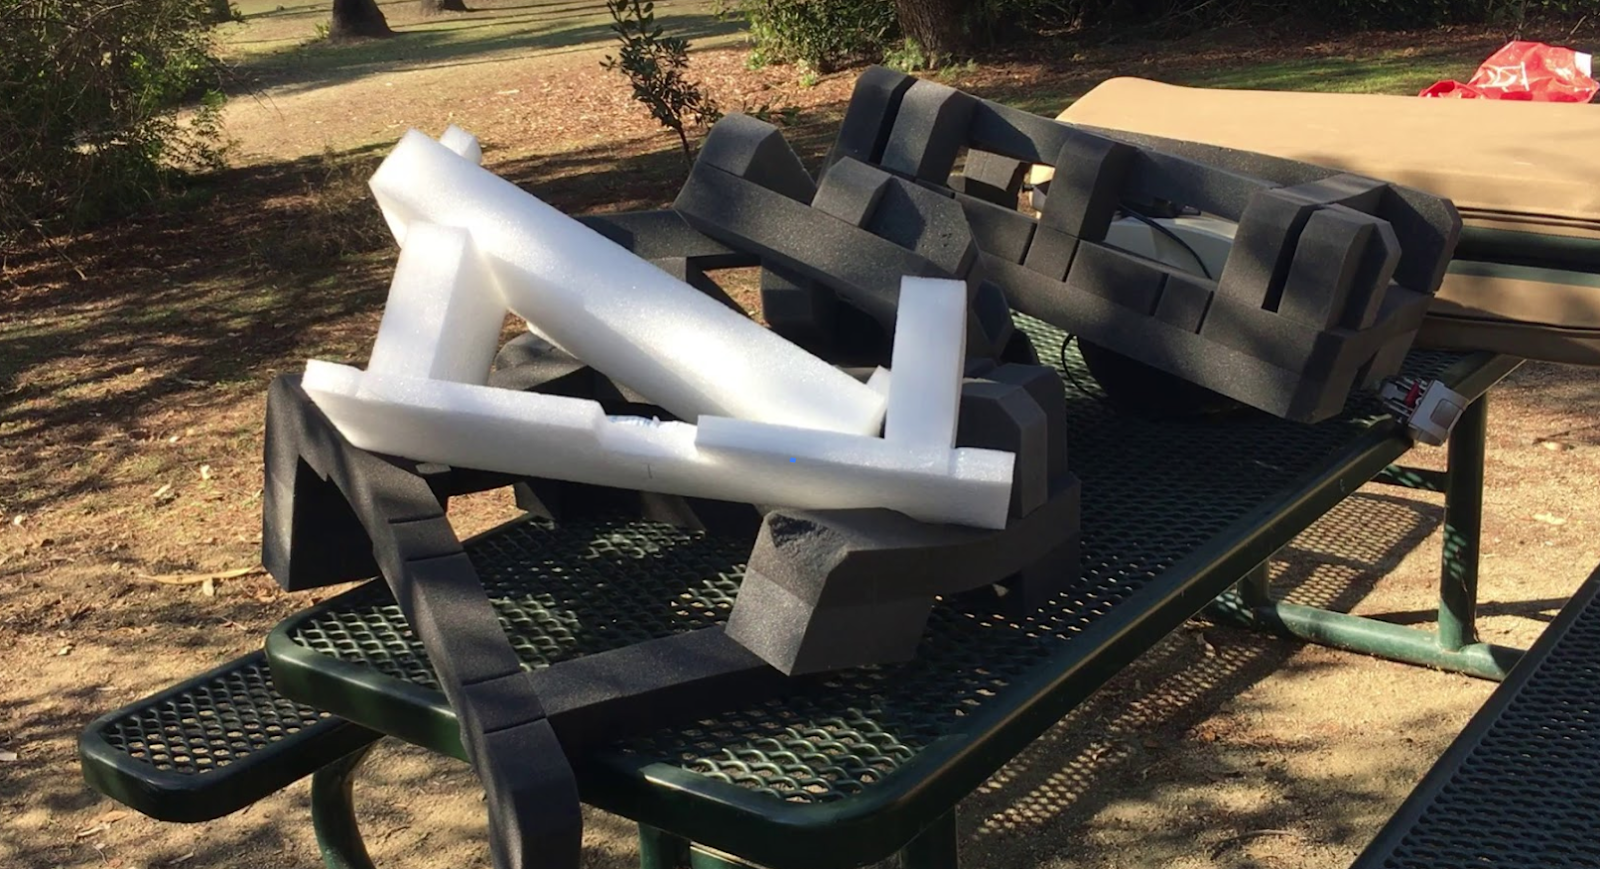 One of the challenges we faced was what do do with all this packaging. GlowForge warned us to KEEP the $250 dollars worth of packaging in case we needed to ship it back! Well when you live in a bus, every square inch needs of space is premium. I vividly remember trying to convince my husband that we could find space for an extra cutting board! After much deliberation, we strategically selected a few pieces of packing material to keep the laser from being damaged during transport to its new home and the rest of the materials went into the recycle bin. I seriously considered mailing it back to GlowForge! But for now, positive thinking - and hoping my GlowForge experience will be trouble free!
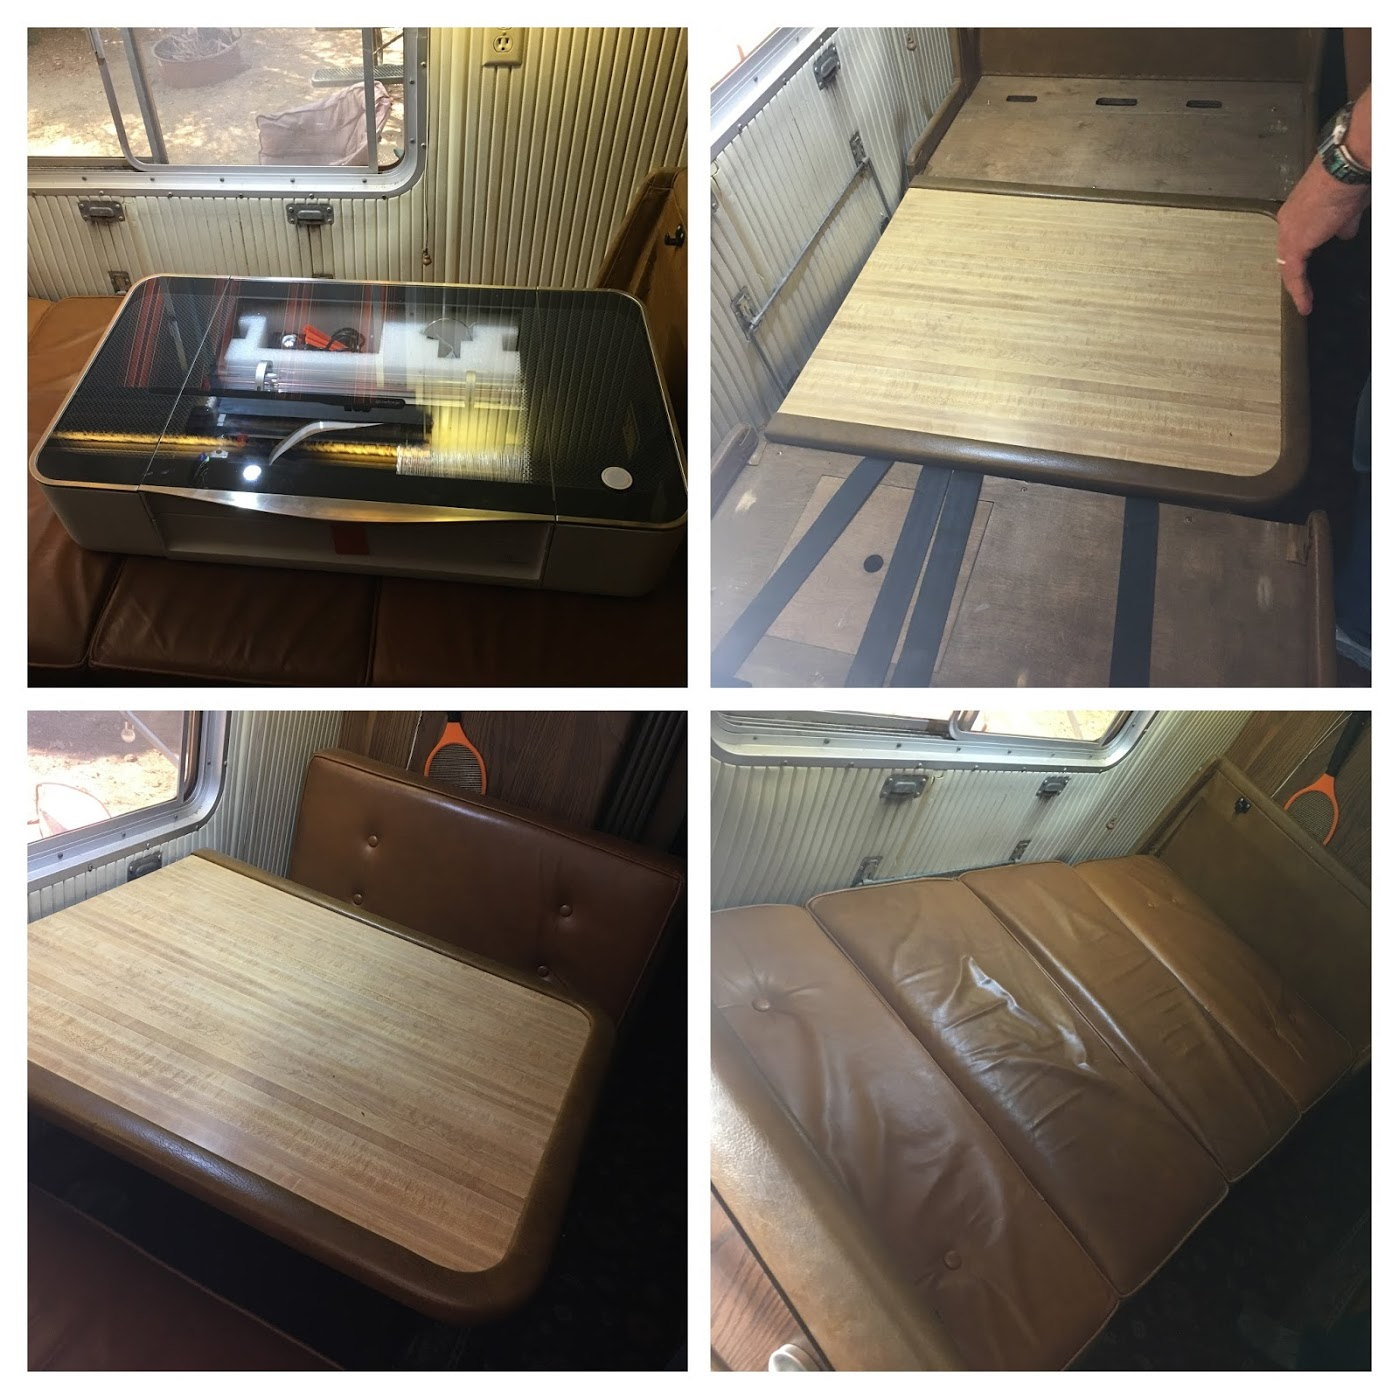
GlowForge Moves into the Bus
Alas our time in San Diego County has come to an end, and we’re ready to hit the road again.
We’re gearing up to spend the next few weeks off grid in the desert!
It will be our first time traveling with GlowForge in tow! It will also be the first time we will be using our GlowForge off grid!
Stay tune!
Blog Post on Deck
- Moving off grid with our GlowForge
- The GlowForge Cloud-based Workflow
- First impressions from the Classroom Educators
