Subscribe to this blog to get new learnings ideas, discoveries, and inspiration from the CREATE MAKE LEARN community, along with updates about our upcoming Summer Institute and Workshops.
For each of these projects, students will be using either the laser cutter or Cricut cutter available in their school. In this post we'll focus on the skillbuilding activity we used to introduce both students and teachers to a workflow that students could use with the school's brand new Glowforge laser cutter.
This workflow will also work when students are designing for their Cricut Cutter. Although both these tools do offer a subscription based design tool, I recommend that students learn to design files using non-proprietary software for designing vector files needed when using a laser or cutting maker tools - like Cuttle.xyz. It's a great choice for schools for several reasons.
It's browser based - so it even works on Chromebooks.
Cuttle.xyz has signed data privacy agreements with several schools
It's accessible for middle grade students
They have affordable K-12 pricing
You can try before you buy with 3 free projects.
One Day 1, we lead each students to creating a hanging constellation disc of the Big Dipper cut from cardstock. We carefully went over safety protocols for using the laser cutter and explained that prototyping often starts with paper and cardboard before moving to wood, acrylic and other materials for the final version.
This tutorial video features the steps we used to provide sixth grade students the foundational skills they needed to design laser cut files for all three project choices available for this residency.
The next step was to get the downloaded SVG files from the students' Chromebooks to the laser cutter. My favorite workflow for this is to create a Google Form using the ADD File question. The link to this Google Form is made available to the students via their Google Classroom or other LMS Students quickly learned to submit and resubmit new iteration of SVG files to the laser cutter with helpful comments.
In this residency, both the teacher and I used our laptopss to display the SPREADSHEET associated with the Google Form used to submit their SVG files. One of us circulated around the room assisting students with designing their vector files while the other supervised students cutting their files at the laser cutter.
Students quickly learned the following steps and were teaching each other the sequence of
1. Submit SVG file to laser cutter using the Google Form (above).
2. Download their SVG file from the spreadsheet (Google form response) to computer controlling the laser cutter
3. Upload the SVG file to the Glowforge app.
4. Order the cut layers so the inside cuts before the outside.
5. Change the setting to match the material in the laser cutter.
6. Use AutoFocus to measure depth of the material.
7. Press Print and check the estimated time to make sure it feels reasonable.
8. Make sure you have a fire buddy with spray bottle on standby, then press TEAL GO button on laser cutter.
9. Always supervise you cut. Never walk away from the laser cutter.
10. Wait for the laser cutter to cool down . Open Lid and remove your cut.
By the 2nd or 3rd iteration students felt confident with the sequence and were independently switching materials between cardstock, cardboard, and draftboard as they revised their designs.
It was amazing to watch the projects come to life as students safely used real world tools and developed the growth mindset necessary to iterate their way from prototype to a successful project.
Stay tuned for three more posts that showcased the steps featuring each of the 3 project choices during this integrated STEAM based MAKER residency.
Subscribe to this blog or Sign up for our newsletter to get notified of new post, new resources and tutorials or new events
And if you'd like to learn how to design your own integrated STEAM infused project using creativity, circuits, & stories this summer, join me and other creative educators for a fun filled week of hands on learning at the Project Design Lab June 23 - 27 in Burlington Vermont. (includes lodging and graduate credit)
If you want to join my workshop and learn how to create an SVG file to help you with this challenge let me know here and I'll send you registration link for either
OPTION 1 Thursday January 14 at 8:30
OPTION 2. Thursday January 14 at 3:30
I've been enjoying the stream of #oneword and #oneword2021 resolutions or focus for the upcoming year and I've been thinking a lot about what my #oneword should be. I feel so much HOPE in that stream of One Words. After thinking deeply about several contenders I've picked my #oneword.
There are so many reasons I chose REGROUP - but the main reason was that 2020 really turned out to be a year to UNGROUP that has set us up for an opportunity to REGROUP in a intentional way. As we regroup let's be inentional about keeping the best, deleting pieces that are not working, rearranging what worked well, and even adding new elements.
I've also been taking many of the pieces of my personal life that were ungrouped in 2020 and considering how I will regroup them to in ways where I can have more intentional impact that aligns with my priorities and values.
During the past few days I've been thinking about the many ways that I can create physical artifacts that can help me stay focused on my #OneWord. So many possibilities come to mind - from Keychains, to T-Shirts, to Laptop Stickers to Wall Hangings. I have so many fun tools in my mobile makerspace from cardboard cutters, to vinyl cutters, to 3D printers to laser cutters that I could use.
No matter what I choose to make, the process starts with turning the word into an image. Although there are many ways to do this, the barrier I faced for many years when using my maker tools, was that I didn't have the skills to create images in the SVG format. After years of using Bitmap images, the SVG format did not make sense to me. Finally in 2020, after completing a personal maker project where I was working through the loss of some very special young people in my life, I feel like I've started to develop more creative confidence creating SVG files. This confidence with working with SVG files has open up so many possibilities for using my maker tools.
In 2021, one of the pieces in my REGROUP journey will be to increase opportunities for teachers and students to LEARN through CREATING and MAKING. As I think about how I can do this, one way is to continue to invite others along in my journey.
Therefore I'm decided to kick off the new year by inviting others to create a physical artifact of their #ONEWORD.
You don't need fancy maker tools. Tools and supplies as simple as a cardboard cutter, copper tape, fabric, needle and thread can be used as well as fabrication tools such as Vinyl Cutters (Cricut or Silhouette), 3D printers, laser cutters, or even a scroll saw.
What do you say? Who wants to join me in the challenge of taking our #ONEWORD and creating or making a physical artifact? Let's create a virtual gallery of the physical artifact we create and tag them #makered #oneword.
As a way to kick off this #ONEWORD challenge, I'd like to help anyone who wants to learn how to turn your #ONEWORD into an SVG file from free software that you can use to create your physical artifact to join me for a free workshop. I'll share tips for grouping letters together or preventing the middle of letters from falling out.
Once you have your #oneword as an SVG file you can cut it from cardboard, vinyl, wood, fabric, acrylic as part of creating your physical artifact.
If you want to join my workshop and learn how to create an SVG file to help you with this challenge, let me know here, and I'll send out more info after I find out what day and time will work for most.
Oh- and a special shoutout to Downers Grove Grade School 58 for the inspiration for this challenge.
AJ Jiuliana once again challenges us to accept a 30 day blogging challenge. I've done this several times, often in March, where I have published 30 days of making. A few years back I decided to give more attention to my writing about women and girls and tech. That year I managed to write 100 posts in theTechSavvyGirls blog. Every once in a while, I find myself wanting to write something that does not fit either of those blog areas, and end up adding a posts to an older blog called "Learning With Lucie". And every once in a while, I update a blog area where we write about our mobile lifestyle out of our BlueBird bus. I appreciate AJ's challenge. One of the things I like about it is that he distinguishes between 'writing' and 'publishing'. I also like that he allows us to substitute the word "write" with the word 'create'. These two substitutions are encouraging me to take the challenge. I had already planned to 'create' more 'consistently' this year. I've taken more time to 'create' over the holiday break and found myself enjoying it so much. It brought me joy! I felt productive and happy at the same time. The things I created connected to my sense of identity as a educator, mom, grandma. Here are two things I created during the past month or so
A- Maker educator apron (e-textile project using micro:bit)
A picture-frame puzzle using laser cutter and Gravit Design
Neither are 100% done, but both are close, and both involved learning new skills or gaining confidence with old skills. The thoughts about learning through creating and making were ongoing and I can't wait to reflect on the process in a more formal way.
<
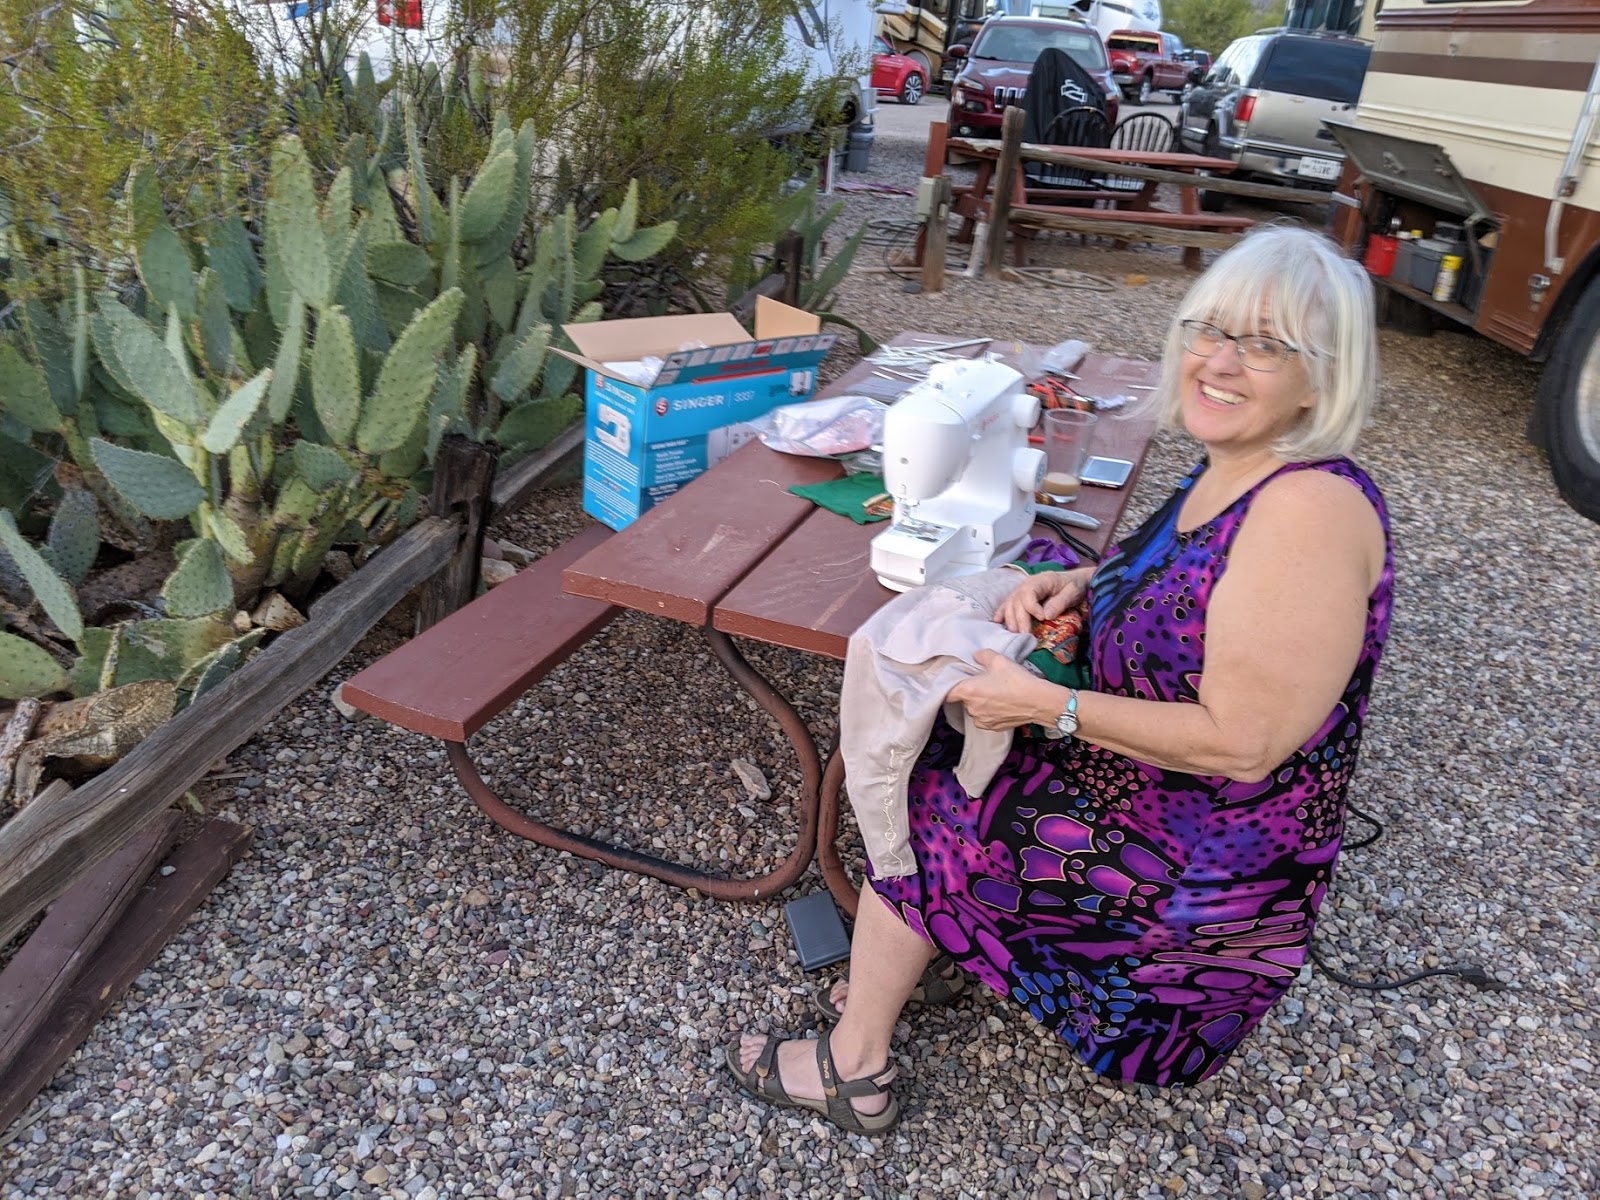
In the first project - the maker educator apron, I used design thinking, conductive thread, sewable LED's, a micro:bit and an electronic piece known as the LilyTwinkle. I even broke down and bought a sewing machine so I could learn (or relearn) how to sew. I've never liked sewing because I kind 'suck at it". It was time to let go of my 'fixed mindset' around my ability to sew. Buying an entry level sewing machine was a commitment to a growth mindset around. Now my goal is to keep on learning to use it in my creating and making.
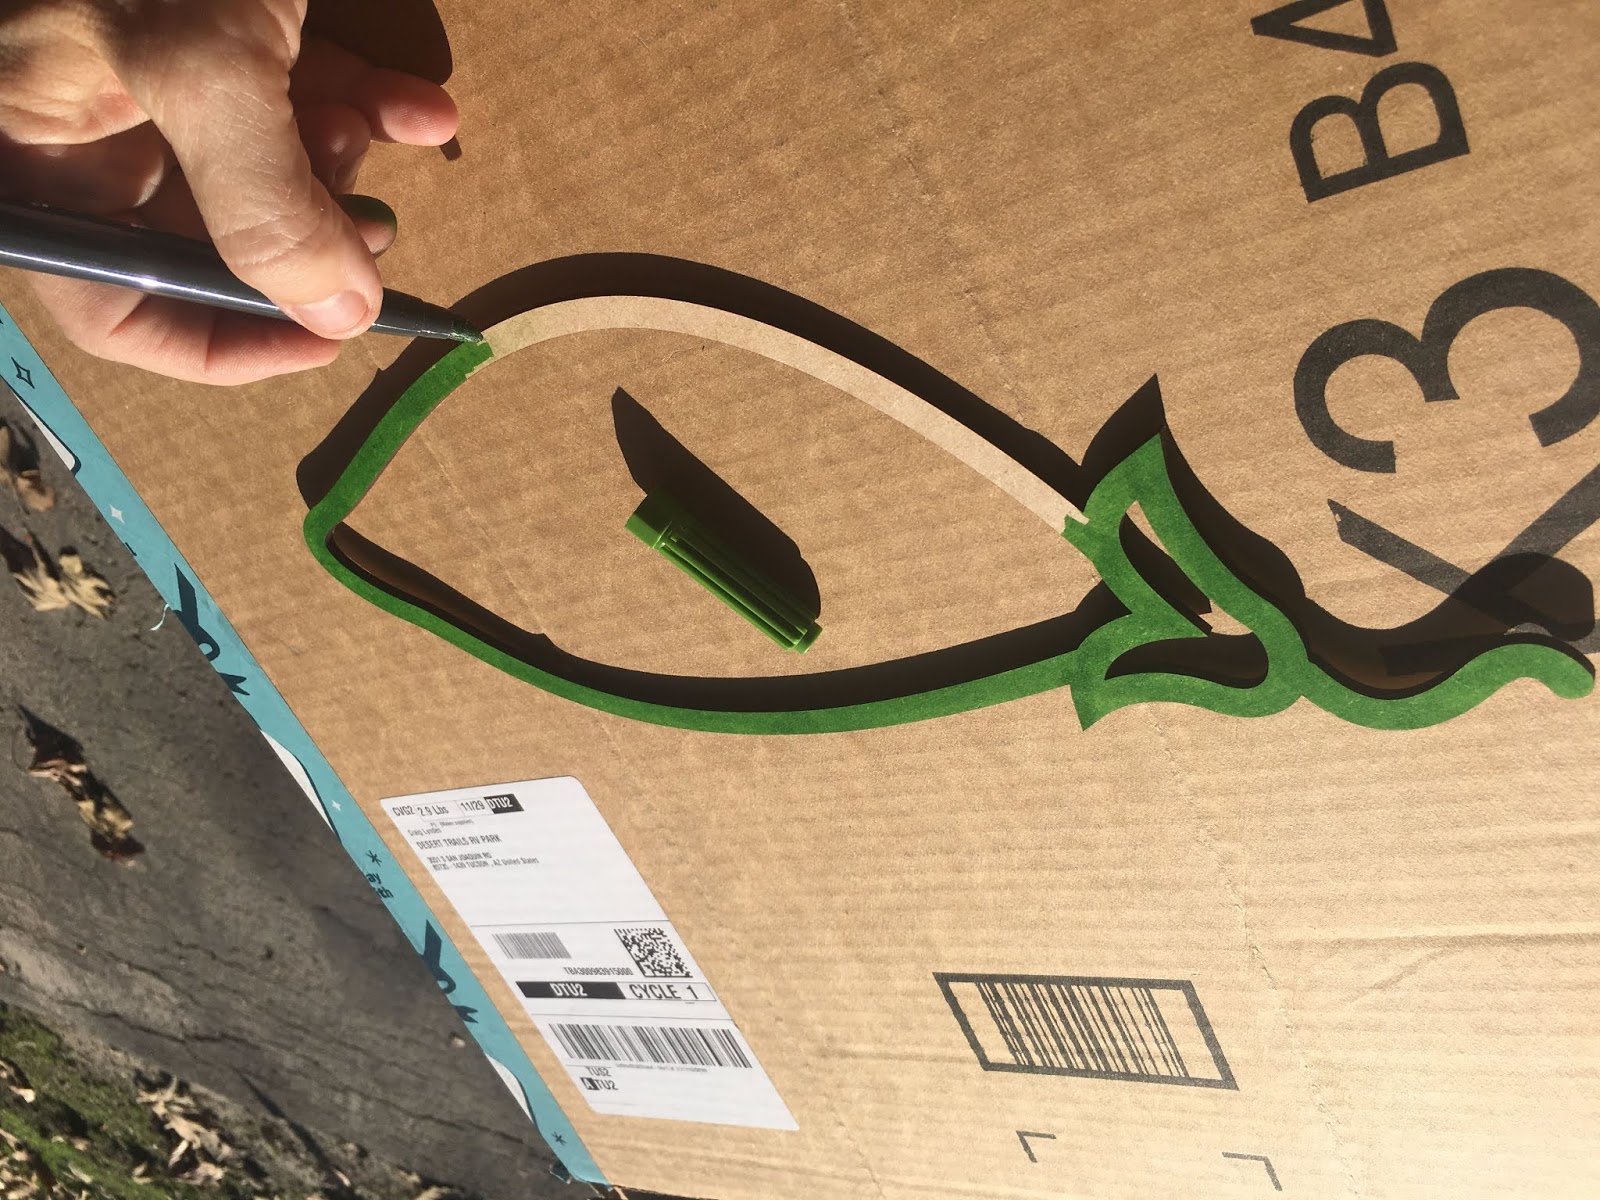
The second project arose out of my desire to learn how to use vector software. I've been struggling with vectors ever since I started using new maker tools. Each year, I seem to have picked up a little more fluency with vector files, but wanted more confidence and understanding of how to create my own designs using vector software. On a quest to do so, I came up with a project that engaged me hook, line, and sinker. It was personally meaningful to me and I picked up so many new skills working with SVG file types. Of course, this had me reflecting on the importance of relevance and personally meaningful projects for our students. The emotions I felt during both of these learning process are exactly why I want to write more about them. I look forward to 2020 being a year of increased consistency in my creating and writing and sharing what I learn.
Jon Gordon, “Successful people do ordinary things with extraordinary consistency, commitment, and focus.”
Tony Robbins, “In essence, if we want to direct our lives, we must take control of our consistent actions. It’s not what we do once in a while that shapes our lives, but what we do consistently.”
MY 2020 BLOGGING GOAL
Write/create 20 - 30 minutes per day, every day for 30 days (you choose the amount)
Publish 2-3 posts/videos per week (again you choose the amount)
If you miss a day, pick up where you left off. Don’t make up for lost days.