
The holiday season often brings the opportunity to MAKE for others. Traditionally I've made lots of food gifts. I love baking around the holidays - especially French Canadian favorites like tortiere (meat pies) and Bouche the Noel. I've also taken to making ornaments to give to my family.
Since I especially love learning new tools and processes and I've been a bit obsessed with snowflakes lately, I came up with an ornament idea that involved all of the above.
The ornament design I was envisioning provided me with the opportunity to learn to use CUTTLE.xyz for design as well as how to engrave acrylic using the Cricut Maker. I also got to pull out my e-textile supplies and experiment with designing switches.
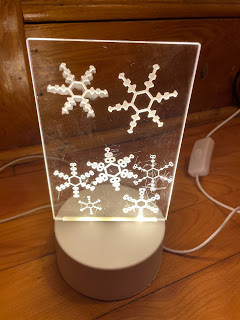
In my recent experiences creating Code You Can Touch, I've been coding SnowFlakes. My laser cutter is a fun way to turn Code into something I can touch like this LED nightlight.
I realize that most schools don't have access to a laser cutter, but many schools have adopted computer controlled cutters like the Cricut Maker - and for those who don't yet - the cost is within reach. So I purchased the Cricut Engraving tool which I've found for around $20 online and some acrylic blanks. After watching a few YouTube videos for tips and tricks to engraving acrylic with the Cricut Maker, I discovered that indeed it is possible to engrave with more accessible tools for schools. As you might expect, its nowhere near as fast as it is on a laser cutter, but it can be done!
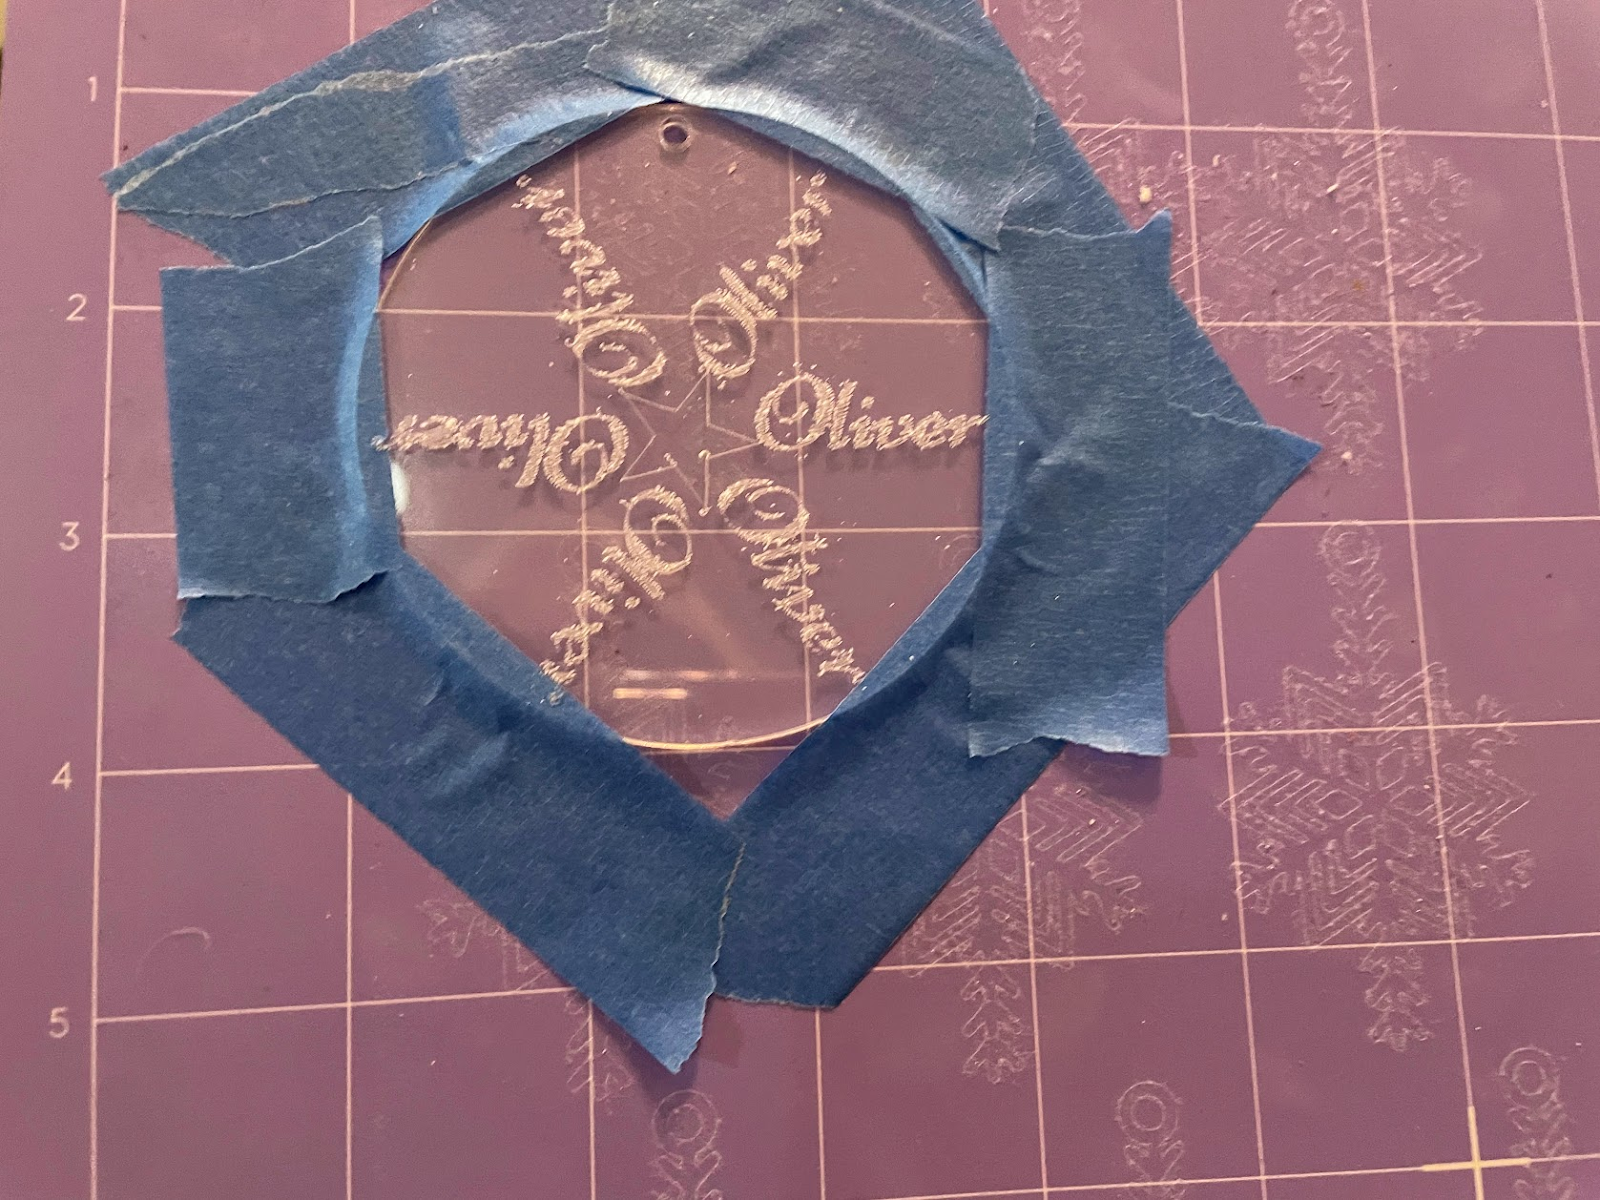
I used the purple (stickiest mat), taped down by acrylic with blue tape, and changed my CUT line type to ENGRAVE and 20 minutes later I had engraved my first acrylic blank with a snowflake design. However, I discovered that the engraving of an SVG file only engraves the outline of the graphic, and that was not the result I was looking for. I wanted the Cricut to engrave inside my graphic. After a little more research, I learned that using the SLICE feature of the Cricut Design software with a HATCH LINE FILL pattern would make the engraving look solid. This video created by Kay from Clever Someday, not only shows you how, but Kay also includes a Cricut Starter project with the line pattern you need for this technique. (look at her show notes in the video description) It worked perfectly and helped me understand how engraving on acrylic works by scratching lots of lines close together and how to create that effect. She also has lots of extra resources on her website/blog.
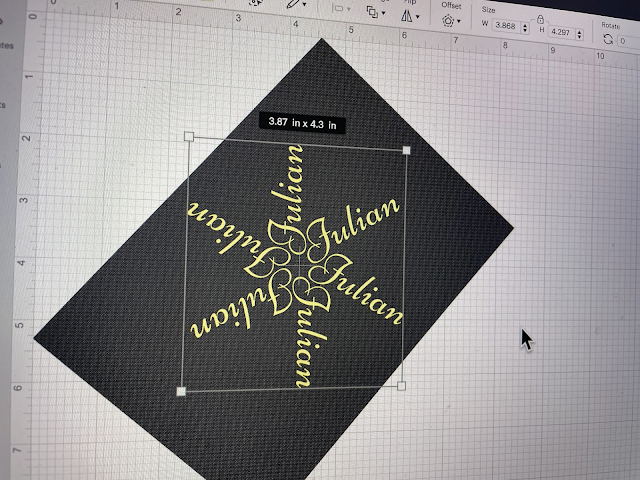
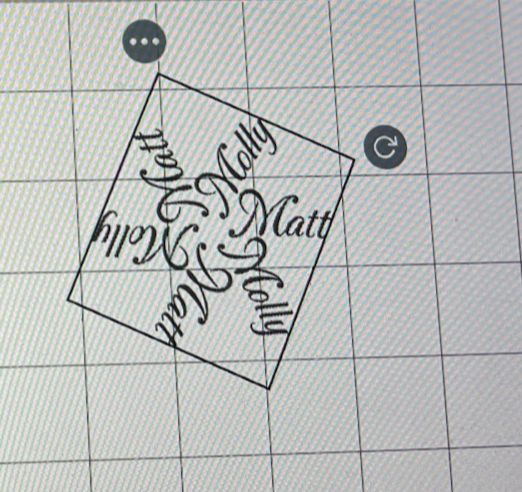
Also on my "To Do" list was to learn to use Cuttle.xyz - a web based tool I've recently discovered in my search for a tool that students could use on their Chromebooks to design SVG files. Since Corel's take over of Gravit, I've been trying lots of different workflows and excited to discover Cuttle.xyz not only works on a Chromebook, but that the company is also listening to educators' need for student data privacy agreements.
I found the interface with Cuttle to be a little less intuitive than I had hoped, but after a little practice with their tutorials, I started to get the hang of their approach and was able to envision a design for my ornaments. Of course, it helped that Cuttle had a beginning tutorial using SNOWFLAKEs -which I've been obsessed with lately. The Getting Started Part 1. and Part 2 were also particularly helpful.
I must say that my prior limited knowledge with SVG design were both a help and a hindrance and I had bit of trouble wrapping my head around how Cuttle.xyz uses MODIFIERS, but once I started to see how easy it was to GROUP objects, and add or remove modifiers to the group using the panel on the right side of the screen, I began to really enjoy experimenting with Cuttle. I still haven't figured out how to vectorize the border of a fat stroke without using the Stacked Layer modifier described above. I'm sure there is a way. I'll do a different blog post that gets into my learning journey with Cuttle as I continue to learn more. For now I'll continue to describe my experience designing these ornaments with broad strokes. More details later, I promise.
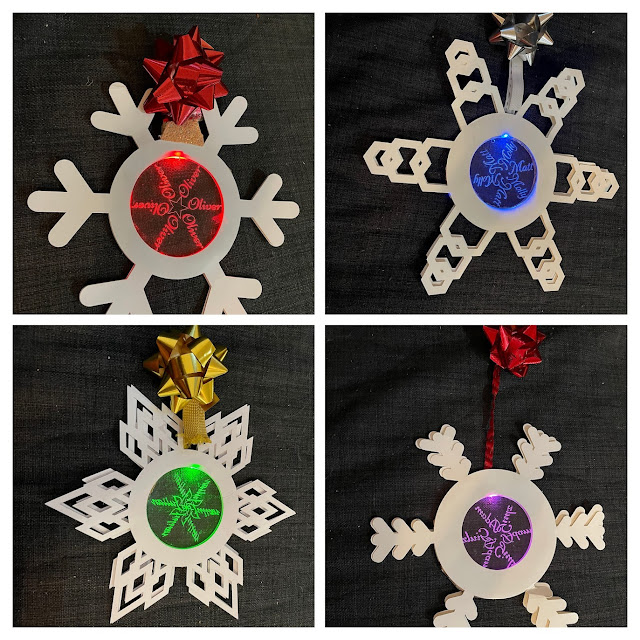
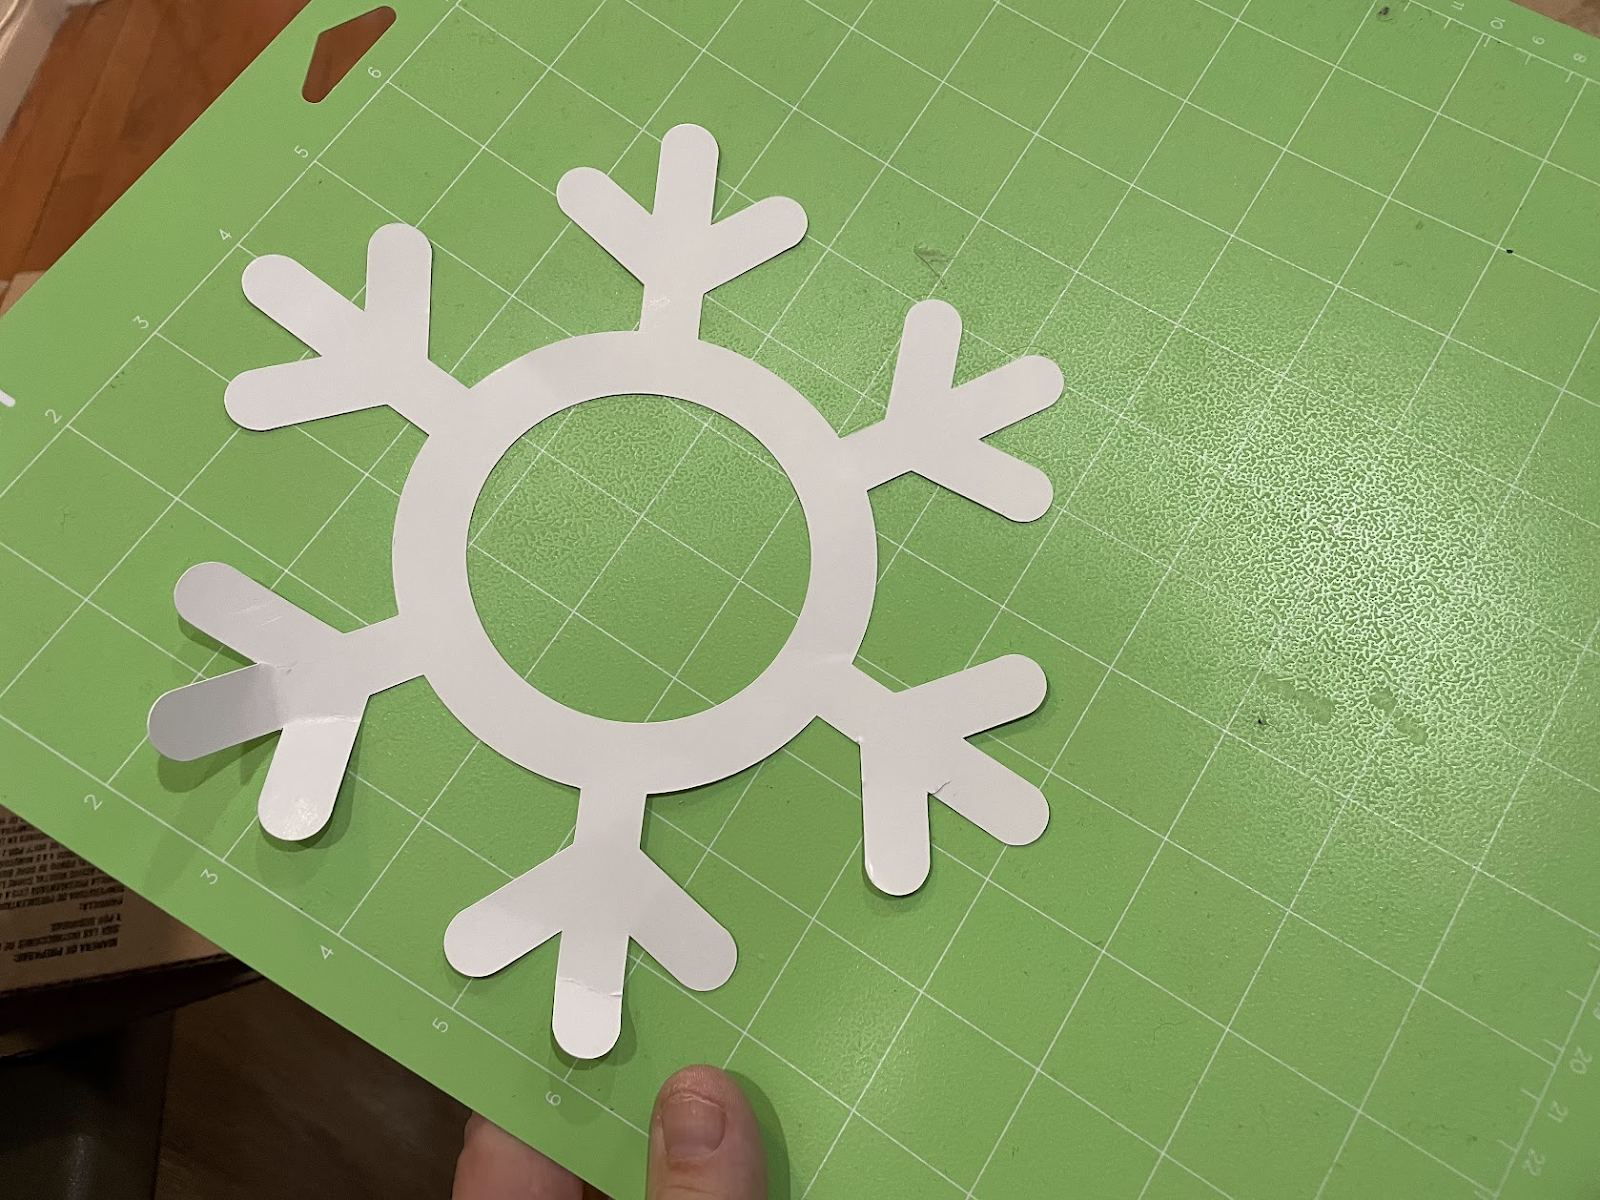
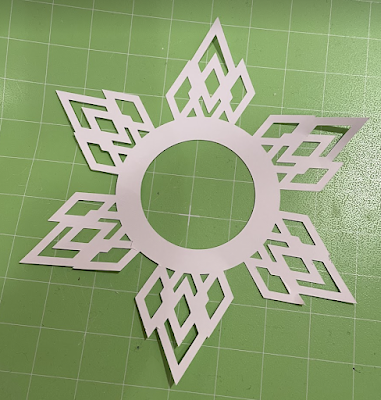
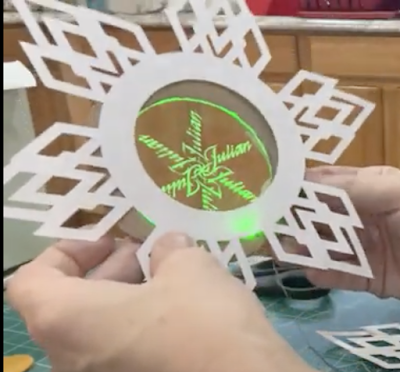
After successfully designing the snowflake from the tutorial and using boolean operators to add the snowflake stems to a 3 inch circle, I was on my way to create the design I imagined. Working with white poster board proved to be a great medium for this design.


I was pretty excited about the main ornament design.
powered and switched off and on.
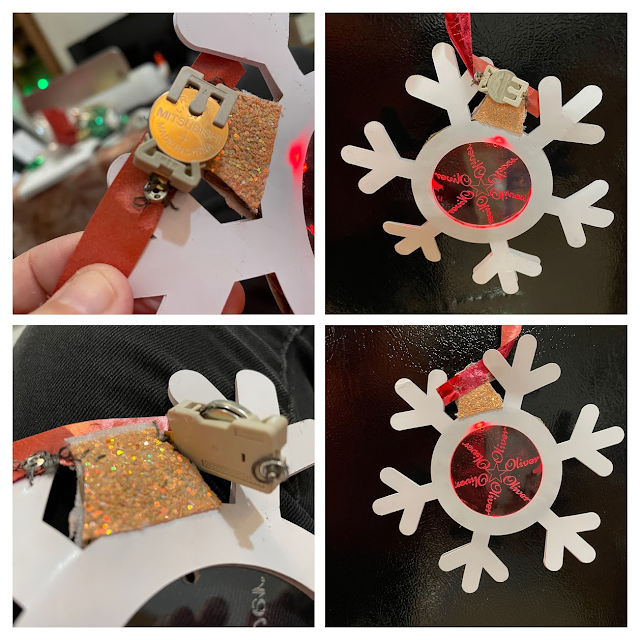
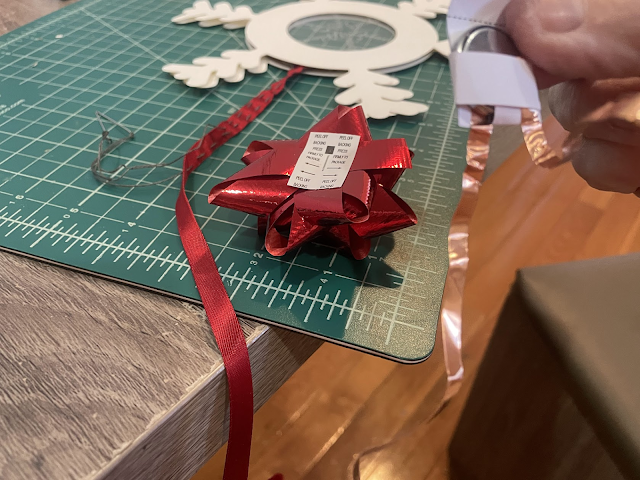
Unfortunately I did not have cloth ribbon, and this design didn't work so great with the Christmas ribbon laying around my place.

And in between my ornament making sessions, I found time for some more age appropriate making with Julian and Oliver.

Throughout the process I kept thinking about the fact that making for someone I loved, really contributed through the perseverance needed to exercise that growth mindset. Many of us in education are familiar with Carol Dweck's work around Growth Mindset. Making (especially making for others) is a fabulous way to help students develop that growth mindset. Throughout my process this holiday, I kept thinking about how my motivation and perseverance were impacted because I was making for others I love and how I've seen this play out in several maker related learning experiences.

ReplyDeleteI found your post on how making for others contributes to personal growth and community spirit incredibly inspiring. Your insights about the joy and fulfillment that comes from selflessly creating and sharing truly resonate with me. The way you highlighted the transformative power of giving back through creativity not only motivates but also encourages others to explore their own creative potential. Additionally, I recently discovered a remarkable 360 degree photo editing service that offers innovative solutions for immersive imagery, further enhancing creative projects. Your thoughtful reflections have added a new layer of meaning to the art of making for others.