
What happens when you take a creative, enthusiastic, risk-taking librarian, and a group of middle school students and a Makey Makey inventor kit and bring them together for a weekly CHOICE session during November? Read on and find out how Charleston Elementary School used the PBIS November theme of GRATITUDE to create an interactive way for students and staff to express their gratitude.
After a brief meeting with Charleston Elementary School's librarian about possible collaborations, we decided to use the Makey Makey as a way to introduce the idea of Code You Can Touch.
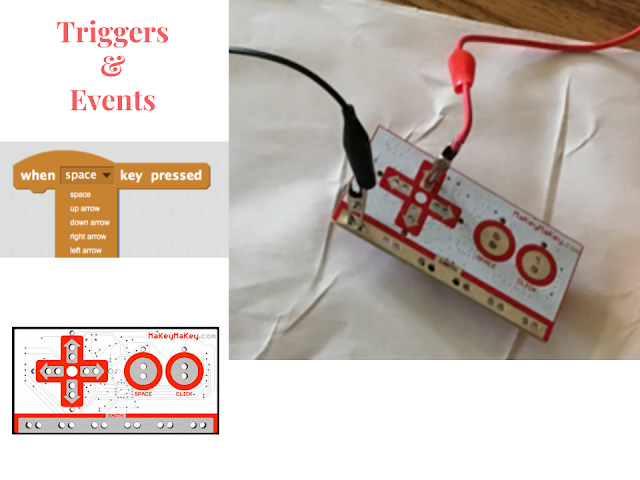
After sharing one way to introduce coding to students using the Makey Makey, Ms. Bolton and her students explored the Makey Makey and alligator clips along with Scratch.
Soon they were ready for more, so we decided to give the students a challenge that connected to the school's PBIS November theme of GRATITUDE.

We organized students in groups of three and provided each with post-it notes and the following prompt.
Come up with AT LEAST 10 things
you can't imagine the world without.
The prompt worked better than we had expected and some groups had more than two dozen stick notes
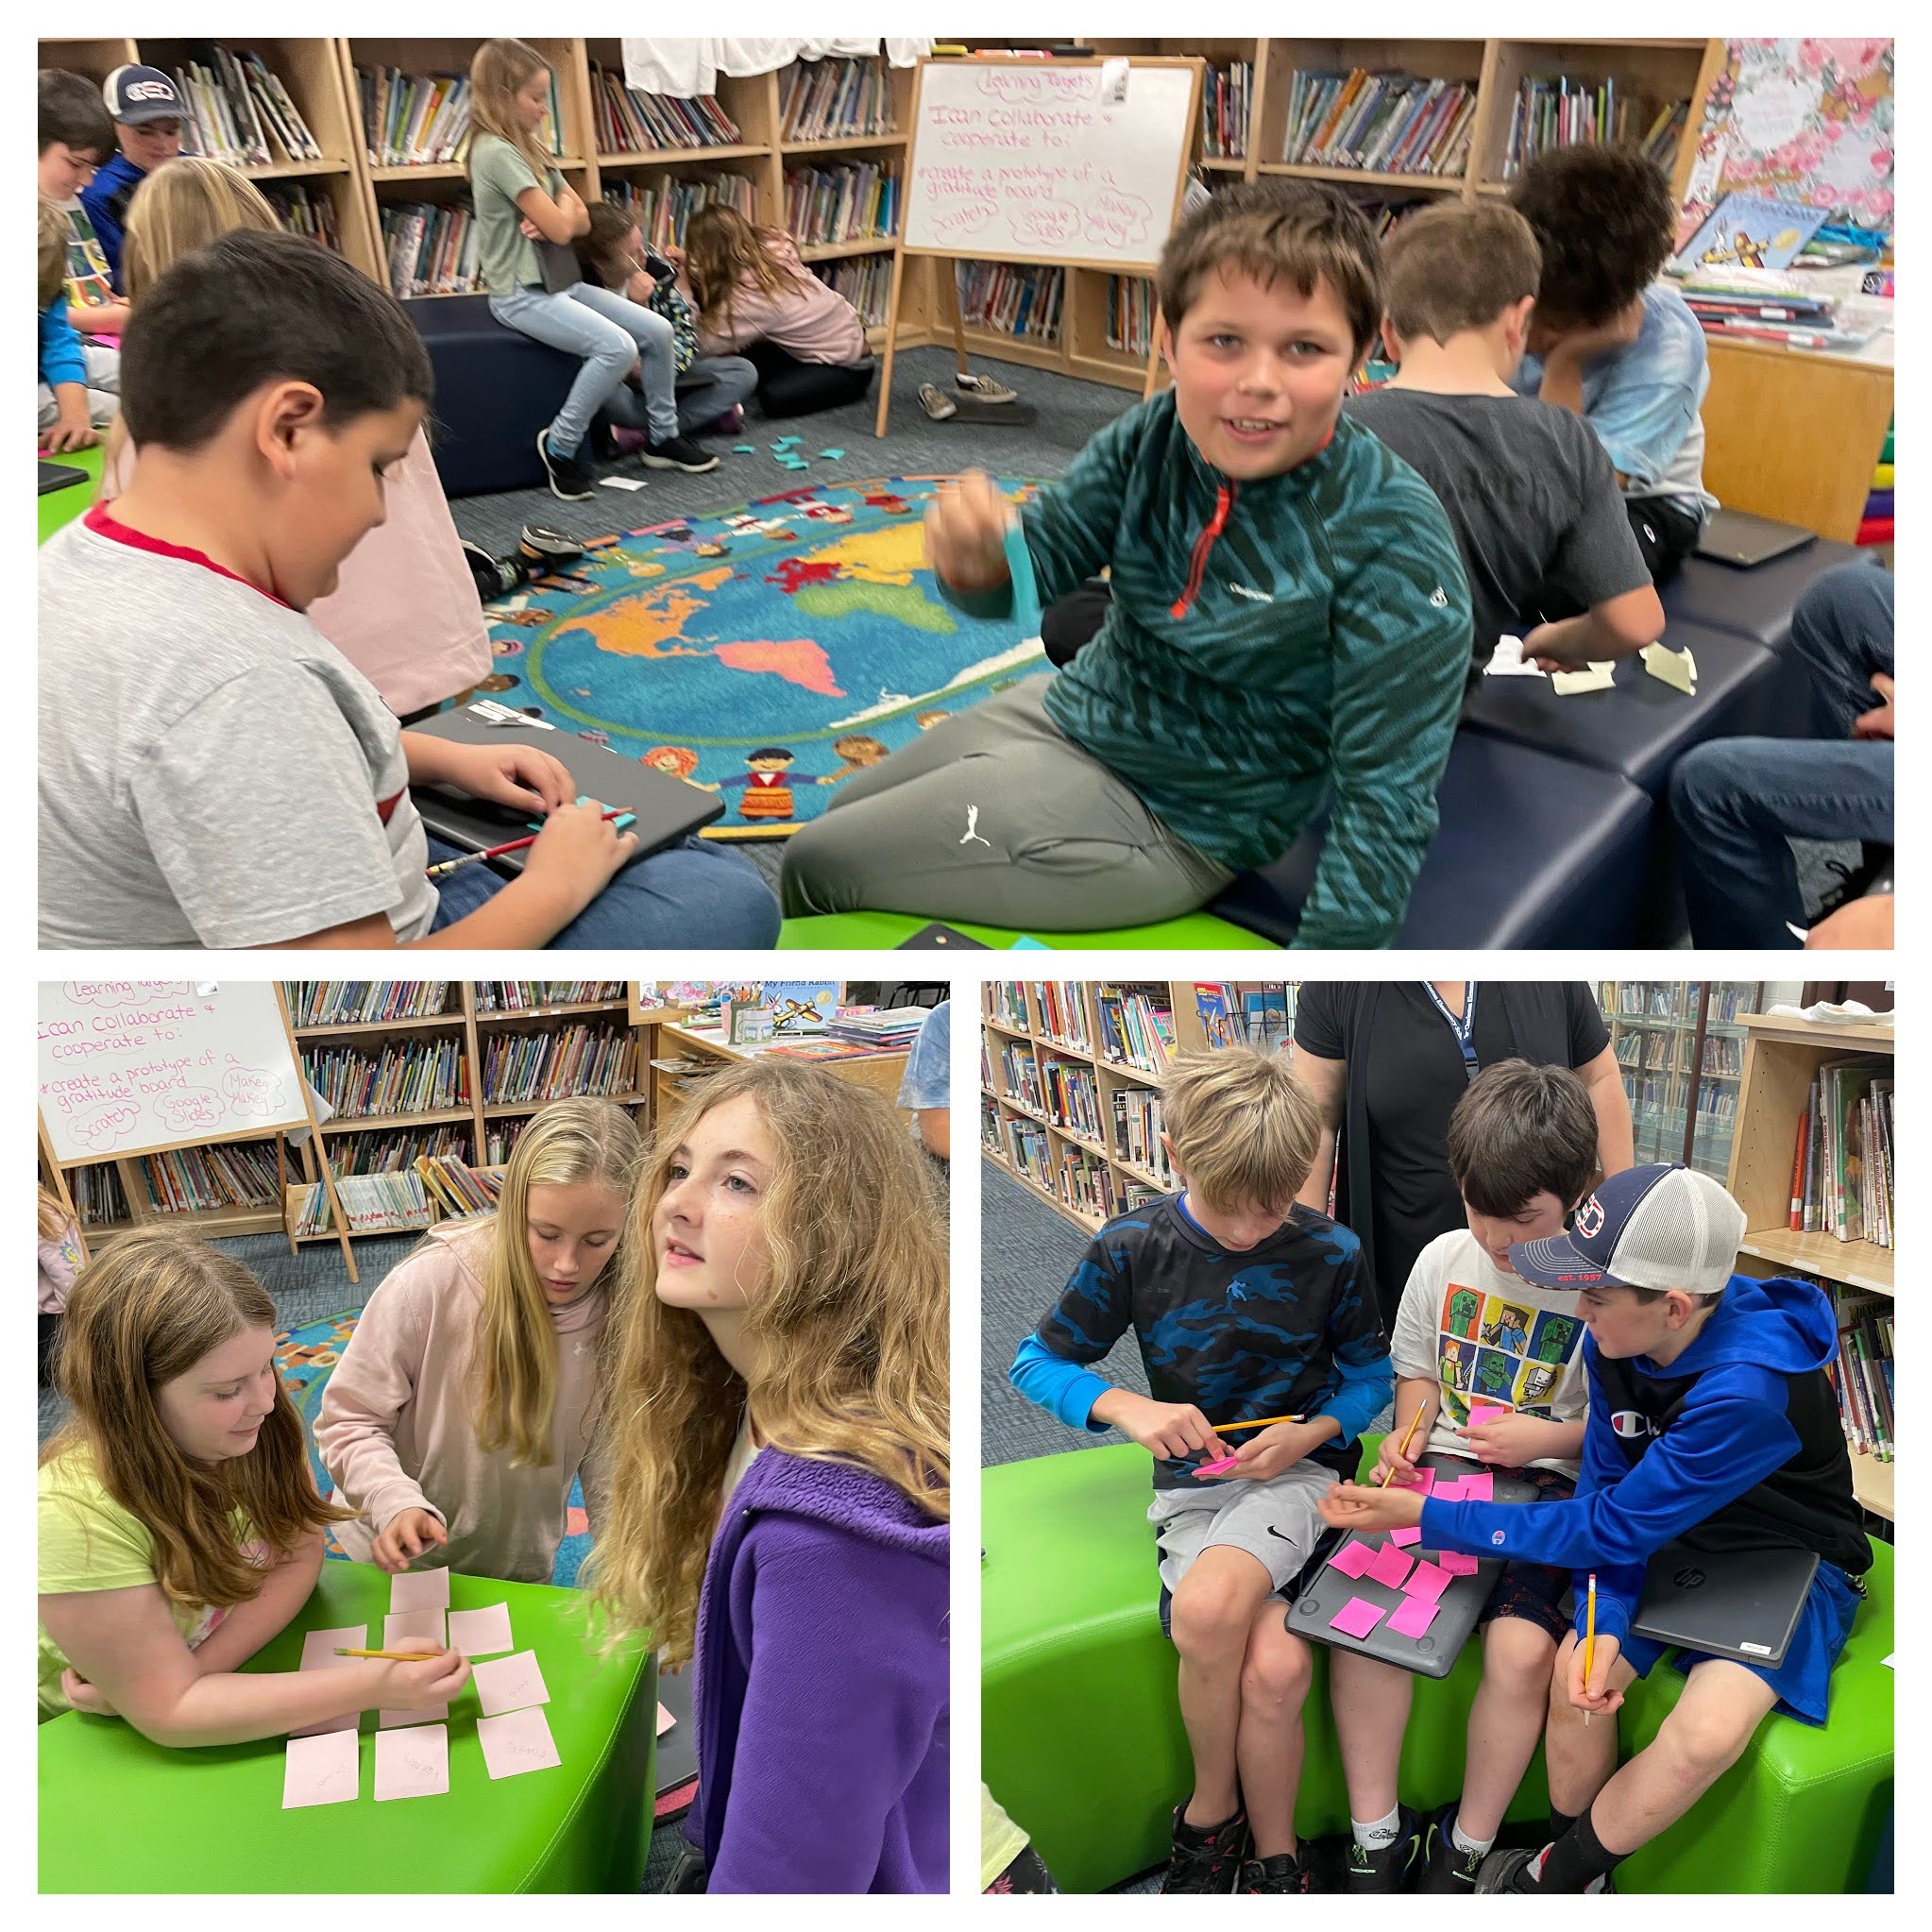
After thinking through different ways to teach students collaboration skills, we asked each group of three to assign one of the following roles to their members.
Ms. Bolton and I lead skill building activities with each group and helped them understand their role in the project.
The ARTIST would use Google Slides to design the center piece for the gratitude board.

The CODER would work with Scratch to write the code that played recorded sound clips from 10 of their gratitude sticky notes.

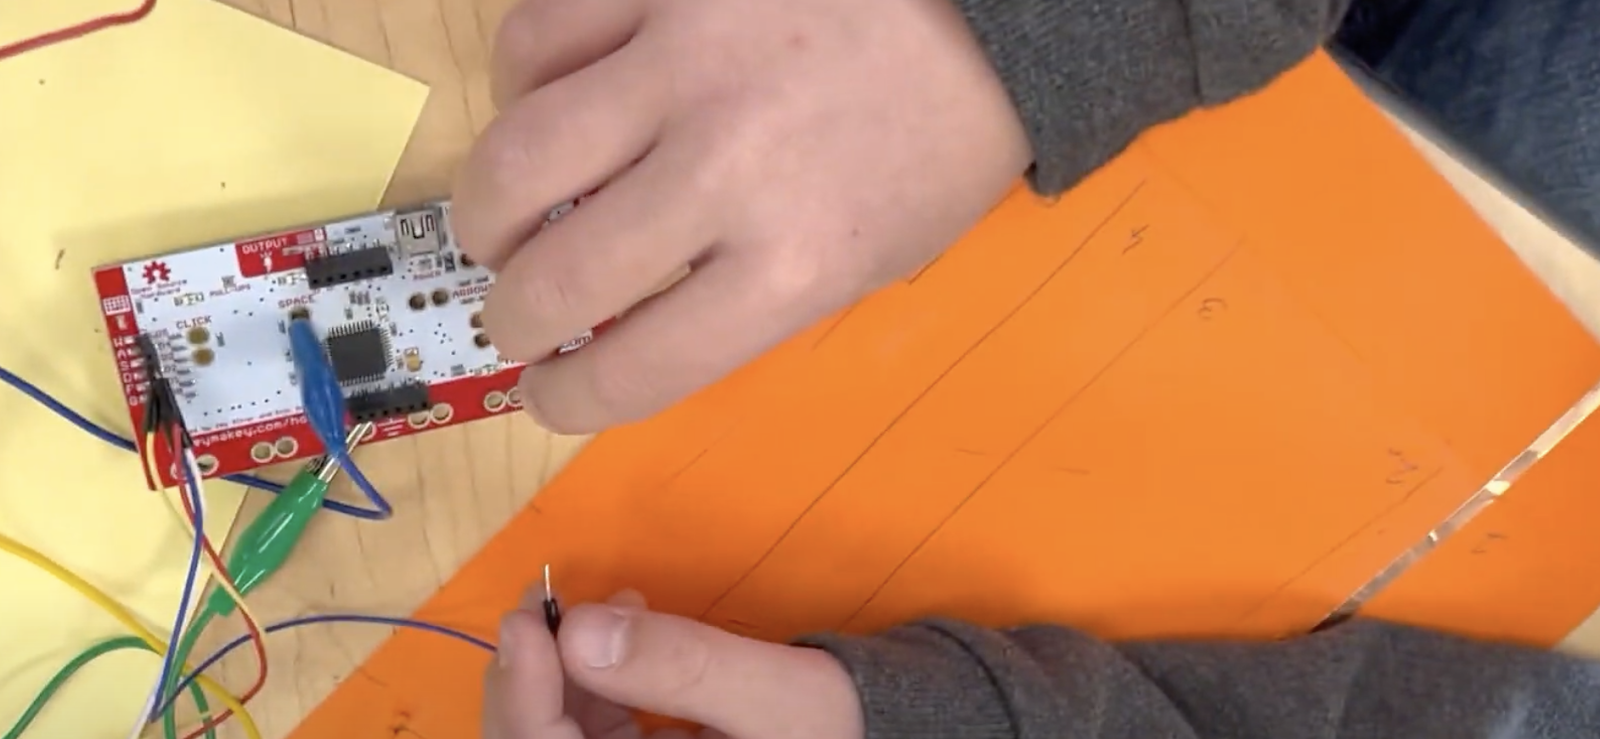
The ENGINEER would use copper tape and cardstock to create switches that closed circuits that could be connected to the Makey Makey to trigger the code to play the recorded sounds.
The session went by quickly and we looked forward to meeting again.
Unfortunately we learned that a school event would pull out many of our students for the next session, so we modified our original plan. Instead of every team of 3 designing their own gratitude board, we worked on creating an interactive way to engage anyone in the school who wanted to express their gratitude.

Some students continued to work on a physical gratitude board that would use the Makey Makey to play 10 sound clips expressing gratitude.


Some students worked on recording and coding sound clips using Scratch.

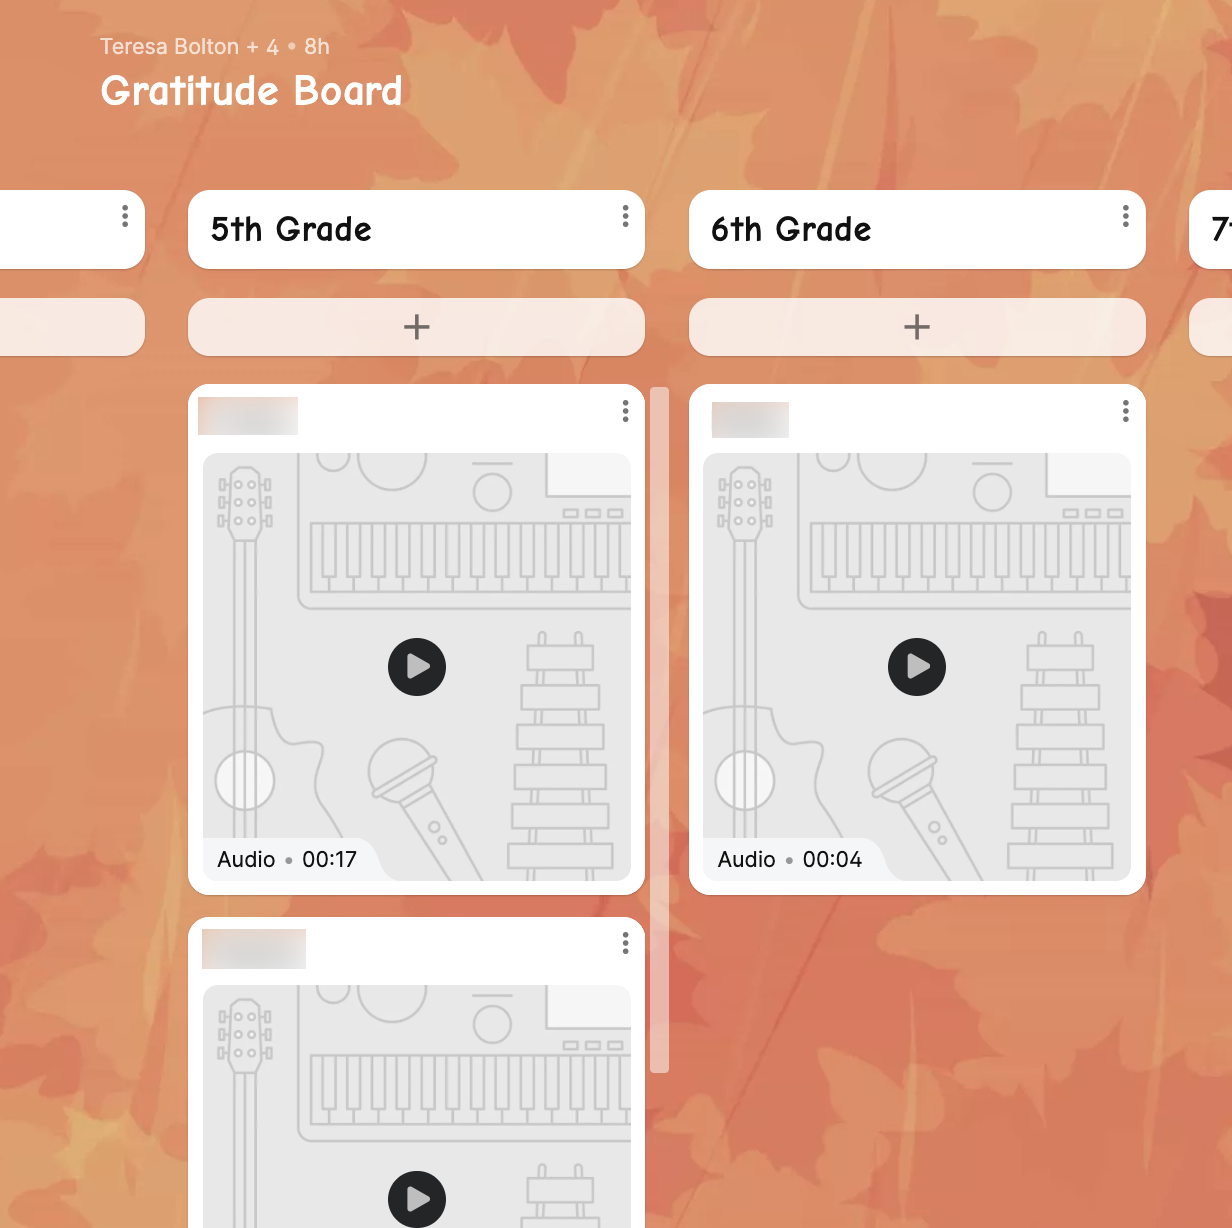
Some students worked on a creating a digital gratitude board that all grades could contribute to using Padlet.

Some students worked on creating an instructional video tutorial on how to contribute to the digital gratitude board using WeVideo.
Some students worked on creating a poster that invited others to share their expressions of gratitude.

On our last day together before the Thanksgiving break, the students were scheduled to finish the project. Unfortunately most the students were gone to get fitted for ski rentals that day, and a handful of students helped pull the project together.
We regrouped and considered how we might persevere to complete the project before Thanksgiving break.
One students used the *Digital Gratitude Board using Padlet for our school community to record expressions for gratitude. He came back from is journey around the school with over a dozen recordings.
They also sent out an email to the whole staff encouraging their classes to participate. A few students even made a *We.Video tutorial that shows how to add text or audio to help newbies understand how to record on their Padlet (Digital Gratitude)
The addition of Padlet as a Digital Gratitude Board helped the students quickly collect expressions of gratitude from anyone who wanted to contribute to the project.

By setting up the posts to require moderation, we were modeling digital citizenship to our students. We even invited students to work with us as we approved the posts.
Meanwhile it was time to finish putting the physical Gratitude Board together.
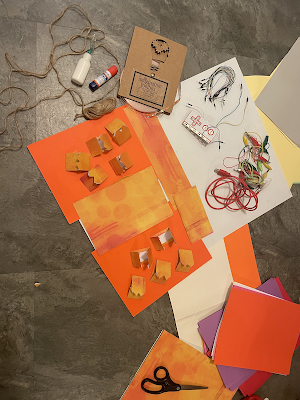
The middle of the board was created using a discarded corrugated plastic yard sign. We scored the board to fold it in half and glued colorful paper as background. This automatically created a place to hide the wires and Makey Makey

We used WORD ART in Google Draw to create a design with fun fonts for the words - which we then downloaded as an SVG. The SVG file type can be easily cut out using the Cricut Maker. (no need to purchase fancy fonts from Cricut)

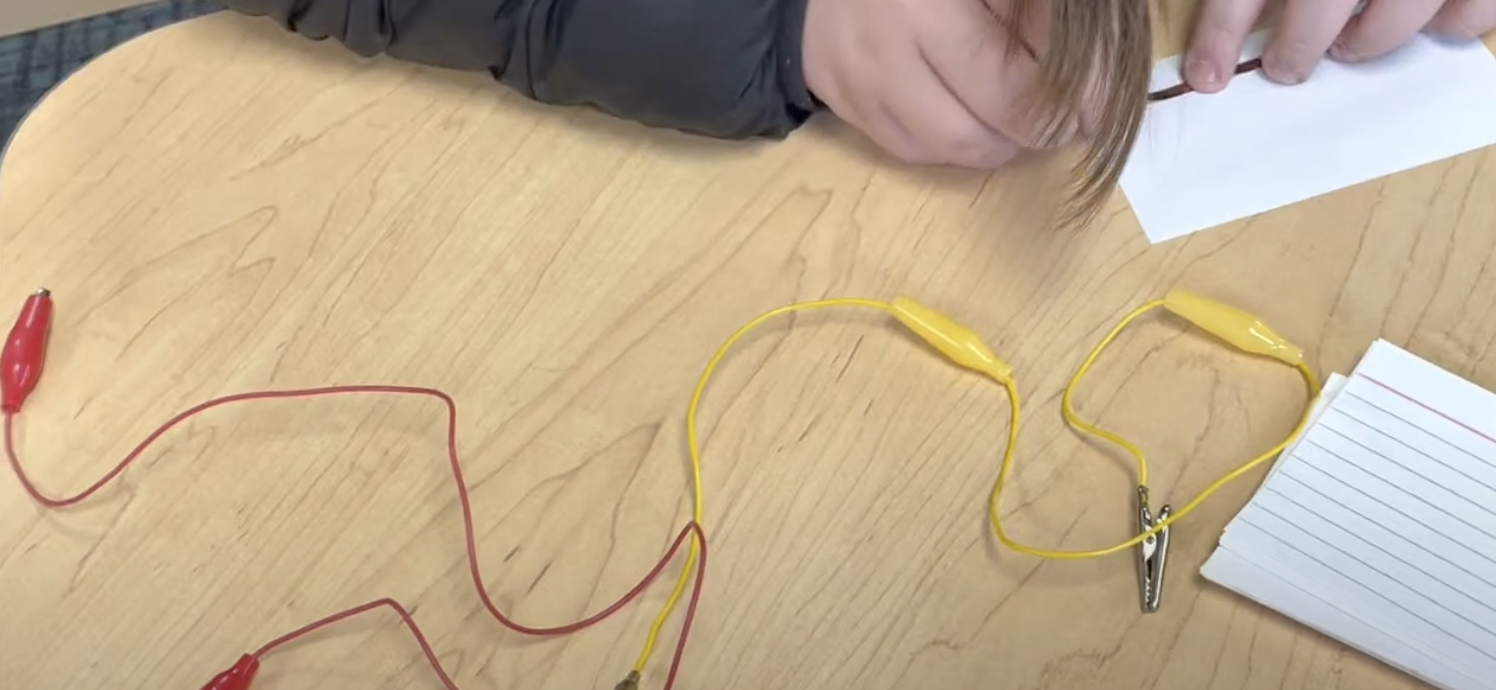
With a combination of alligator clips and jumper cables we could create a board with at least 10 trigger switches.
Two students used copper table design and card stock to create 5 switches that would trigger our Makey Makey and Scratch to play a sound.

Two different students worked on another 5 switches, but they wanted their tape to weave along the back so it was less visible. Their design quickly ran into a problem, when it became obvious that the copper tape would cross and short circuit. It was a great opportunity to do a mini lesson on insulators and how they are used. A roll of Scotch tape helped us create an insulating solution.

As the project was coming together, some problems revealed themselves.
Tangled wires made it hard to test our project and figure out which connections were not working.
We added some temporary sounds to try to troubleshoot our creation.

Eventually the bell rang and it was time to go back to class. When the bell rang, all the pieces of the Gratitude Board were ready to assemble into a final product. The last part was to gather all the sound clips from the Padlet and bring them into the Scratch program.
While the kids were heading off to class, I showed our enthusiastic and creative librarian that Padlet allowed you to Share and Export to a CSV file.

The CSV file contained linked to all the recordings in mp3 format. We quickly clicked on each link and downloaded that file to our local drive as mp3.

Then in one swoop, we were able to use Scratch's IMPORT Sound feature to quickly bring all the mp3 into Scratch.

Once that was done, it took less than a minute to replace the 'test sounds' with our actual recording.
You can view the Scratch program and listen to the audio files on Scratch here.

I had never used this workflow before, but it worked quite well and allowed the students to learn and practice collaboration skills as we assigned different roles to the ones that showed up each day. I do plan to use this workflow again.
Minutes before it was time to leave for the day, I shared the Scratch file and copied the link.
I added the link of the Scratch file to the Padlet for easy access and created a shortened URL
Having the shortened URL to the Padlet made it easy to access anytime you want to set up the Gratitude Board.

I must say the final product was something that everyone was proud of. It was filled with student voice and staff voice. It looked amazing and both adults and students were drawn to interact with it.

It felt like what Ron Berger calls Beautiful Works.

The librarian and I reflected on lessons learned and how we were able to adapt to new curve balls each week and still end up with a successful project in the end. Next steps is to show the finished pieces with the original group of kids who started this project and debrief with them providing time to reflect and add evidence to their eportfolios.

No comments:
Post a Comment