

Now... meet Crafty Carla - a fun character I built to get us started!

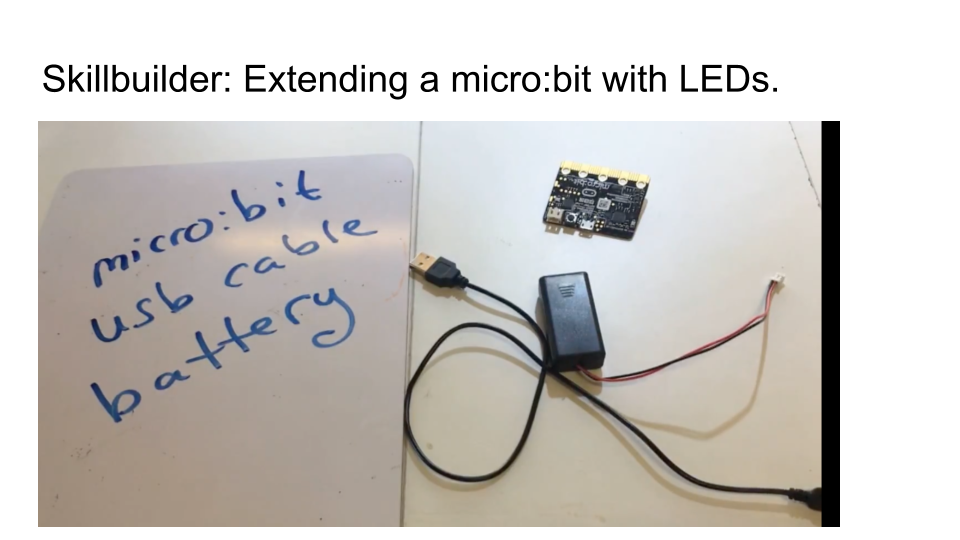
We'll start with the basics - 1 micro:bit, a battery pack, and a usb cable!
Next, gather the following materials.

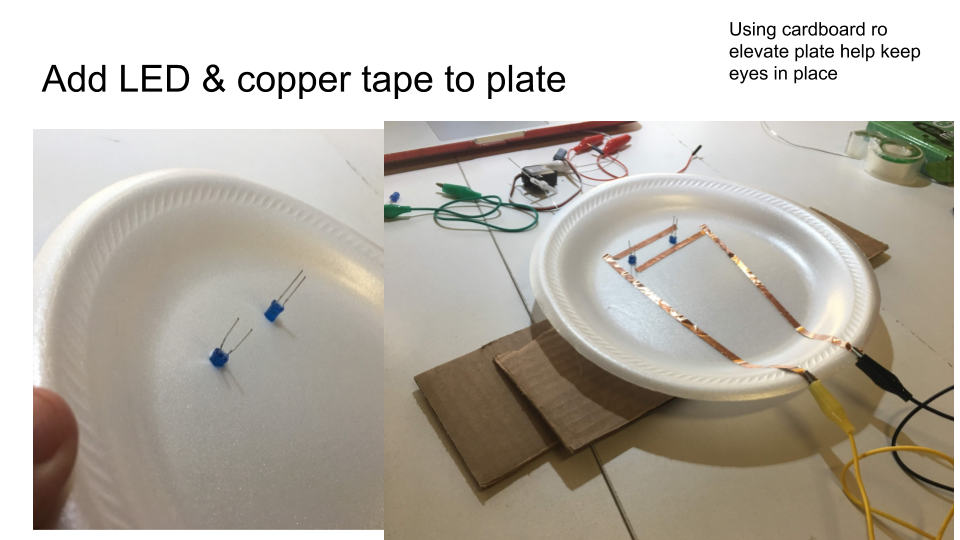
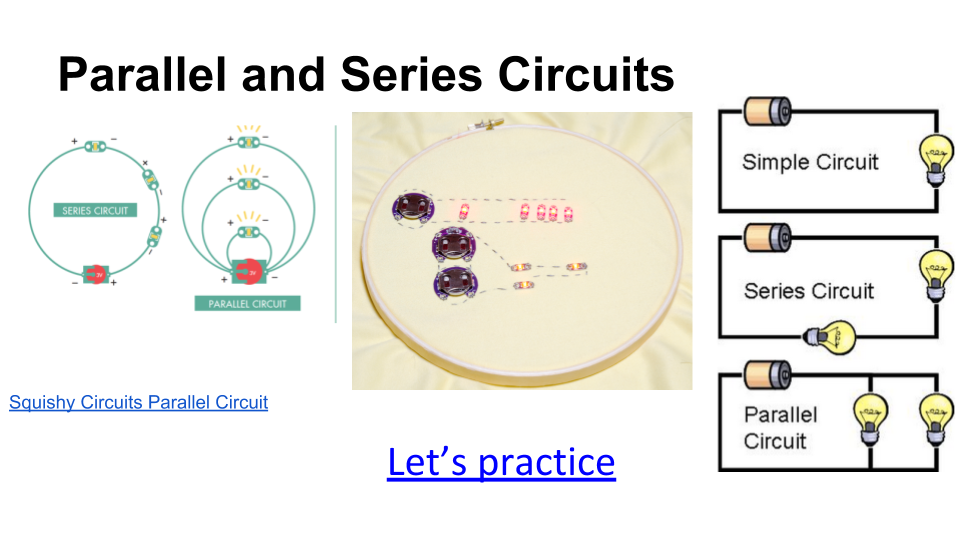
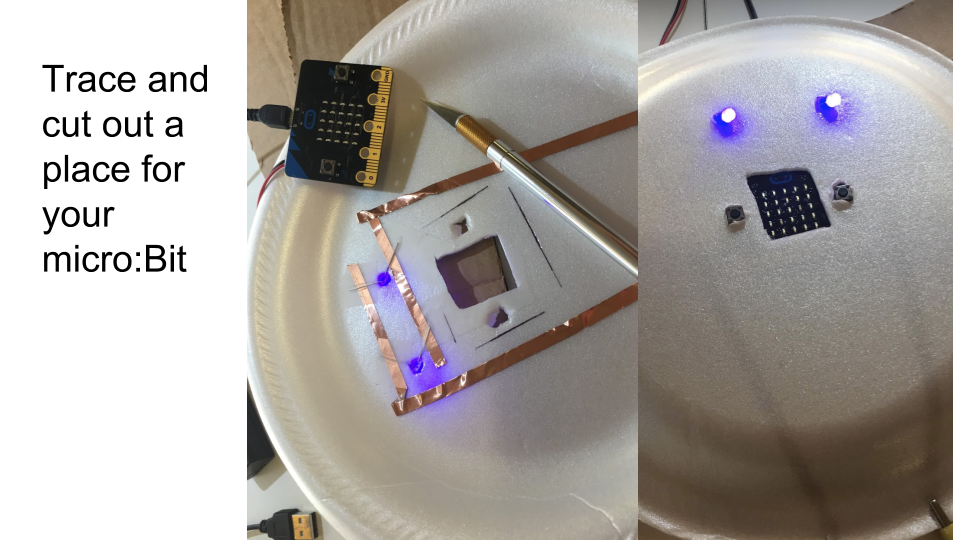
Now it's time to punch two LEDs through the foam plate and use copper tape to create a paper a way to create a parallel circuit.
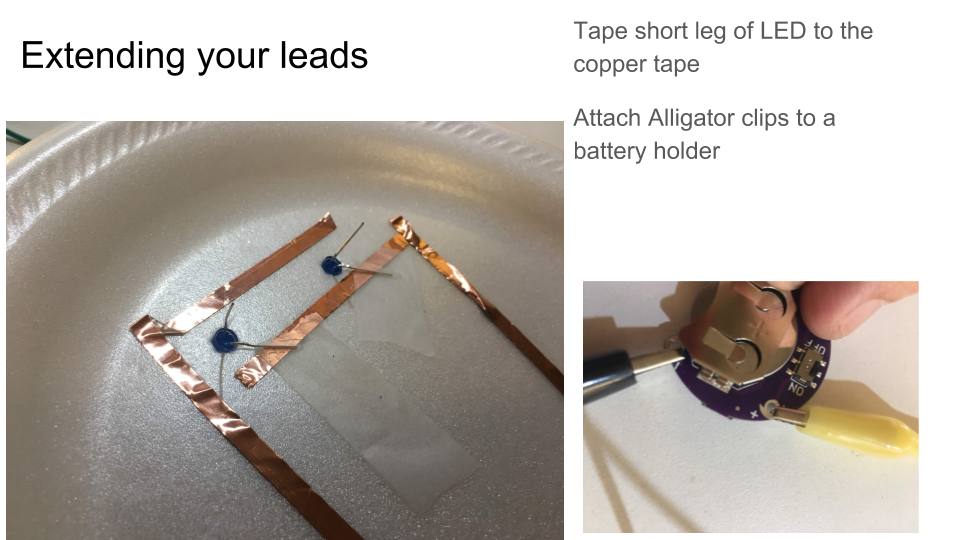
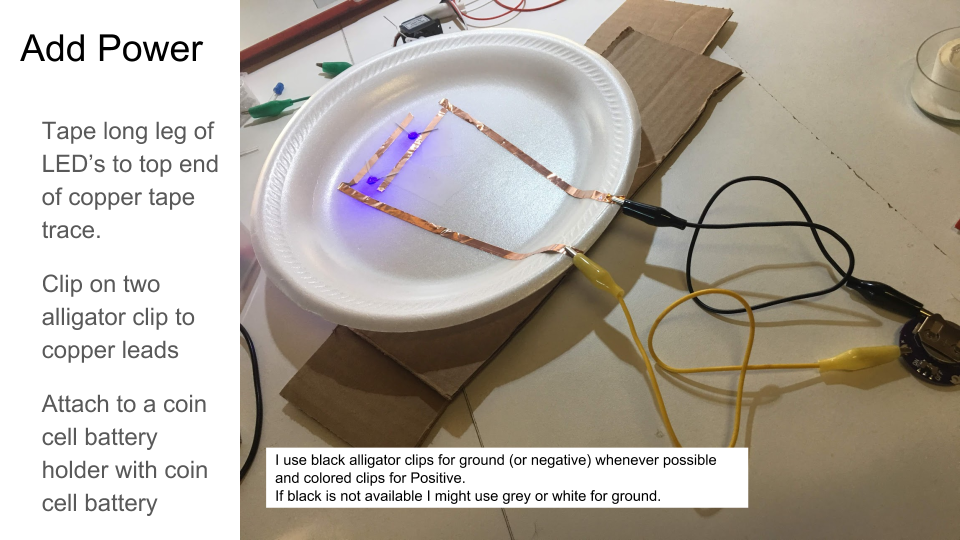
I like to demonstrate the concept of the parallel circuit (without the micro:bit). It's important to understand the circuit before we bring in extra variables into the mix. So I use a coin cell battery in a battery holder, and some alligator clips to test my circuit construction.
In this circuit you will notice that I use a black alligator clip to connect the short leg of the LED to the batteries negative pin, and any other color to connect the positive end of the battery to the copper tape that is taped to long leg of the LED. Take time to really unpack that and make sure that you and/or your students really understand the flow of electricity that is happening here.
If you need more help understanding circuits check out this Sparkfun tutorial.
Take some time to create an animation that will help you connect with your creation. Make it smile; Make it silly; Make it something that makes it fun!
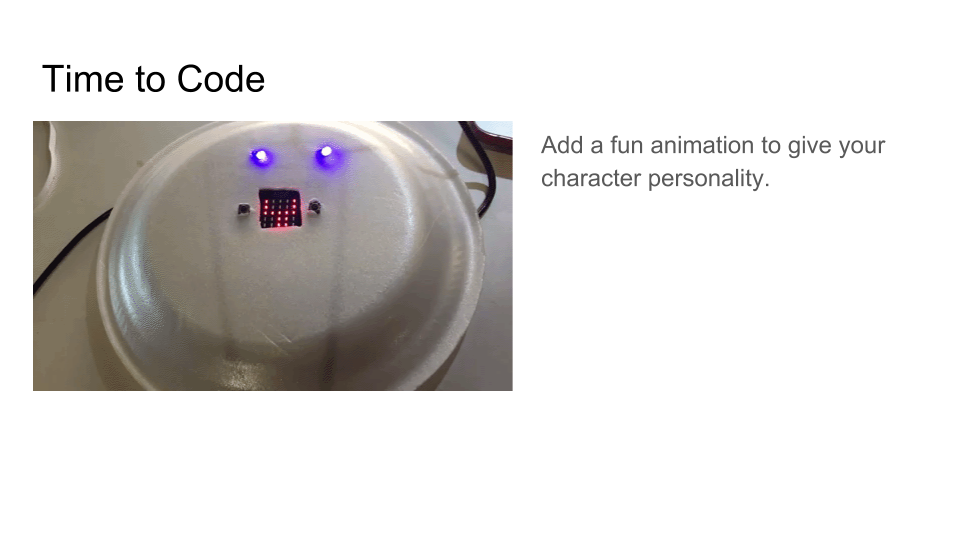
As you code the animation, consider the flow of electricity and try to understand the path from your powerpack to the LED animation.

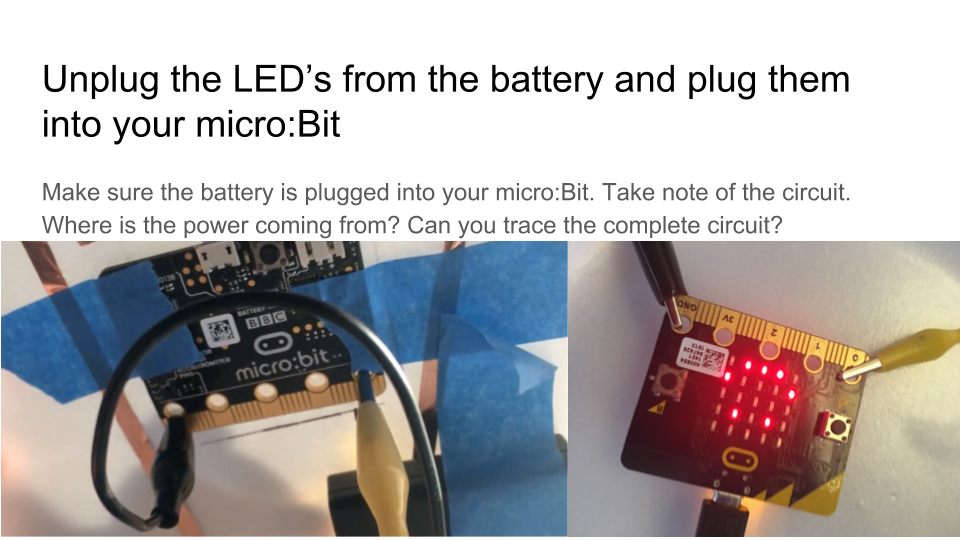
Now unplug the coin cell battery and put it aside, and plug your black and colored alligator clip to the micro:bit connectors. The black one should go to the connector labeled GRN and the colored one should go to the pin labeled 3 volt. Note
Once your circuit works and you understand the flow of the electrons, unplug the colored alligator clip and connect it to the connector labeled "0". Your lights will go out, until you learn to code it in the next step.
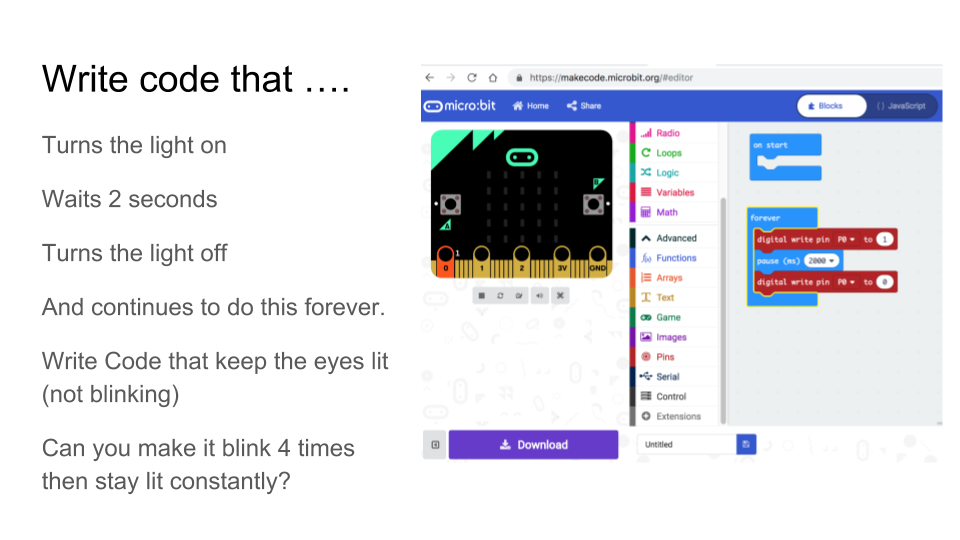
Now it's time to learn to use code to light up our eyes again.
You'll need to start by dragging out these two pieces of code.
PAUSE and DIGITAL WRITE PIN
Select PO because your colored alligator clip is hooked up to the connector labeled Pin 0.
Select (0) to indicate light OFF.

Now duplicate this code with a 1 instead of a 0 to turn the light on.
Add a pause in the middle and you will see the light turn on.

If you're following along with the code above, you'll notice that the light does not look like its turning off. Why do you think that is?
What would you need to add to the code to keep it turned off for a fraction of a second, so it will look like the code blink?
Now time to take a break from coding and decorate your character to make it your own.
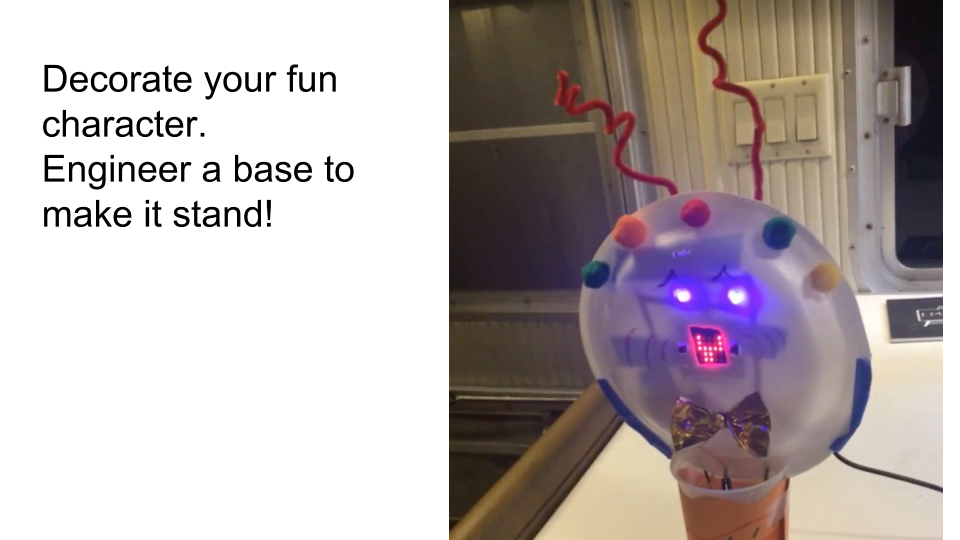
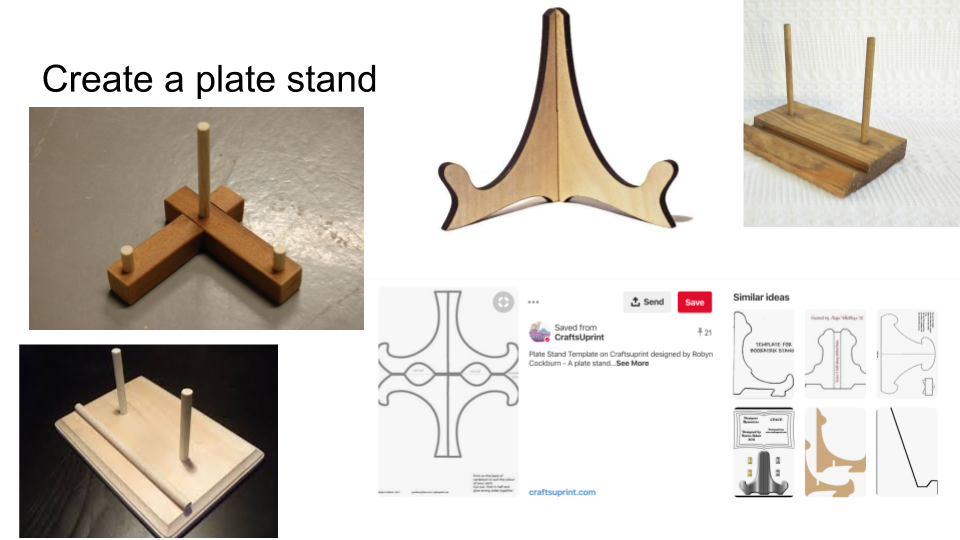
If you want, you might want to try to engineer a base. As you students work through the different parts of this project, take note as to who gravitates towards the mechanical part of building the stand; who loves to engage with the code; who got in the flow of building the character. Some kids might shine as project managers, some might enjoy each part of this, and some might find themselves focusing on one part of the process of another. Watching this and having the kids discuss which parts they liked and why can them understand their interest and strengths.
Here is an additional challenge you can try.
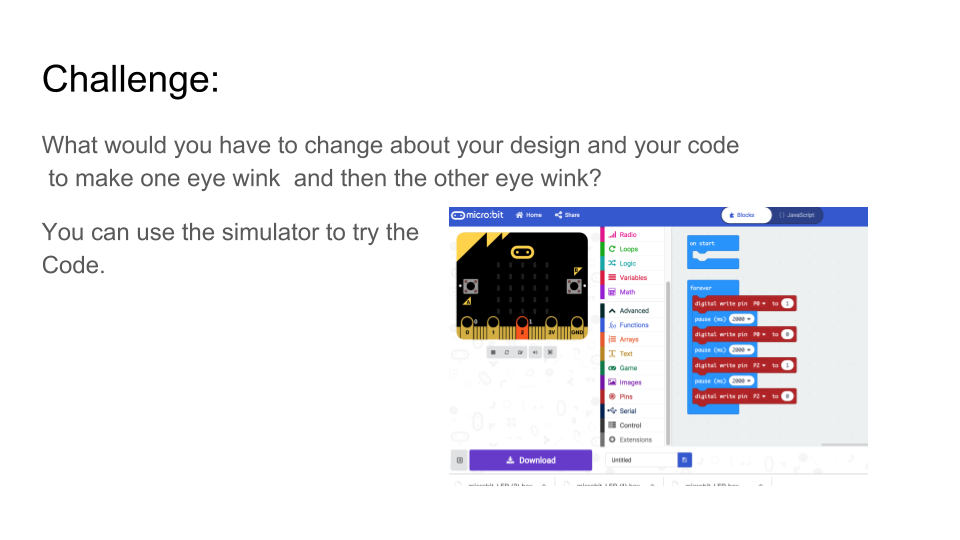
Congratulations! Now that you have additional skills in your toolkit that can extend the power of your micro:Bit, how might you use this new skills to create something new?
Having a skill building tasks like the one above gives students some of the foundational knowledge they will need to be move from a follow these steps type of skill building type of make to one where you provide students with an example of something they could make and allow them to do some close looking and examine the complexities of how it's made, and then let them try to replicate it without walking them through each steps.
Perhaps you next challenge might be
"Can you make a traffic light or some other type of light sculpture where the lights change as a result of an event?"
You could provide a couple of models for students to examine and try to reconstruct.
Or you could post some pictures on a bulletin board or poster for those who have less experience and might need some help getting started. Don't assume everyone is entering this challenge with the same background knowledge or experience.
I'm always intrigued to watch what happens when I put up a model. Some kids use the model as a guide, and others don't even go look at it before they jump in and make. You might even want to debrief how they each approached the challenge differently and how we might learn by watching how others approach a problem.
Here are some pictures from my various stages of my original traffic light build with microBits. Feel free to use them if you find them helpful.
Finally the next prompt might encourage students to thing big! How about creating a giant brainstorm board with lots of post it notes using this prompt:
Then set the students on a mission to develop a prototype that helps communicate their idea!
What type of problem could you solve by being able to control external lights?
Remember that a good prototype does not necessarily have to have all the parts working perfectly. It's goal is to help you communicate your ideas and to facilitate a discussion about whether to and how to move forward with an idea! The process of making the prototype is made to help clarify your thinking as much as the product itself.
Stay tuned for my next micro:bit post which will introduce you to how adding a servo motors can make the ears wiggle. And we'll even learn to add a remote control that changes your character's expressions!
No comments:
Post a Comment