Thursday, March 8, 2018

March 8 - Making your own Maker tools - Building a 3D printer


Create Make Learn Summer Institute encourages educators to set their own personal goals for creating, making, and learning.  We then structure the schedule and organize resources (including mentors) to help you reach those goals.  When Ellen Arapakos, librarian from Williston Central School signed up for Create Make Learn Summer Institute, she shared her goal to build her own 3D printer.   We've had several educators start and complete a 3D printer build at Create Make Learn, so we were prepared to help her meet that goal!

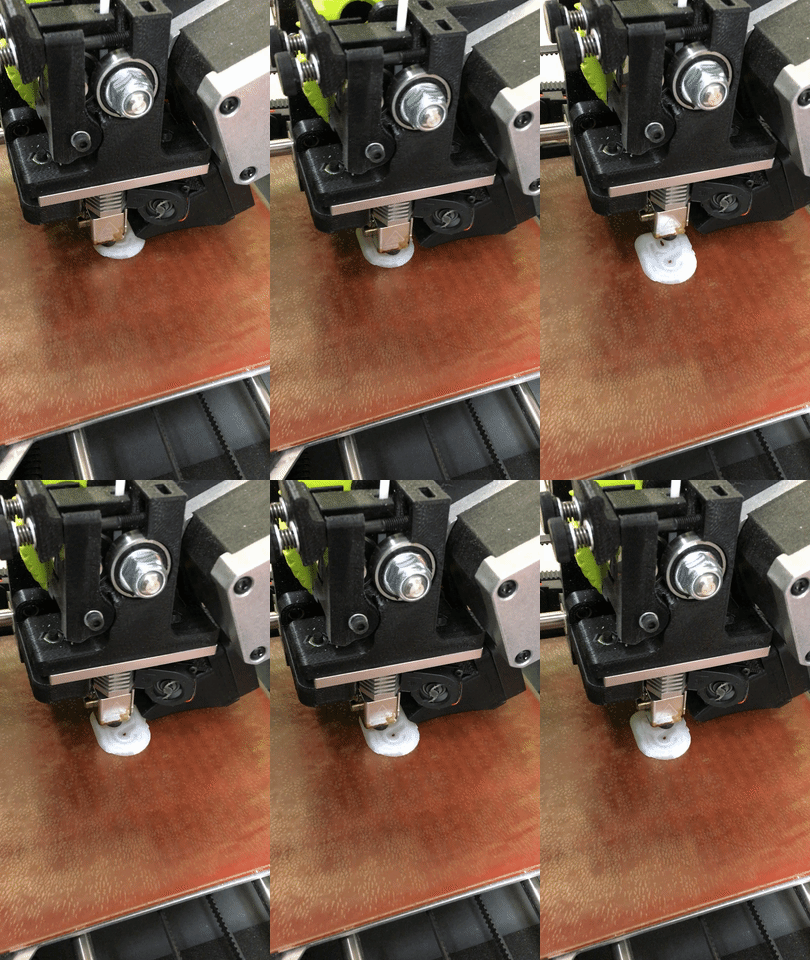
Ellen totally impressed up on Day 1 when she walked in with her Prusa 3D printer already assembled.   When her kit arrived on July 25 (a week before the summer institute), she dove right in and started building. Four days later, she had an assembled 3D printer.


But her 3D printer  build ended with a challenge -  it would not successfully calibrate.    Ellen shared that "All the electronics, fan, thermistor worked, all the parts were in the right place, but the print bed did not move far enough in the Y (front to back axis)."


We listened to Ellen describe her process so far.
When I saw the Haribo gummies included in the box, I felt this was packaged by like-minded thinkers.

I really like looking at pictures and assembling what I see. I’m the kind of person who thinks putting together Ikea furniture is fun. 
I was daunted and discouraged when I saw I’d need a micrometer. (I ordered one online.)  
My belief in the likely success of the endeavor swung back and forth. The company’s fun, egalitarian, anyone-can-do-this online presence belied the precision required in some assembly steps.
Ellen persevered and worked towards the the last step in the build.  But then she hit a barrier. 

There sat a fully assembled 3D printer, with all its fans humming and software running….yet the print bed was too far off axis to print. The more I tried to adjust the base, the worse I made the problem. I felt completely discouraged! I could just see the finish line, but not find a way across it.


Ellen showed up at the Create Make Learn Summer Institute with her 3D printer in hand and found the help she needed when Craig Lyndes helped her  work through the barrier she had encountered.  

Yeah for Create! Make! Learn! camp!!πŸ˜ŠπŸ˜€ I was assigned a special camp counselor πŸ˜‰to help me with my project. I had my own personalized learning plan! Having an incredibly patient person work with me and think it through was the trick. I had gotten so frustrated and angry by the end of it, I wasn’t able to correctly think spatially about the way the screws and bolts needed adjusting to move the bed to the axis location needed.


It was great to see Ellen's joy as her printer printed its first 3D print and to hear her say she would do it again if given the choice.

Actually, I wish I could do it again because I think I’d do a much better job building the printer! The fact is, however, I can’t. Disassembling it really isn’t a good option; there are so many zip ties and little screws that wouldn’t benefit from a rebuild. Given that, I do sometimes think I would better off from a printing perspective with the fully assembled model.

As you can see from this short video, she loved the learning. She loved working with her hands, and has a sense of satisfaction to having assembled her own 3D printer.


When I asked Ellen why she chose a kit instead of a pre-built printer, I could really relate to her answer.

I wanted to learn! I’d helped a few colleagues try to troubleshoot their MakerBot printers, and I thought it would be helpful to really know all the parts of the printer. I had disassembled a print head to really clean it. Some maintenance is necessary with any printer, so I thought it would be good to know how it was put together.

Ellen had done her research. The Prusa i3MK2 was top rated by Make magazine, and the kit was under $800.  The price point was a huge incentive for her. "A Makerbot Replicator, which many schools have, is well over $2,000. If you want MakerCare service, that’s even more money."


Ellen's students are currently preparing for Vermont's annual competition - 3D Vermont , so the printer is about to go into high use mode. She's a little nervous because the printer has been moved around quite a few times this year due to a building construction project.


She's also concerned about recalibrating the printer. Because of the nature of her job as a librarian, she is frequently away from her desk helping others. That makes it hard to keep an eye on the print as it goes from its first layer to completion. But at least there is a printer for her students to use as they prepare for the state competition and it's the one that Ellen built herself! 

When deciding whether to build a 3D printer or not, ask yourself why?  If your goal is to experience the empowerment of making your own maker tools, then a 3D printer build might be right for you. 

That feeling of empowerment that Ellen described was one that I had experienced myself, four years ago as I built my first 3D printer on a picnic table in Austin, Texas. Here is a blog post with videos of the build. I remember the feeling of accomplishment scraping the first print off the print bed knowing it came from a machine that I had assembled.  It was like a mini course in mechanical engineering over the course of a long weekend.  When I started I didn't even know how to to tie a zip tie or tighten a hex nut.  I was lucky enough to have Craig by my side.  He left me to the build, but would come over  to help when I had questions.  Throughout this build I learned so much about tools and techniques for making!  And best of all I would know how to tweak my 3D printer when it needed calibration - something most 3D printers need throughout their lifespan. 

Part 4/4


Since then,  Craig and I have organized and lead a community 3D printer build at Champlain Mini Maker Faire (blog post) with over 50 participants from age 5 to 75!


Wehave  organized a few other 3D builds at Create Make Learn.  I even helped organize a 3D printer build from mostly 3D printed parts at the VermontFest Conference  (blog post) 


But in each of these builds, there was one common element--the support of the maker community!    The process of building the 3D printer is a natural process for connecting with other makers.  Whether it;s to help you overcome a barrier, or to help you develop the skills you need to complete the build, or to just join in the fun,  make sure to connect with others if you're going to take on the empowering tasks of building your own 3D printer.


Wednesday, March 7, 2018

March 7 - Making with Rich Media


Are you a school with WeVideo EDU? Did you notice something different about WeVideo today? 


From  WeVideo News:
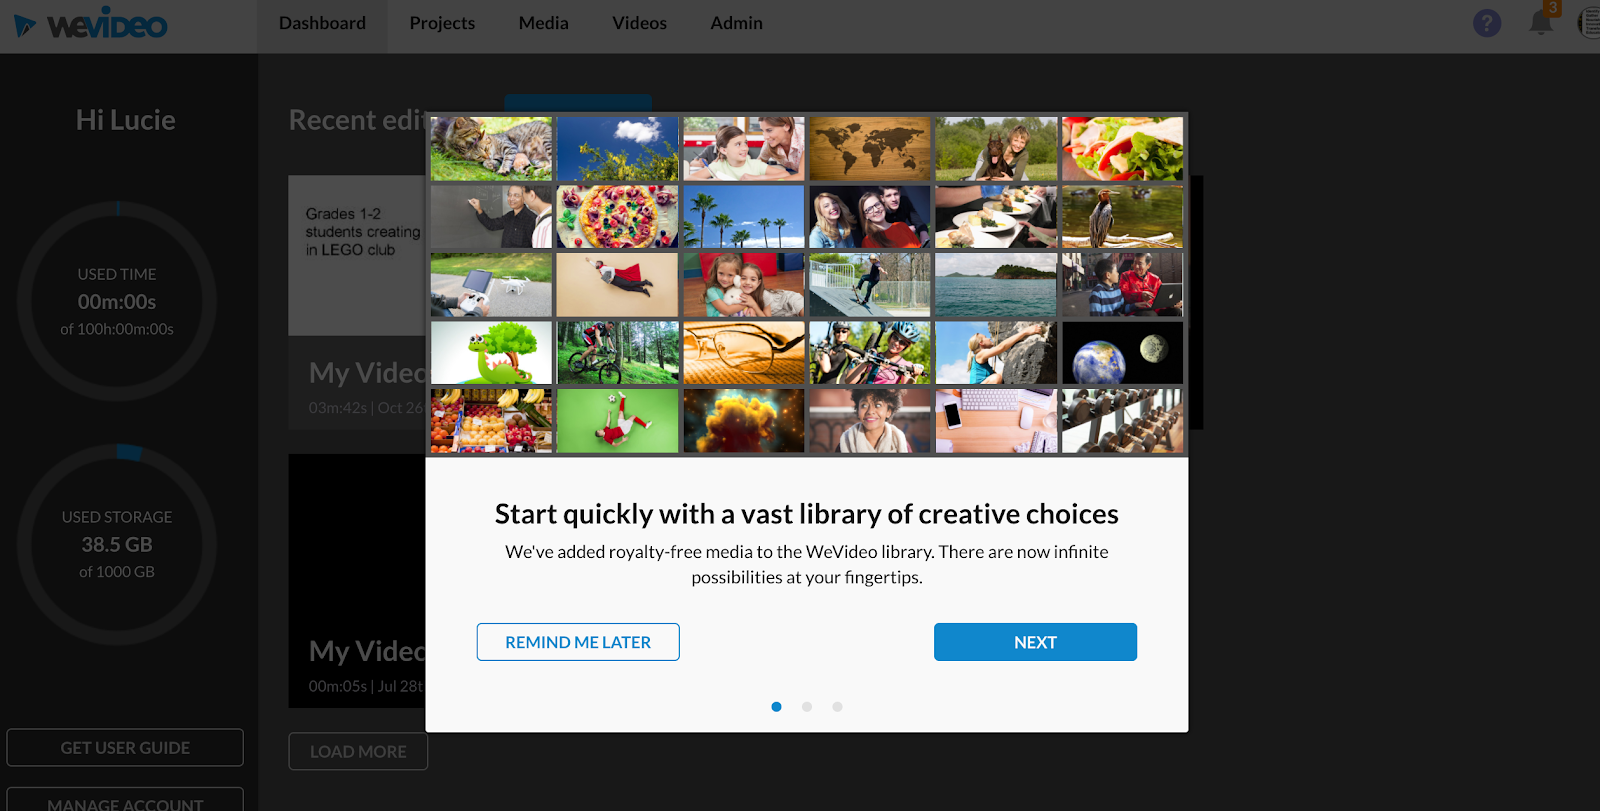
This is a significant addition to WeVideo which just launched for us last week. Please check out how easy it is to access over 650,000 licensed, royalty-free, high-quality video, images and music tracks within the WeVideo interface (not needing to comb through a variety of other sites).


If you haven’t logged into your WEVIDEO EDU account yet today … go ahead… log in...  and notice that you are greeted with an invitation to “Start Quickly with a vast library of creative choices!”


WeVideo has added  650,000 royalty free media clips  that you can use  to start creating IMMEDIATELY.  

How quickly?  I decided to try and create a video using this new feature over coffee this morning!  
Let’s say I wanted to encourage my students to write a story this morning!  Not a long story - but a short SIX Word Story!  One like Hemingway’s six word novel!  How quickly could I create a video invitation for students to do this using WeVideo’s new feature?  
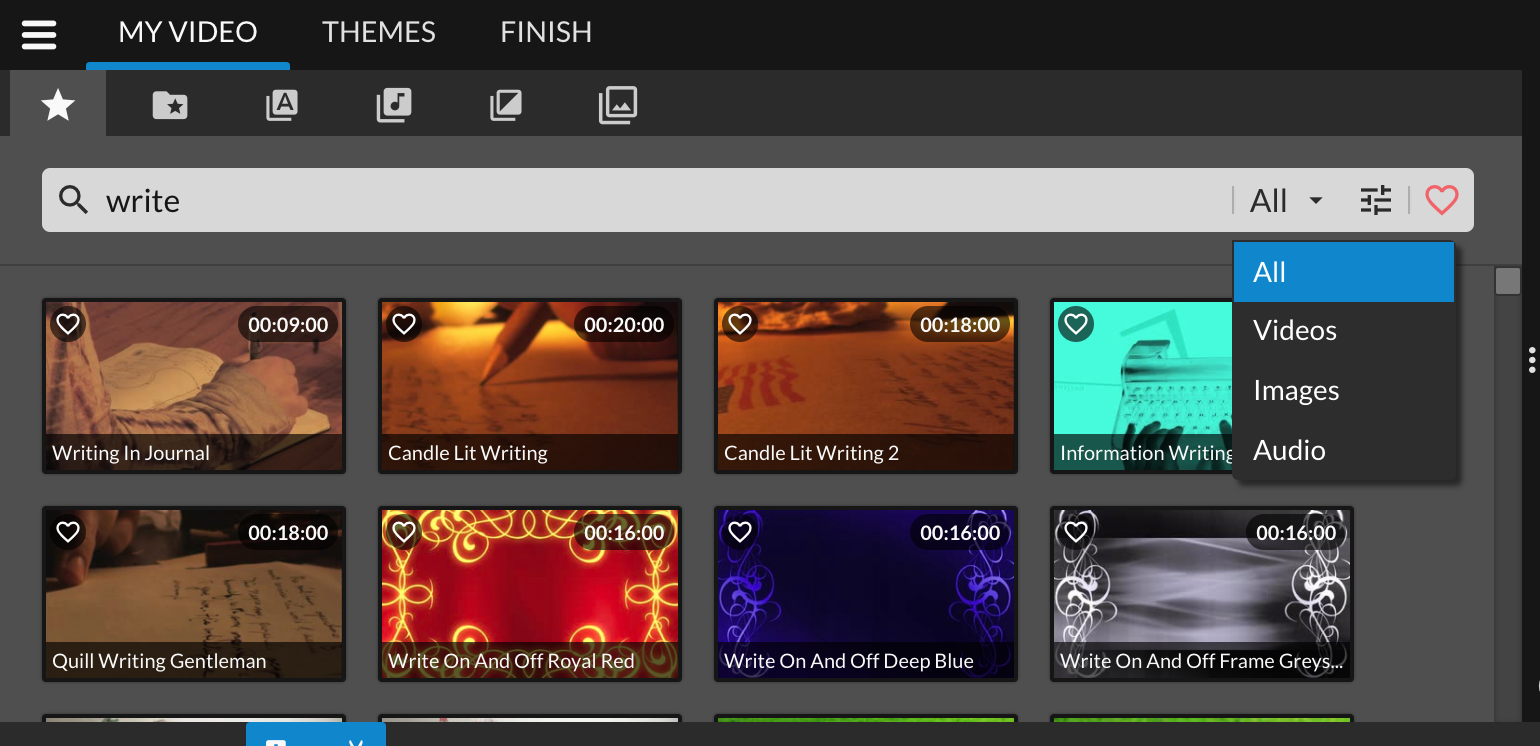
I started by adding some words to the SEARCH BAR - and noticed there was a drop down menu where I could search for VIDEO’s IMAGES, and AUDIO.  
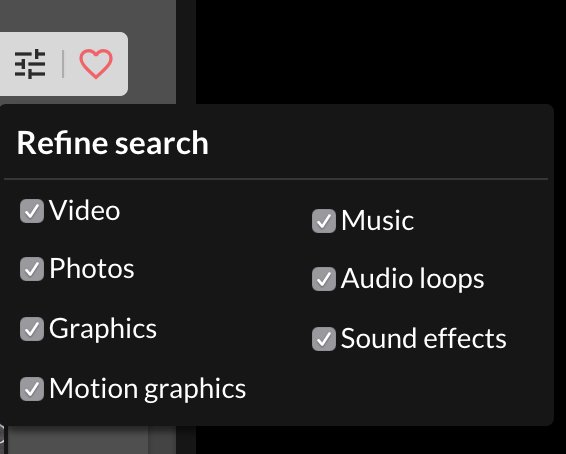
Right next to the drop down menu was an icon that would allow me to REFINE my search
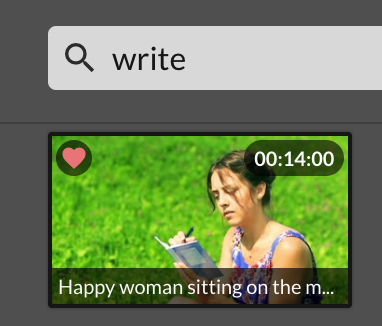
I quickly looked for videos and photos I could use in my story and clicked on the little HEART next to each clip  that might work.
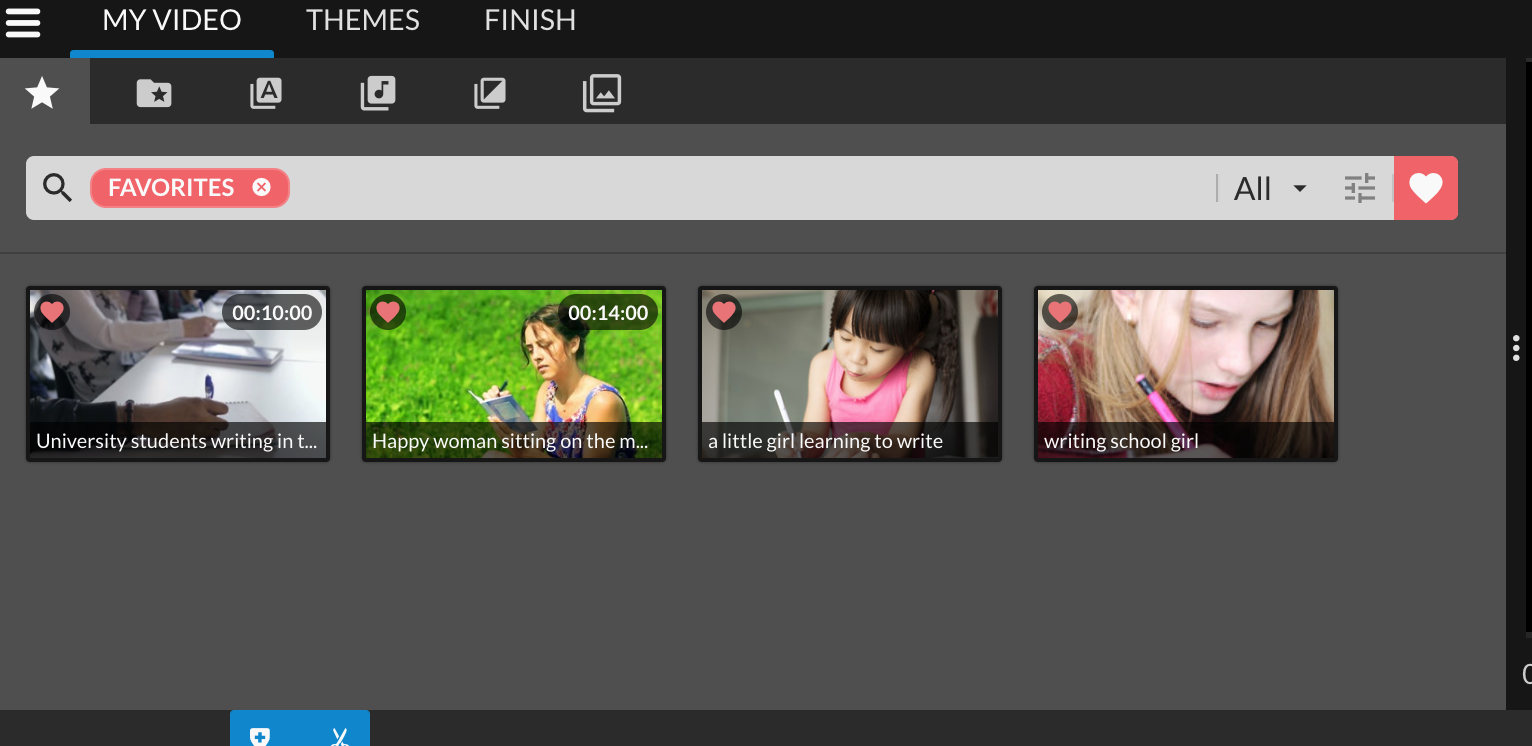
Then I clicked on the little heart icon to access the media I had in my favorites selection!
I quickly dragged my clips to the timeline
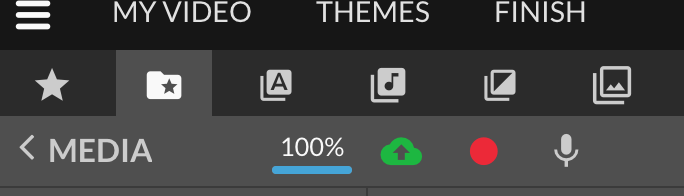
Using the Audio Microphone menu icon, I added a Voice Over to give students verbal  instructions about the assignment..

The longest part of my morning video creation was getting the timing right!
I adjusted the length of each clip to the audio  until  the images and videos lined up. 
I then decided to check out the audio clips from the new Media Collection available in WeVideo.
I had no idea that writing could sound so differently
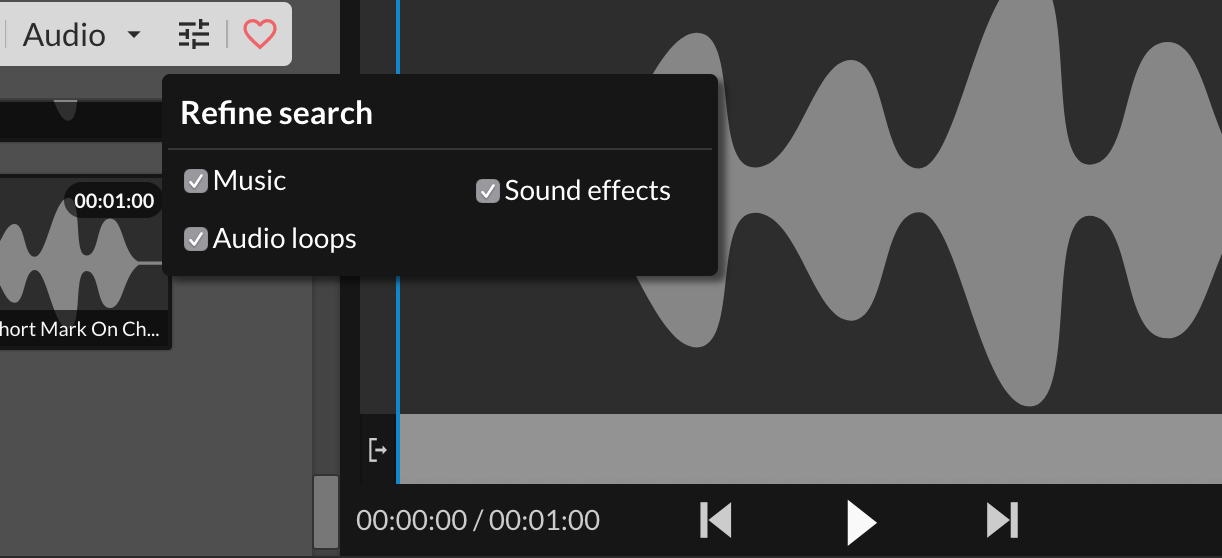
By hitting the refine button, I was able to narrow my search to just sound effect,  music or audio loops. 

So I decided to skip the writing sound effect  and focus on adding some  music to my writing prompt.
Most of us know the frustration kids feel when you tell them they can’t use their favorite soundtrack from their music collection.  Now we can actually give them a huge selection of options to choose from right within WeVideo.
I quickly picked two pieces of music to add to my writing prompt.
And Voila,  by the time my coffee was done this morning,  I had a writing prompt video ready to go!


For all of us who are using Universal Design for Learning as our guide,  this tool is going to be great for providing multiples modes of representation.
And for our students, it totally provides them with multiple modes of expression and engagement!
I have been a fan of WeVideo for a quite a while.
This new feature is another example of a company who really understand our needs as educators!
Thank you!  WeVideo for this amazing feature!

Tuesday, March 6, 2018

March 6 - Making Movies with WeVideo


Today's post in the March is for Making series (30 blog post in 30 days to inspire educators to create, make, and learn)  will provide you with resources and inspiration around making movies. 

As tools to make movies have become more and more accessible, the opportunity to make more videos is within any student’s reach.  Whether it be a movie app on their phone, movie making software on their computer, or cloud based tools like WeVideo that can be accessed on a Chromebook, movie-making tools are all around us.    

But just because any student can make a movie, does not mean they can make a movie that yields powerful learning or that becomes a piece of quality work that leads to a culture of excellence in their school.   

Last summer, at Create Make Learn Summer Institute,  Michelle Holder’s goal was to immerse herself in a making journey that would allow her to create a culture of excellence in her school  to help her students create movie projects they could be proud of.   Having been a long time fan of Ron Berger’s Beautiful Work as sound pedagogy,  I was excited to watch Michelle document her Create Make Learn project journey to help students produce more polished and engaging videos.

Is there a more profound lesson than taking pride in creating work of importance and beauty for a real audience?”  Ron Berger. Beautiful Work.


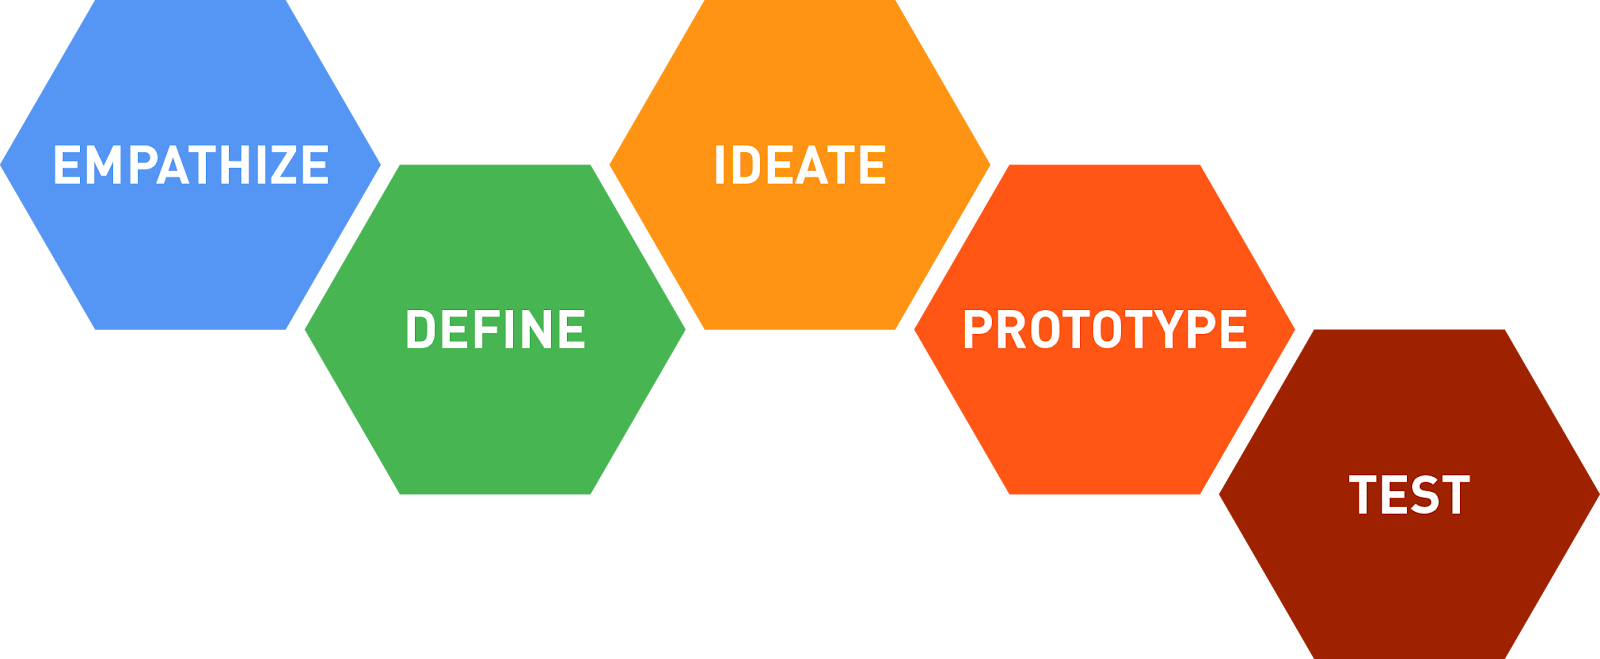
Michelle used the stages of design thinking to guide her journey.  She started with some powerful questions about the maker movement itself.  

“When the maker movement started to rise, I was a bit skeptical. OK, we can make things light up, we can make cool paper crafts. But I always made things in school. How is this different?”   

“What I learned by  experiencing making and design thinking was that I experienced what it was like to be a maker, and to have the tools to make something good.  At Create Make Learn Institute I got to tinker and explore tools in a more in-depth way that I just don’t have time to do during the school year.”  


As she thought about the fact that the students in her district now had access to WeVideo (a cloud based movie making tool) anywhere, anytime, she chose to focus her maker educator journey on the following question:

How Might we…
...create a way to help students produce more polished, engaging videos to document their creativity and learning?

By taking on the role of a student in creating a personal narrative video, Michelle’s empathy for her students and what they would need to be successful increased.   Her fluency with WeVideo increased; she learned to use a green screen,  lighting, and microphones to increase the quality of her video;  she learned advanced tips and tricks from framing to camera angles that she couldn’t wait to pass on to her students.

“Other things I gained from this experience:
  • The Importance of storyboarding
  • Sequencing is important in creating the video
  • Importance of sound (and that sound and audio can take longer to edit than images!)
  • The Importance of editing, how editing can enhance the story, AND tricks that make this easier (and cut out the frustration level)
  • Keep the videos short -- videos take time… and sound takes forever!”

By the end of the week, Michelle had created a piece of high quality video that she was proud of -
her own personal narrative.  


“As a student, I gained many things from this experience. First, there was a joy in being able to lose myself in the joy of CREATING, and to create something that had the technical pieces I wanted”

Her work during this empathy and research stage positioned her to the IDEATION stage of her journey.      After brainstorming several ways she could approach her question

How Might we…
...create a way to help students produce more polished, engaging videos to document their creativity and learning?

She decided that creating some high quality tutorials for her students to use on the techniques that she found most effective in her movie making journey would be the next step on her journey.   It would also give her a chance to keep practicing her movie making skills.    


Michelle’s prototyping process lead her to learning how to use the New Google Site,  where she organized some newly created  tutorial videos along with other resources that could help her students create high quality videos.  The site is filled with great tips and handouts  like where to find copy friendly images and audio for their videos and how to properly cite the resources they used.


Michelle received positive feedbacks from her colleagues and started the year ready to test her prototype with her students.

“By creating some screencasts, my own video, and a handout, and some resources online,  I feel ready to start the year with some resources. I feel I have the tools I need to begin the transformation of the media center. As we go into our first year of one to one chromebooks, I am excited to bring more media into the students’ learning. “
Throughout the year, students at Randolph Union High School have been using their Chromebooks, WeVideo accounts, green screens, microphones, and the resources that Michelle has provided to create videos that demonstrate their creativity and their learning in different content areas. 


This is a weather report video the students had fun creating. They used green screen, music and creativity to write and produce a weather report in Spanish complete with commercials.


This is a PSA / commercial for Randolph Union  athletics. It was meant to be short and grab attention. 


RAND Commercial- Hunter Brassard (1) from Michelle Holder on Vimeo.

Making movies has provided a vehicle for growing all 5 of Vermont’s transferrable skills and to gain proficiencies in both Language arts and Visual arts as well as increasing their knowledge of specific content.

Michelle felt that Create Make Learn Summer Institute experience  left her feeling empowered to create and that there were no limits on creativity and she is now totally invested on helping her students feel the same through creating, making, and learning.


Monday, March 5, 2018

March 5 - Reflection as part of Maker Centered Learning


Anyone who is a fan of John Dewey knows that he would be a fan of maker centered learning.  
“Give the pupils something to do, not something to learn; and the doing is of such a nature as to demand thinking; learning naturally results.”  ~ John Dewey
But Dewey believed in more than DOING - he believed that the learning happened from reflection.

I couldn’t agree more, which is why I think it is so important that as we create experiences where students are creating, making, and learning that we are also including reflection as part of the process.
Today’s March is for Making inspiration comes from a maker educator who is a master at process of reflection - Jackie Gerstein. 
I have been observing Jackie’s reflective practices for years as an avid reader of her blog: https://usergeneratededucation.wordpress.com


It’s also filled with great ideas and examples of making with kids and adults.
For example check out  
Jackie’s blog post on Making with Cardboard  filled with reflection on her own practice as well as great examples of her students making with cardboard
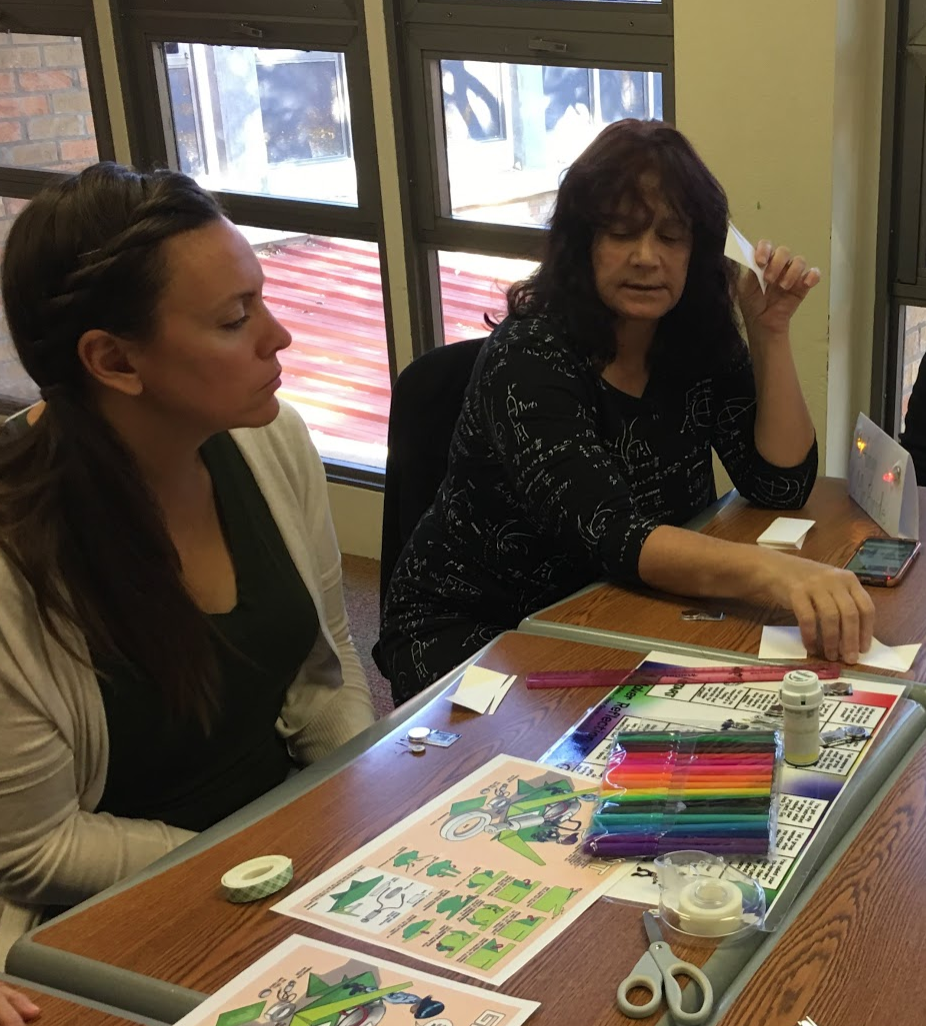
Although I have read many of her blog posts on the process of reflection, this past December I  was fortunate enough to accompany Jackie to a conference and watch her put some of these strategies into practice with teachers attending one of  her maker centered learning workshop.


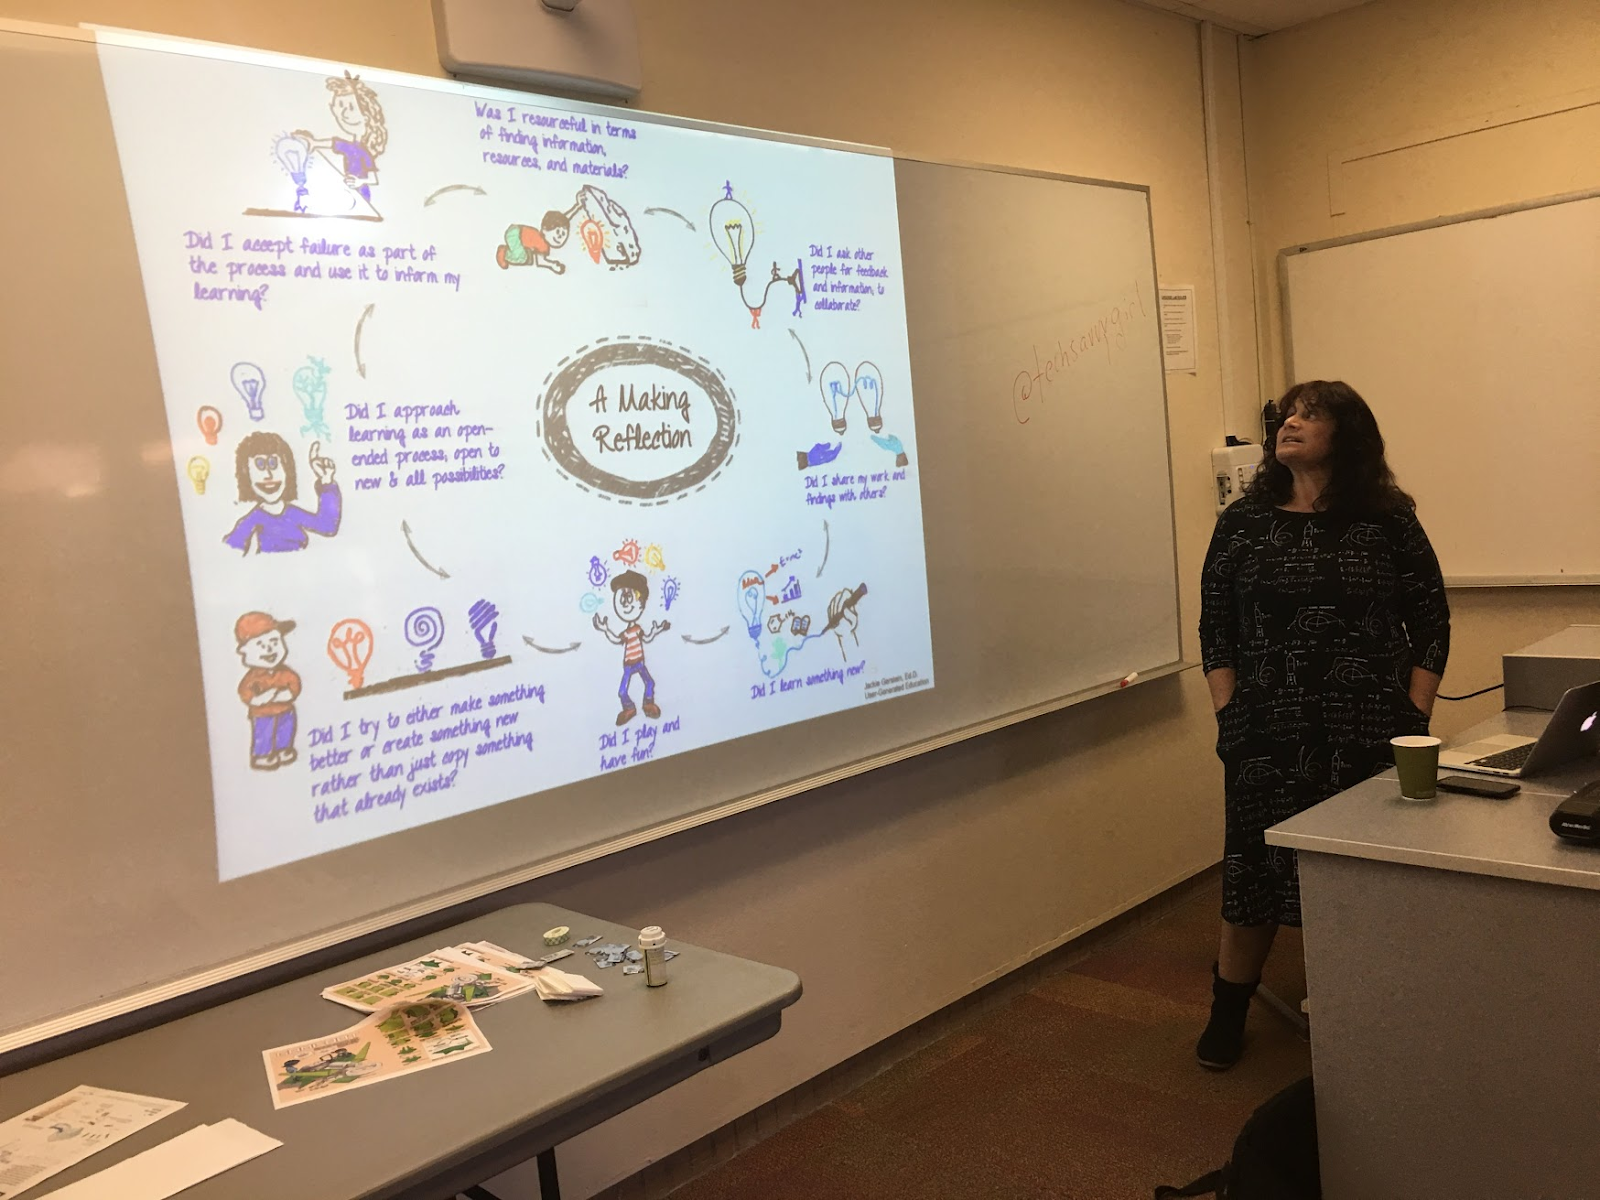
Through her blog and in her workshops, Jackie freely shares several tools she has developed to support reflection as part of the process of making, including this framework for reflecting. 
One of the most powerful tool she uses is to encourage the reflection through the making process as she walks around and engages with learners while they make. 

According to Jackie “Even a simple questions like ‘Tell me what you’re doing’ can trigger the reflective process if you are practicing active listening skills.”  
When I asked Jackie for advice for teachers who want to become better facilitators of the reflective process she pointed to the strategies of active listening.
“Ask  more questions based on what they are saying..
BE PRESENT for those people…
Too often what happens is
Teachers are formulating the next question in their head
Rather than be fully present for the learner.
Validate what they are saying..
Listen to what they say they are learning ...
Create a place of safety …where they are willing to be vulnerable as they talk about their process. “

Jackie shares the following reflection questions to help educators facilitate social emotional learning process during making.


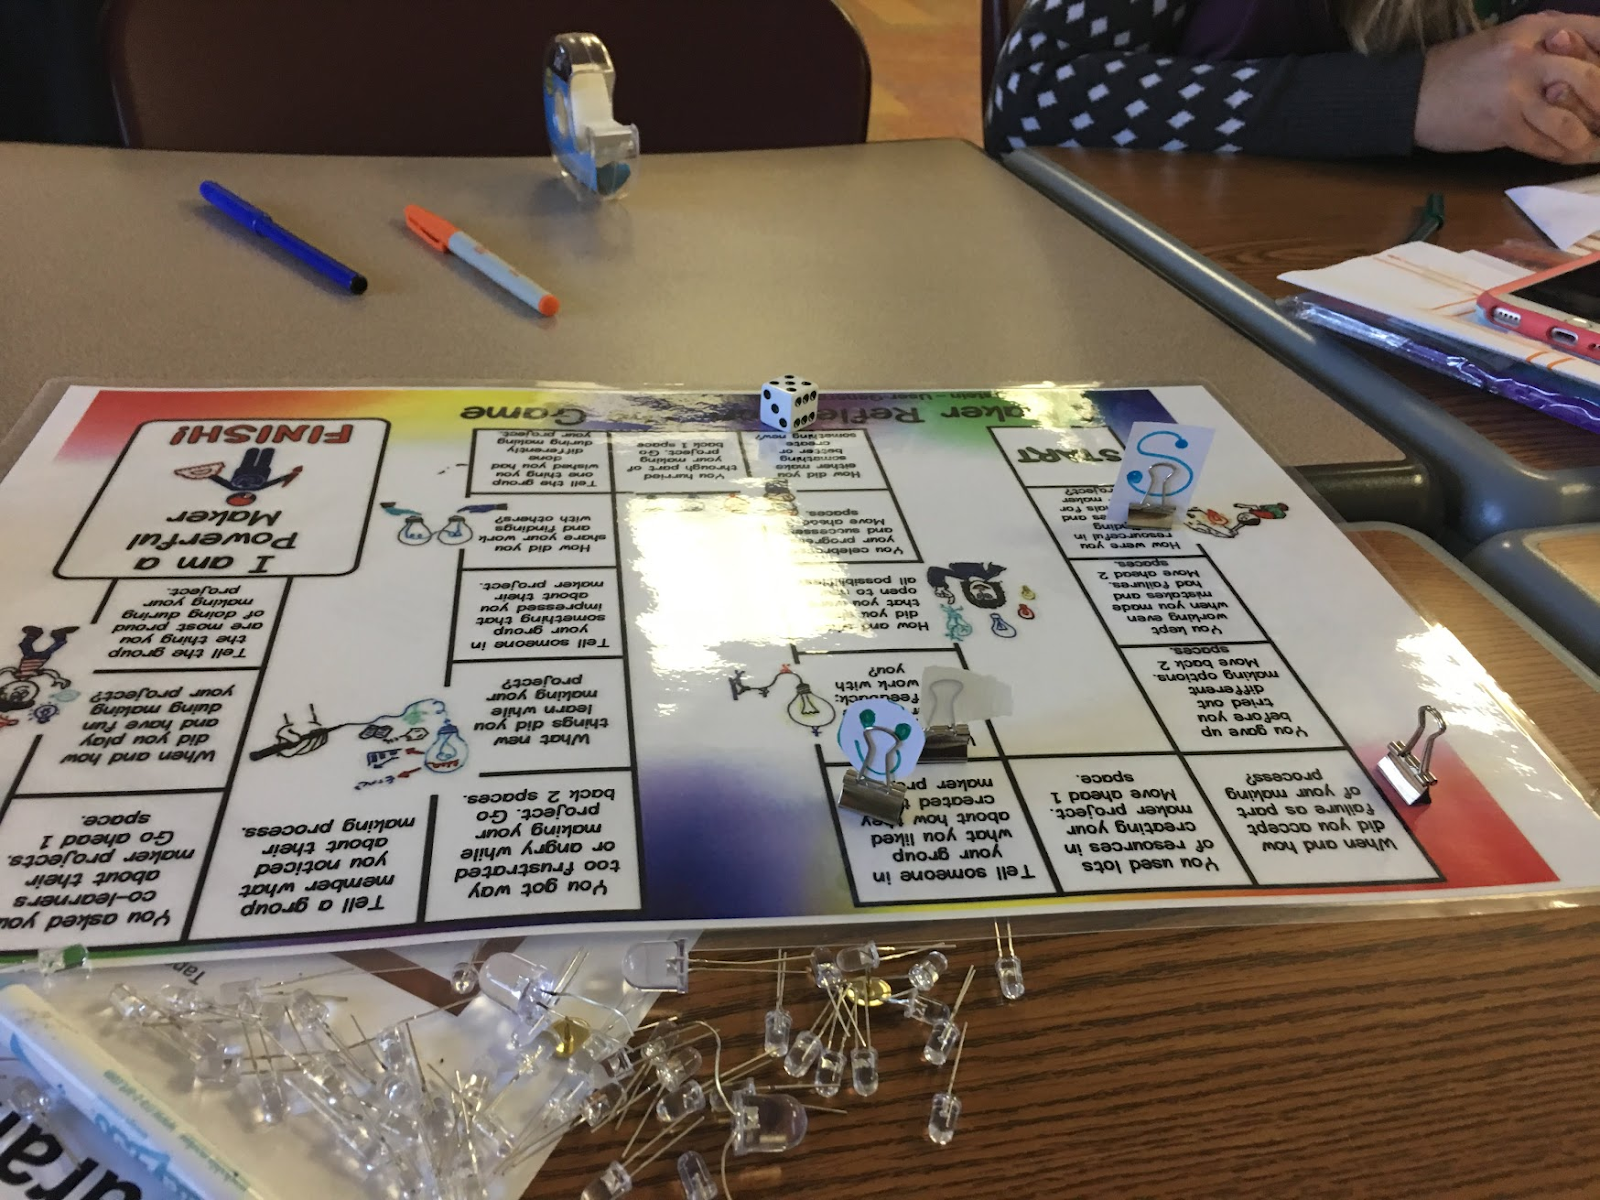
Realizing that it can be challenging to STOP and REFLECT in the flow of making,  Jackie has developed a game board, that scaffolds the process in a fun way.  I watched her successfully pause the making process and ask groups of learners  to each roll the  dice and use the prompts on the game board to  reflect on. 
You can find the game board and other tools to help you facilitate reflection in making on her blog. 

“Reflection is built into the process so learners can revisit their projects with a critical eye.  Insuring that a reflective piece is included in the maker education process assists learners in developing their own criteria of excellence and evaluating their performance based on this criteria. The reflection process is as or even more important as the making itself. John Dewey famously stated, “We don’t learn from experience . . . we learn from reflecting on experience.” The reflection process can be a form of making in itself.”    ~ Jackie Gerstein
Sometimes Jackie uses something as simple as an open Google Slide deck and encourages her students to pick a blank slide and start adding to the slide.  Other times she  encourages learners to use a variety of online tools ( word clouds, video creators, audio pieces, photo essays, online storybooks) to reflect on their learning and then she aggregates these reflection using a Google slide deck so all participants can review and examine each other’s reflections. 

 “The reflection process becomes a form of making in itself. “  

You can find a Google Slide show aggregating a  sampling of reflections from Jackie’s  maker education workshops on her recent blog post - The Magic of Making


If you’re looking for a crash course on adding a stronger reflective component to your making or the making of your students, take some time to peruse Jackie’s blog and try some of the tools she had designed to support the learning process. 

Sunday, March 4, 2018

March 4 - Meaningful Making


Meaningful Making -  Our 4th post in March is for Making Series (30 post in 30 days of inspiration from our #makered community)


Last year I had the pleasure of visiting Michael Pope's classroom at Barre Town Middle & Elementary School and left  in awe!   BTMES scored big time when they recruited Michael Pope back to his home school.   After completing his Masters degree in Learning, Design, and Technology at Stanford and spending a few years working in the design industry,  Michael came back home to the classroom he had spent his middle school years in.  He  used his experience and his strong belief in student directed learning to design a program and space that is worthy of its name - THE DESIGN LAB!


After spending an hour in The Design Lab, it was easy to see the different ways both the space and the program were purposedly designed to support its three main goals.

  1. DESIGN = PROCESS: Enable students to understand and explore design as a universally applicable problem solving process and way of thinking
  2. LEARNING THROUGH FAILURE: Allow students to embrace risk & failure as learning mechanisms
  3. MEANINGFUL MAKING: Facilitate student engagement with meaningful challenges


Considering Michael's time at  Stanford, it is no surprise that he uses design thinking to guide students through the  process for problem solving as they create and make.  He "does not expect them to leave his program as master carpenters, draftsmen, engineers, or artist, but he does expect them to leave as better thinkers. "
Michael does not consider himself the leader in the class.  He does not want to lead everyone through a series of projects that he has designed.  He, instead, sees himself as a facilitator, cheerleaders, and a resources for student directed learning.     

"By choosing their own projects, students explore the topics that they find most meaningful.  When students direct their own projects, they learn through their failures and their triumphs."


Although students get to select their own projects,  Michael guides that process to ensure that students select a meaningful project.  

Michael describes a meaningful project as one that 
  • Solves a problem
  • Helps us when we need it
  • Benefits others
  • Completes an objective that it was designed for
  • Reminds you of something important
  • Has personal meaning
  • Evokes emotion
  • Looks nice
  • Takes effort to make
  • Is something you want to do
  • Help with daily problems

The projects can be personal projects or public projects.   

  • Personal projects might be a skill based project where a student focuses on acquiring a new skill or master an existing skill.    
  • Personal projects might also be  message based projects that allow a student to express a specific message
  • Public projects are usually projects that solve a need or provide a service. 

As part of their project selection process,  students are asked to consider several elements that will guide them through the meaningful making journey ahead. 


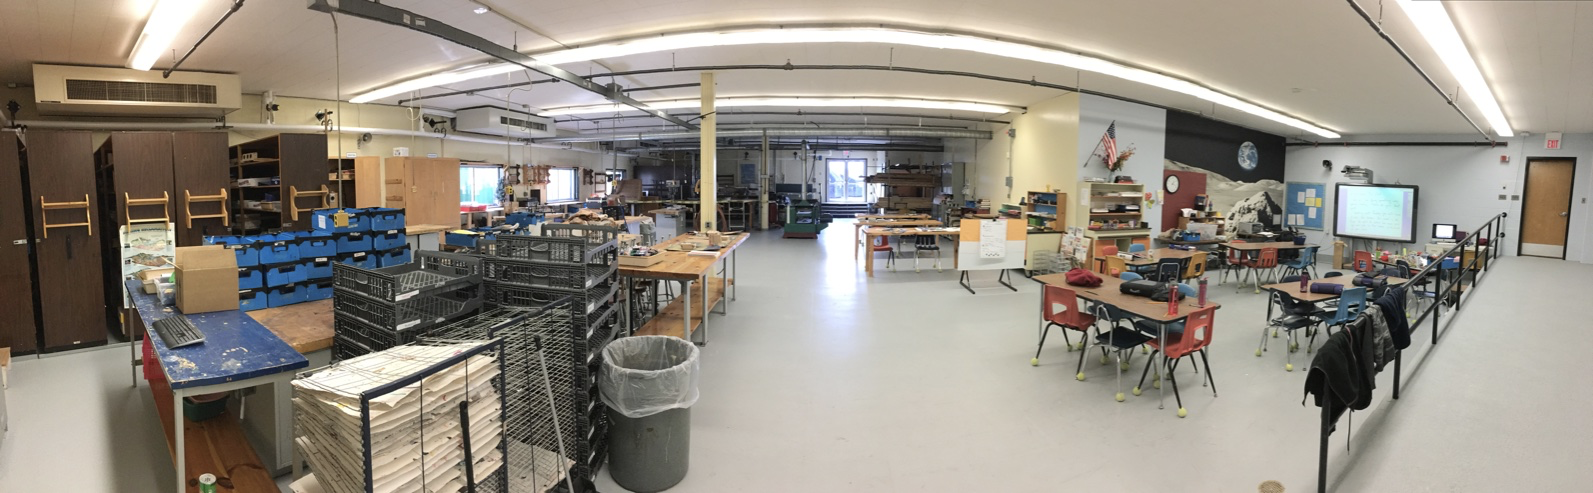
The space and tools in the Design Lab provide students with the a wide variety of resources they might need in their meaningful making journey. 

It's obvious that the BTMES Design Lab is a great space. 


Although I must say that both times I've visited the Design Lab,   I've have to navigate my way around so many projects in progress that I didn't even realize the floor was white! 

Micheal's Design Lab program  inherited the wood shop tools that he had used as a student in his days as a student. 


Michael has  expanded the toolset to include some affordable and accessible tools such as sewing machines and a vinyl/paper cutter. 


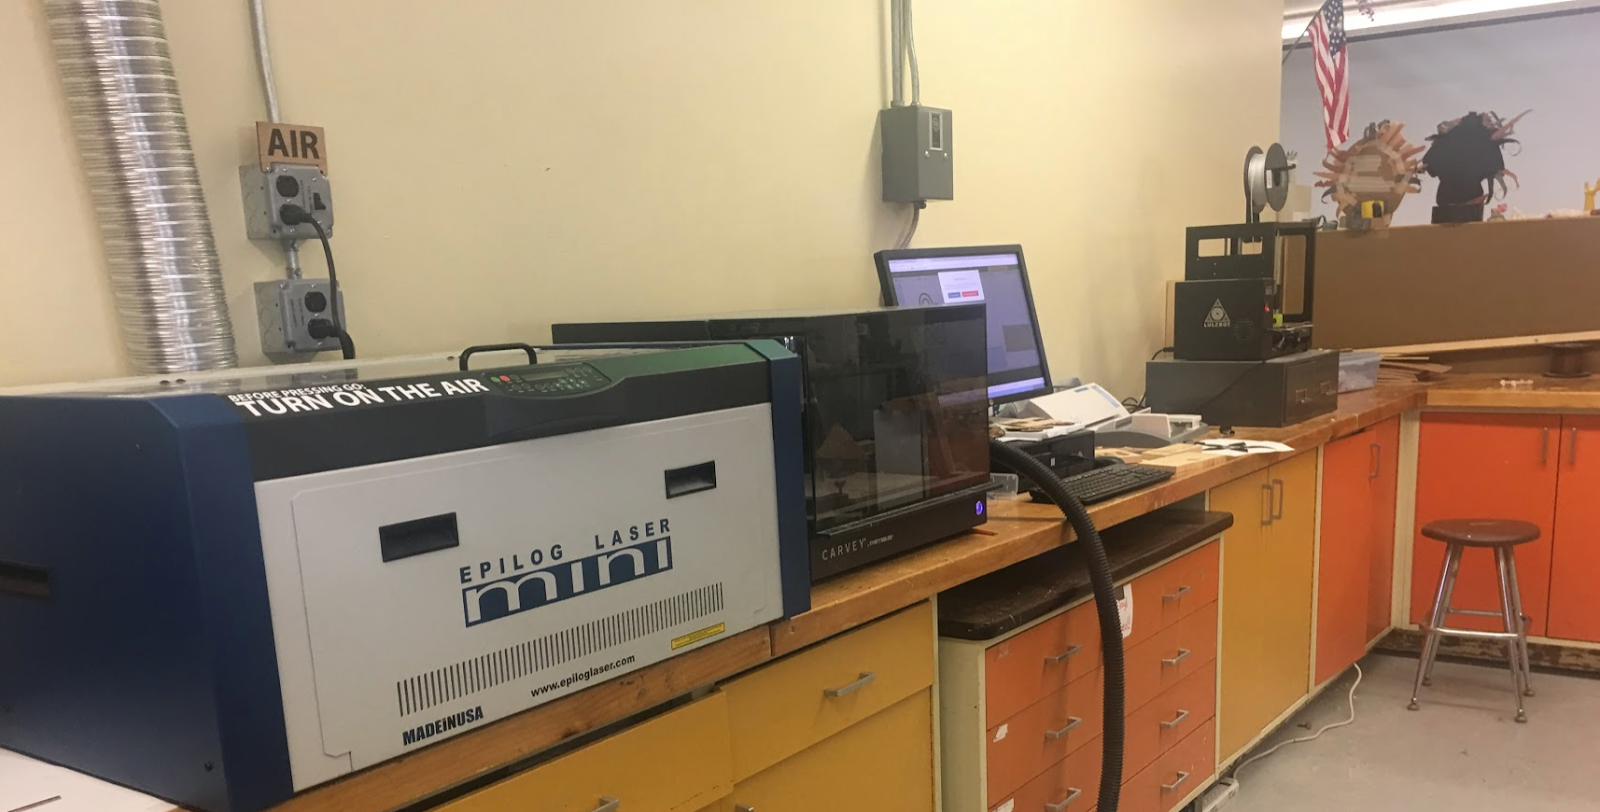
And with funds secured from forward thinking school leaders, he was able to add some design and  prototyping tools including an Epilog laser cutter, Lulzbot 3D printer, and the  Carvey CNC mill.


 giphy.gif giphy.gif giphy.gif


But probably the tool that most impressed me was the project board he used to help his students manage the process of their learning  through meaningful making of their individually selected projects. 


As Micheal describes how his students use the board, it is easy to see that the thoughtful design of a masterful teacher is at work in this space! 


The shift from a series of projects designed by the teacher to help students master proficiency to one where student meet standards and  proficiencies over time by designing and making their own projects is one that requires thoughtful and strategic planning.  Michael is continuously working on and tweaking the process and has provided such a helpful model for the #vted and  #makered community on how to design meaningful making experiences.


It's easy to understand why so many students frequently  find their way back to this space to  work on their Design Lab projects as well as projects for other classes.   

The students at  Barre Town Middle and Elementary are so fortunate to have the Design Lab  (a program and a space) that puts them at the center of their learning.  Thank you, Micheal Pope for sharing your practice and resources with us and for the role you play in your students' lives.