Saturday, August 19, 2017

Learning About Maker Spaces in our Schools


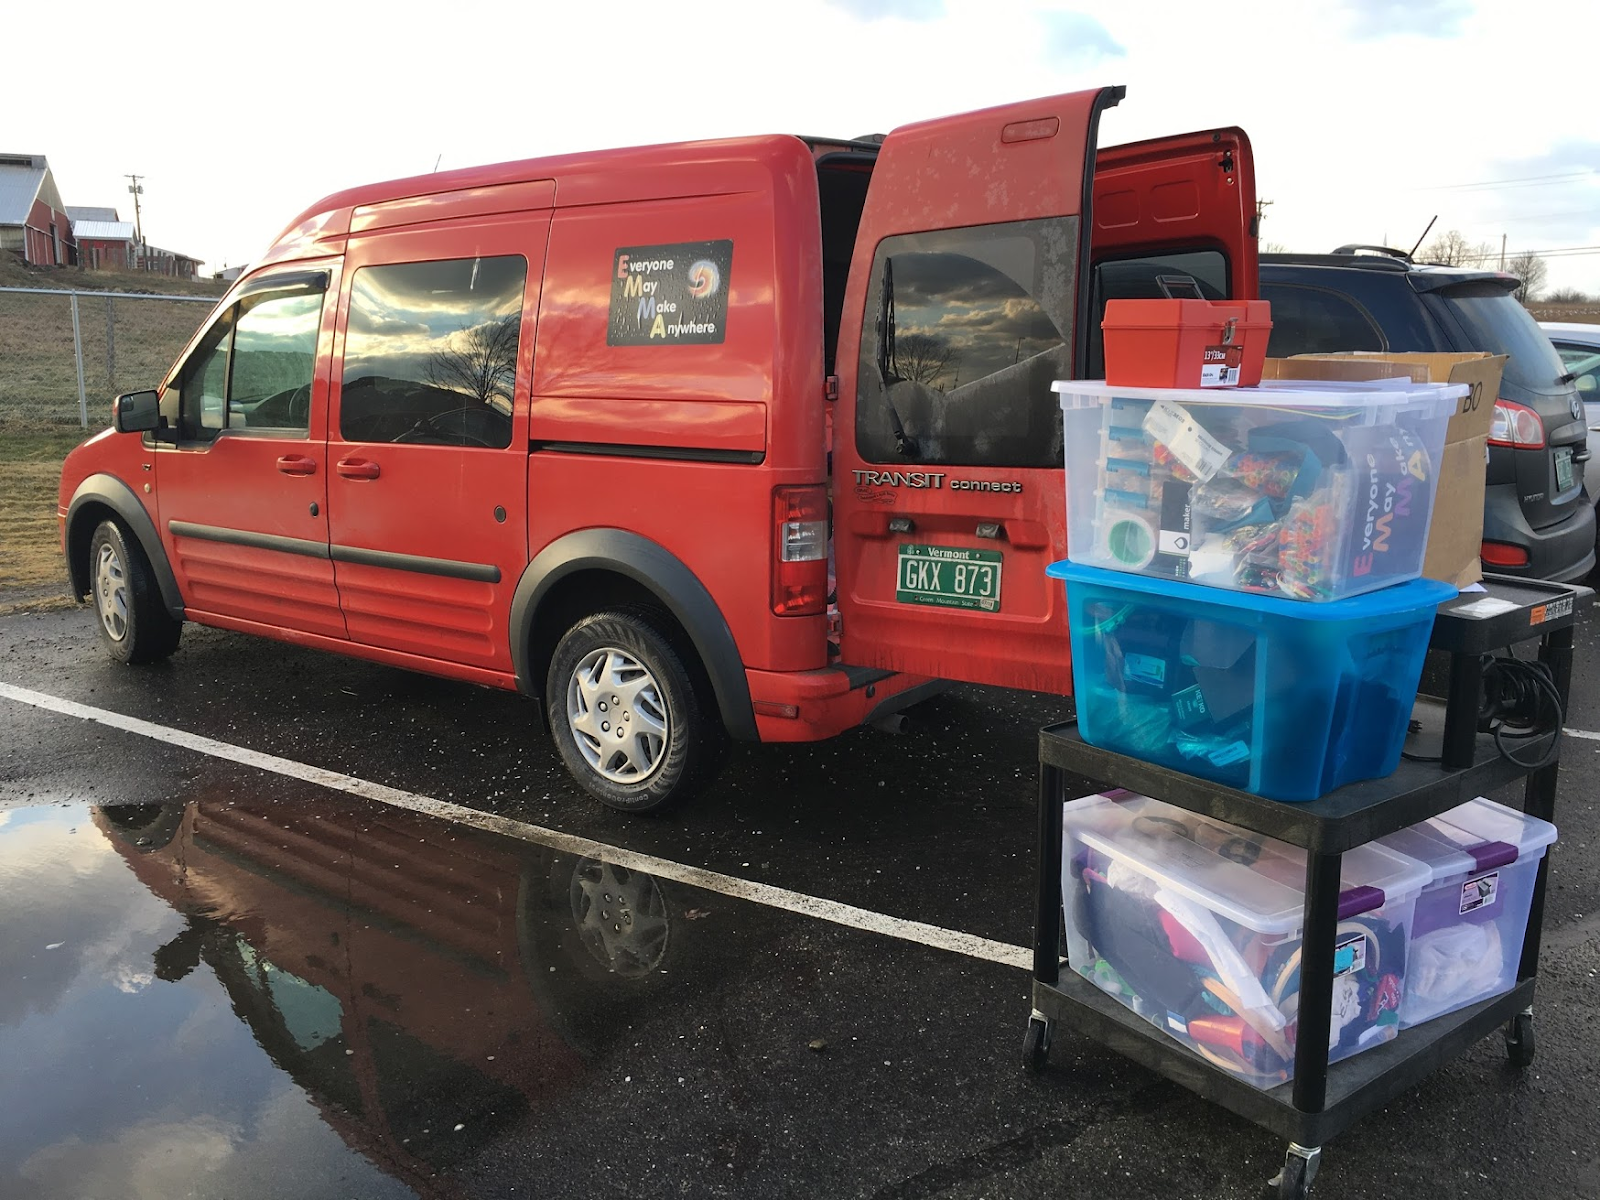
EMMA - Lucie's mobile studio for Creating and Making
Last week  EMMA (my mobile studio for creating and making) and I had the pleasure leading a two day workshops for Champlain Valley Educator Development Center (CVEDC) for educators who might want to create a makerspace in their school.

I had just finished my annual  five day Create Make Learn Summer Institute  and I was filled with ideas of what I might want to include in this two day event.  The biggest problem was that I wanted to include TOO much!  Stepping back I reached into my teacher toolbox and used  a backward design approach to think about  WHAT I wanted them to leave with at the end of the two days!  I decided that what I really wanted them to be able to do is to “articulate WHY a Makerspace in MY School?”  or at least be ready to lead that conversation with their colleagues.


Video Summary of Two Day Workshop


Too many educators approach me with one question -
“Can you give us a shopping list of things that we should consider getting for a maker space and where to get them?”  

I try to resist answering that question until they can tell me their WHY. But the problem is that this is a chicken and egg situation. It’s hard to know your WHY if you have not experienced maker centered learning. You don’t know what’s possible. Of if you do, your understanding of what’s possible is limited to the areas you have experienced or what you have read. And since there is NO shortage of amazing materials about maker spaces (including shopping lists of resources) available online, educators are often feeling overwhelmed and confused. It was my goal that my two day workshop would provide teachers with a clearer understanding of some of the tools, technologies and materials often found in a maker space as well as WHAT type of impact having these available for students might have on learning.


This type of understanding does not simply come from looking at lists of maker space supplies.  This type of understanding does not just come from sitting around  talking about pedagogy.  This type of understanding does not come from creating a large collection of STEAM based lesson plans.  This type of understanding comes from from all of the above combined with experiencing the learning process that happens as you Create and Make.


It was my challenge to create a HANDS-ON MINDS-ON experience that left a group of teachers feeling empowered to have deeper conversations around maker spaces in their schools.


Generator - a community maker space
It all started with picking two great locations for the workshop.  We kicked off the workshop at the Generator  - a community maker space in Burlington Vermont, followed up with Day 2 in a school maker space - Studio B (the BTC maker space in Burlington Schools)  The locations of the workshops were instrumental to helping our group (mostly PreK - 8 teachers)  start to understand the possible WHY of a makerspace.   The locations for our workshop also highlighted how important that we examine our WHY as part of an interconnected system - a community of makers, educators, artists, inventors,  problem solvers,  and innovators shaping the future.  Our Why should be shaped by a greater understanding of how each of us contributes to the system and how we can help each other towards a greater collective impact.


In the spirit of backward design, the location helped these teachers of younger learners understand where their young learners COULD end up in just a few years.  It’s an incredible responsibility to be charged with creating the next generation of inventors, problem solvers,  and innovators.  What do we do to help teachers prepare for this daunting tasks?  
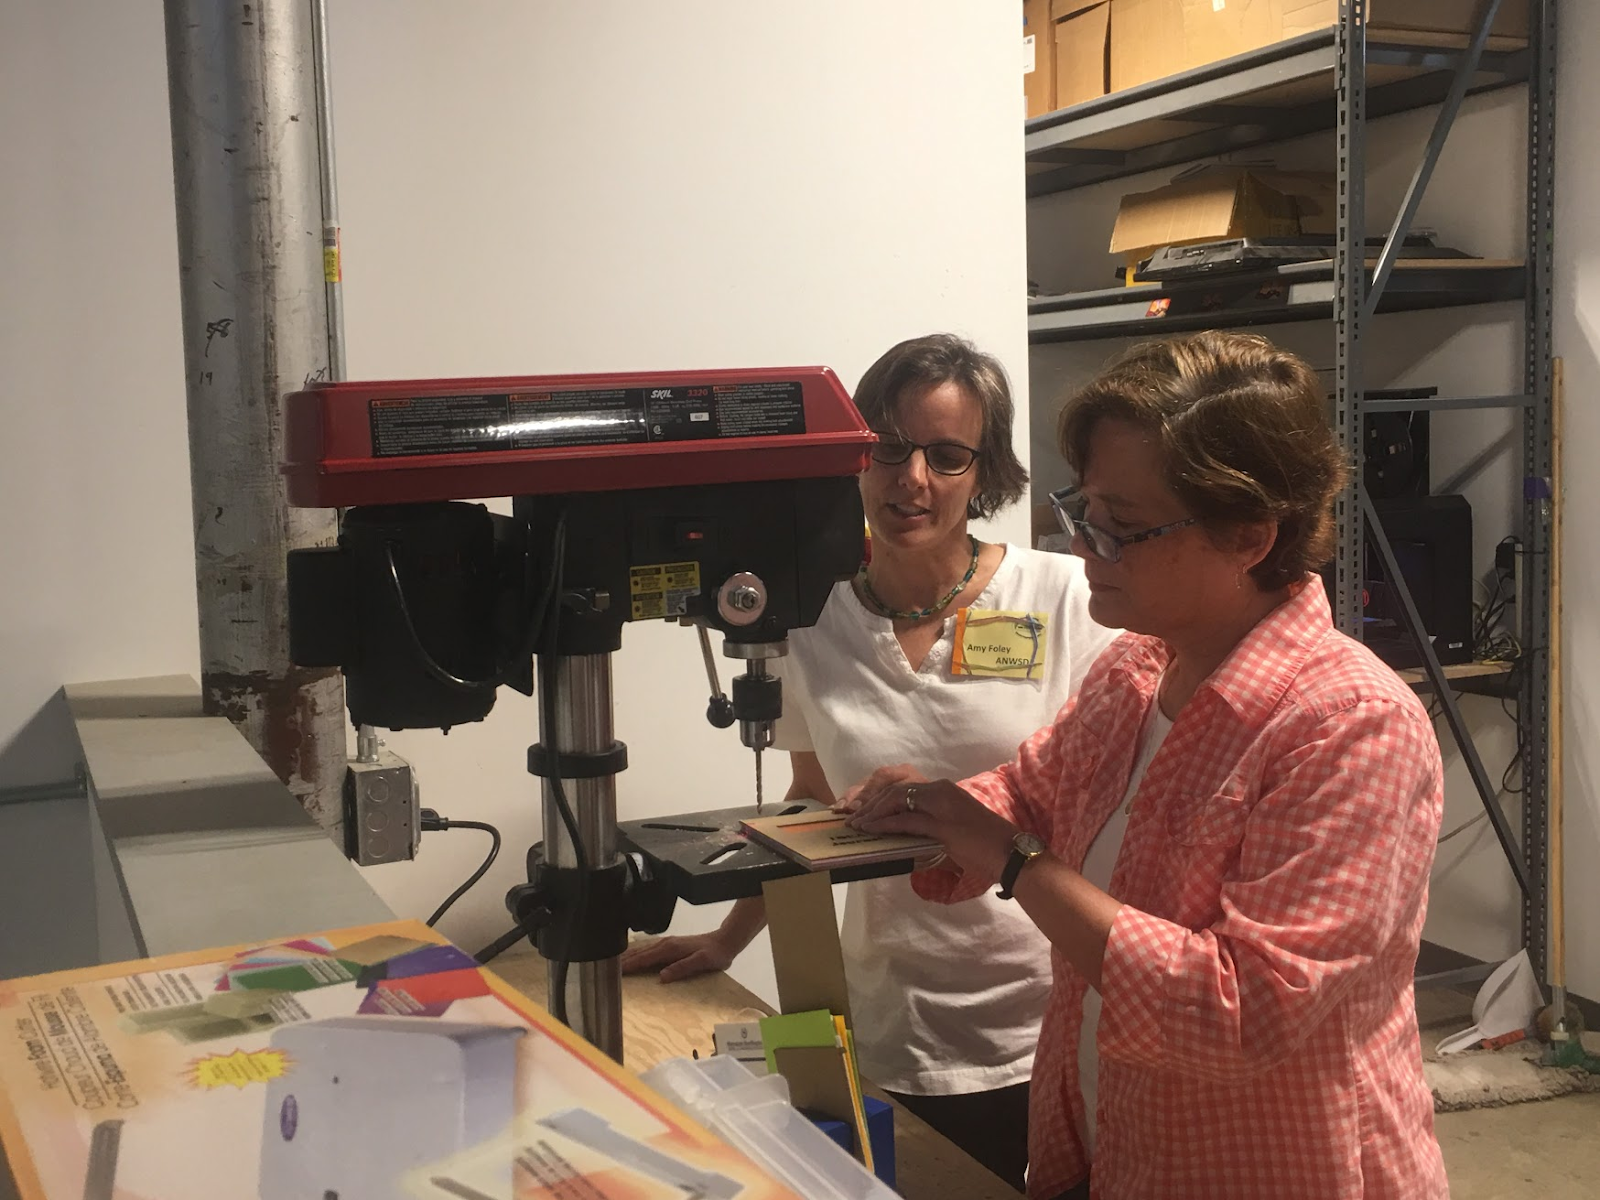

One of the best things you can do is to hold workshops in locations filled with inspirations and examples of what their YOUNG LEARNERS might be CREATING and MAKING in THEIR future.   

Too many teachers ask that a workshop give them something they can DO TOMORROW in THEIR CLASSROOM.   We need to think BIGGER than this!   Yes,  the workshop should also provide that practical thing you can use tomorrow,  but more importantly it should leave you inspired to prepare students for THEIR future.  
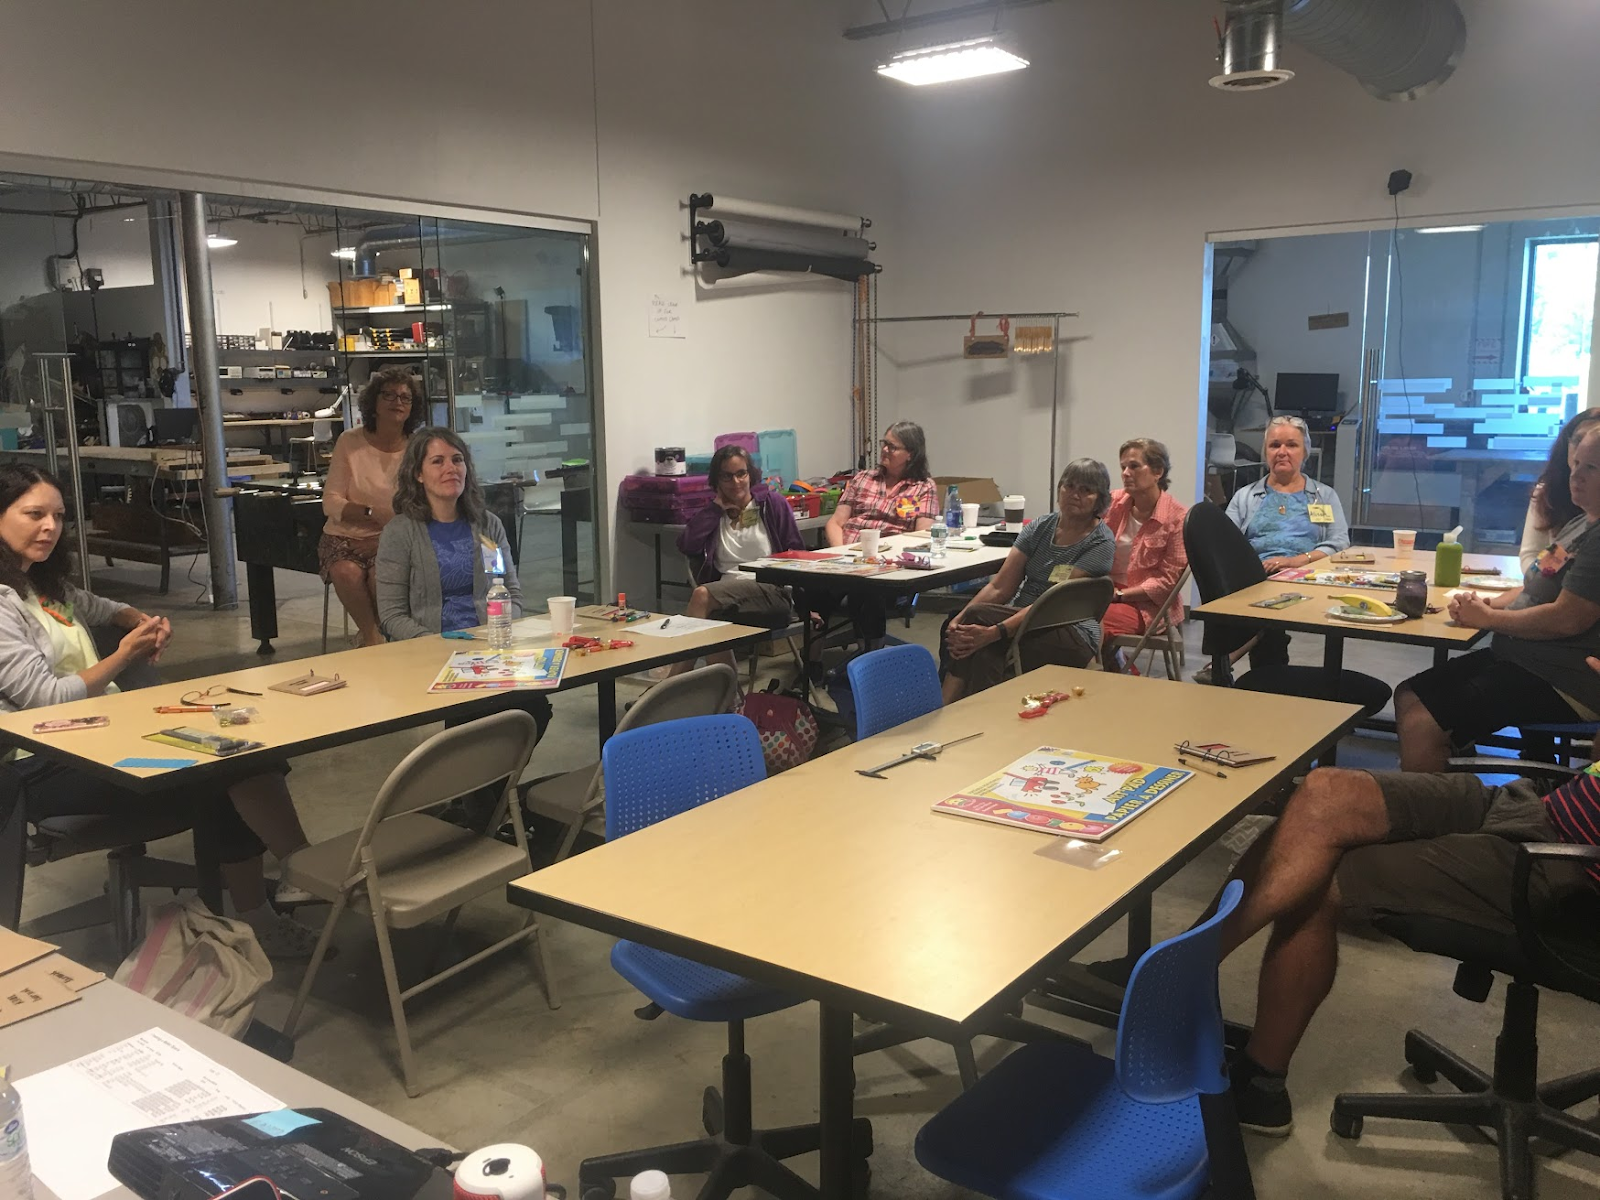


As we toured the Generator, I asked teachers to take as many pictures as they could of INSPIRATION that they could use to better understand what their students might be able to create someday.   I also suggested that they take pictures of tools and materials that might be useful in a makerspace.   This would be the beginning of the LIST of tools and materials they asked for in our earlier conversation.  THEY would build this list together from their experience over the next two days!   Trying to model that a teacher’s job is not to provide a ready made solution, but to help students ask the right questions and  design a solution to questions like (How do I create a makerspace in my school), I was determined not to provide a recipe but to help them create their own individual design that matched their WHY!  

It was my goal that their question would move from “What should I buy and where do I get it?”  to “How do I set kids on a journey to create and make amazing artifacts or solutions to problems.”  
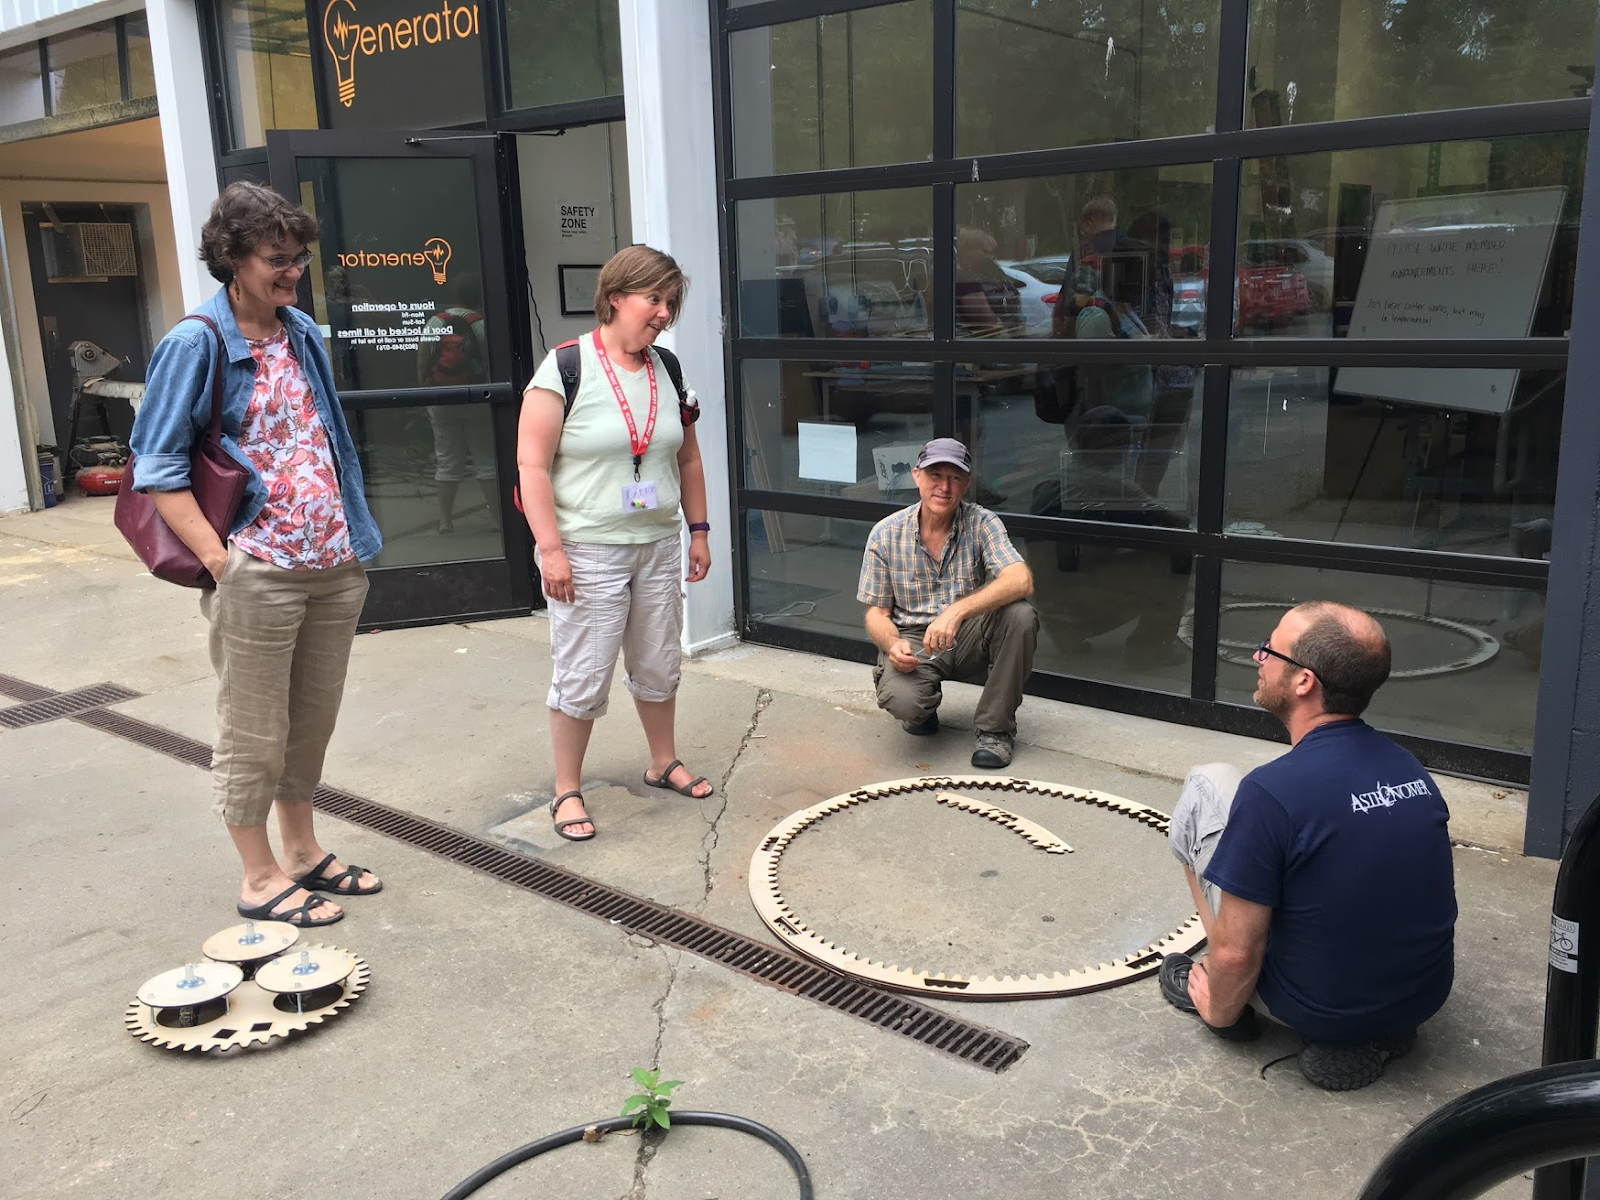

Educators inspired by Generators Member Projects


The locations of our two day workshop set the stage perfectly for this to happen.
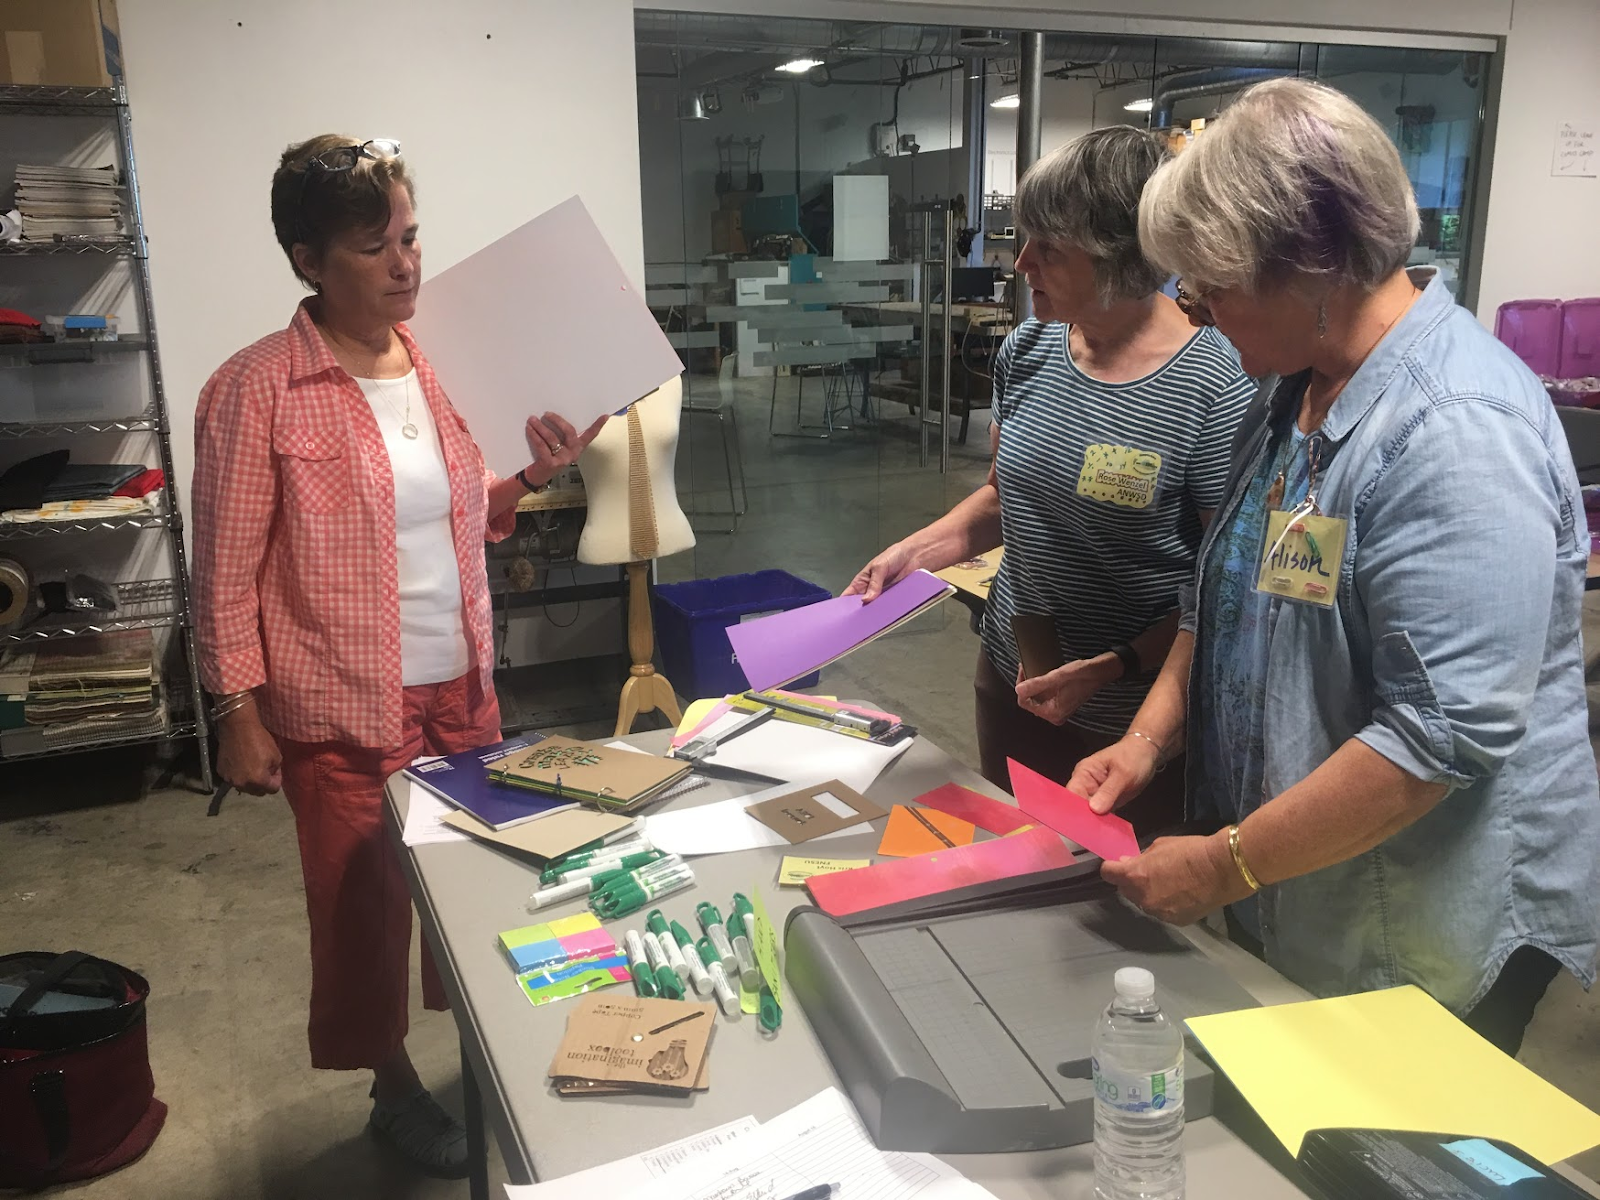

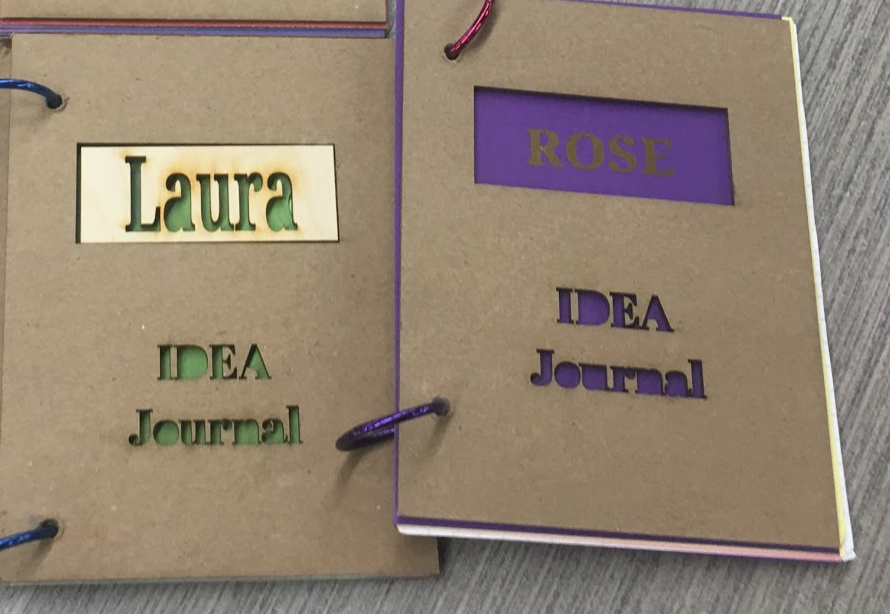
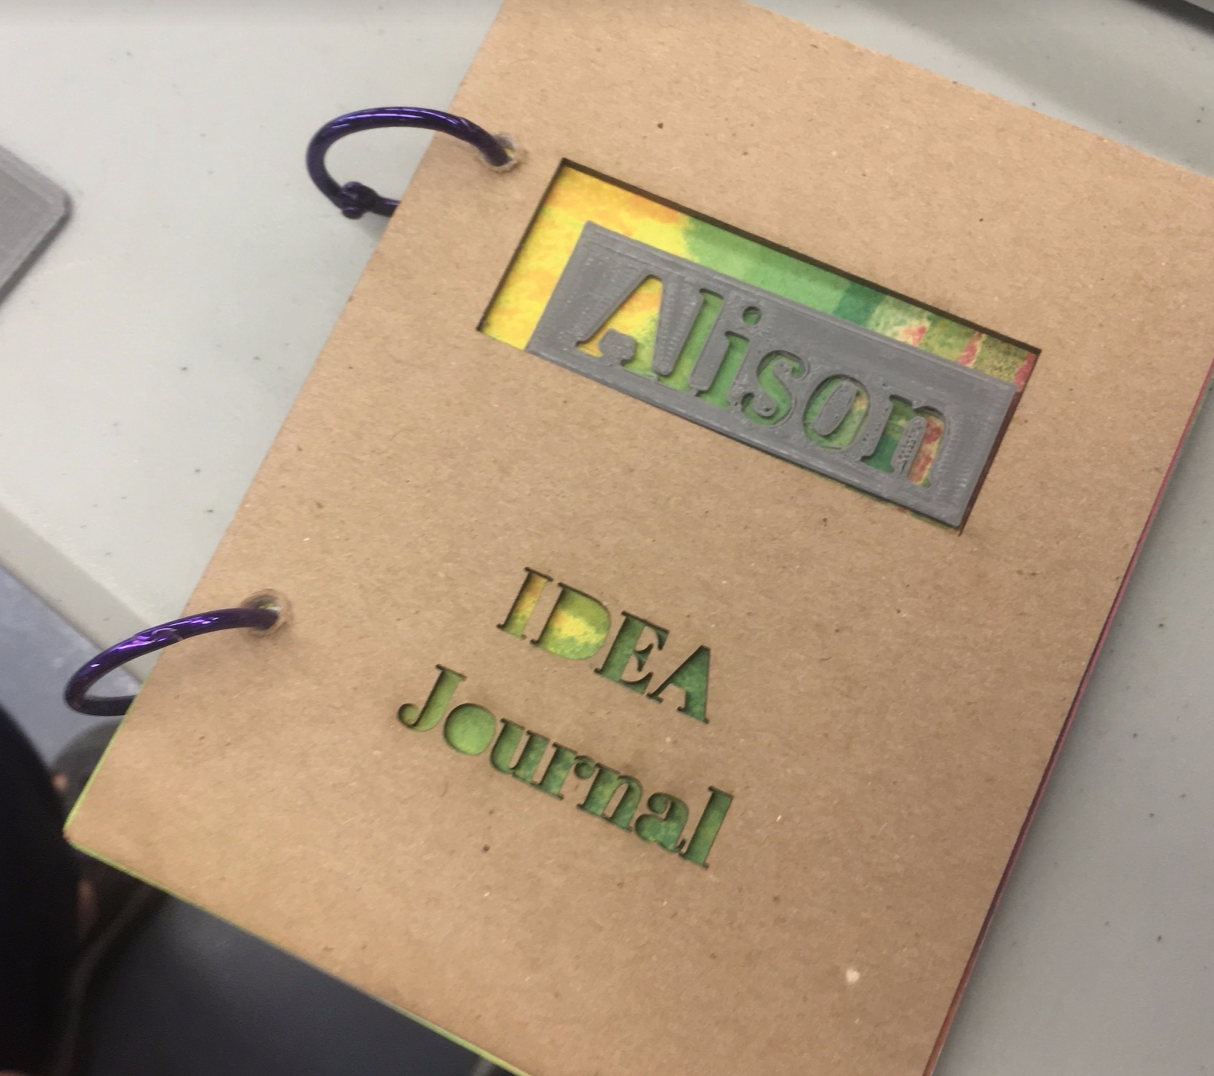
After our tour of the Generator,  we jumped into a Make and Take that not only left teachers with their own IDEA Journal where they could flesh out their WHY, but also with a clearer understanding of the process of learning and making with tools like vinyl cutters, CNC machines, laser cutters, 3D printers.   The consensus was that even though many of the teachers might NOT USE THIS TOMORROW, they NOW UNDERSTOOD the difference between each of these technologies. They knew the difference between additive technology and subtractive technology.  They knew the pros and cons of choosing a laser cutter vs a CNC machine to solve a problem or create an artifact.  


Creating and Making our Idea Journals
Using a Laser Cutter or a Vinyl Cutter  
Or a 3D Printer
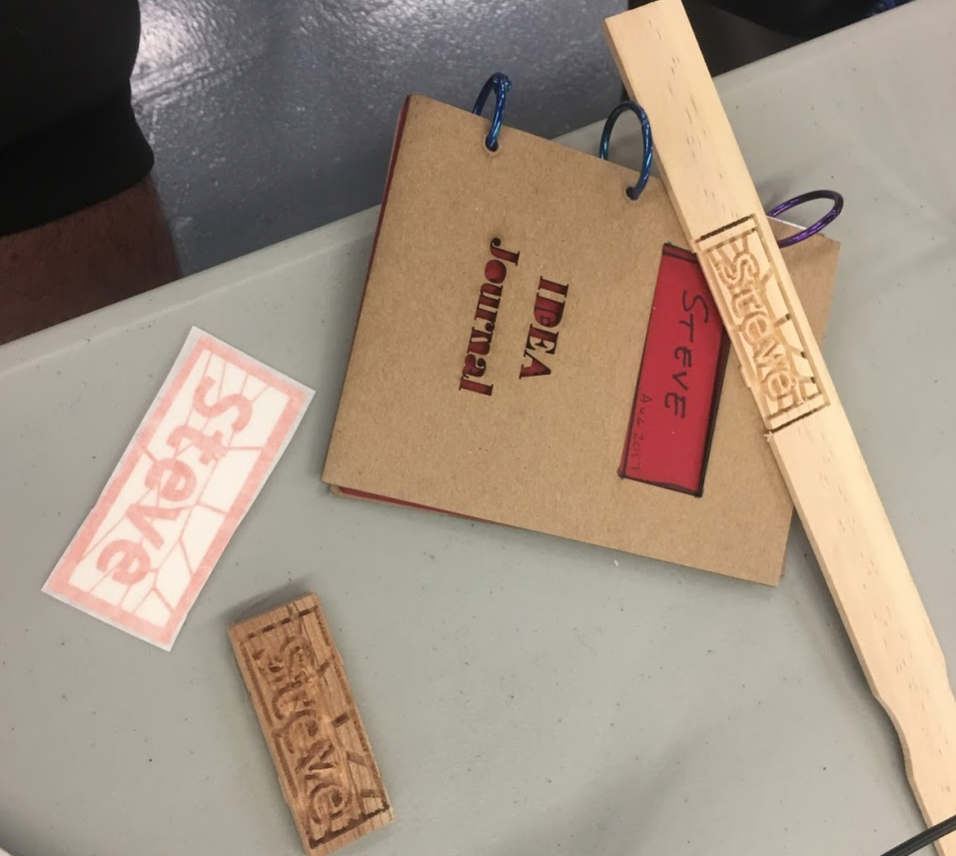
Or perhaps a CNC machine
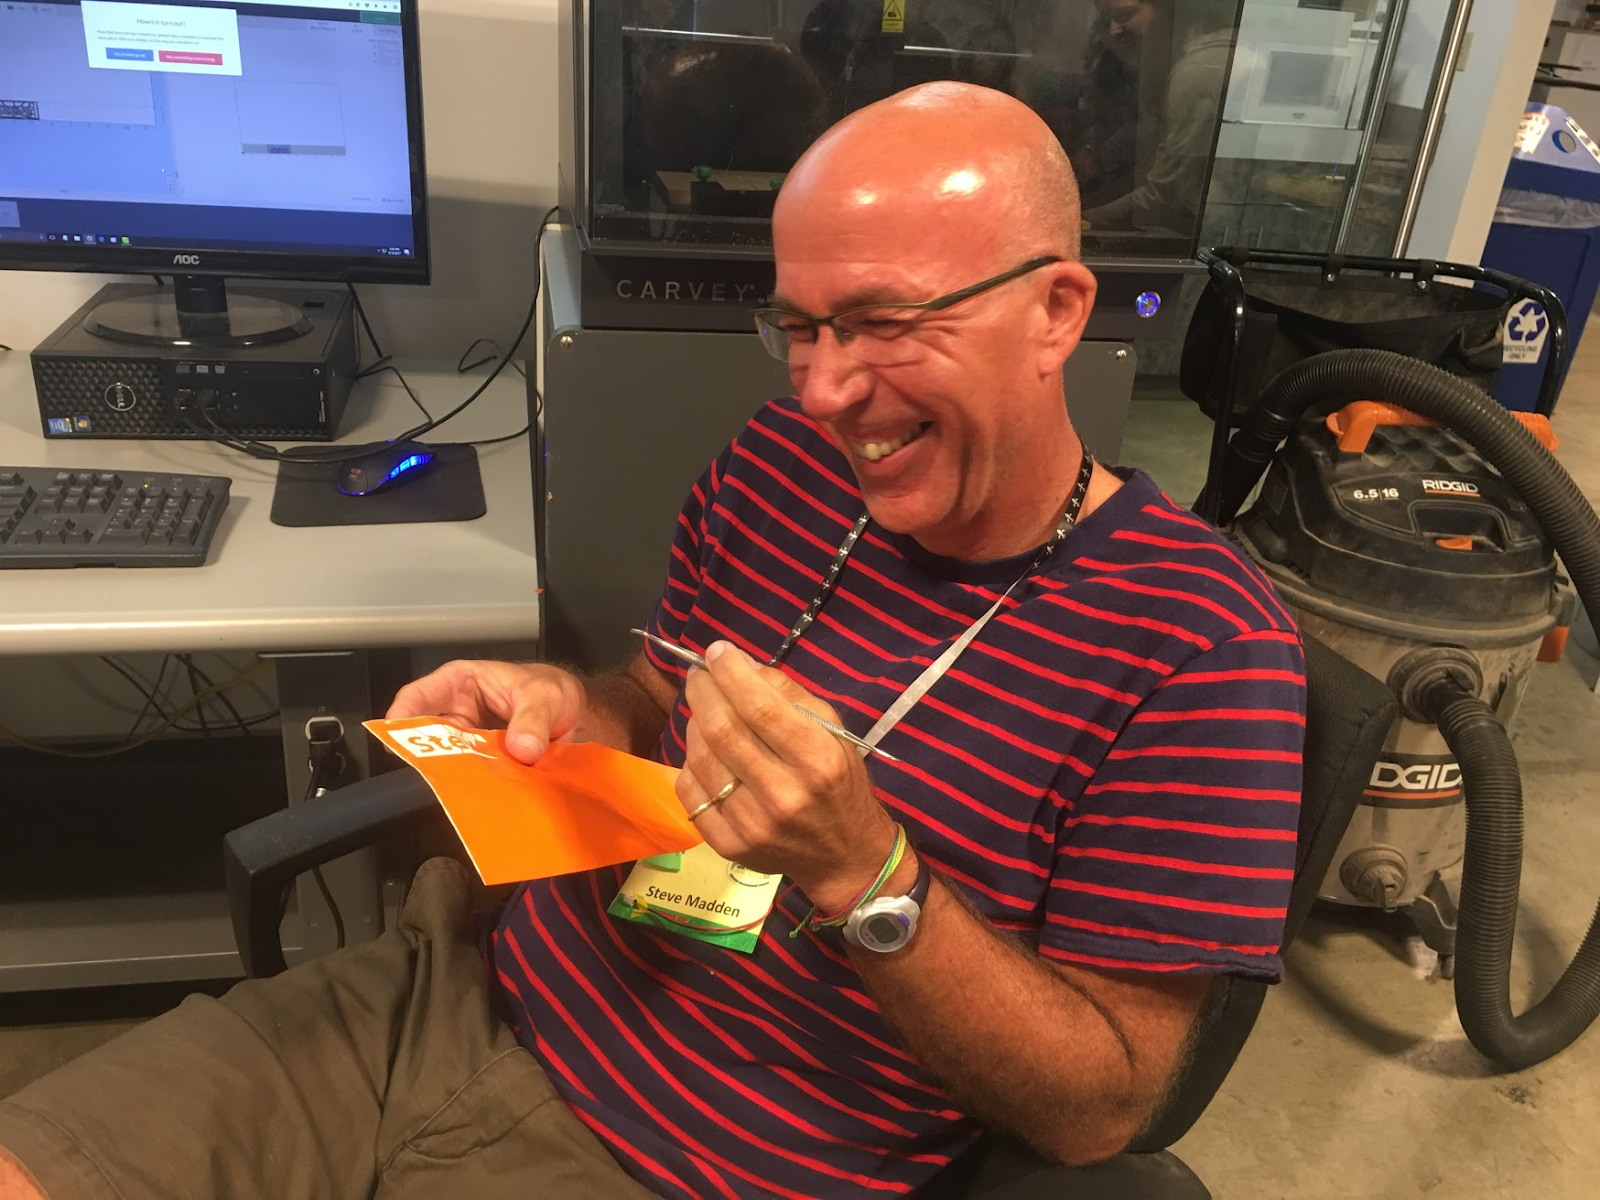

So many choices!  So much fun to explore the possibilities as we learn new skills.


By the end of the first day, this group of educators agreed that they knew which tools were more accessible to their learners and which ones would require students to develop  pre-requisite skills. They could design experiences in their classroom that helped build those skills.  They started to see connections between some real world applications to content in their curriculum (i.e. X, Y, Z axis) They started to understand tools and processes that their students might have available in the not too distant future.  Even if some of the teachers did  NOT have these technologies in their classroom, they knew they were preparing students to use tools that might be in their school soon (if not already)   or might be accessible in their community through partnerships with community maker spaces like the Generator.
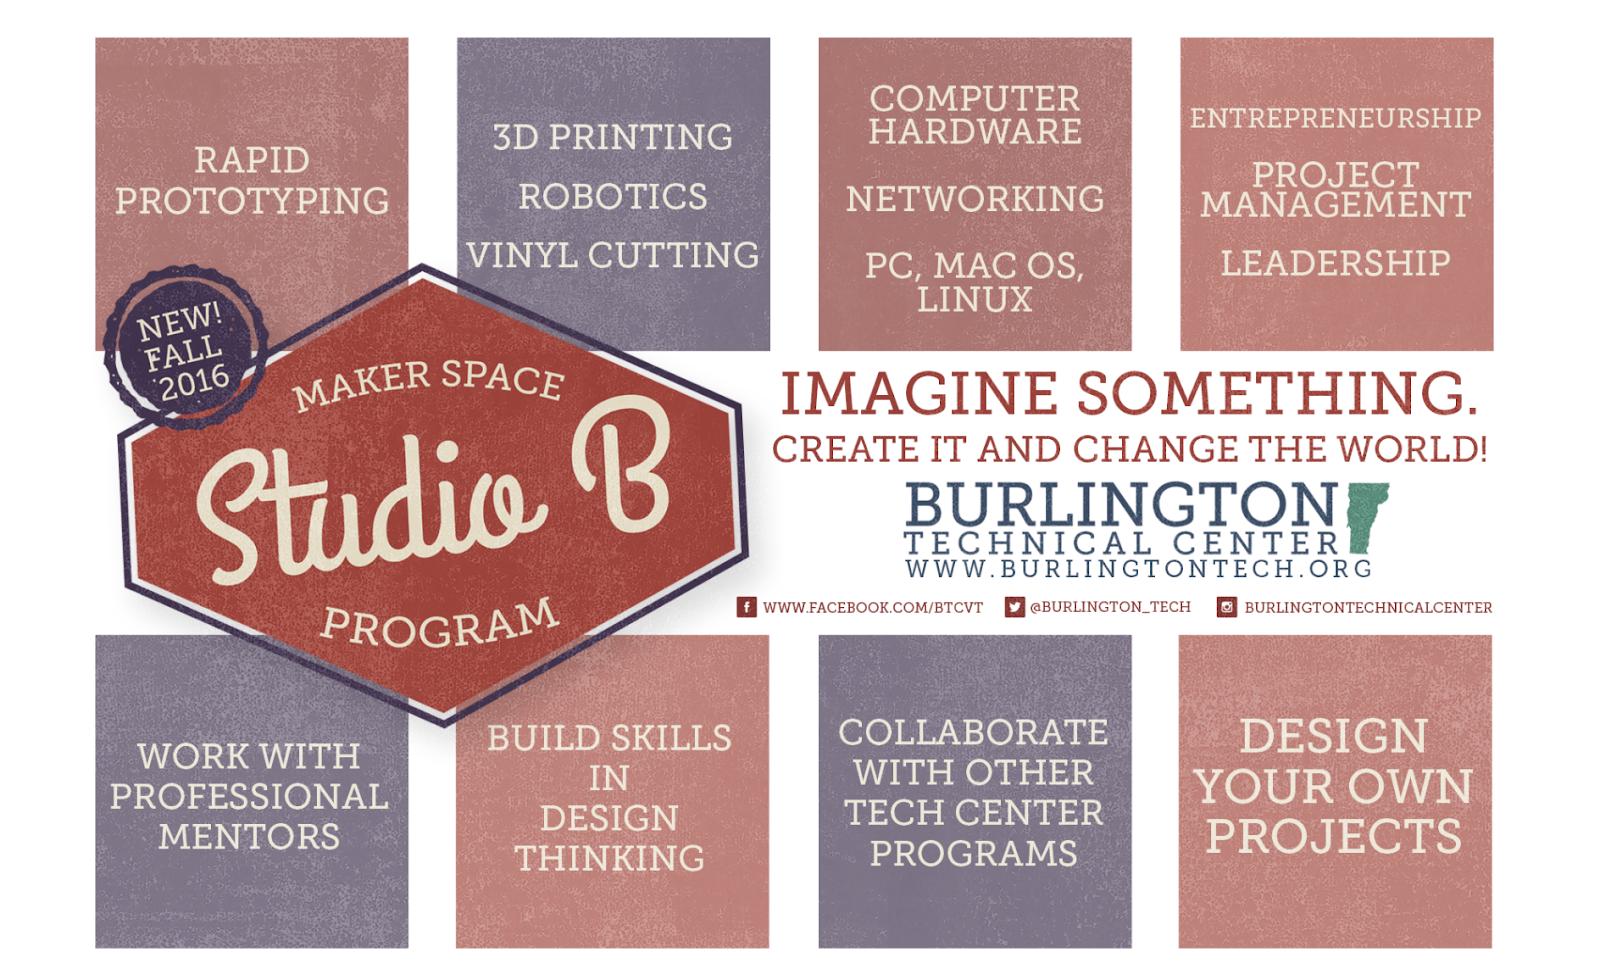


On Day 2 we moved to a school maker space Studio B - a school maker space ( at the Burlington Technical Center.  Too few teachers are aware of the changing role that Career and Technical Education can play in the lives of our students.  The 16 Career and Technical Education Centers that serve ALL of Vermont’s students are not the “vocational programs” that many of us experienced when we were students.  They provide amazing opportunities for students who thrive in hands-on minds on environment using some of the most advanced technologies in the industry. They prepare our students to succeed in college and post-secondary training and have several dual enrollment college opportunities built into them.  


As Vermont teachers help advise and mentor students in developing personal learning plans for their educational journey, both our teachers and our students need increased awareness of the Career and Technical Center opportunities available in their school district.  Our Day 2 venue did this in so many ways, including the long walk to the bathroom as we passed classrooms labeled Welding or Aviation.  Having spent 15 years teaching in a Career and Technical Center, I can attest that the students who are filling our current school makerspaces absolutely need to know about these opportunities; and as teachers we can help increase their awareness by increasing our own awareness to better mentor them through their personal learning plans.
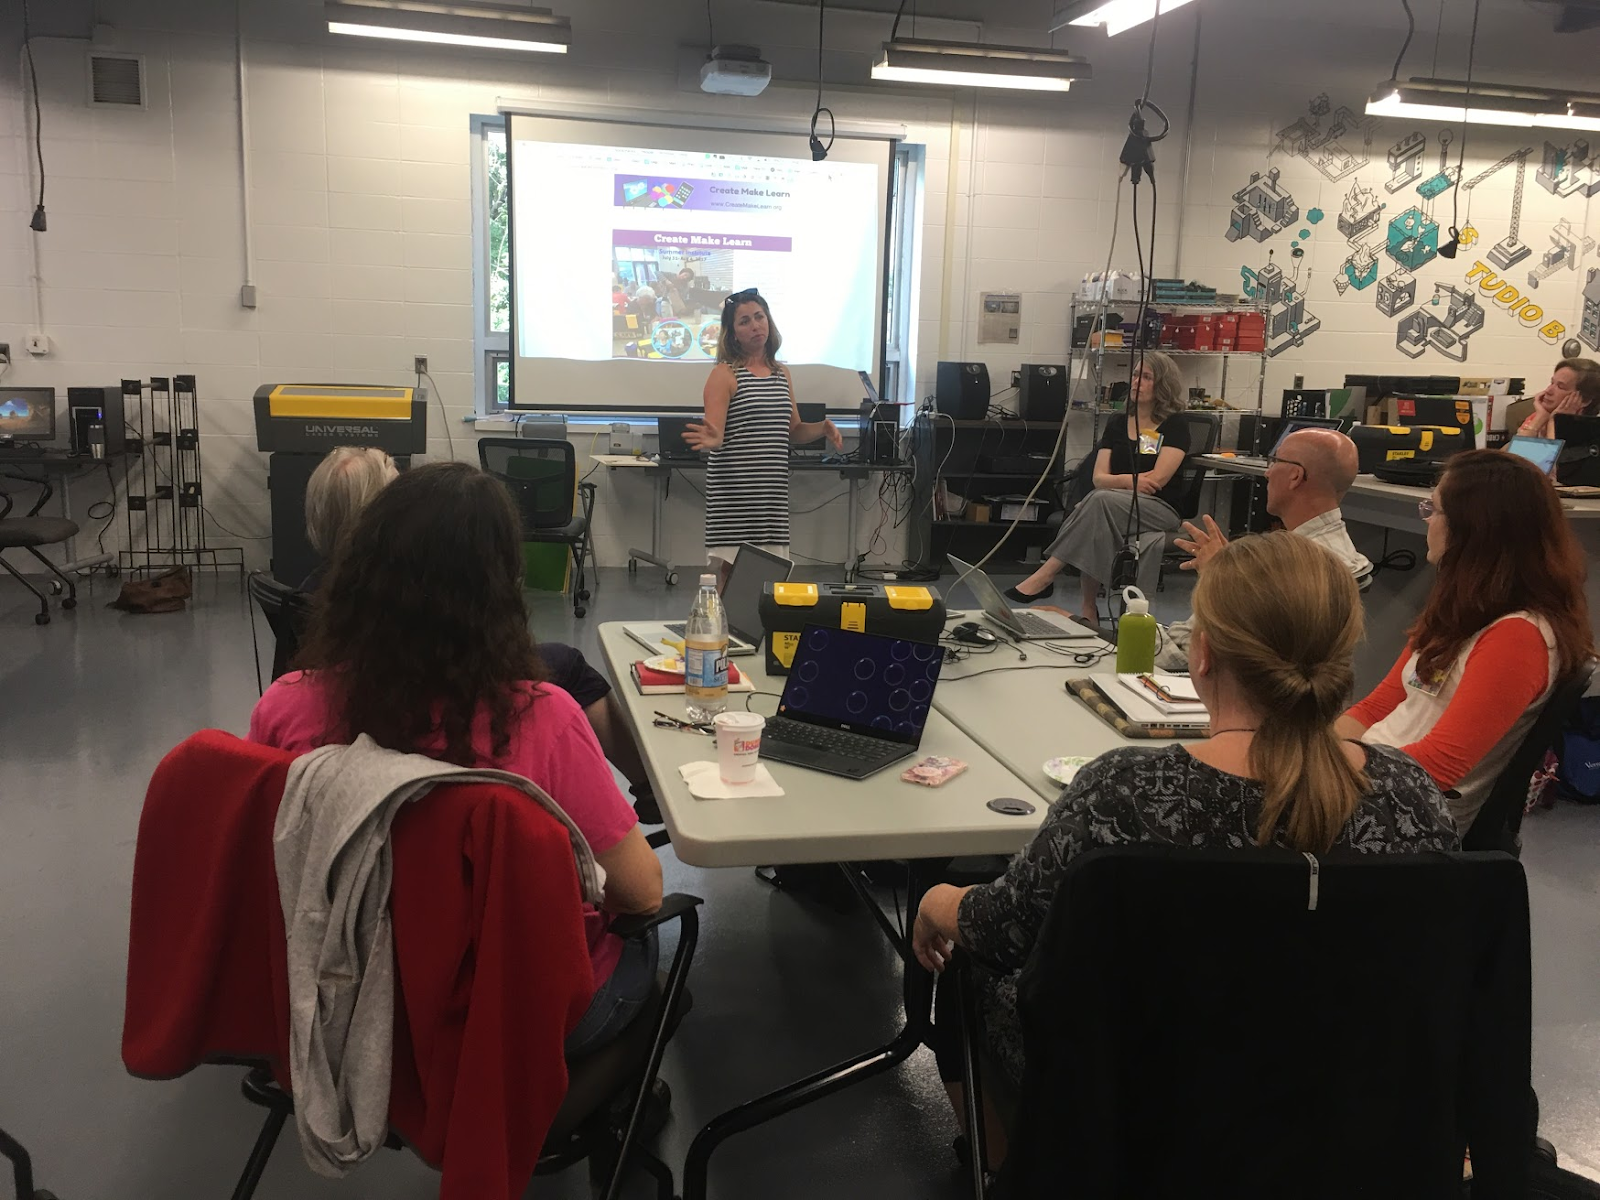

Courtney welcomes us to Studio B
We were welcomed to Burlington Technical Center by Courtney Asaro who had helped design and set up the Studio B makerspace just last year.  We had the added bonus of having Courtney talk to us about her work with younger learners at Flynn Elementary.  Courtney described how SHE and her young students would be collaborating with the Burlington Technical Center in the upcoming school year.  She also shared examples of how Flynn Elementary students had collaborated with Generator members, driving home the importance of understanding the power of leveraging the community as you develop your maker education journey.


Our morning conversation was rich and had a natural flow to it as teachers debriefed the previous day and prepared for our second day of making.  Listening to what surprised them, what was challenging, and what inspired them revealed that they were really starting to understand their “WHY” and how  a makerspace might fit into their school.  Seeing similar technologies in a school maker space as they had seen earlier at the Generator, (laser cutter, 3D printer, vinyl cutter, CNC machine, power tools, hand tools, and more) our group of educators were less interested in the ‘tools’  and more interested in the process of making.  The shift in the conversations was a perfect set up to the experiences I had designed for the day.


Our Day 2  workshop design revolved around the multi-disciplinary Transferrable Skills that Vermont teachers are being asked to design their own learning around.  



By the end of the morning, our teachers had experienced how increased confidence with circuits and code  could equip students with tools for Creative and Practical Problem Solving,  Mathematical Standards of Practice and Science and Engineering Practice found in Next Generation Science Standards.
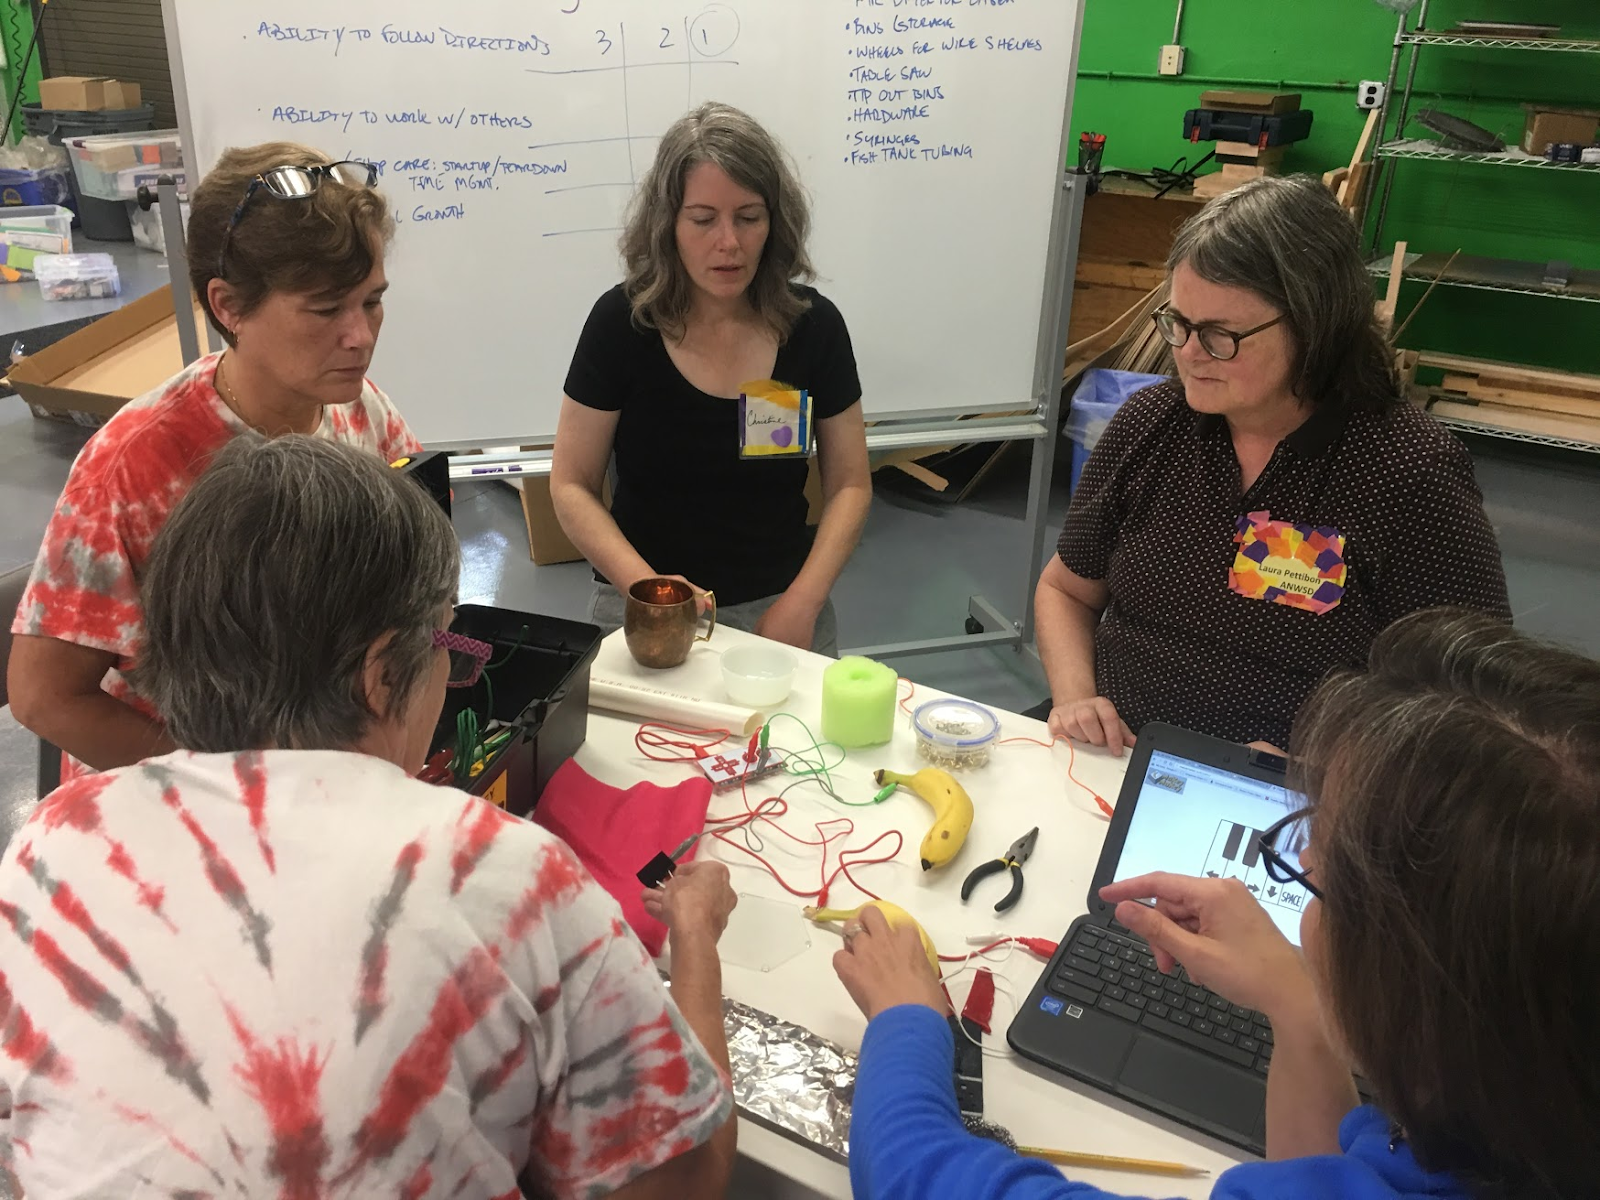

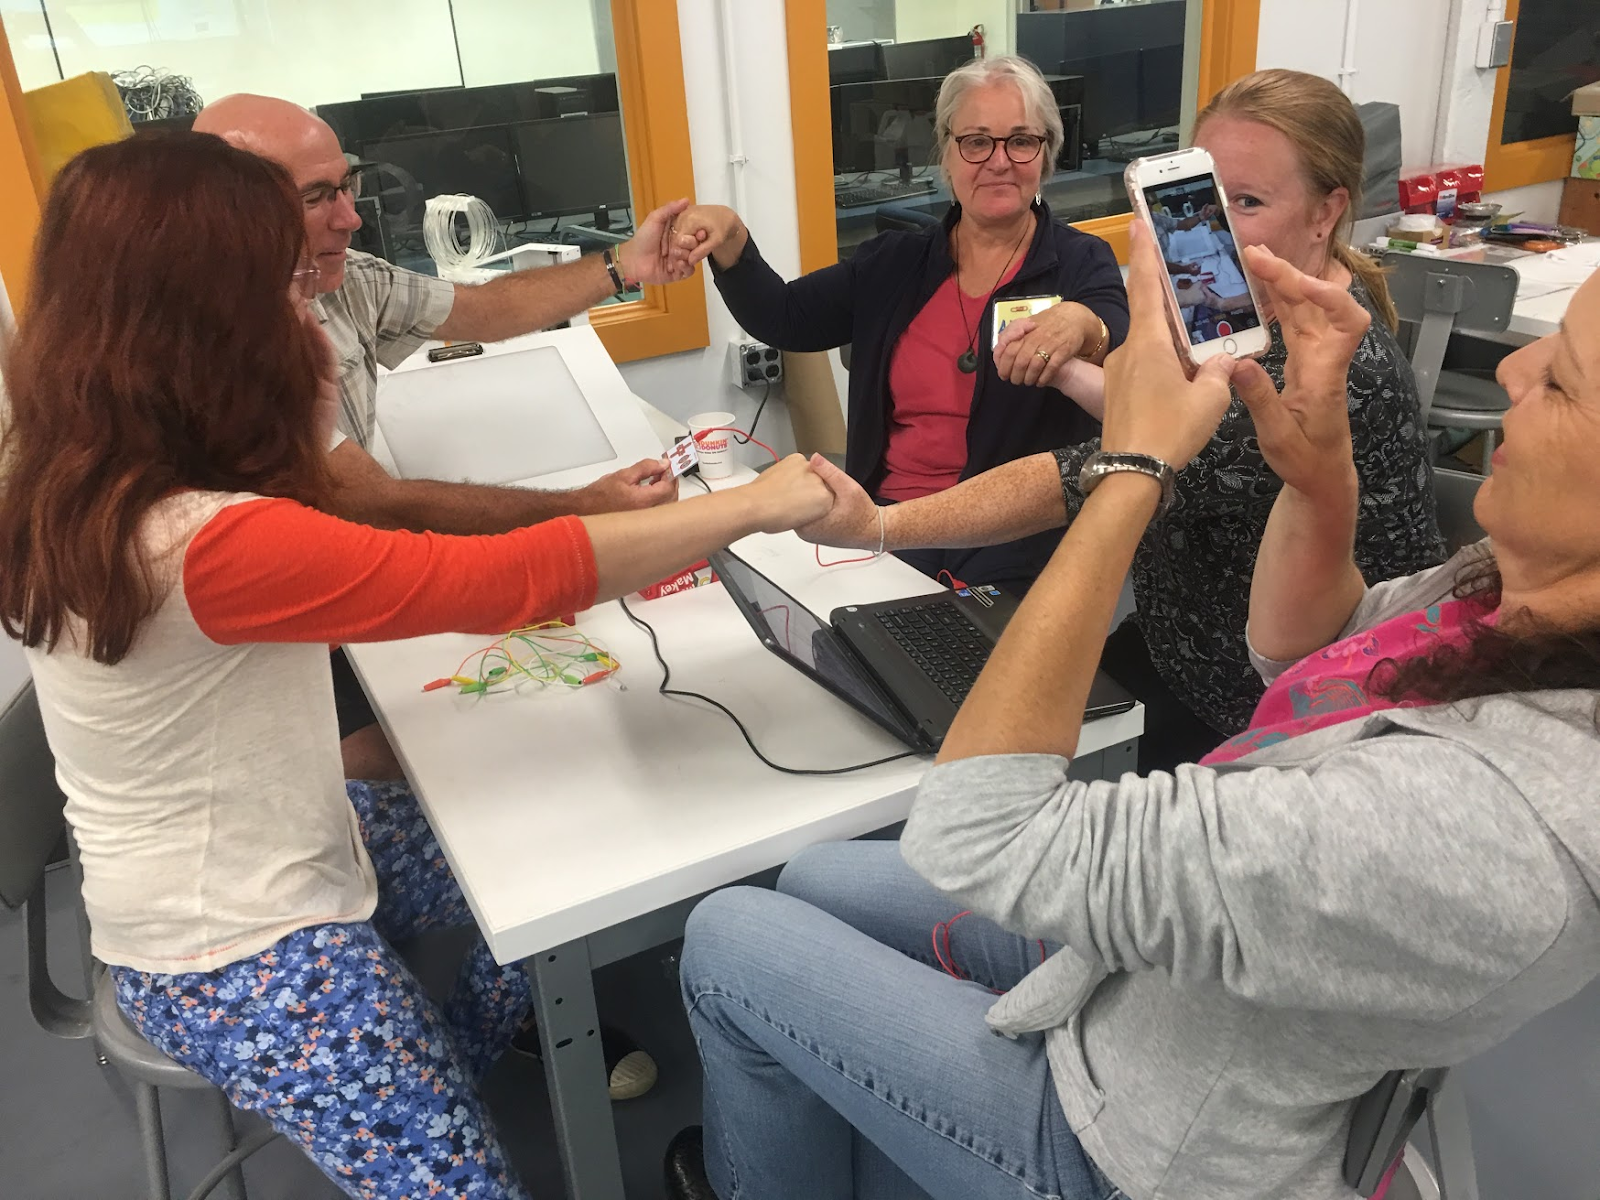
They had experienced the fun and joy of creating their own inventions using a Makey Makey.  I shared  stories with concrete examples from classrooms around Vermont of students demonstrating Self Direction,  Responsible Citizenship, and Integrated and Informed Systems through Creating and Making in their schools.   Their understanding of where coding fit into the big picture grew as they experienced an unplugged coding activities that set them up to a successful experience using  the Scratch coding environment to control their own  inventions and physical objects with a Makey Makey.  Laughter and joy combined with persevering through challenges lead to discussions about growing MINDSET as well as  SKILLS in our students.  


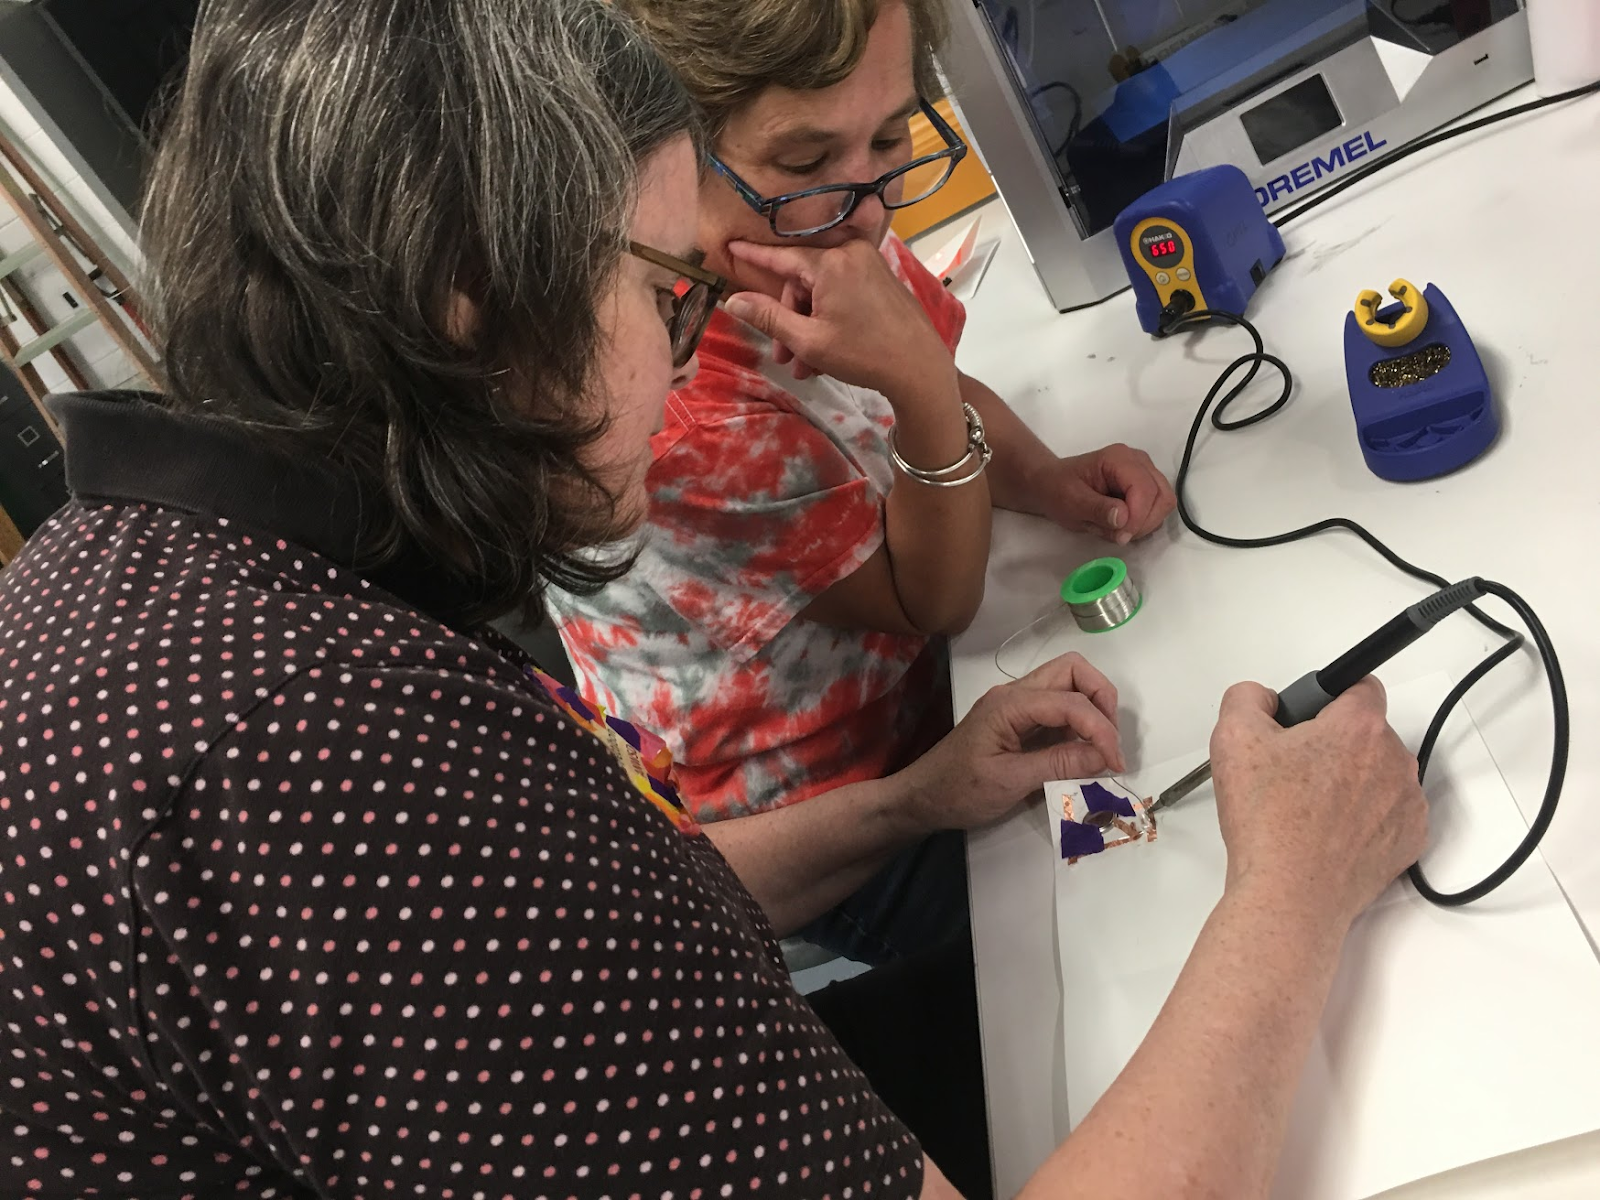
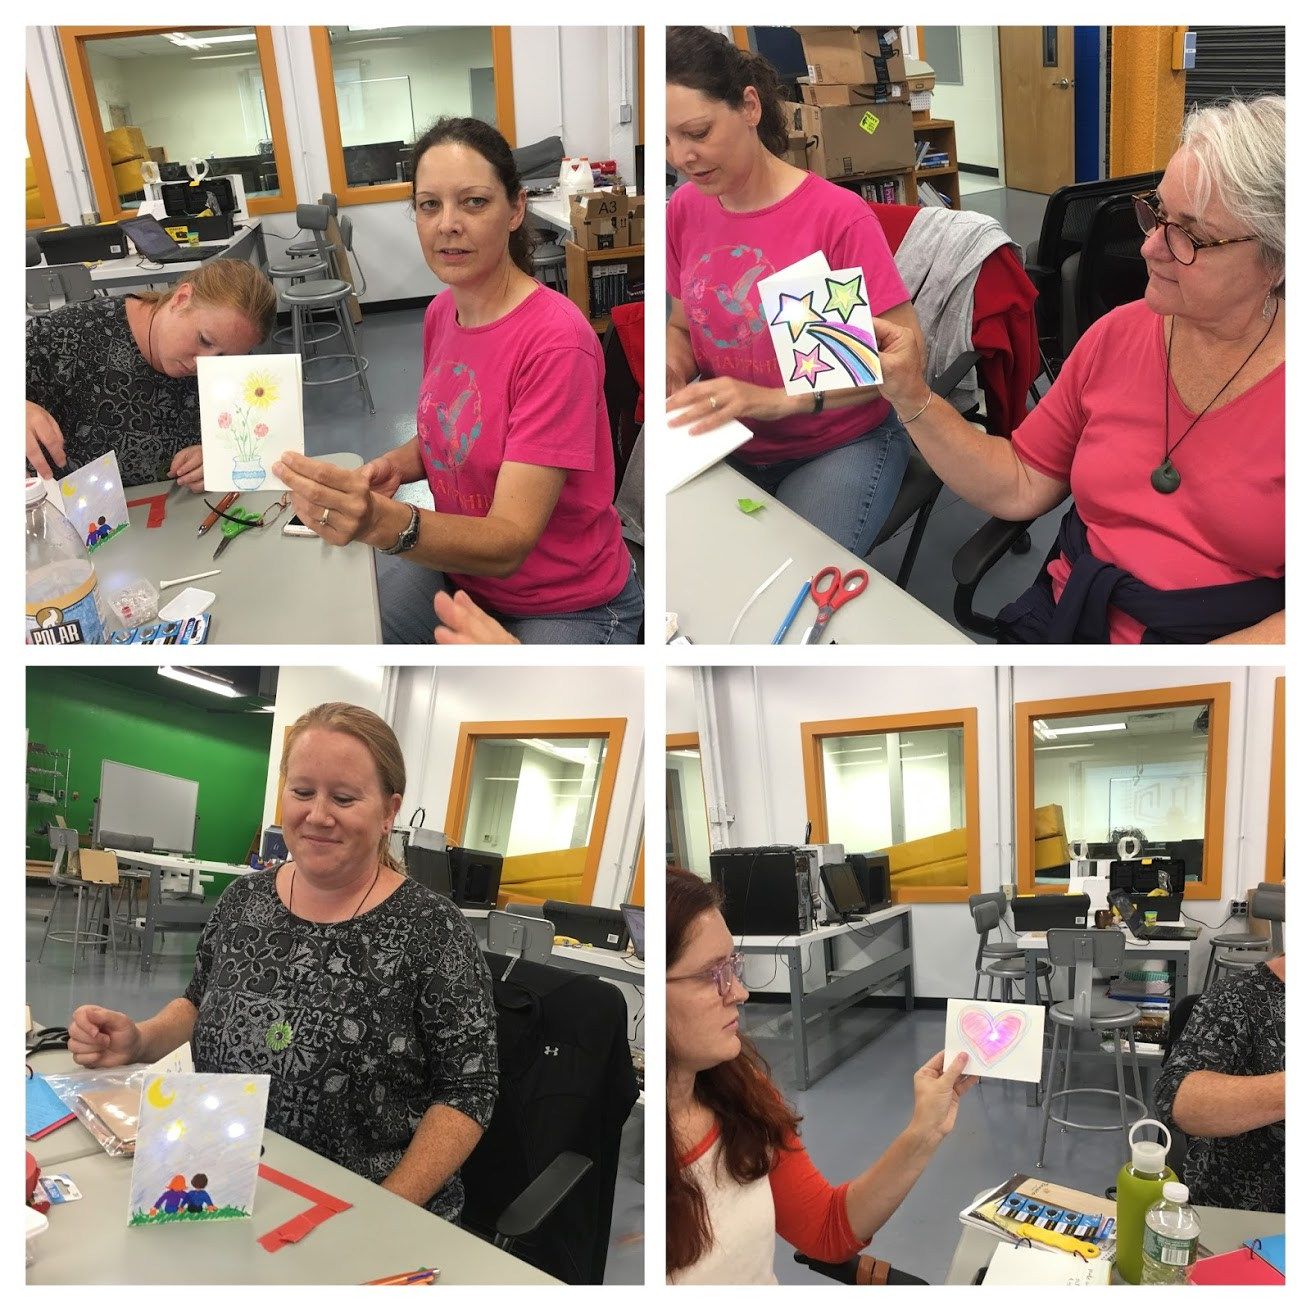
The workshop ended with another MAKE and TAKE that used Paper Circuits to expand the possibilities of  Clear and Effective Communications.  Equipped with new skills (from designing closed circuits to soldering) and examples of how various teachers and students had used these skills in their curriculum, our teachers started to imagine ways they could integrate creating and making with circuits in their own learning spaces.  
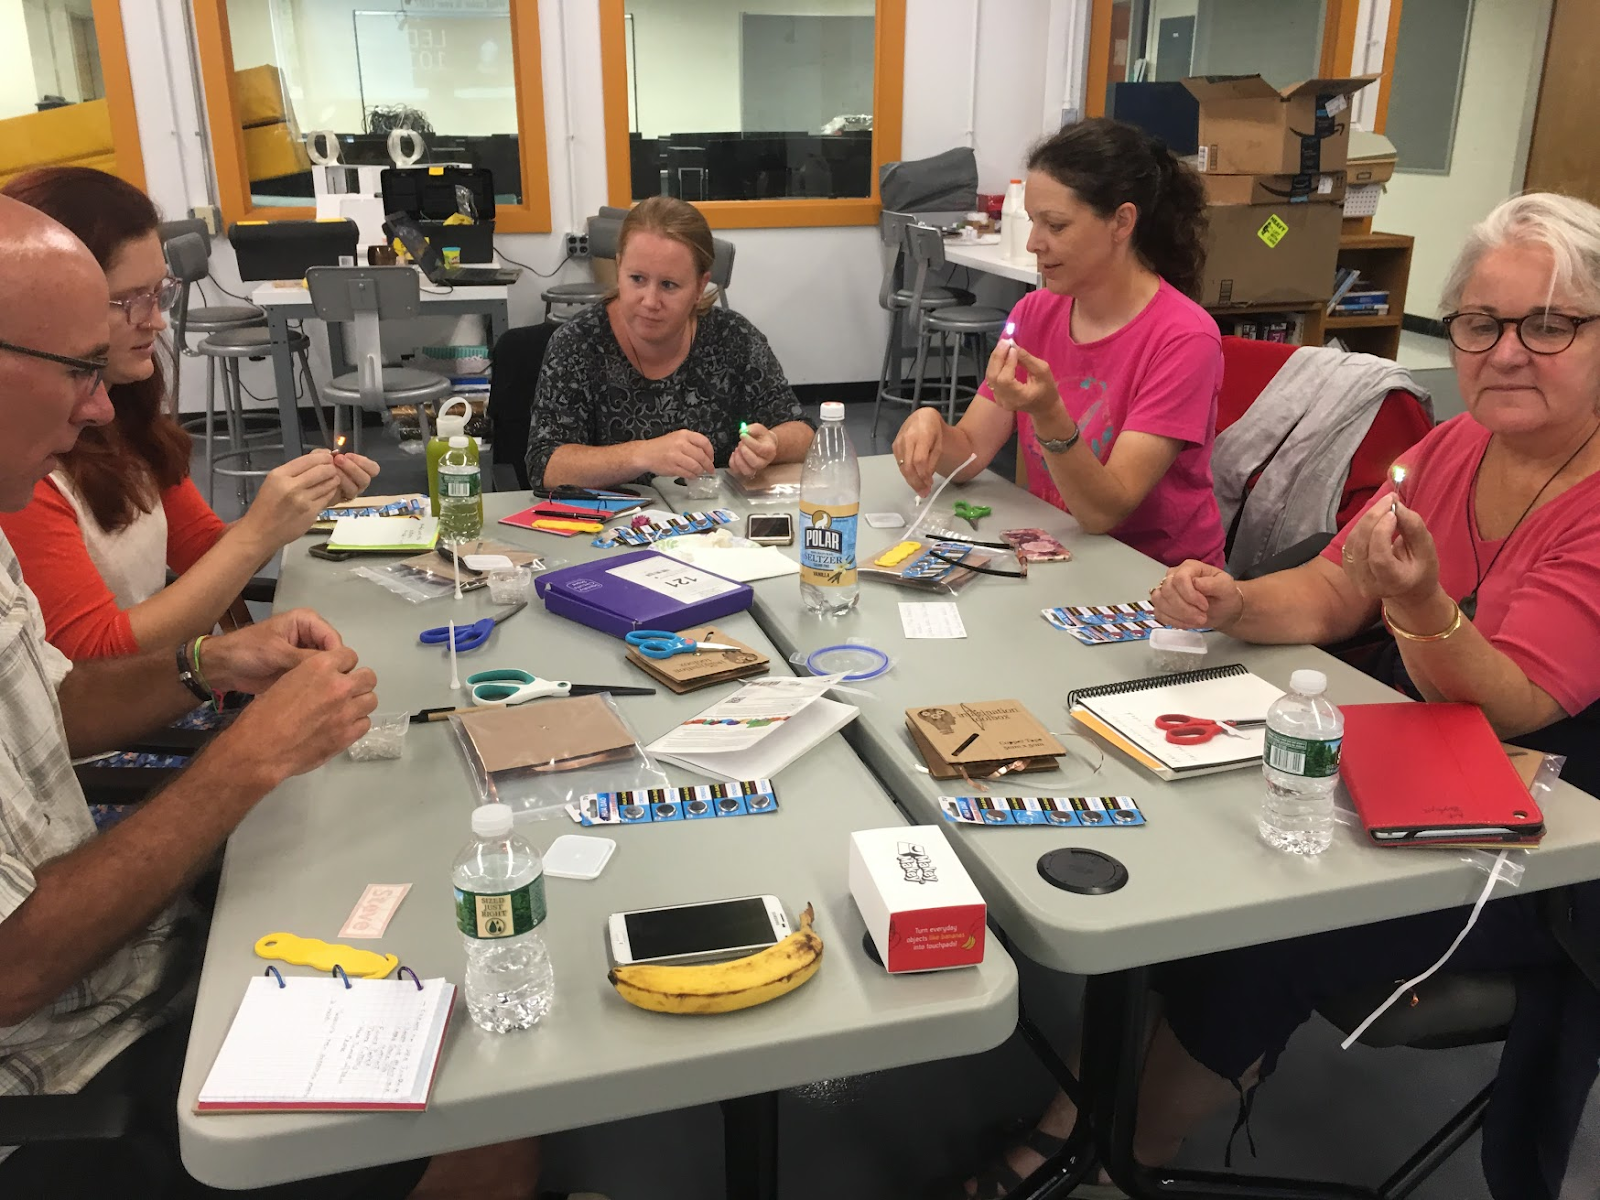


The conversations about pedagogy happened naturally through our making,  through our questions,  and through our sharing of ideas that emerged throughout the two days.  However, the experience did not stop them from asking one more time -- “Do you have a LIST of supplies for us?”  I pointed to the supplies we had used over the two days and also to a few great resources online that included such lists and I smiled when I heard one of them exclaim.. “Now I know what this stuff is.  I would have had no idea what a jumper cable was and why I might need it before.”


I encouraged them to keep taking and collecting picture of materials, to keep sharing tools, materials, processes they discover, but mostly to keep asking WHY as they looked over each item in a pre-populated makerspace list of resources and to look through these lists with a LENS that included their WHY!  Yes, there WHY would change over time and should not be static, but hopefully these two days helped to create a lens by which they could continue the journey of creating a makerspace in their school in a powerful and meaningful way.


And hopefully I left my participants more curious and hungry for more.  Perhaps we’ll even see some of them at next year’s 5 day Create Make Learn Summer Institute.


Wednesday, May 31, 2017

Beyond the test print with my #cnc

My First CNC Project with #CARVEY

When I started to look around for what type of projects people are making to cut their teeth with #CNC in school makerspace,  I was not surprised to find the Fidget Spinners were trending!

Why not!

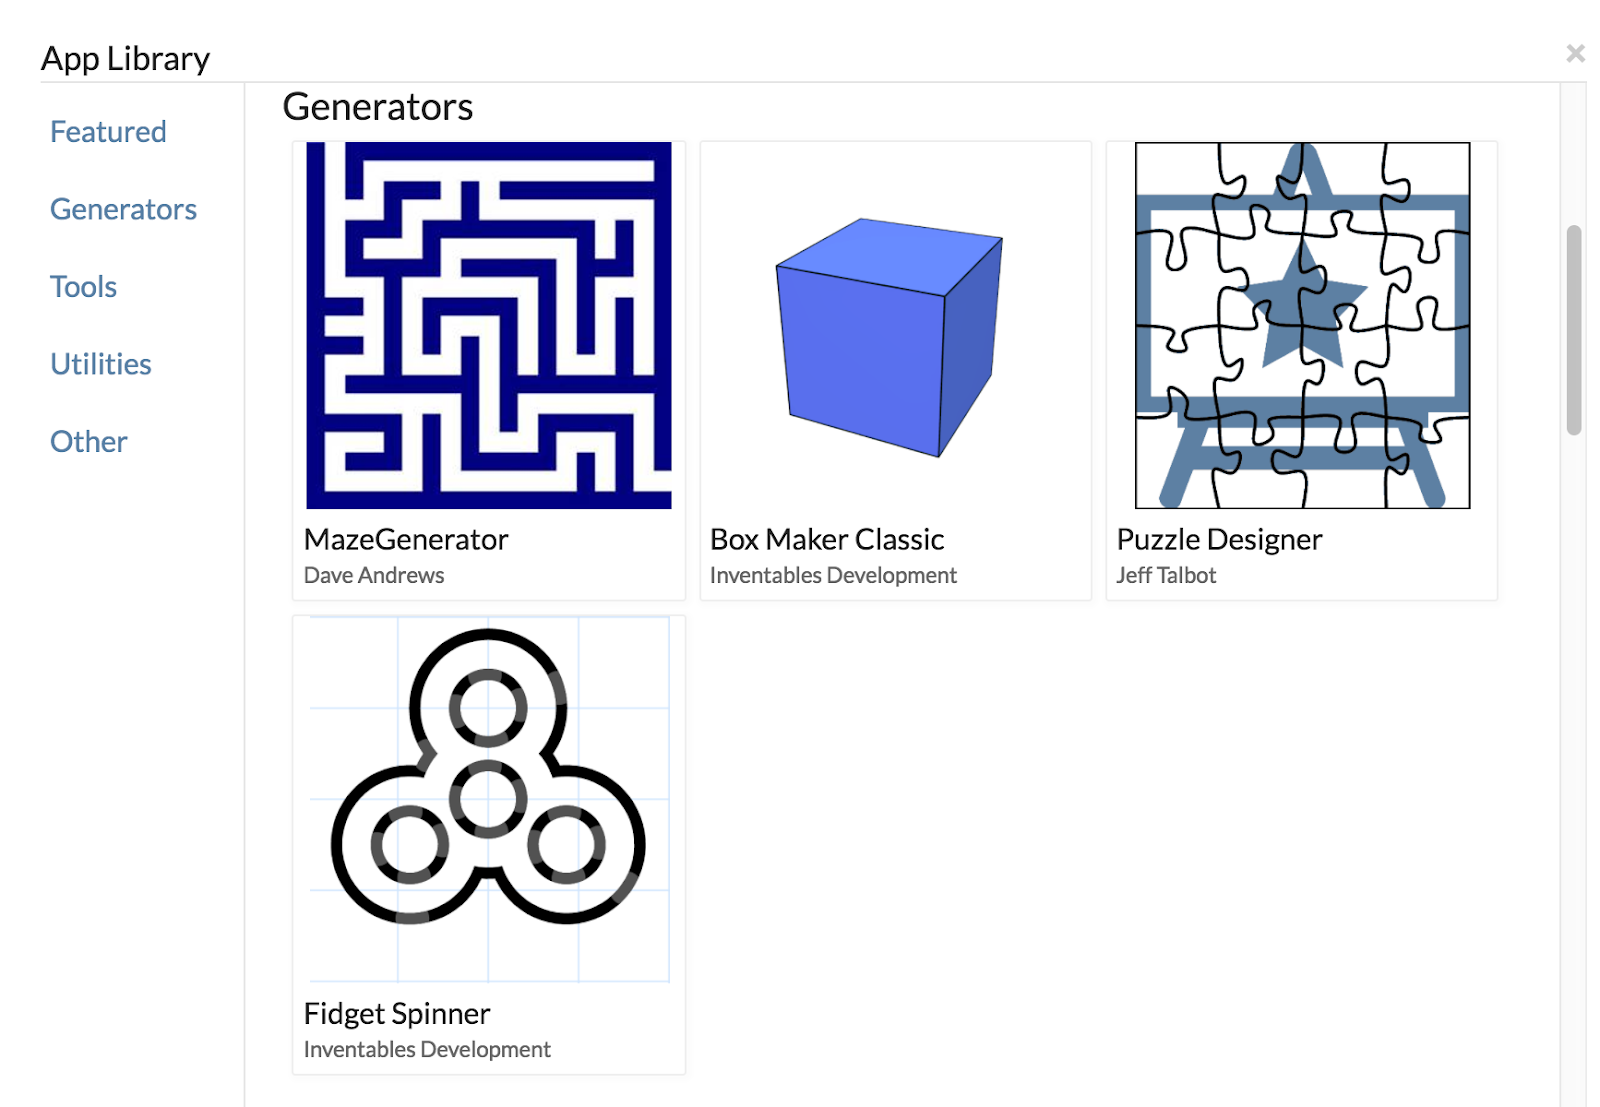
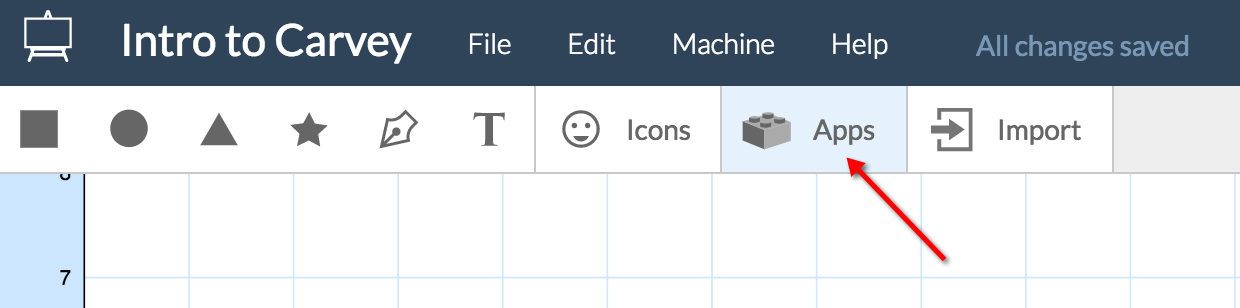
I was surprised to discover that Easel (the recommended software for Carvey)  has a feature called APPs filled with templates to get you started for newbies like me!


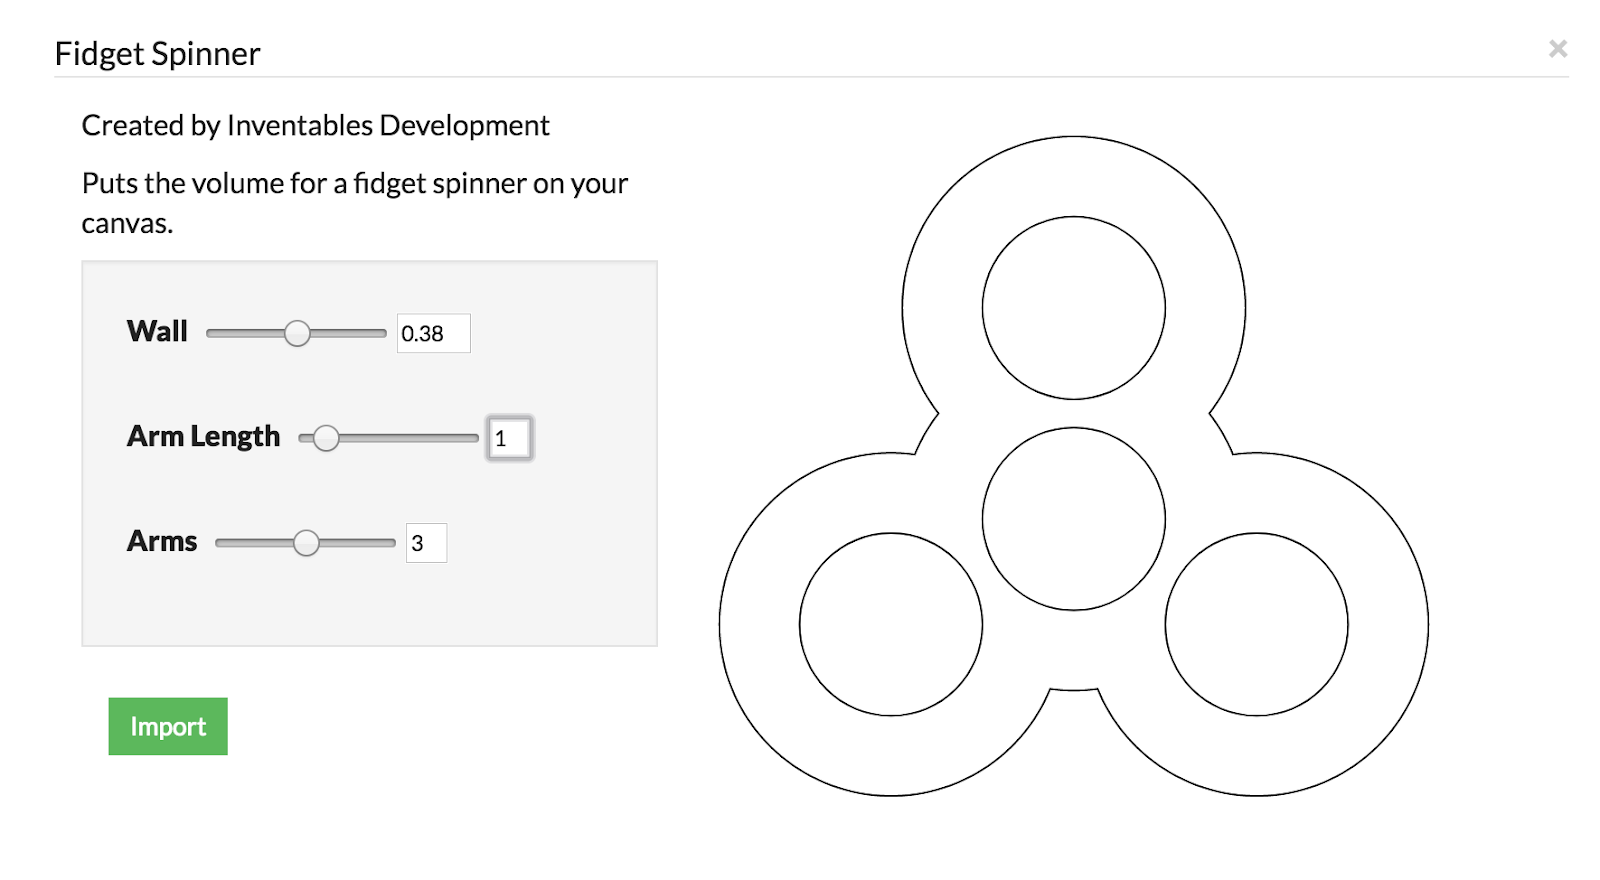
Of course - I chose the ever trendy Fidget Spinner as my first project.


And set the number of arms, arm length, and wall size

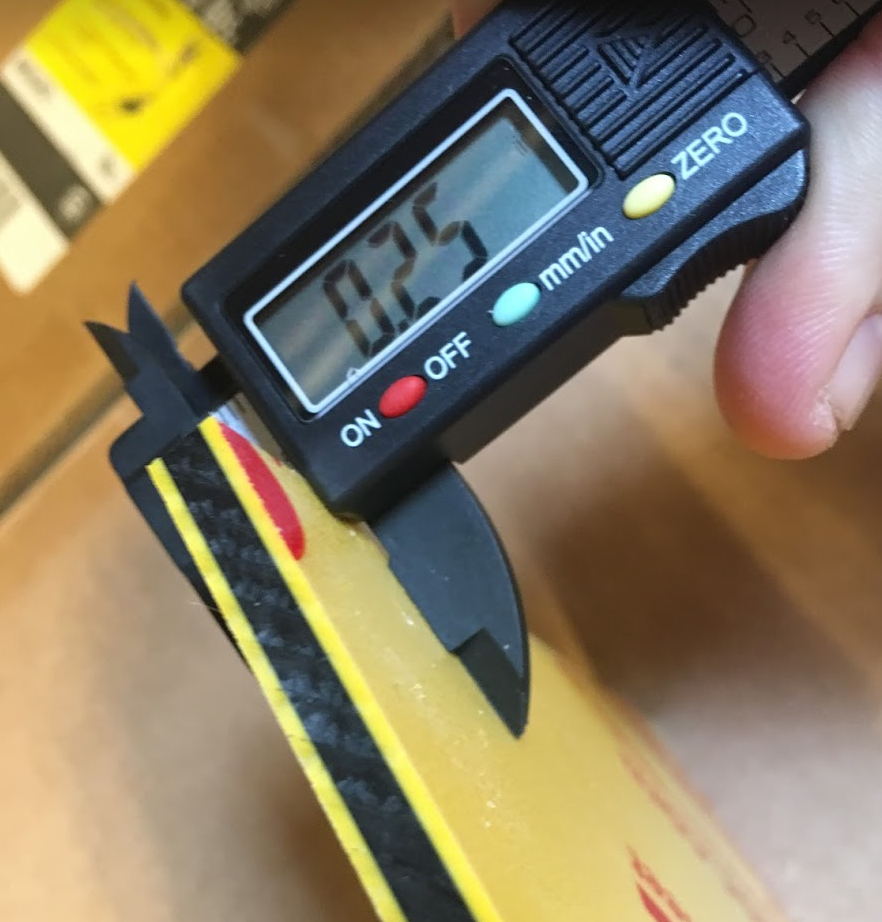
I then  picked a colorful piece of HDPE and used the digital calipers that Inventables shipped with my Carvey to find the thickness of my material.


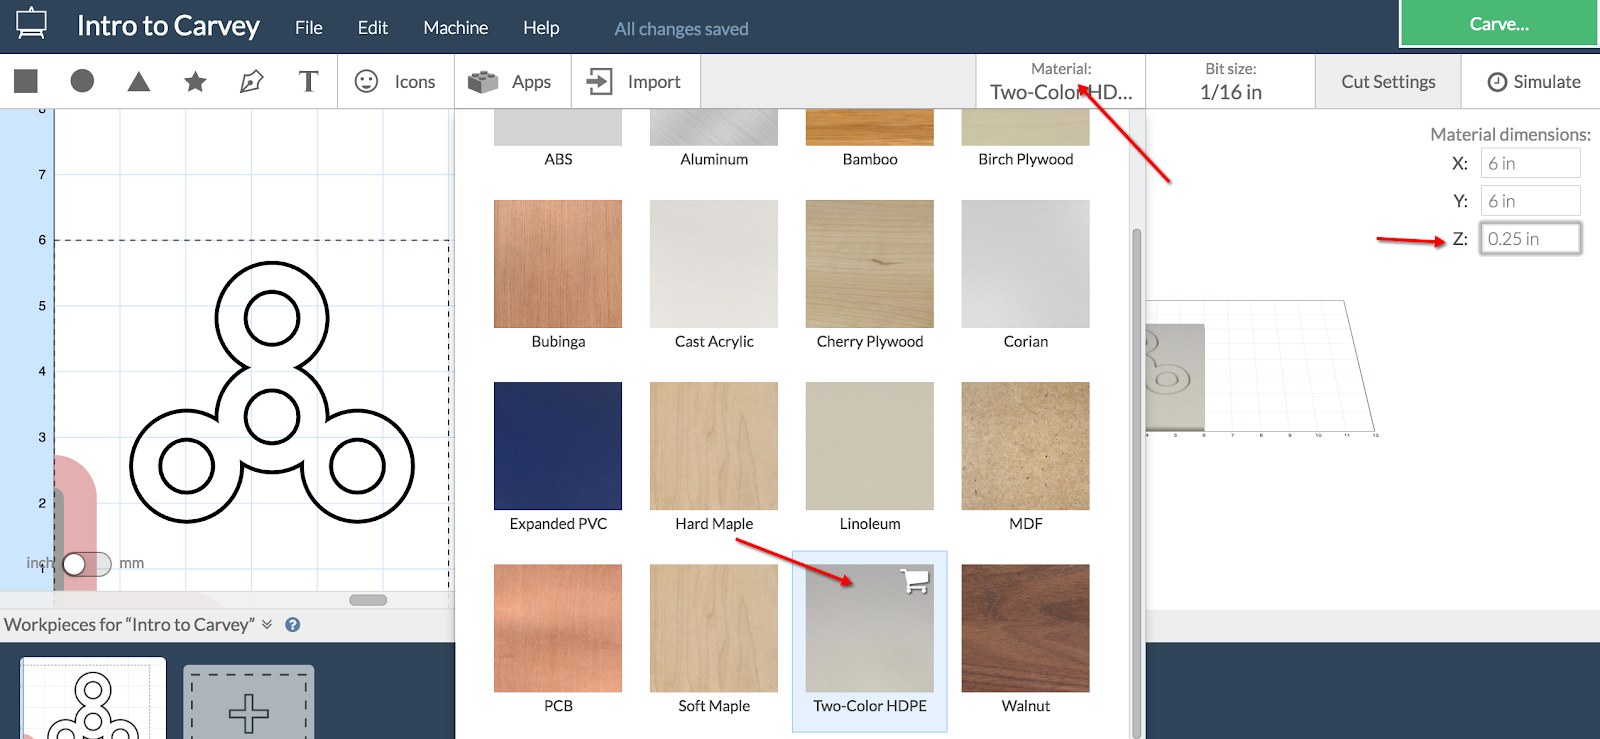
The next step was to click on the Material Tab and select the correct material, and the thickness of my material into the setting for the Z axis.  Be especially careful to include the correct thickness here.  If you enter an amount greater than the thickness of your material, your bit will cut into your WASTE Board.   You should also check to see if your BIT size matches the size of the BIT that you have inserted into your CARVEY.


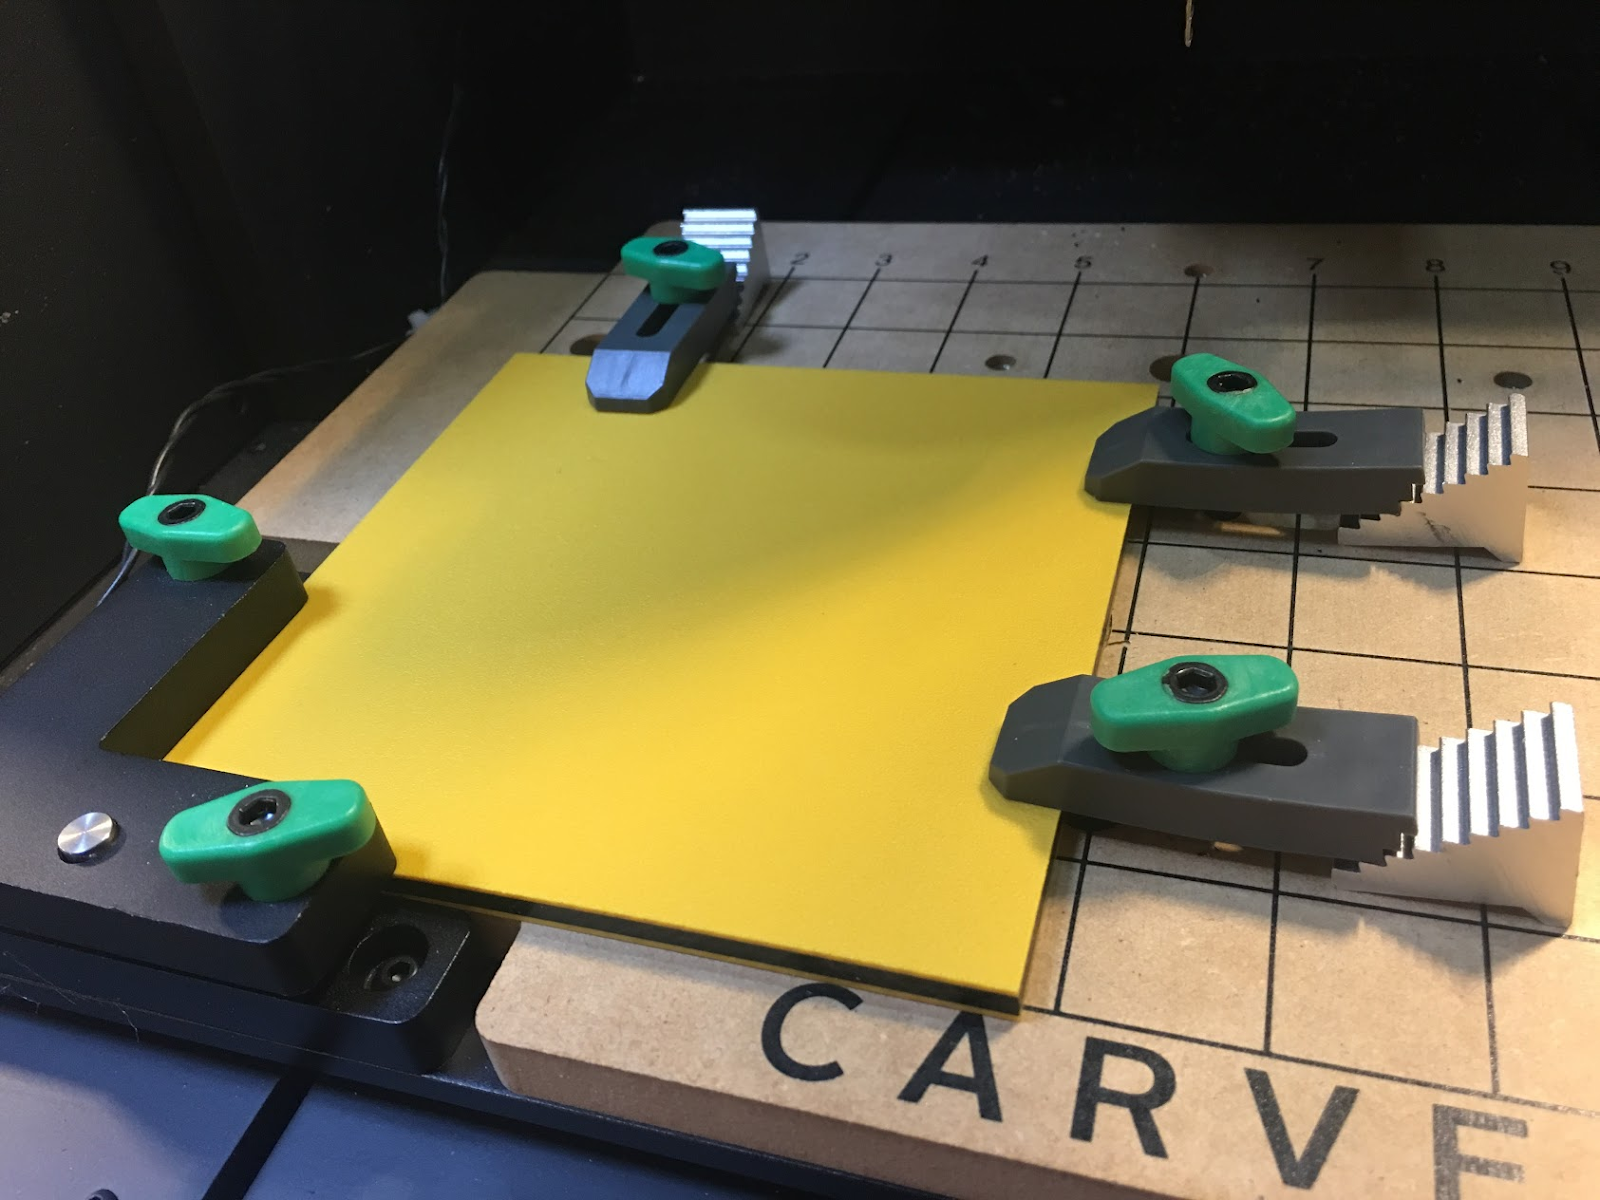
Now,  grab the material  you want to cut,  and insert it securely in the bottom left corner of the wasteboard.  Use additional clamps to  secure the material to the ‘board’, making sure to tighten the clamps.  Carvey provides extra aluminon  support for the back side of your clamps in different sizes.


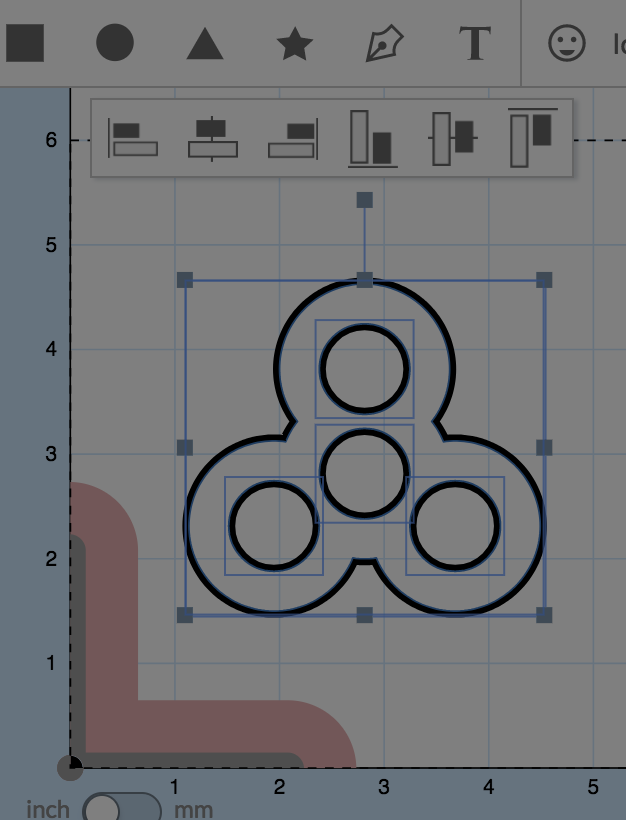
Don’t forget to compare the cuts outlined in your software to the location of your materials to make sure that the clamps are clear of where your CNC will cut!


When you are feeling confident that your design settings are correct,  CHECK them again!

Then click on the CARVE button. Yes - this makes me nervous! I can still hear my CNC instructor, Matt Flego warn us that a CNC machine can eat itself and that we should keep our finger on the 'emergency stop' button when setting the CNC in motion.

Easel PROMPTs us to check each setting one additional time.

Double check these very carefully.  You don’t want the bit to chisel away at your clamps or down through your wasteboard.

In my case, the Easel software did some quick checks and warned me that my object was too big for the Carvey.  
Somehow  I missed a decimal point and it thought my material was 25 inches high instead of .25 inches hight! YIKES!

After making the necessary corrections and checking everything again,  I once again pressed CARVE and sent the job in motion!

Within minutes my fidget spinner was cut and I was vacuuming out the mess - which was nicely contained within the machine!


Time to shop for a shop vac and go pick up some bearing!


Note to self:  Buy some Sealed Bearing - 8mm x 22mm x 7mm

Admittedly this project  didn't take a lot of design skill,  but it was a good for me to learn the basic workflow of a #CNC job using Easel with my Carvey.  Now that I've gained a bit more confidence with the tool,  I'm looking forward to leveling up when choosing my next project.

Oh, And for those who are wondering "What's the deal with Fidget Spinners?"


Tuesday, May 30, 2017

Adding #CNC to EMMA - Unboxing Carvey

UPS delivered my box from Inventables over a week ago -- right in the middle of grades being due
for the online class I teach at UVM.  I knew if I opened up the box that contained my Carvey, my grad students would NOT get the attention they deserved on their final feedback.  SO I refrained from breaking the box open.

As it sat in my makerspace studio,  Generator members walked by wondering when I was going to break into the huge INVENTABLES box sitting on the floor.

Finally yesterday, I couldn't wait any longer.

Here are just a couple notes from my first meeting with CARVEY.


and a short video of the unboxing.


I was up and running fairly quickly with only a couple of challenges.

1)  Make sure you have someone else around!  It's a two person unbox.  It even comes with a special strap and instructions on how TWO people can use the special strap to remove the Carvey  from the box.      I managed to cut open the box, tilt it enough to drag Carvey  out of the box by myself - but was not able to lift it onto a table by myself.

That worked great until it came time to put in the BIT.  Thankfully my husband arrived with the computer I had left at home just in time to help me lift it onto a table so I could actually see what I was doing.

2)  The EASEL software is not totally cloud based!  It requires a driver download which did not go well on my Windows 7 laptop.  But thankfully it was seamless on my MAC.  Need to do more work on my Windows machine and  also see if Chromebooks are even a possibility.


3) Now I'm  thinking about how I will transport Carvey when I want to use it as part of EMMA - my mobile studio for Creating and Making that goes to schools and community events.  Will need to design a way to transport safely.

But for now.. I'm eagerly looking forward to deciding on my first entry level project!
All ideas welcomed!

Here's a blog post describing my journey to selecting Carvey as my first CNC maker tool.


Tuesday, May 2, 2017

My entry leve #CNC research journey


My entry level #CNC research journey

EMMA - a mobile studio for creating and making
In my search for the right entry point to CNC for EMMA - my mobile studio for creating and making,  I  ended up considering 5 different tools and am finally ready to purchase my first CNC mill!  (note that I said my FIRST, because I'm already contemplating what the second purchase might be)  Thank you to everyone who so willingly contributed to this learning journey!  The #makered community is the BEST ever at “making community”!


When I adopted EMMA, my goal was bring the experience of creating and making to underrepresented populations.  The idea for the mobile studio (E)veryone (M)ay (M)ake (A)nywhere, came  from understanding some of the challenges of living and learning in rural communities  and the challenges that come from the experience gap that women and girls face in engaging in high tech courses and careers.  


EMMA has visited several schools and been part of several community events.  Each of these events has pushed EMMA  and I along an incredible learning journey!   This winter I decided that the next step in our learning journey, was to add a mobile entry-level CNC mill to EMMA!


I had limited experience with CNC, but was ready to dive deeper.  I made my first cut on a CNC machine in 2014 at SxSw in Austin Texas an a Shapeko 2.  


A year later, I bumped into the Shapeko again as Craig and I  joined the community build of the Generator's Shapeko. This was my first communal build at the Generator - our community makerspace.


And then the Shapeko and I had a 3rd date during my CNC certification class at the Generator.  I, also, got introduced to the rest of the CNC tools at the Generator, which honestly were a little intimidating. I knew that I was far away from needing to carve into full sheets of plywood!  However Matt Flego’s introduction inspired me to want to learn more, helped me understand the workflow, and drilled home the role of GCode in the CNC workflow! Here's a quick time lapse movie of our CNC certification class.


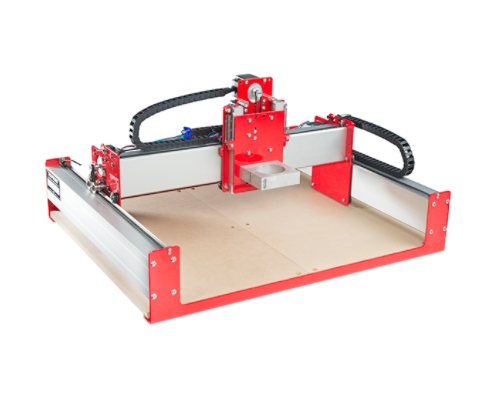
The Shapeoko was probably the first contender in my search for a mobile, user friendly CNC tool that would be right for EMMA.

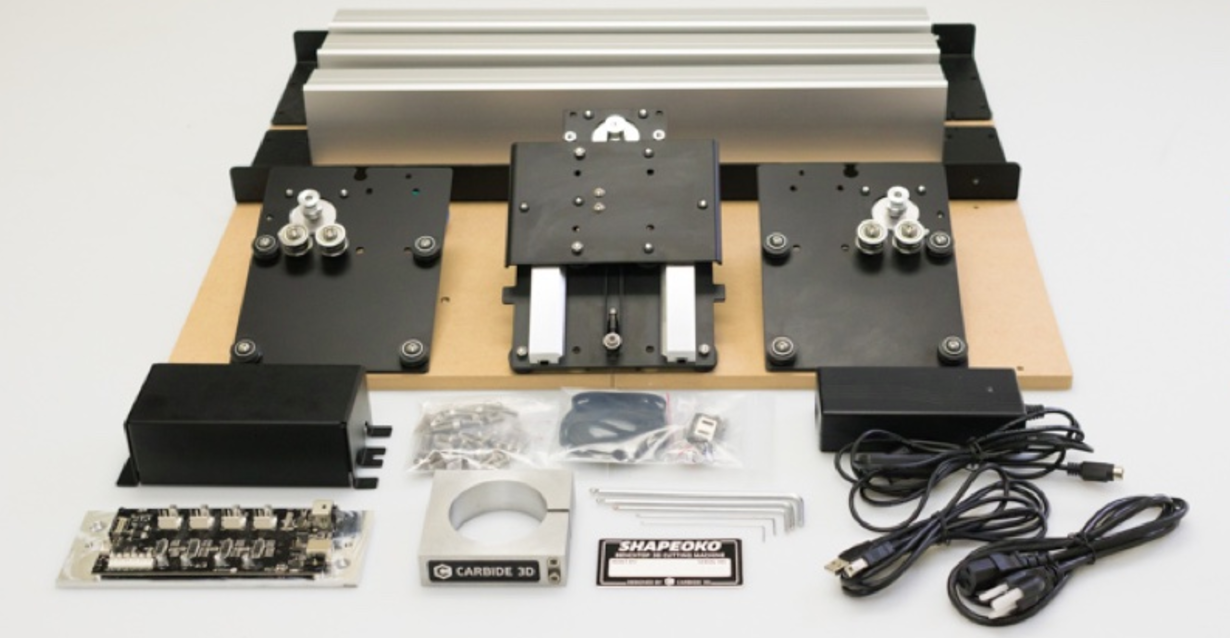
The cost was right! You can purchase the Shapeko kit from  Carbide 3D and Sparkfun for about $1000.
Also, building a tool is a good way to make sure you understand the tool and can maintain it!

My friends and colleagues, Dan Tolle and Eric Hall, at Mount Mansfield Union High School seemed to really like their Shapeoko for their high school students.

If I were to use it in a K-8 environment, I would want to build some type of enclosure for it.  The Easel software seemed like it could work for the entry level use I envisioned.   But in the end, I feared that the Shapeko might not be survive the bumpy back roads that EMMA might find herself on (I’ve already lost two hub caps!  


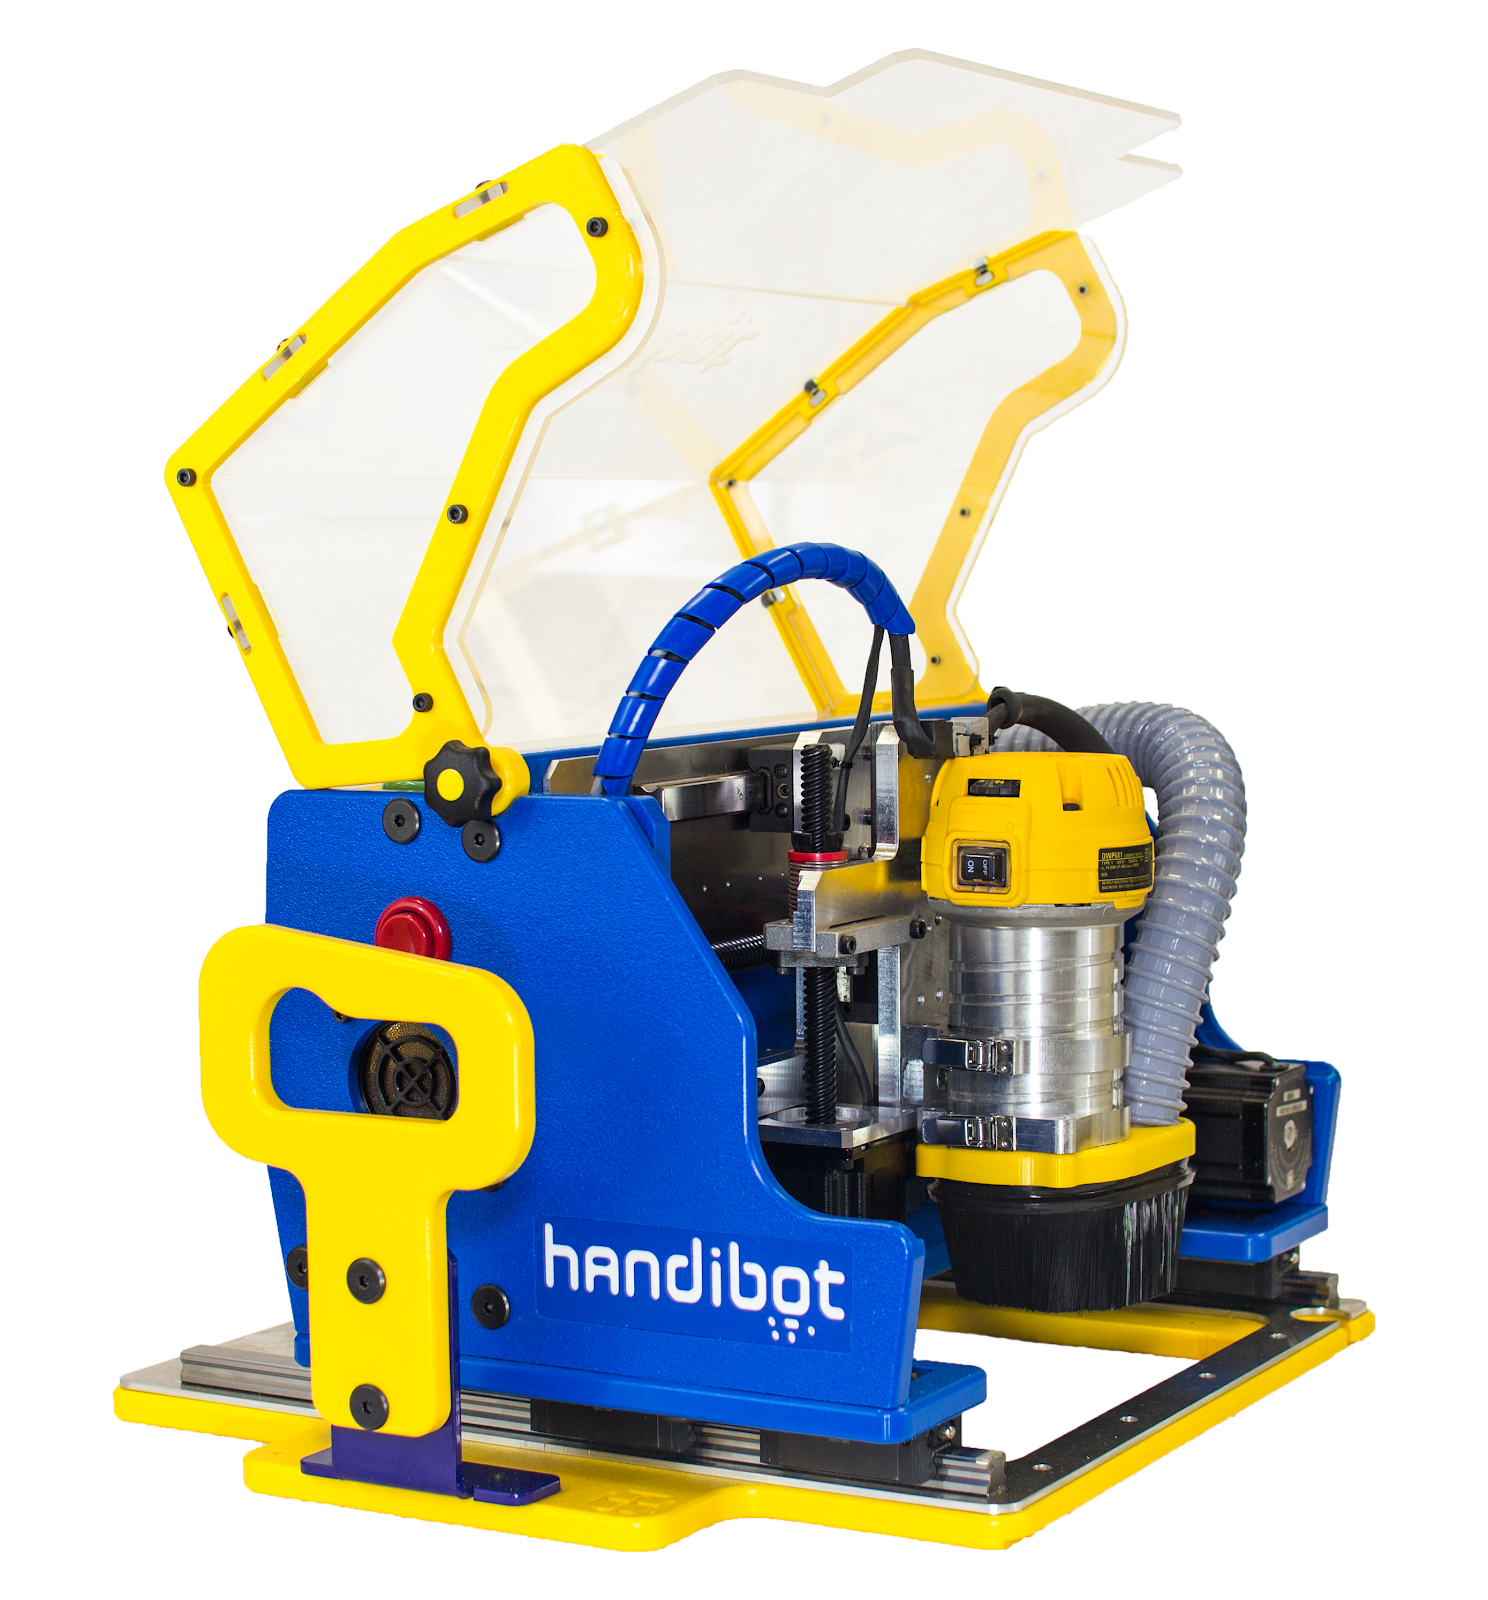
The next CNC tool that caught my eye was the Handibot  which I had also seen at SxSw the same year.  


In my research this winter, I spotted a Handibot during my visit to a makerspace in Boulder, and got a demo of one in a Tucson makerspace. The $3000 price point seemed in line with my budget.   I was intrigued by the mobile nature of the tool.  You could use it in many positions to carve walls, ceilings, and even move it along big pieces of wood.  But after handling the Handibot, I quickly realized this was a SERIOUSLY heavy tool and not as mobile as it first appeared.  The folks at the Tucson Makerspace had created a serious rolling enclosure for it, and also created a Jig to allow them to move it in a way that they could cut into bigger pieces. The Aspire software they were using seemed a bit cumbersome and not entry level.  Overall, I decided that although this tool would probably be a good match for a more experienced CNC user, it  was not the best entry level tool, and probably not well suited for some of the younger learners/makers I hoped to introduce CNC to. It was just a little too serious of a machine for EMMA at this current state in her journey.

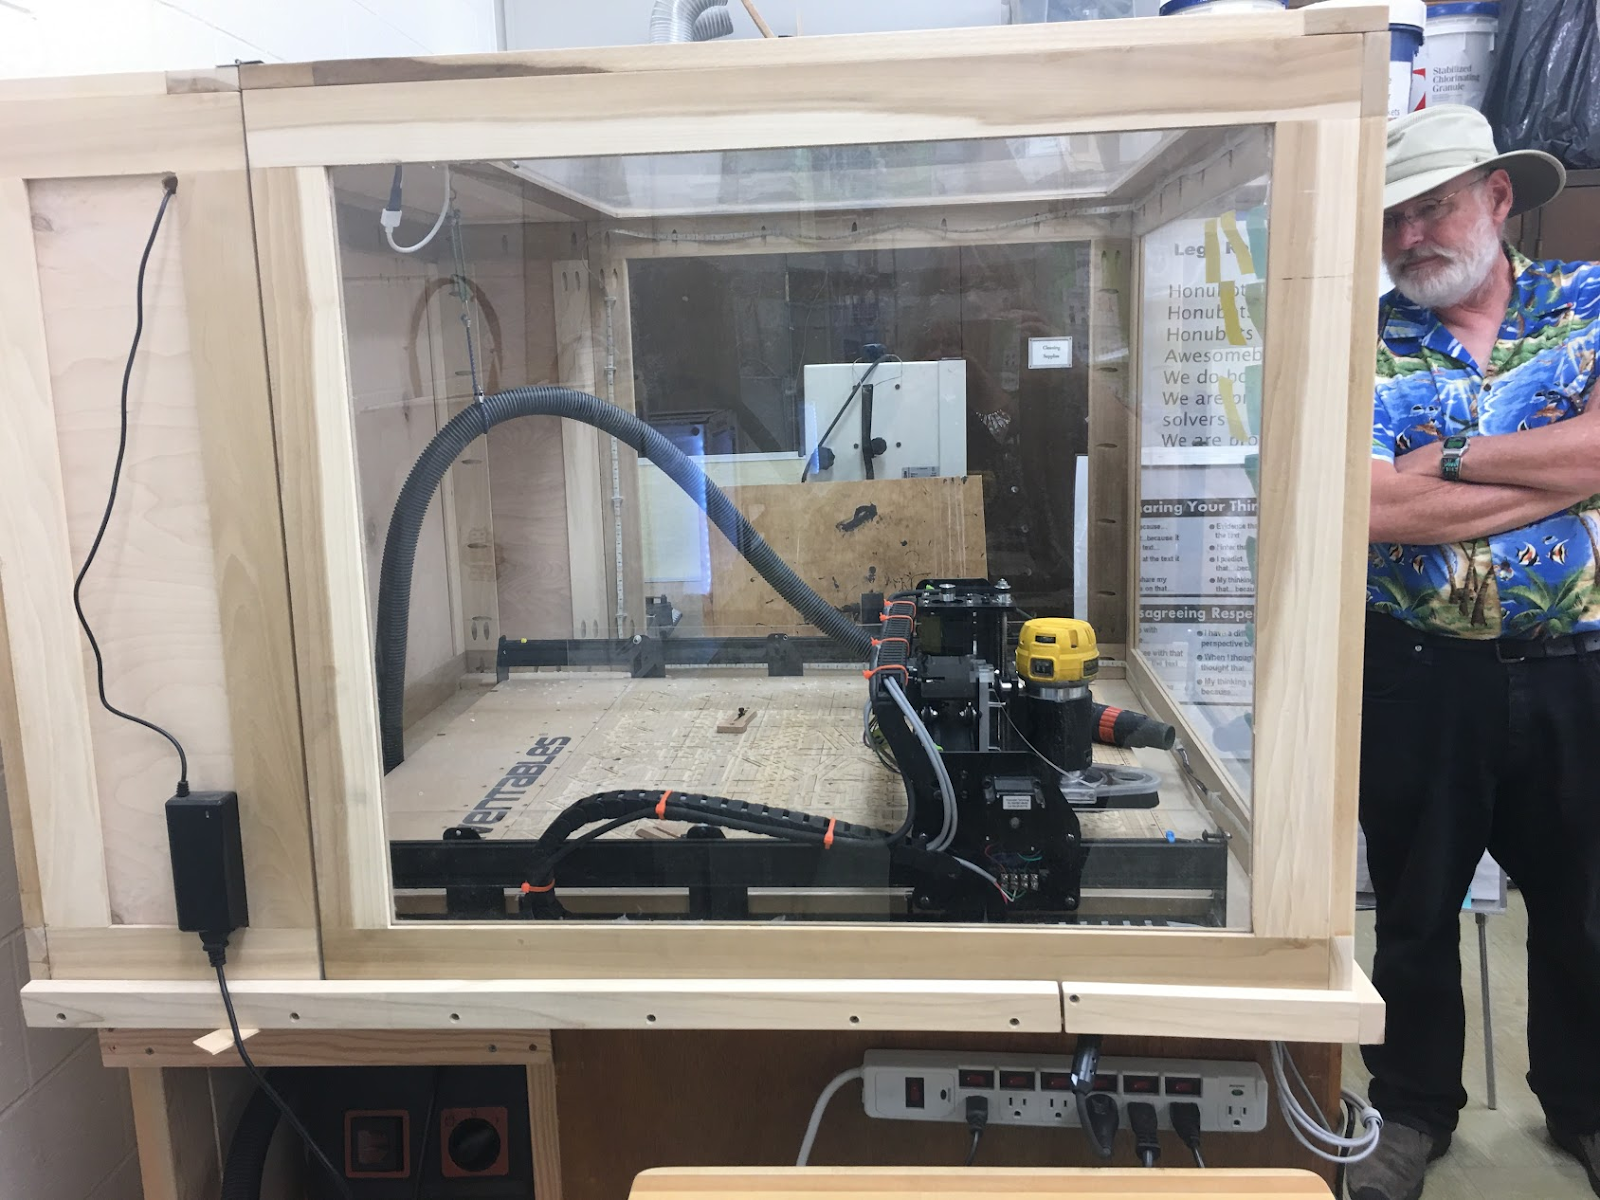
The next CNC tool I got to see in action was the XCarve.


Probably one of the reasons I warmed right up to the XCarve as that I got to see it in action in a K-6 makerspace at  Kailua Elementary School  run by an amazing educator, Greg Kent.
Greg had created an enclosure for it and added a shop vac to the enclosure.   Greg was very enthusiastic about the way the XCarve fit into his “ELEMAKERY”.
Check out the artifacts he and his students created for their School’s Garden project .

 
You can find  more pics of his unboxing and use on his website.  http://gkkent.weebly.com/


Although the XCarve  with its $1600 price would have certainly been a contender if I had my own classroom,  it was too big a unit and not mobile enough for  EMMA.


Eventually the top two contenders in my search for an entry level CNC tool for my mobile studio for creating and making  ended up being The Other Mill and Carvey.  Honestly, I want BOTH of these for very different reasons and might end up with both eventually!  


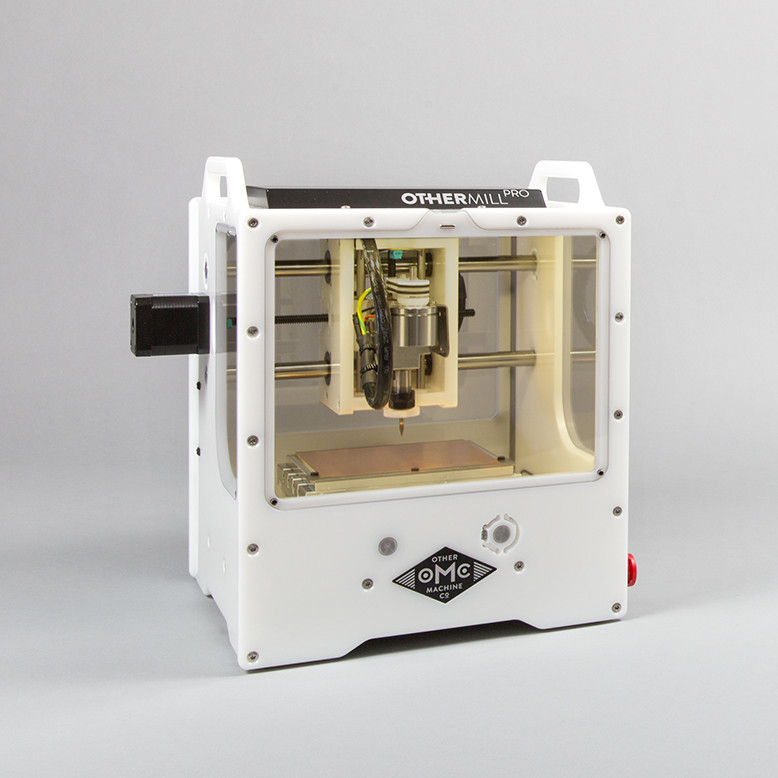
I got my hands on an  OtherMill while visiting Matt Dillon K-6 Maker Lab  at Iolani School in Hawaii. Matt's use of the tool were so right on pedagogically, it was easy to picture this tool in an elementary or high school makerspace.


I loved how very LIGHT and PORTABLE the OTHERMill was.  The EAGLE software seemed very user friendly.   The $3200 - $4000 price was still within my budget.  Matt’s middle school students were using it to create Circuit boards.  It could also be used for other small wood objects and with other materials (i.e. wax).


I was also quite impressed by the Othermills’s role in the Truss Experiment and the  story about UC Berkeley's CITRIS Design Lab.

If my goal were to start with circuit boards, the OtherMill would be my first choice.  It’s the perfect size for circuit boards and it has the right precision necessary for circuit board design.


Along with wood and acrylic, the Other Mill can also cut aluminium, brass and copper.
But in the end, the 5.5 inch X 4.5 X 1.6 inches working area  was what made me table the Other Mill as my second choice for a mobile CNC mill.


In some ways, I think the constraint could be a good thing, in that we could focus on small projects, thus being able to cut more projects and waste less material.  But I feared that student creativity would quickly bring them to a point where they would want to prototype ideas that needed a little more working area.   


The mobility of the OTHER MILL,  almost won me over!  It is so easy to pack and move!  


The amazing women, including CEO Danielle Applestore who are at the core of The Other Mill are so inspiring to me and match the goals of EMMA so much, that I see an OTHER Mill in our future!   


But since I can’t really learn two tools at a time, my first CNC tool for EMMA will be the Carvey.


The $2500 - $3000 price works within my budget.   The Easel software seemed like a great way for younger or less experienced learners to enter the world of CNC.


The size of the machine allows for a greater work area. However, the Carvey did end up a bit heavier than I had hoped for a mobile unit -- I'll need a cart to move it!


  • Machine Footprint
    • Width: 21.7 inches (55 cm)
    • Height: 16.6 inches (42 cm)
    • Depth: 20.5 inches (52 cm)
    • Weight: 70 lbs (32 kg)
  • Work Area
    • Width (X-axis): 11.6 inches (29 cm) -
    • Depth (Y-axis): 8 inches (20 cm)
    • Height (Z-axis): 2.75 inches (7 cm)
The material options rang from from aluminum and corian, to acrylics and wood.
They say it can also do circuit boards.


I was also inspired by Maker Educator Jim Tiffin’s work with younger learners.
Find-A-Friend sign with grade 1
Bird Restaurants with grade 1 - more images: A Lap with Easel
Fidget Spinners with Grade 2


Jim shared with me everything he loved about the Carvey as a making tool for his students:
  • Simple contained system that is easy to clean and prevents dust from filling your workshop
  • Auto homing feature to help identify the top of the material
  • Software - Easel - is extremely easy to use. It is part of my students’ first lap with computer aided modelling, and they quickly pick up on what all the handles do for resizing, rotating, etc. We begin at grade 1 using the Carvey.
  • There are lots of apps that people create and add-on to Easel to increase functionality, like jigsaw layouts and stamp carving
  • Troubleshooting guide is immediately accessible if something goes wrong, and the Inventables’ Tech Support crew is top notch
  • Software is super easy for students to teach other students - My grade 3 and grade 4 students are self taught, and are now teaching their classmates how to use the machine during their free time.
  • PC and Mac compatible

Jim confirmed that the build area would probably be one students will outgrow.   His students are “hungry to make bigger projects”.   He also confirmed that the machine was HEAVY!  
Also,  thanks Jim for sharing how to Maximize Space on the Carvey


I’m so excited!  My Shipping Confirmation came today, and I should be getting my hands on my Carvey tomorrow!  Stay tuned for an unboxing blog post!