Friday, March 24, 2017

March is for Making #24 - 3D printed models and research of Vermont historical buildings


March was a busy month of making across Vermont schools as students from around the state were researching historic buildings in their community and creating 3D print models of those building.


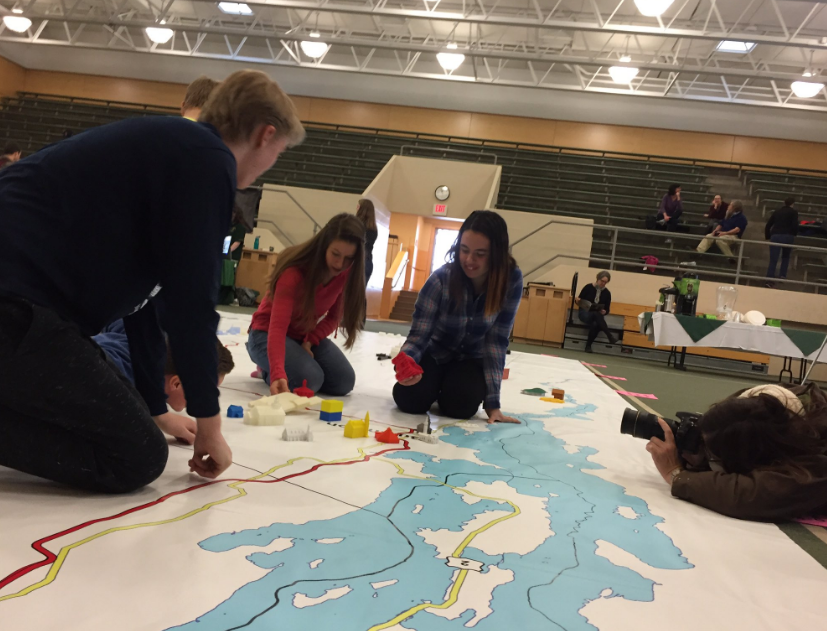
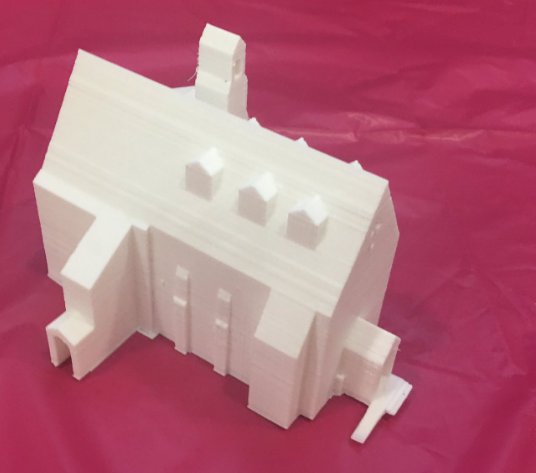
This morning… a  large floor map of Vermont was laid out on the floor of Judd Hall at Vermont Technical College in Randolph.  By 8:00 AM  students and teachers  from Vermont schools started to arrive to share the 3D printed  models of historic buildings that they had created as part of their historical research.  


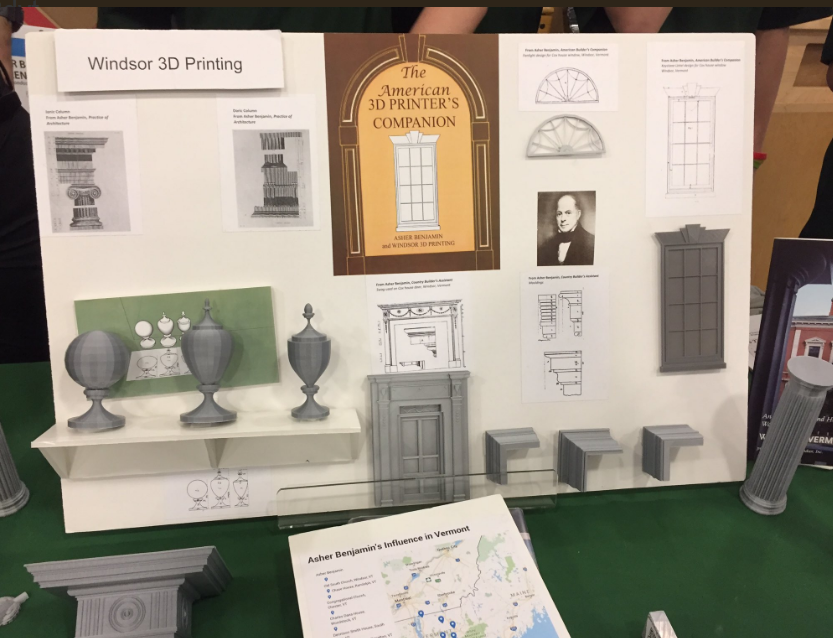
This Architectural Olympiad  known known as 3D Vermont is a competition that was designed as a collaborative effort across state agencies where school teams identify a historic building, take measurements, and research the origins and history of the building.  They create a multimedia presentation to share their research to a group of judges.   


Students then use their 3D modeling skills to create a replica of the building to scale.


The project originated in Mike Hathorns classroom at Hartford High School where he and his students created online 3D models and placed them on Google Earth. The advent of 3D printing lead Mike to re-envision the project in a way that would engage more schools and students.  


The annual event (3D Vermont) is an amazing celebration of student work and a chance for students to present what they know to an authentic audience.

Kudo’s to all the teams who participated!
Congratulations to the following teams who won this year's competition.

High School Division

#1 Rutland HS
#2 Windsor HS


Middle School Division

#1 Rutland MS
#2 Williston MS

People’s Choice.. Mater Christi School
After a few challenges navigating today's snowy road conditions #EMMAneedsBetterTires I turned around and attended virtually via everyone's photos and tweets!


Thursday, March 23, 2017

March is for Making #23 - Teaching for Artistic Behavior


Making when Teaching for Artistic Behavior at Waits River Valley School

I love seeing how making happens in schools all over Vermont and beyond.   At Waits River Valley School,  MAKING is a perfect fit for April Hallock's art studio where she teaches for artistic behavior (TAB). Her young artists experience not only have choice for their own project, but they also support each others' learning and making.


As today's guest blogger, April Hallock shows and tells us what this looks like.


------------------
Guest blog post by April Hallock, Art Studio Facilitator & Visual Arts Tea


....

Greetings from the makers at the Waits River Valley School Art Studio! From building structures with wood in the wood center to figuring out how a Makey Makey works, makers from kindergarten through eighth grade are busy generating ideas, experimenting with a variety of media, prototyping, and completing marvelous works of art based on their own personal investigations and curiosities.


I teach for artistic behavior (TAB) and most of the time, our young artists experience having full choice to create their own projects. When students arrive for their class, I give a brief demo of a process, introduce a concept, or feature an artist from art history. Our makers may then choose to try the demonstrated process, express their reaction to the concept, or replicate art created by a famous artist or art movement. Many children enter the art studio with plans they have developed outside of the art studio or they bring art to work on that they have started in their own studios at home. Students may choose from centers which include (but are not limited to): Drawing, Painting, Collage, Sculpture, Printmaking, Mask-making, and Clay. Today, during the second grade class, one student lead half of the class in a pop-up puppet-making extravaganza! Luckily, I had plenty of socks that had been donated for just this purpose. When teaching for artistic behavior, I feel as though I have to be ready for practically anything!


When I attended the Create Make Learn Institute last summer, I met Jill Dawson, a remarkable lady who changed my understanding and appreciation for all things that light up and blink. Check out her blog: here.  So, last trimester, I facilitated an elective designed for the middle school which focused primarily on circuitry, coding, and integrating these areas within the realm of art. Makers in sixth through eighth grade learned how to make simple and parallel circuits using Chibitronics tutorials. Projects included lighting up the mouths and eyes of student-designed characters in both 2d and 3d works of art. Wearable electronics included several bracelets and even a pair of LED earrings. We played with Makey Makeys, explored snap circuits, and completed an Hour of Code.


During this third trimester, the music teacher, librarian, and I have prepared electives for the scholars in middle school based on Shakespeare’s comedy: A Midsummer Night’s Dream. Students will be able to choose whether they would like to focus the trimester on acting, set-costume-and-lighting design, and the musical aspects of the show. Our performance will be presented in the woods (we have 40 acres to choose from!) so students who choose to work in the art studio may be carpenters building outdoor seating (with money from the CLiF grant), sewing lots and lots of fairy wings with twinkly lights, making props, constructing Bottom’s head, preparing the set, running the lights, etc.


So, this is how making in my school works. It’s crazy-busy for me but I love it and the kids love it, too. When I changed from a discipline-based art teacher (where I developed all of the projects for the kids) to a TAB teacher, it was scary because I felt like I was giving up a lot of my control. I did (and still do) soooooo much research on how to facilitate an art studio with children as the center, children as the makers, and I’m still learning. For the most part, students know what the expectations are in the art studio and for the most part, wonderfully amazing magic occurs every day in the art studio!


I have known in my heart that TAB and a makerspace environment is what is good for children; it is empowering for them because they can fail and it’s ok because they have time to learn from their mistakes and can begin to learn to perseverance. With persistence, a willingness to take risks, and a desire to learn, one can do anything. But one needs to practice these behaviors in order to gain confidence in this design thinking process. I am SO VERY LUCKY to be able to offer kids an opportunity to create and make and learn.

Wednesday, March 22, 2017

March is for Making #22- Learning about the Brain through Gamification and Making


The students at Center for Technology, Essex are gearing up for their Game Design Unit.   “A good game designer understand how the brain works to engage the players in ways that makes the game fun - and sometimes addicting!” explains their teacher, Caty Wolfe, as they began studying the brain.

But Caty  ran into a problem -- her students were still struggling to understand how the brain actually works.


"So, what is a teacher to do when her students have been reviewing the parts of the brain at multiple intervals, had many opportunities to apply their learning, and still can’t remember?  Gamify it! " 


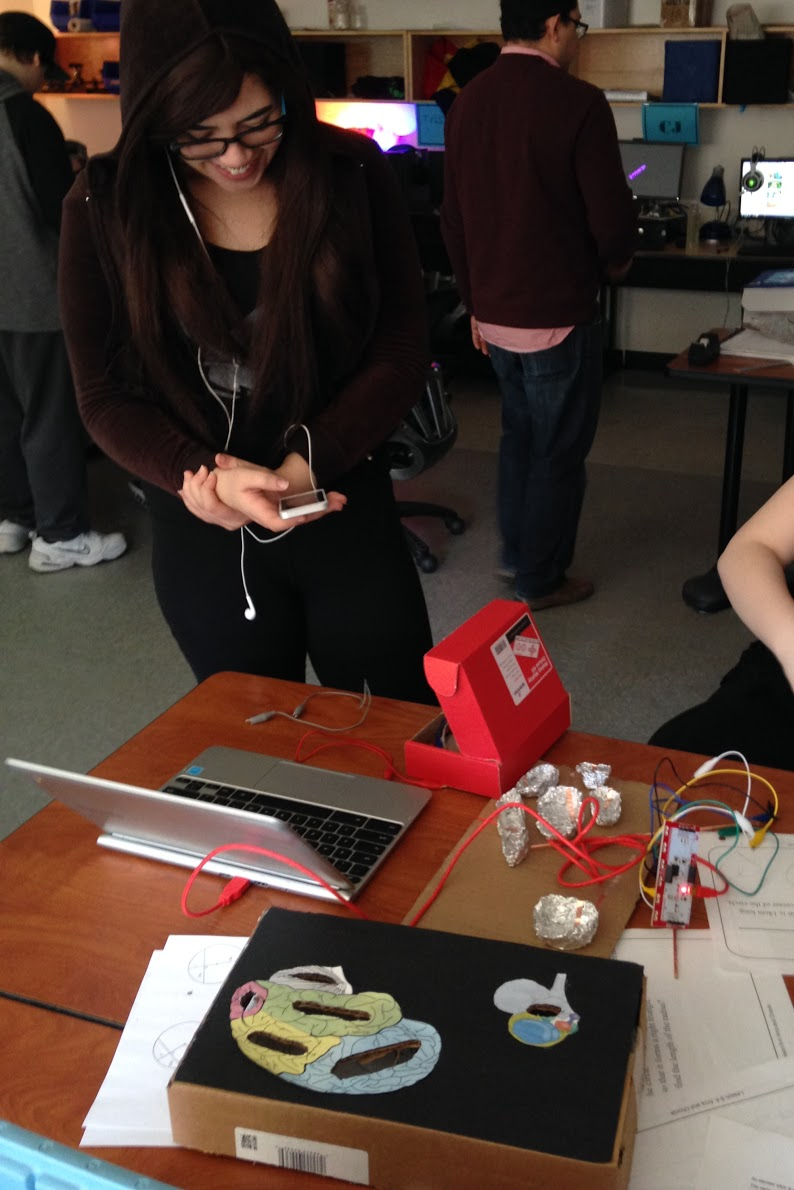
And what better way to do this  than create their own “Operations”  type game about the brain using a Makey Makey.   Now that’s what I call problem-solving by both the teacher and the students.


Today’s guest blogger,  Caty Wolfe,  shares how she and her students using making to better understand how the brain work. Caty Wolfe is also a creative maker educator who will be bringing her talents to the teachers at the Create Make Learn Summer Institute. Perhaps some of you will be learning with her this summer!


Guest blog post
by Caty Wolfe, Pre Tech Teacher at Center for Technology, Essex


In the PreTech program at the Center for Technology, Essex, we have developed a backwards unit about gamifying learning all the while gamifying the learning we are gamifying.  You’ll see what we mean.


Students in PreTech2:IDEA (IT, Digital Media, Engineering, & Art) have elected to spend their sophomore year learning in a technical career focused integrated program.  One of the career paths we study is Game Design.  With that as our focus, students earn English credit by writing directions and gamifying a concept, science credit through the study of brain function while having fun, math credit from probability, and art through 3D modeling and board and package design.  The end product is a playable game that teaches content to high school age students so they learn something.


“Gamification is about making something potentially tedious into a game,” says Merriam-Webster.  


So, what is a teacher to do when her students have been reviewing the parts of the brain at multiple intervals, had many opportunities to apply their learning, and still can’t remember?


Gamify it!  


The PreTech students at Center for Technology in Essex are no strangers to Design Thinking Challenges and Engineering Challenges, so they jumped in when given the task of gamifying the parts of the brain.

In small groups they created Operation-style games using a graphic of the brain, MaKey MaKey boards and tin foil, and Scratch to add sound bytes with the name of each part.  

They then created cards that had brain functions on them so the players would have to figure out which part to grab!  


What a hoot!  


And, the best part?  


They have now all aced the anatomy quiz!


Tuesday, March 21, 2017

March is for Making #21 - Learning to Laser Cut Jewelry


Today's inspiration for the  March is for Making  Series is (NOT) a piece of jewelry.  It's an amazing teacher who is never afraid to explore something new;  its a teacher who is not afraid to be vulnerable; its a teacher who not afraid to make mistakes;  and mostly it's a teacher who is not afraid to model that learning is a process.

I met Melissa Haberman in the late 1990's during a  a class I was teaching on HTML for The Web Project.   She was willing to  jump in to see how technology might be used in art way before most folks!  And today she is still willing to jump in to see how technology might be used to teach art.  It's no surprise that Melissa has been to all 5 Create Make Learn Summer Institutes.  Thank you Melissa  for sharing your recent project with us, but mostly thank you for sharing it in a way where we can see your process of learning.

Guest author:  Melissa Habermann (St. Albans City School)

The Project: Jewelry Making with a Laser Cutter

How Might I create a design challenge to create jewelry using the laser cutter and a vector based design program
My goal for my final project for Create Make Learn is to create jewelry using the laser cutter. I will use my creations as a prototype for future student projects. I will be offering a Wearable Arts choice class as one of my 7/8 grade rotations this year. I have been slowly exploring the laser cutter at City School this past year. Under the guidance of Craig Lyndes and Erica Bertucci  both of St. Albans School I am learning to the program Inkscape as the main design source has been a challenge for myself. Having no instruction with this program until this past summer at CML with Sarah Sutter and Caty Wolff was helpful. There is a huge learning curve with this program. I have some experience with Adobe Photoshop but no experience with Adobe Illustrator. After I created this work Roland Wilhelm showed mean online program called Gravit. If seems to be something that is more user and kid friendly. I am anxious to try this program.  I am certainly challenging myself. I came into CML to want to feel more comfortable using the laser cutter. My goal is to create jewelry using the laser cutter. I created 3 different pieces in acrylic. I will also try to use other materials including wood, metals, and materials I am just learning about like bike tires, leather. Here is a photo of the jewelry:


The Process

Creating and Making Vector-cut Earrings

Earrings designed using the vector based program called Inkscape. I designed in Inkscape. I used the Draw Benzier Curves and Straight Line Tool to create both of them.
Vector cutting testing the laser cutter
My first cut I used 100% speed and 100% power. The earrings did not cut all the way though.
Second cut was at 80% speed and 100% power. Almost successful. Some of the smaller holes had to be pushed out with a small tool. 
The third cut was the most successful. At 70% speed and 100% power I did not have to struggle to push the holes out! 
The Earrings were printed on a laser cutter cut on 1/8 inch acrylic.


Success!
I printed both of my earrings on the laser cutter at St. Albans CIty School. 


Designing Making Raster and Vector-cut Earrings

First, I searched for grayscale vector flower drawings that was labled for reuse with modifications. I downloaded the image.


I opened the image in Inkscape and and used the circle tool to draw a circle around the image and also inside the flower in the top petal.  
When I attempted to first print the earring I could not understand how the circle around the flower got cut off. I watched it happen during the vector cut.  I deleted that version and a made a second one. This one worked. The laser cutter first did the raster cut of the flower the did the vector cut of the two circles. I had a hard time pealing off the paper from the acrylic so for the second printing I pulled off some of the paper. As you can see from the second set of earring the one on the left had a white haze around the raster cut flower. I took them home and thought to wash them and it took the white haze away!. I also discovered that if I washed the others with the paper on it comes right off. I realize I still need to keep practicing with Inkscape as you can see my circle and flower are not centered.


Monday, March 20, 2017

March is for Making #20 - Design Mindset


After spending so much time at the CUE conference discussing the Innovators Mindset, the Growth Mindset, the Mathematical Mindset in the context of learning and seeing the similarities between these along with the ways they are different, I started to think about all the different ways that Create Make Learn participants expressed themselves when trying to communicate what the Design Mindset looks like to them.  


I remember feeling so  inspired by the creatives ways each of them expressed themselves after just a week of being immersed with other like-minded educators, creating and making and learning at our summer institutes. 


And since March is for Making is all about inspiring each other,  why not inspire each other with the many different ways to communicate what's in your head when you say  DESIGN MINDSET! 


Note:  Please don't use these images without checking in with the authors.  If one of them resonates with you, contact me, and I'll put you in touch with the creator of that image. 

Click on each image to see it full size.


Sunday, March 19, 2017

March is for Making: Makerspace as UnConference Learning

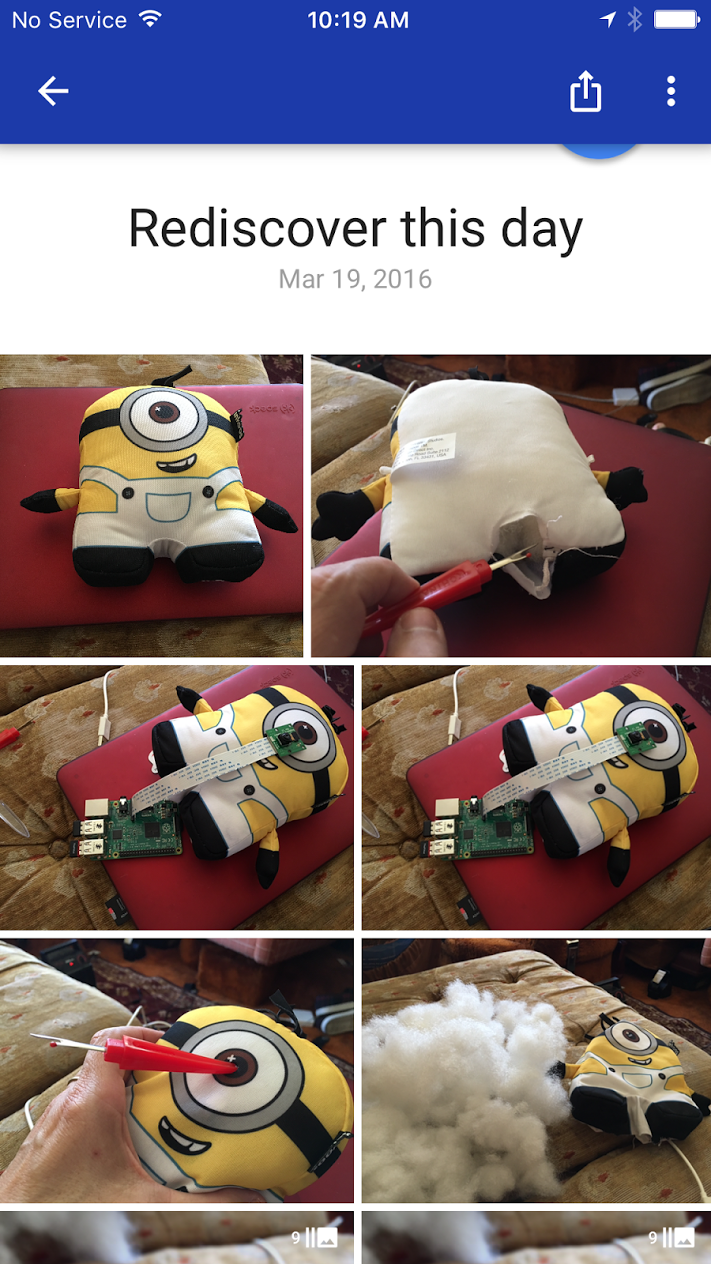
Lucie's ToyHack attempt after Pi Academy


Having just come from a memorable 3 days at the CUE Conference 2017 in Palm Springs, CA I sat down to write the March is for Making blog  post #19, reflecting on all the learning from the past few days.


Then this following memory came across my screen, from a project I was playing with a year ago at this time.


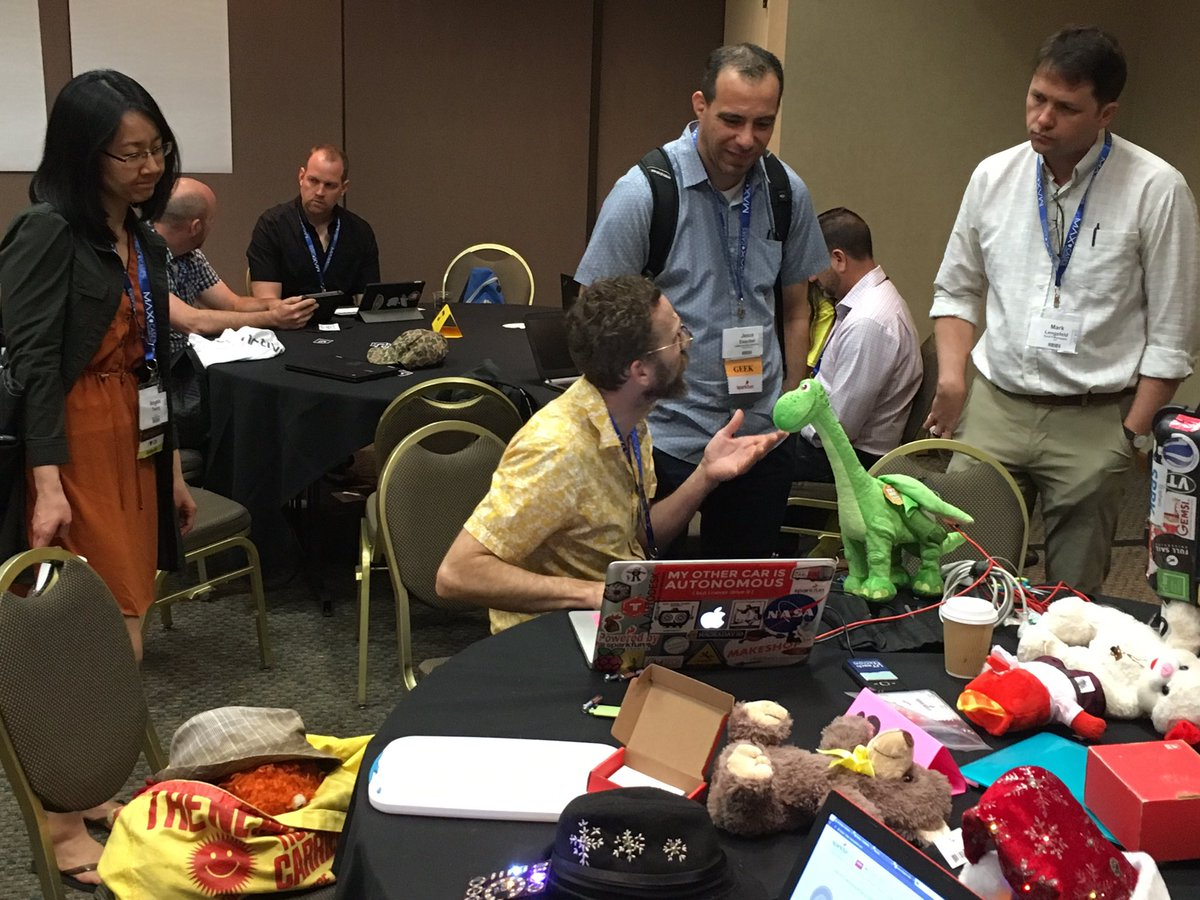
This started me thinking about the impromptu Toy Hack that I got to participate in at a pop-up makerspace that happened in the UNCONFERENCE area at CUE 2017. Filled with inspiration from keynote addresses of Jo Boaler,  Cathy Hunt,  George Couros  it became obvious to me that a maker spaces in our schools can invite us to learn in the same way as unconference areas do -especially if they are paired with learning commons style libraries. 


This is what happened when creative maker-educator Sam Patterson and  Jeff Branson (Master Maker from Sparkfun Education)   who had recently met at SxSw bump into each other again in the Palm Springs Convention Center.    Within minutes the energy from their SxSw meeting picked up where it had left off in Austin, and they started planning a fun toy hack session for the next morning in the UnConference Session.  They even invited me along!  


Sam brought a promising toy,  Jeff brought his suitcase with Sparkfun goodies, I brought along a few tools and some of my own recent projects.  


BY providing an UNCONFERENCE space,  CUE gave us permission to play, permission to learn in our own way, permission to  invite others to learn with us by joining in the fun or just watch and ask questions.  The impromptu session didn’t have to be planned months ahead of time and approved by a committee!  


In their book, FREE TO MAKE,  How the Maker Movement is changing our schools, Our Jobs, and Our Minds,  Dale Dougherty and Ariane Conrad state that “Making can give kids permission to play.”  Dale also mentions that ‘parents are in a position to give or withhold that permission.”  (p. 176).
I feel that schools are in the same position to give or withhold permission to learn through play, tinkering, creating, and making.


And by including a makerspaces in their learning landscape, schools are in turn setting up an unconference area  and inviting kids to learn their way…

In the #CUE17 closing keynote, Cathy Hunt asked us


A makerspace, not only invites kids to learn their way,  it gives the message that we value different parts of them.


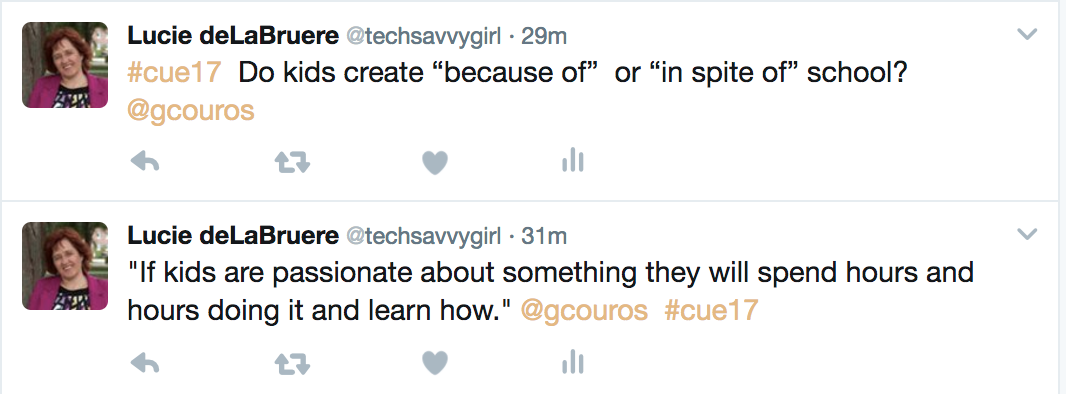
In his #Cue17 keynote, George Couros challenged us to keep school relevant  by giving kids a place to create in school!  A makerspace in your school can not only invite kids to create, it can give them a place to discover their passions.  And when kids discover their passions they will spend hours doing it and learning how.   ,  


Instead of extending the school day or the school year, why not send them out the door so passionate that they can’t wait to get home and extend their own learning. Then perhaps we would find them in a state of flow instead of state of tears over homework completion battles with their parents.


Unfortunately too many people watching  children (or adults) laughing during a messy and sometimes chaotic toy hacking session walk away with questions  like “Looks like fun, but what are they learning?”   


In Free to Make, Dale offers a quote from Peter Gabrielson to answer the “What did they learn”  

“Heck yes, they are learning something, “  writes Gabrielson in his book.  “And it may be the most valuable thing they’ve learned all week -- this hit-and-miss, trial-and-success, seat-of-the-pants approach.”  believes that tinkering may raise all sorts of questions in their minds and inspire them to learn more about what they’re tinkering with, and it may start them on a path to a satisfying career, not to mention, good fun on their time.”  (p. 176)


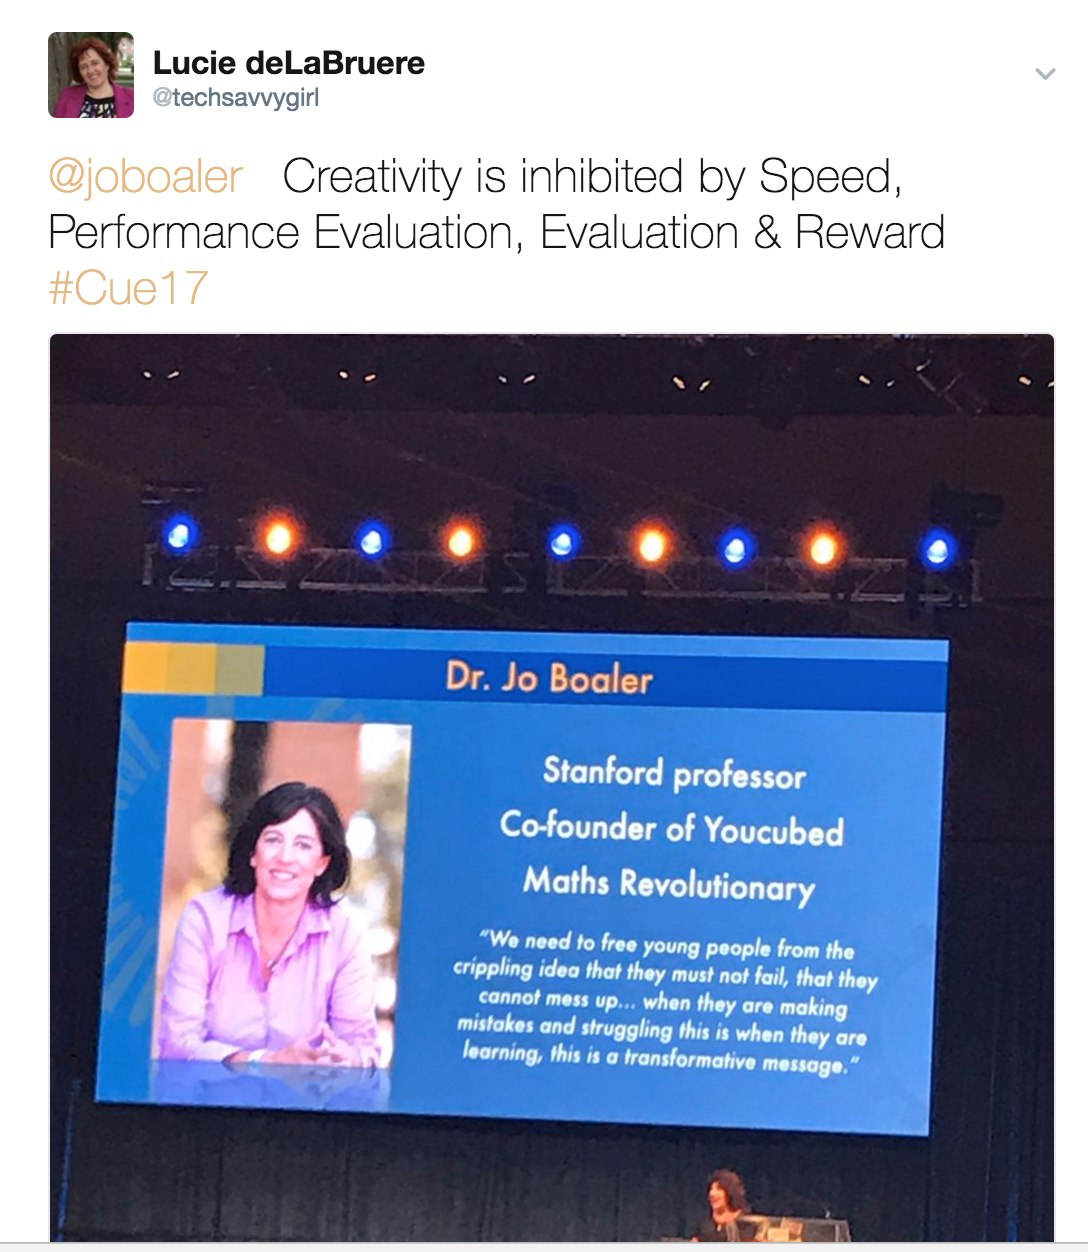
But  some of the best justifications  for the types of learning that can happen in a makerspace came from the opening keynote at CUE  Stanford professor Jo Boaler which was filled with research about how current pedagogical practices are NOT ideal are NOT best practices for creating the mindset students need for making learning gains.


Her keynote was filled with stories and data about the impact  that mindset has on learning gains.


You can find some of the keynotes and interviews with Jo, George, and Cathy on Cue Live's You Tube Channel


Overall I’d say  #Cue17  did a fantastic job providing us with so many resources and choices in how we learn!'


Saturday, March 18, 2017

March is for Making #18 - Making 3D Models for French Class


When I first watched Tony Galle teach fifth graders to 3D model I was so impressed;  I tried to jump into the lesson, but  soon realized I was a lot less 3D spatial than those fifth graders!  Not uncommon for many teachers!  Not long after I got to watch Tony teach a group of teachers to 3D model.  His skill with the 3D modeling tools was only surpassed by his skill and patience working with educators!  And that is exactly why we are so glad that he will be returning to Create Make Learn Summer Institute to help even more educators become 3D literate!


Thank you Tony for being a guest blogger for today’s March is for Making post!


Making Les Chateaux & Les Cathédrales de France (in 3D)


By Guest Blogger  Tony Galle


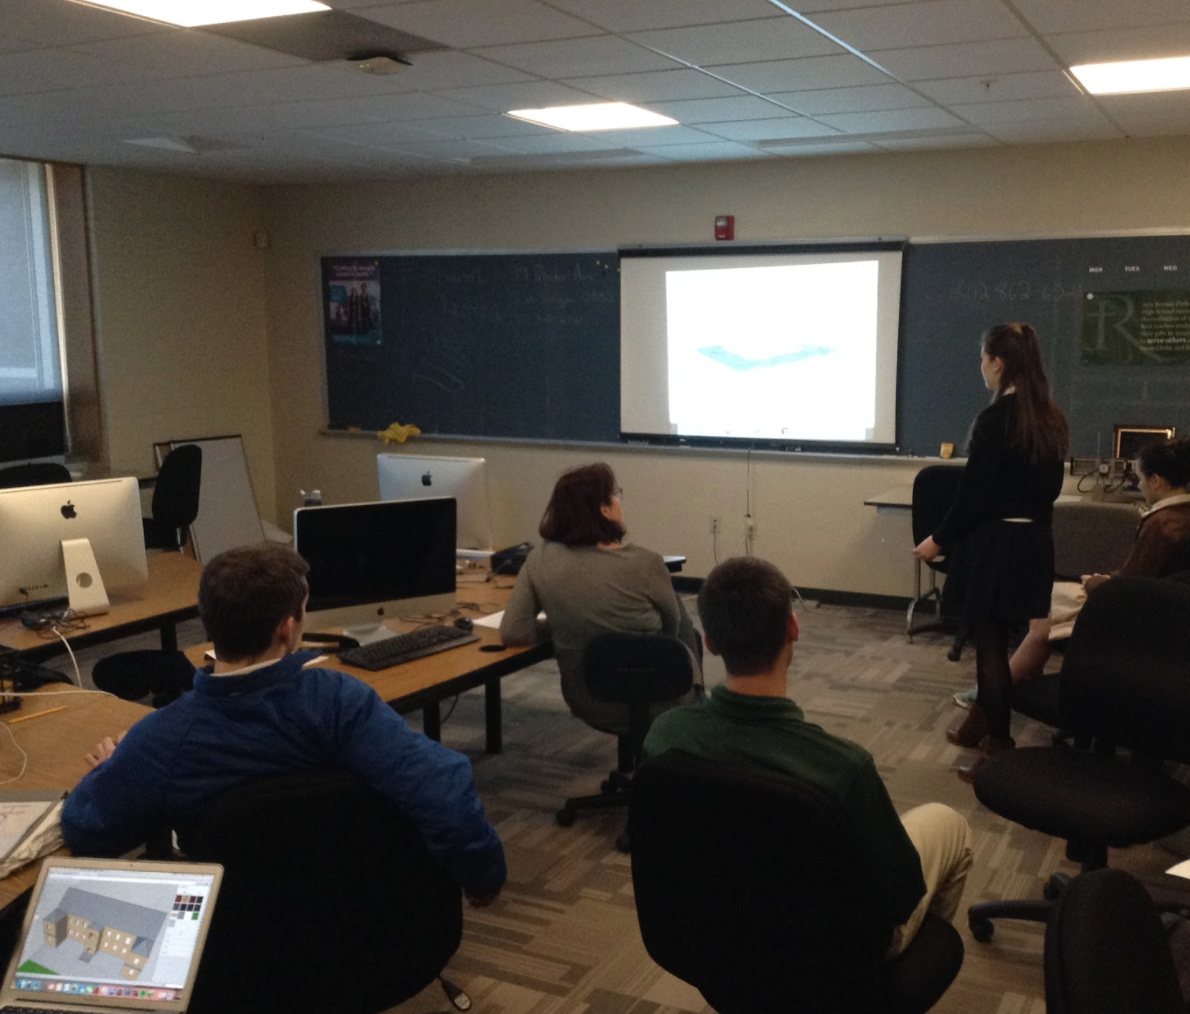
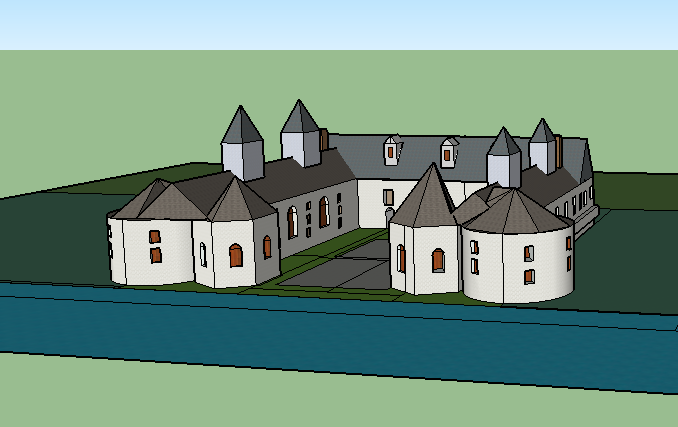
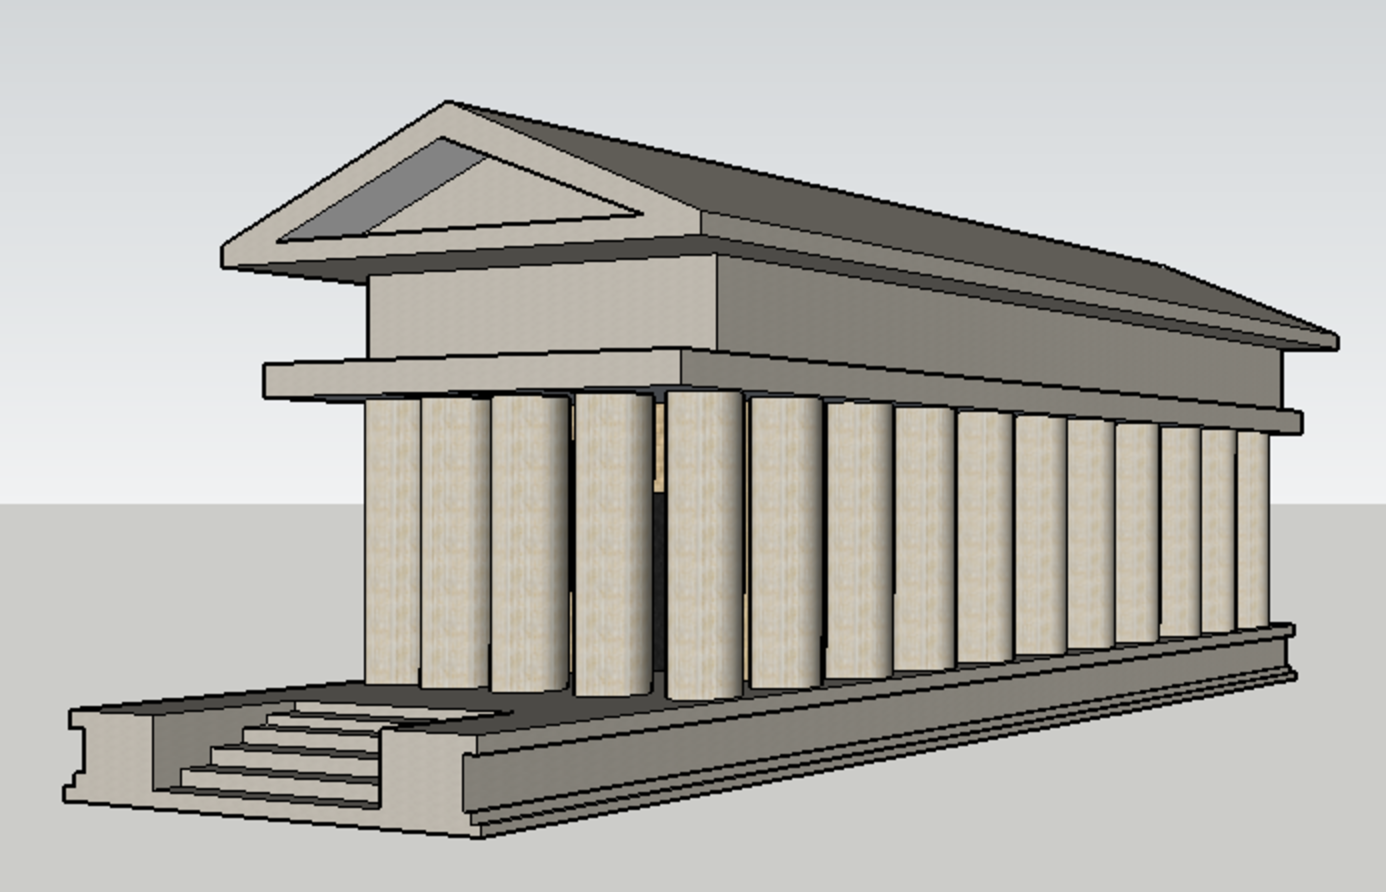
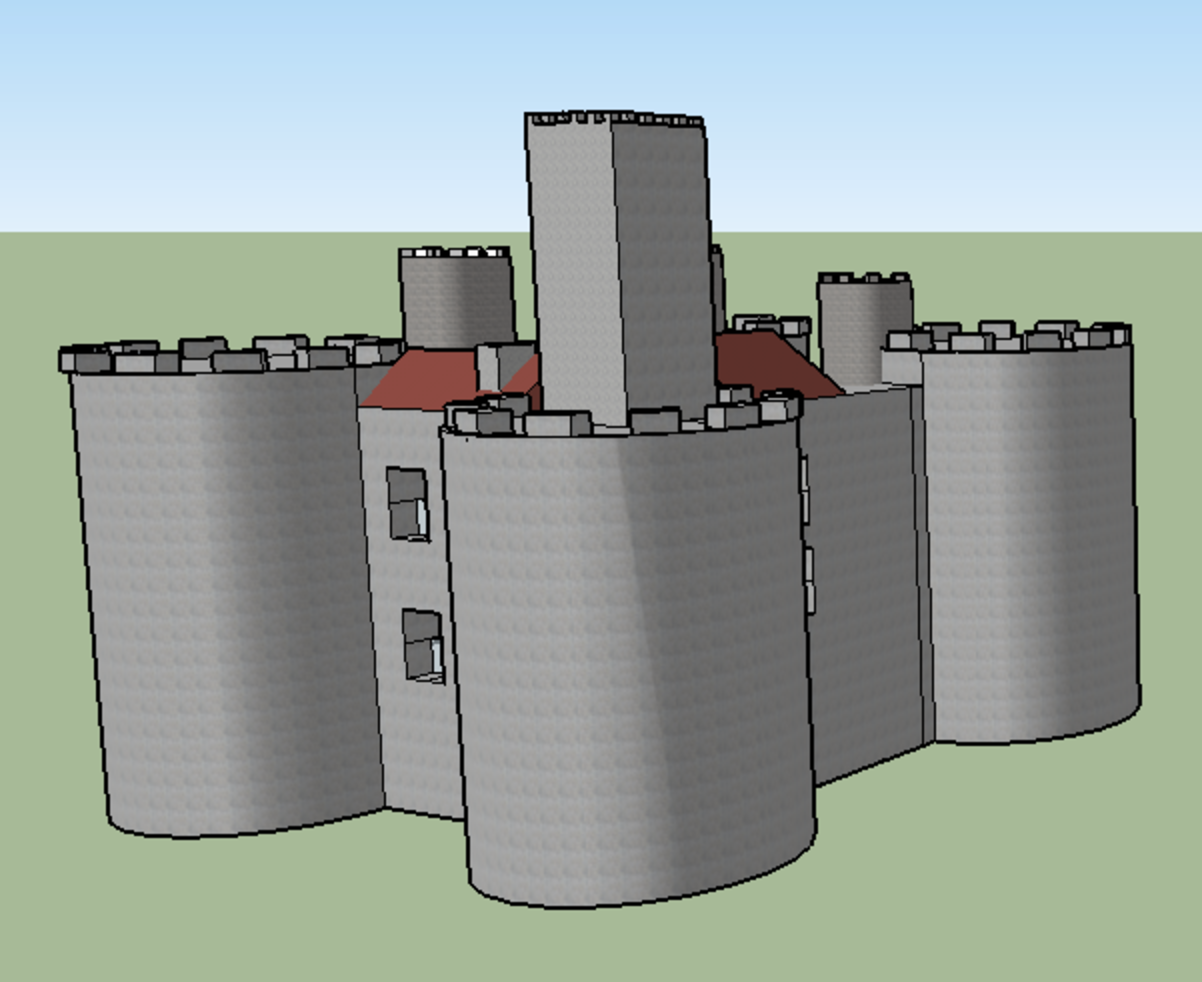
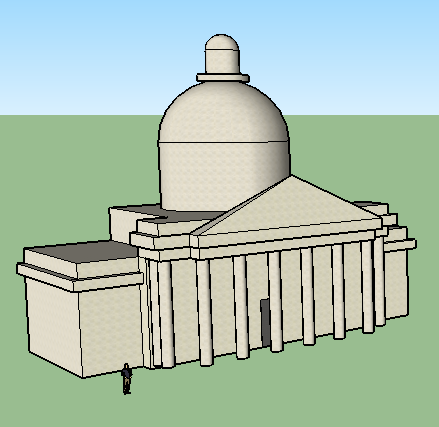
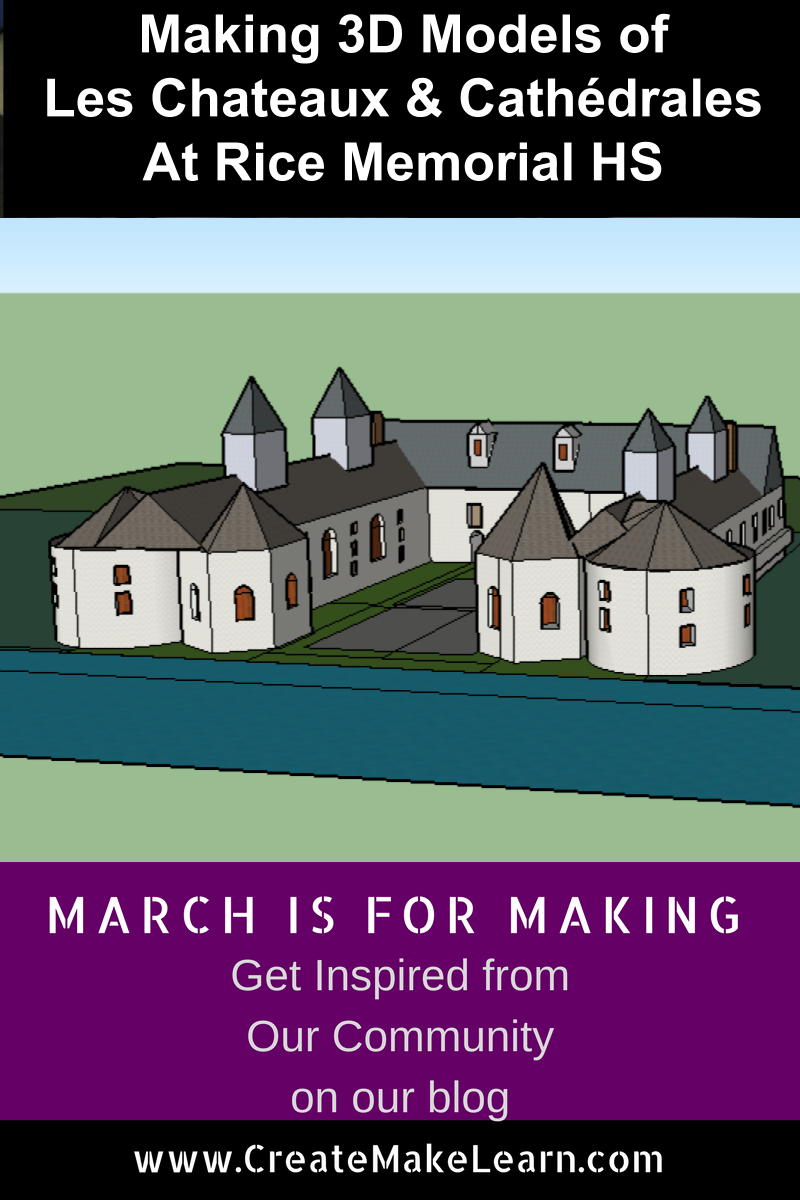
Last week, students in Rice Memorial High School's French III classes were tasked with researching and presenting about a chateau, castle or cathedral in France.  The research project was designed as an introduction to a key theme of the AP French course (Beauty and Aesthetics/ L’esthétique), and beyond the research (the who’s, what’s and where’s of the structure), they had to craft a virtual three-dimensional version of their structure to help showcase the construction.  


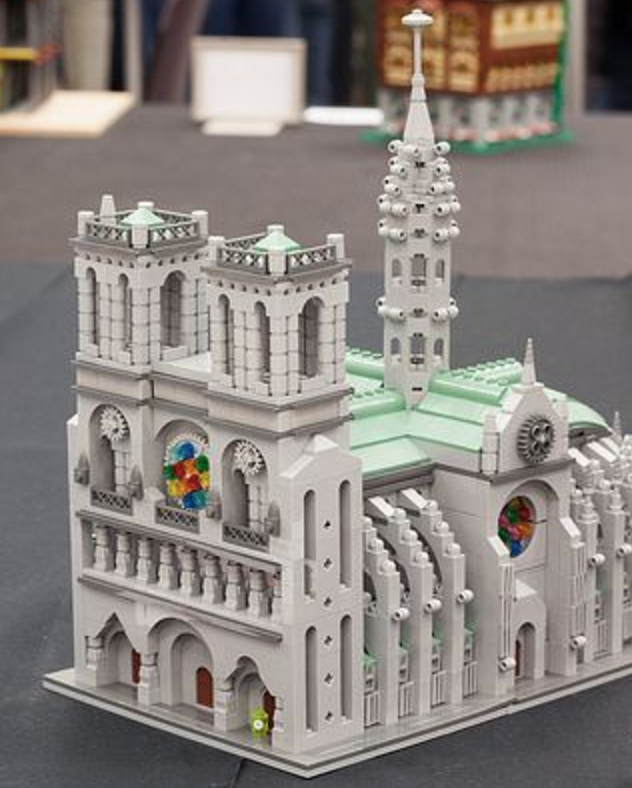
The project came about quite organically and illustrates my favorite way to work with Julie Lambre (one of the French teachers at Rice, and a frequent collaborator).  I sent her a pic I found online -- a miniature LEGO-built Notre Dame Cathedral.  I thought it was cute, and sent it her way.  She immediately asked if this was a project we could do with her kids.  This got the wheels turning.  


Lego Model by Alice Finch

We mapped out what it would take for them to successfully model a piece of architecture, and determined that the first job was to start with some research.  Images, dimensions, important features--all of this information would lead them to make better buildings.  Julie recognized the AP French connection, and proposed the following questions to help them frame their research:


  • How does the architecture reflect the concepts of beauty (form and function) of the era in which it was built? And the culture?
  • Why do you believe this castle/cathedral is a good model of contributing to the World Artistic Heritage (le patrimoine)?


My part involved picking the right tools for the job.  I decided to teach them about three different modeling tools


Each has it’s strengths, and in the spirit of differentiation (and exposure), I provided them with resources to learn any and all of them.  By way of introduction, I did a quick (5 minute) demonstration showing off some of the different features of each tool.  I also shared a slideshow with more in-depth tutorials and videos so they could teach themselves in a self-directed way.  


Then they got to work. I popped in throughout the week as they worked in class to help them with on-the-spot fixes and building-specific questions, and they finished up on their own.


I love watching kids (of all ages) learn with 3D modeling tools. Some students really struggle translating a two-dimensional photograph into a three-dimensional object, but that’s okay. There’s definitely value in the struggle. It takes rigor and perseverance, and yes, some skill, but it all challenges them to think differently.


I’m always impressed with some of the problem solving that goes into working with these tools.  There are some inventive solutions that come out of trying to figure out the best way to represent these places in space.  Whether it’s a student trying to emulate the scaffolding around the Centre Pompidou, or using an applied texture to represent the gridwork in the Eiffel Tower, these are all solutions that came from making, and the results (while not as perfect or polished as a photo from Google) are impressive in their own right.