Subscribe to this blog to get new learnings ideas, discoveries, and inspiration from the CREATE MAKE LEARN community, along with updates about our upcoming Summer Institute and Workshops.
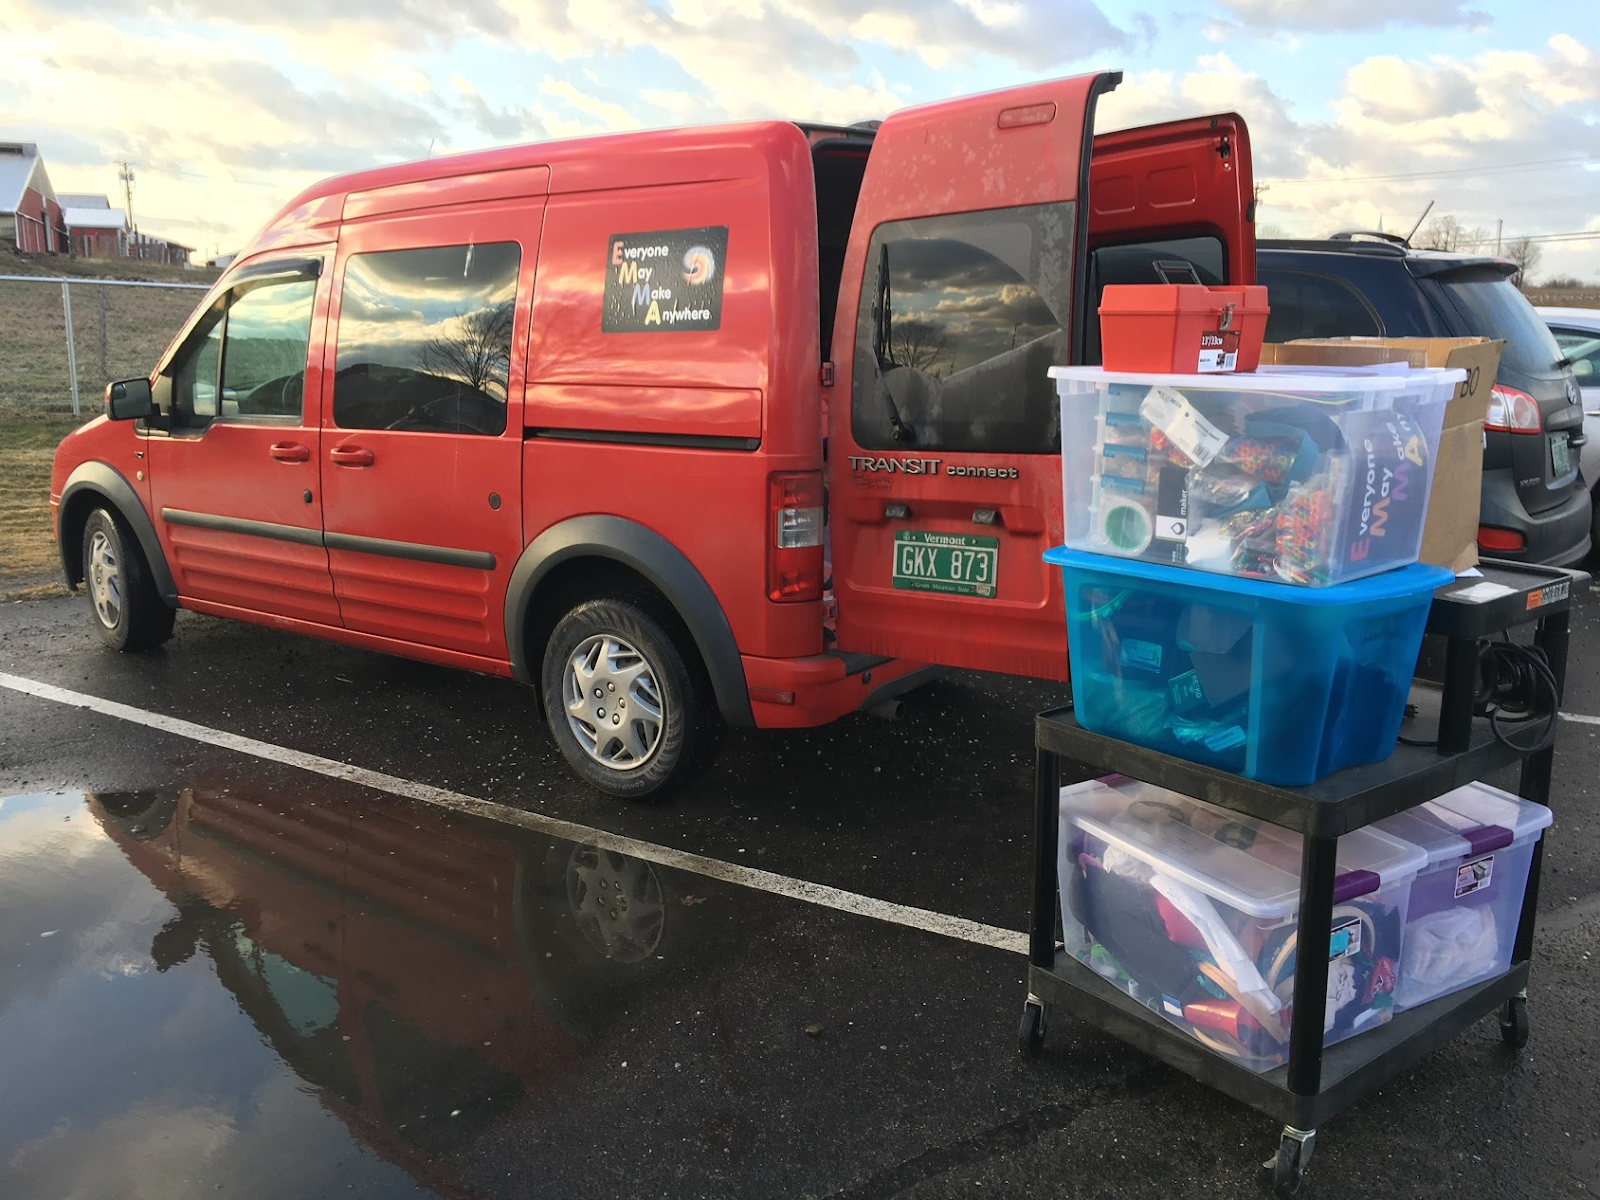
Yesterday we featured an integrated STEAM lesson, today we'll share a quick and easy design challenge that you can implement as a stand alone challenge or as a warm up activity. The challenge is one that we tried when EMMA visited Grand Isle school in January to help students plan a project based learning event that will culminate in a community swing dance where students from grade 1 to grade 8 will be teaching community members new swing dance moves.
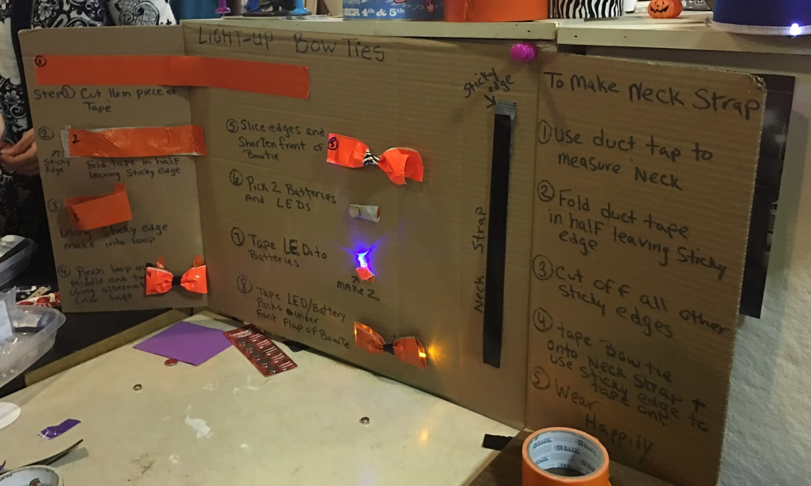
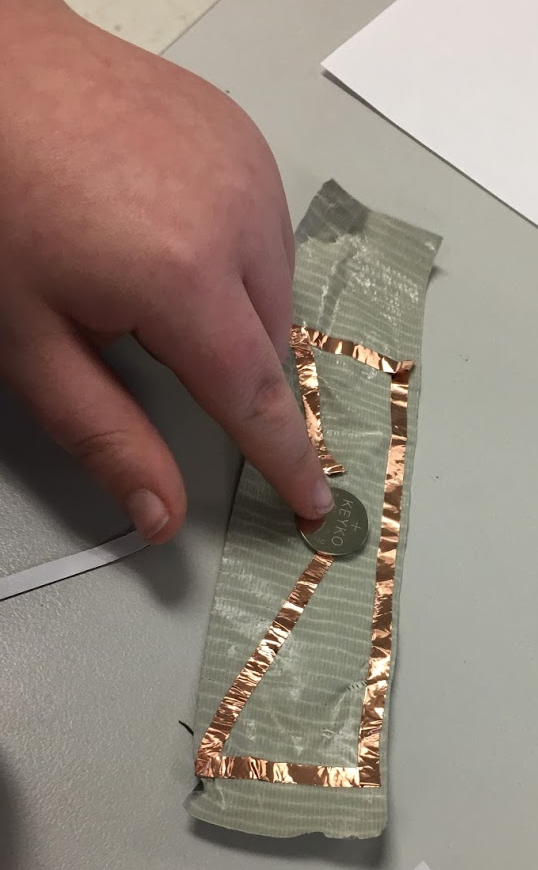
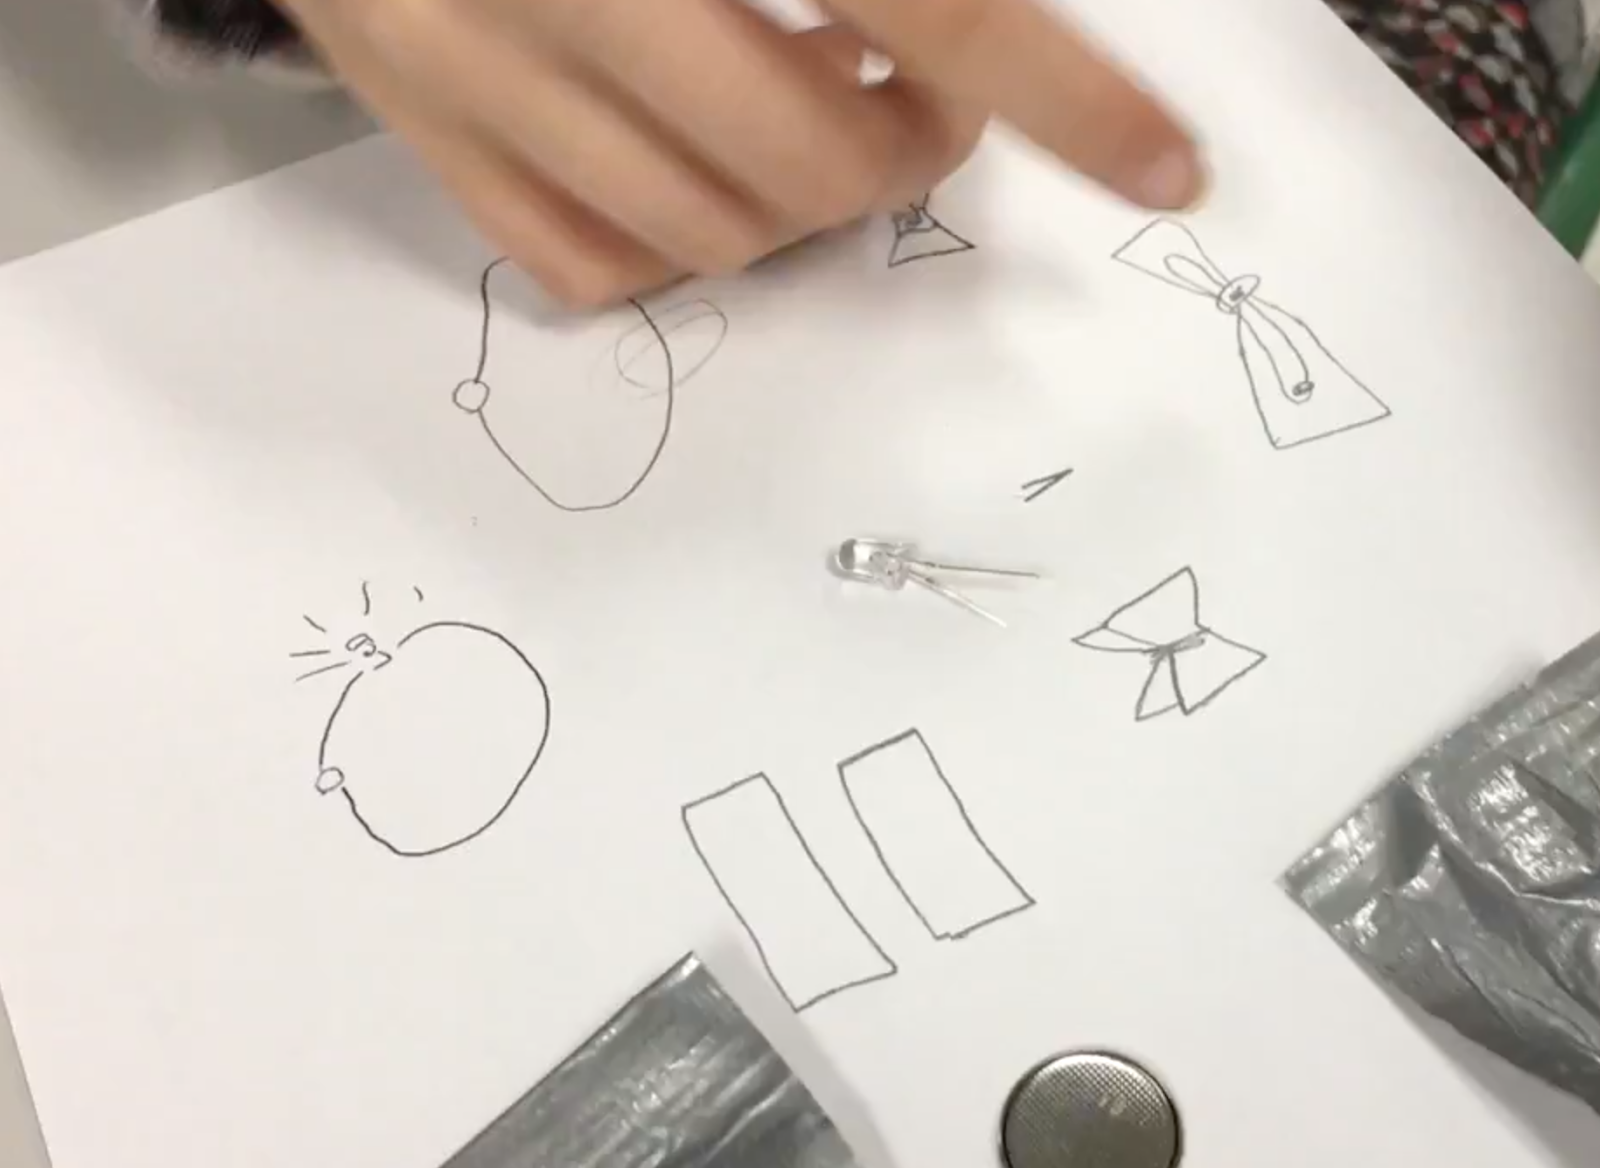
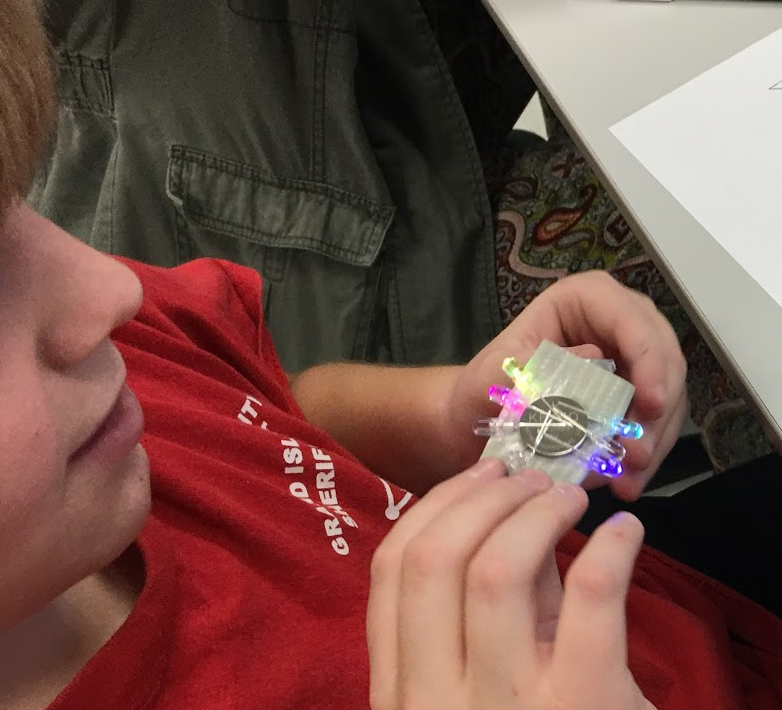
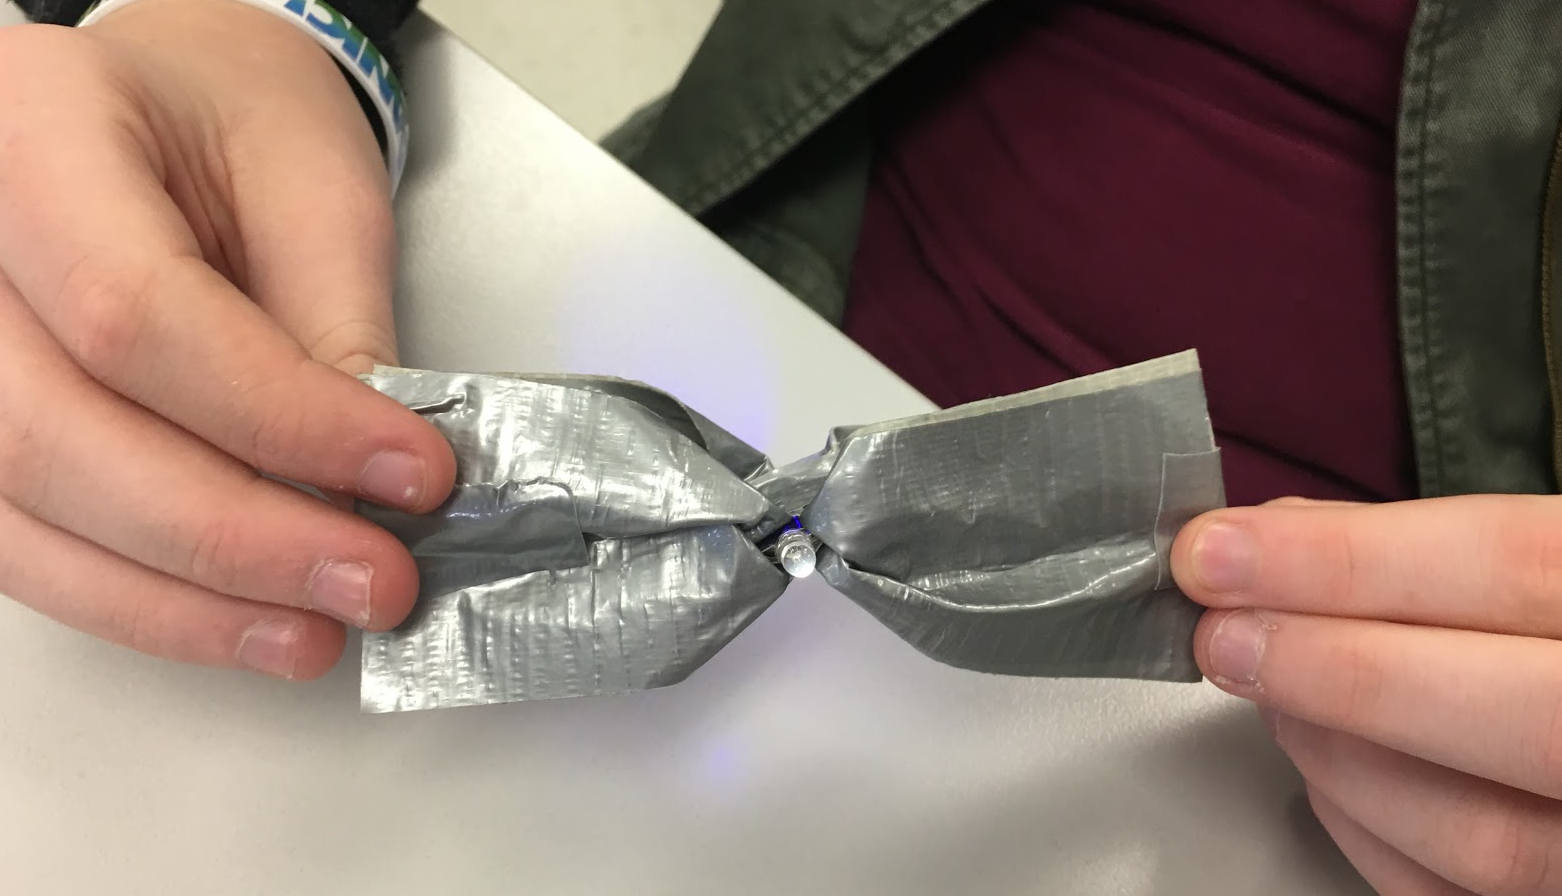
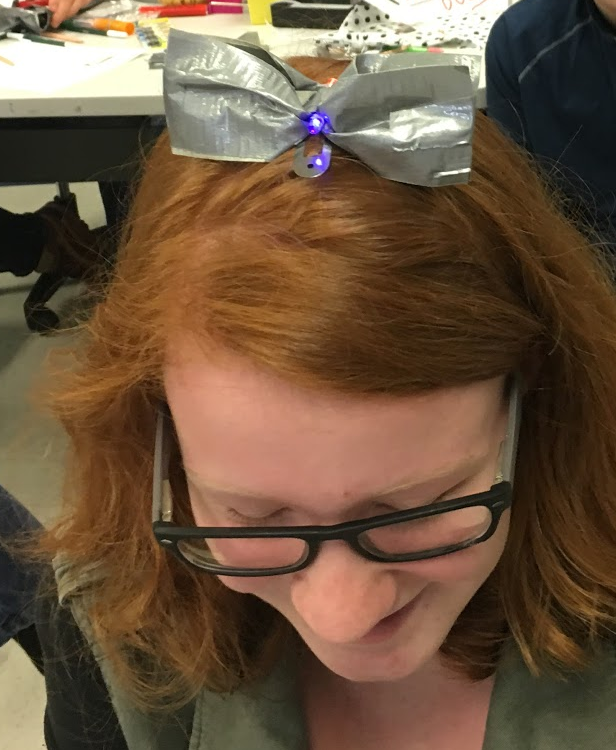
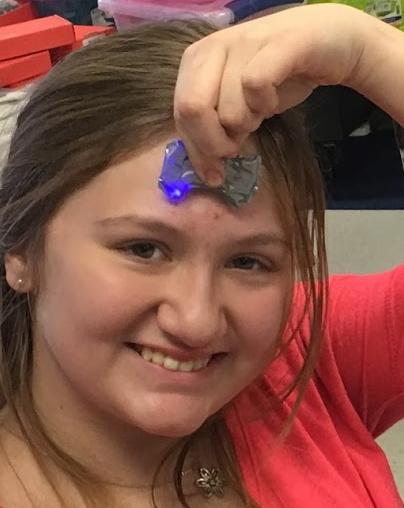
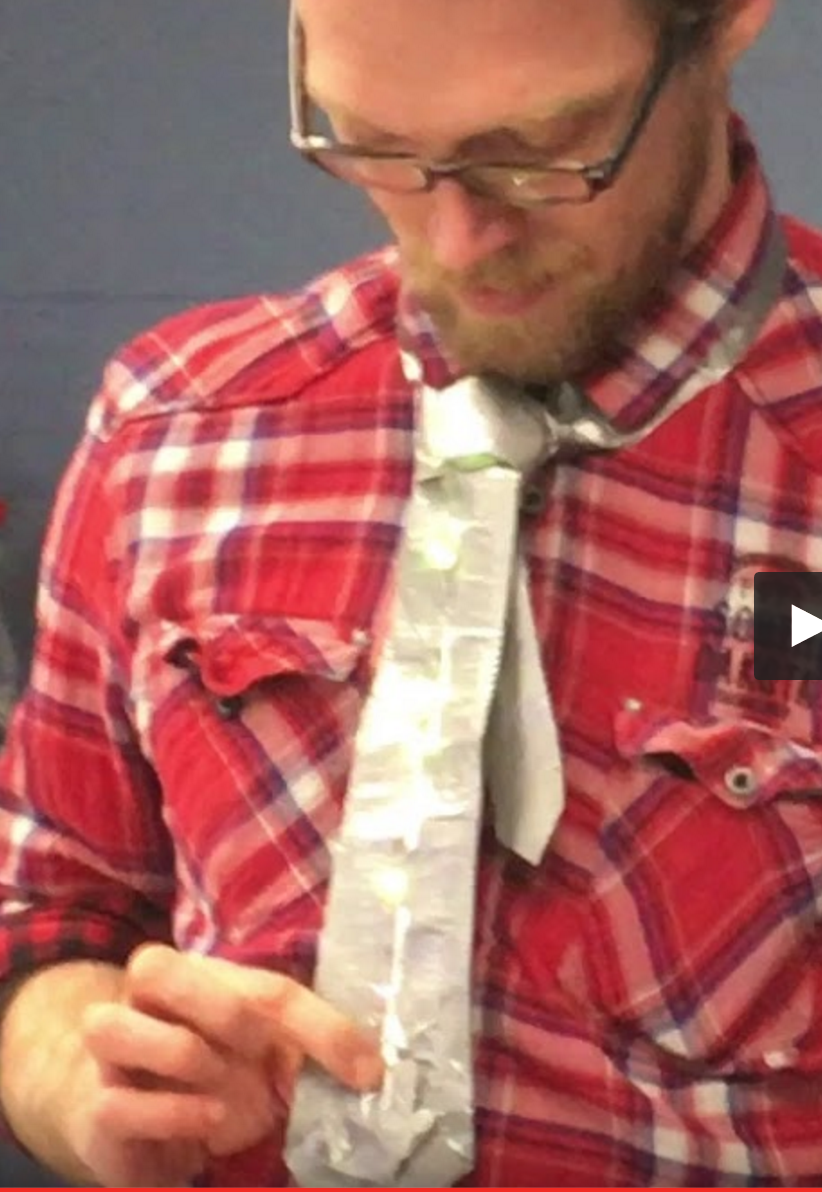
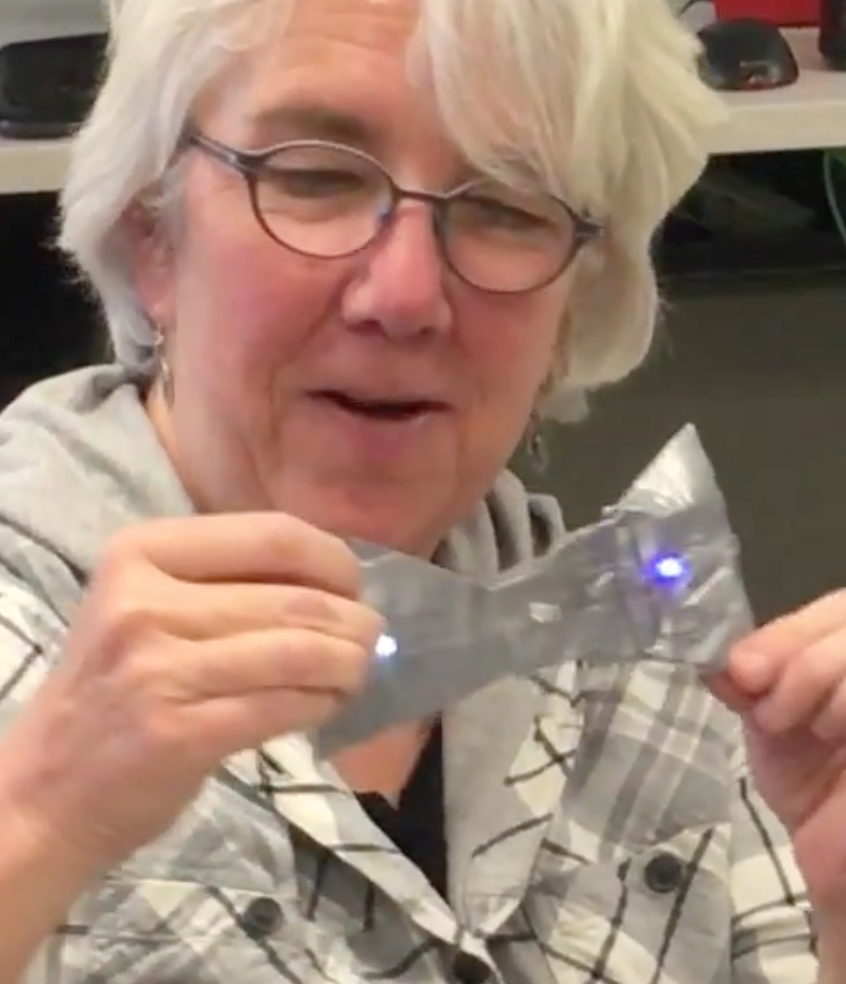
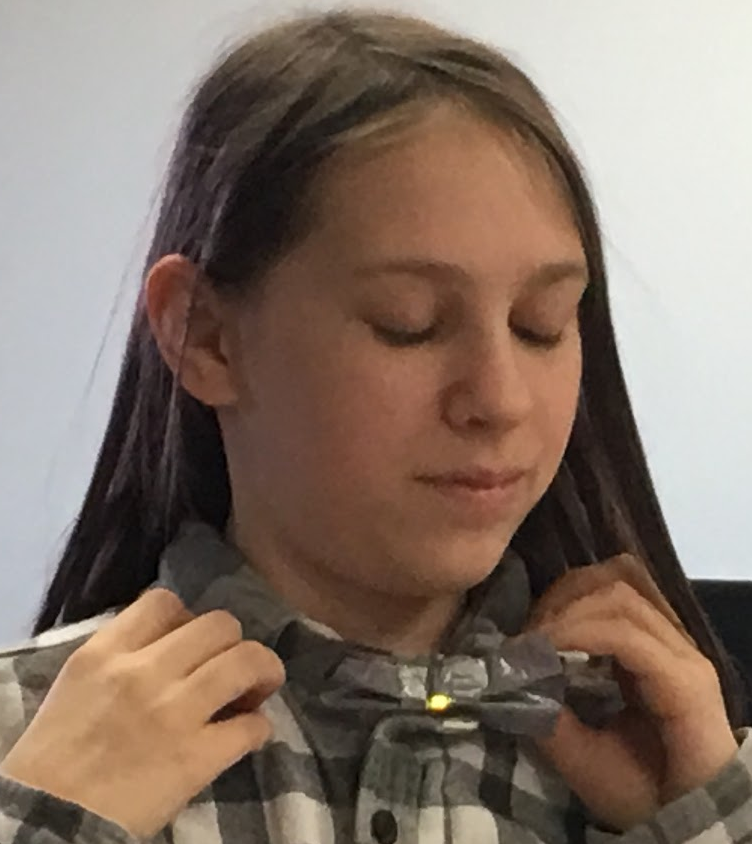
We started the day with this warm up activity to help students and teachers get their maker mindset in gear -- a design challenge to create an illuminated fashion accessory made with duct tape.
Duct Tape is considered a staple in a maker’s toolkit. It has been used for everything from repairing Apollo 13 to creating colorful craft projects on a rainy day. I would say no maker space is complete with an ample supply of duct tape!
So if you’re looking for a quick make, why not try to make something with duct tape.
After placing some basic supplies on each table (duct tape, LED diodes, and coin cell batteries) and outlining the challenge (design an illuminated fashion accessory out of duct tape), I shared the model that Chris Braun and I had tested at a recent maker event, I backed off and let them tackle the challenge of the day.
Interestingly, everyone totally ignored the model and tackled the challenge using their own prior knowledge and experience. The important of prior experience became particularly obvious when the students approached me to asked if I had any copper tape. I had not planned to include copper tape in the materials available, but upon their request, I dug up some copper tape and a few other supplies that they seemed interested in. Many of the students had recently completed a paper circuit project, so it made sense that in their first iteration of their design solutions they were looking to use copper tape.
In creating solutions, our prior experience with materials and processes can influence our imagination. This is one reason why engaging diverse makers who have experience with many different materials and problem solving approaches can yield the most creative solutions.
It was inspiring to watch the process that occurred as the students and teachers approached the design challenge differently and imagined very different solutions. Check it out for yourself with these two very different approaches that happened in less than 30 minutes.
Watch how these students approached the problem
and how these newbie teachers approached the design challenge
One challenge - So many solutions in such a short period of time!
Nice job Grand Isle students and teachers!
What types of fashion accessories would you design with some basic maker supplies?
Or even more important what would your problem solving process look like or sound like?
This quick and easy design challenge got everyone in a creative state of mind! We were now ready to dive deeper into design thinking and learn some new maker skills using fabric and conductive thread -- but I'll leave that for tomorrow's post.
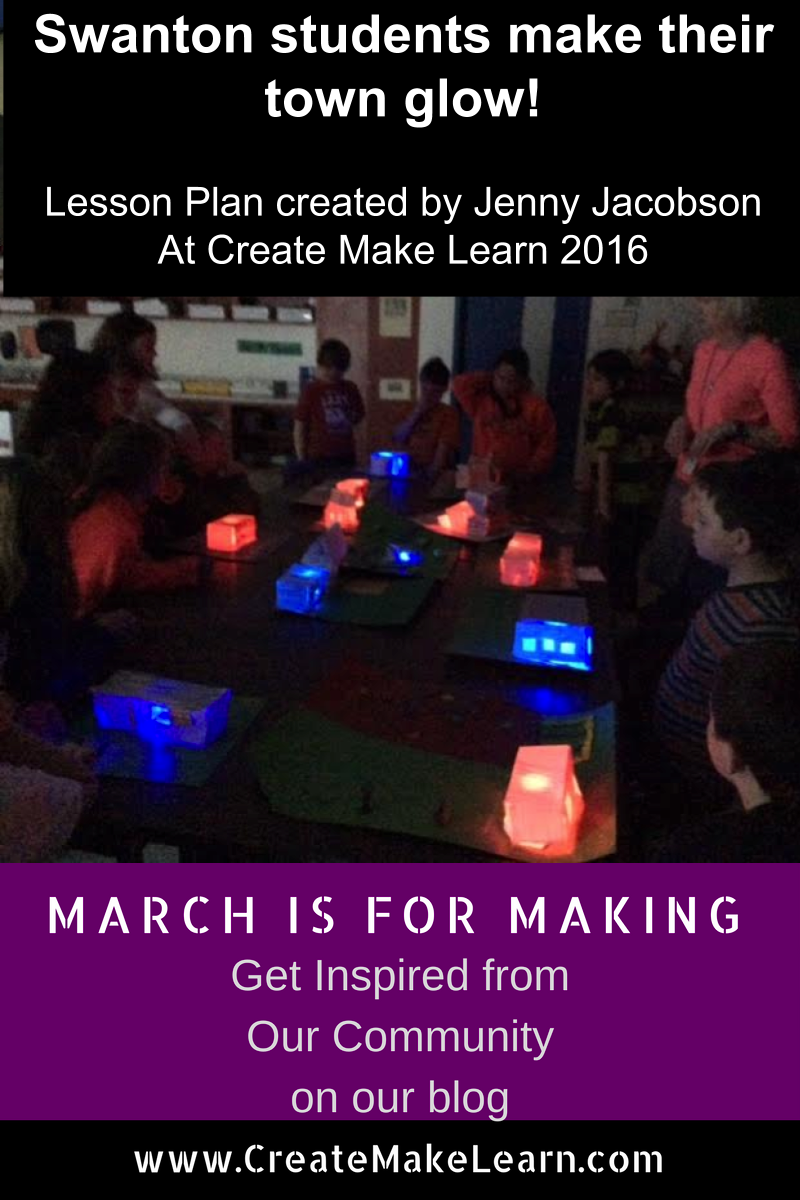
After learning about paper circuits at Create Make Learn 2016, Swanton Elementary School Art Teacher, Jenny Jacobson had an idea! What if her 4th grade students could make their town glow!
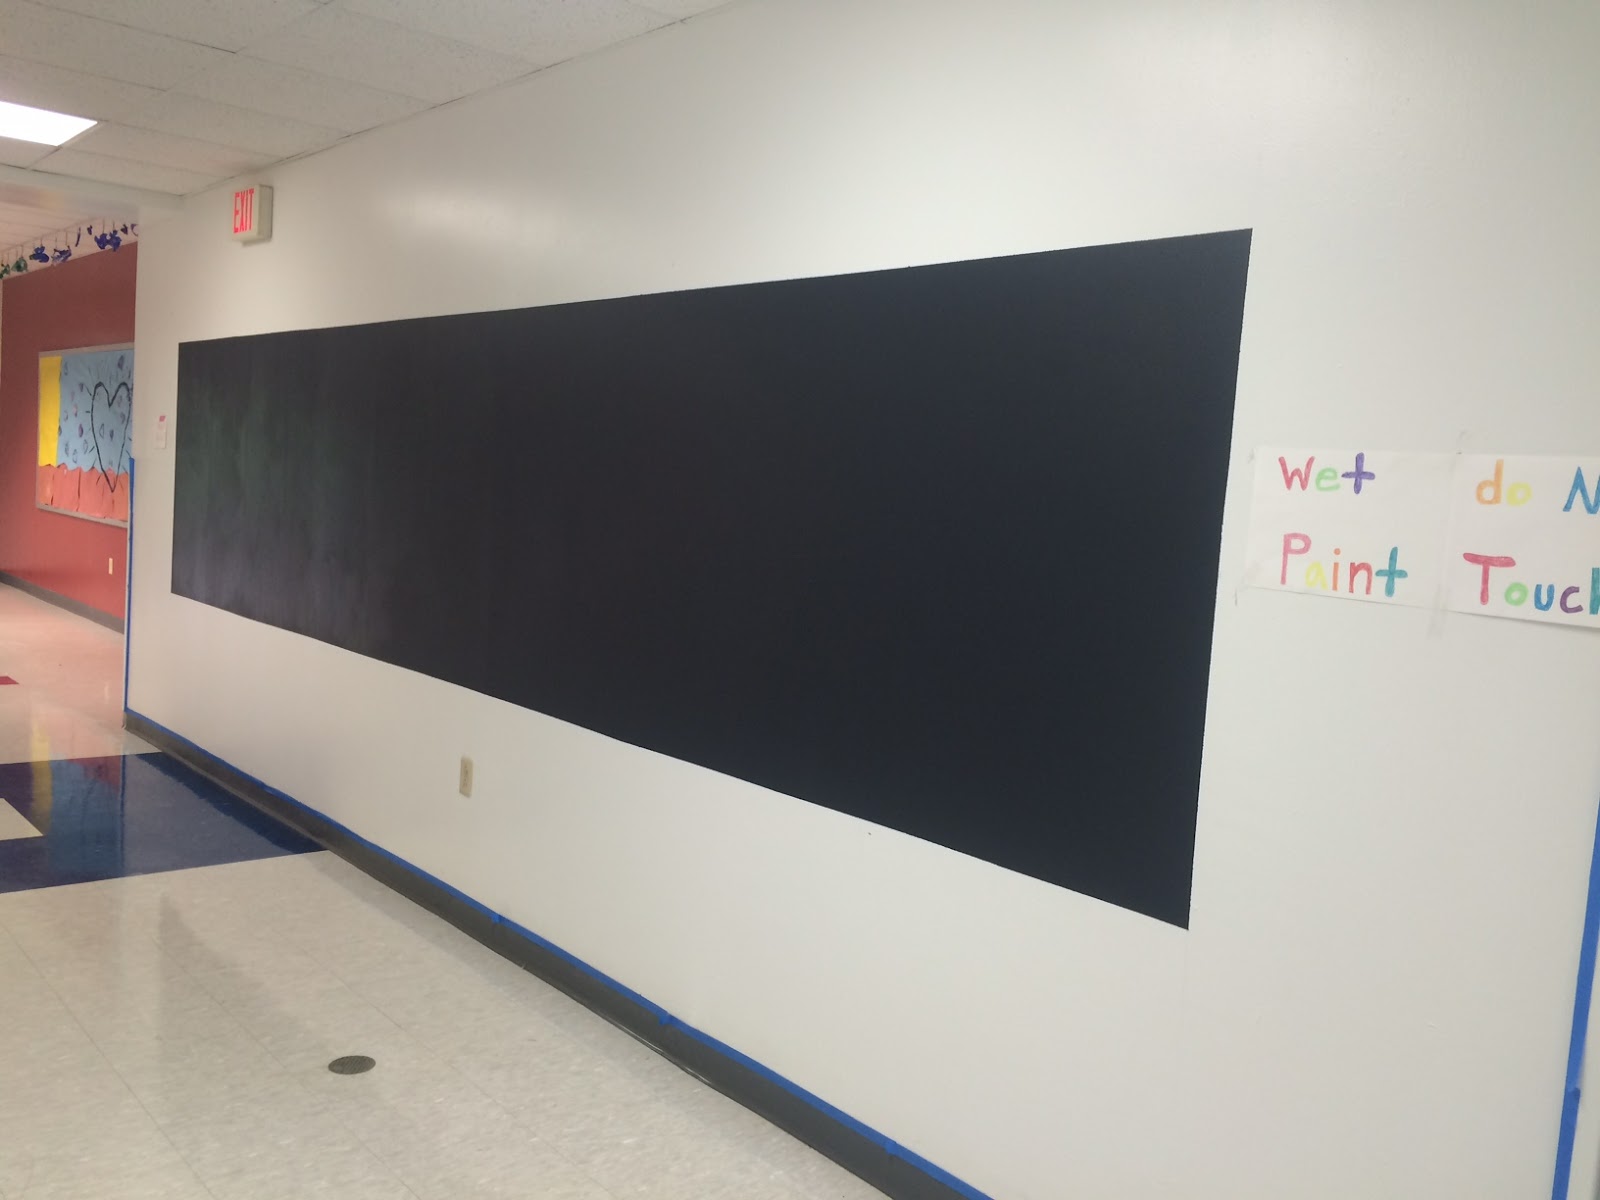
After ending every Create Make Learn session with an IDEATE time, Ms. Jacobson knew she wanted a place for her students to imagine possibilities -so she used chalkboard paint to create an IDEATE board outside her classroom.
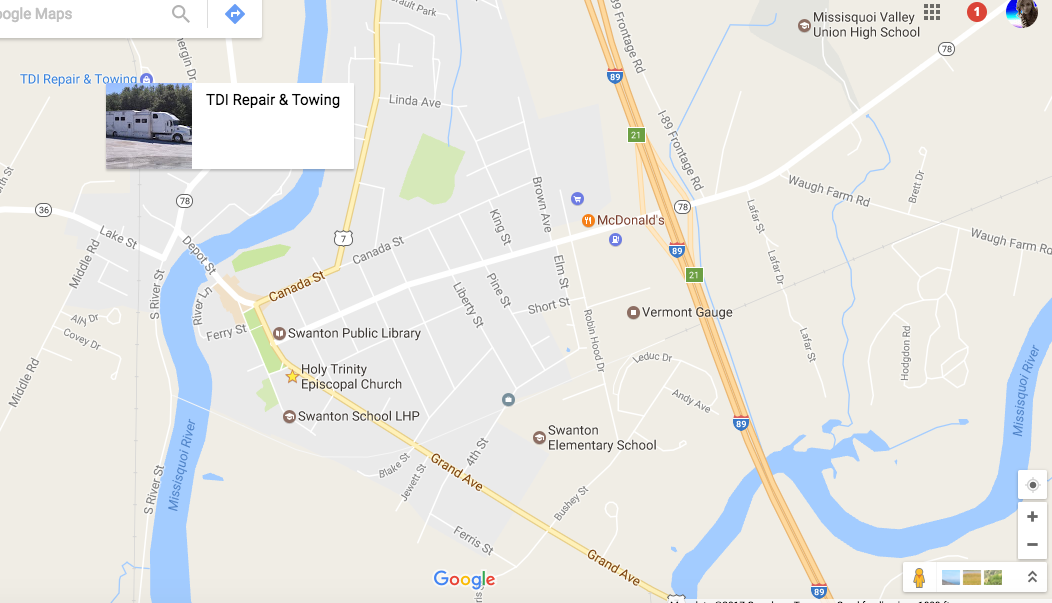
The new IDEATE chalkboard was the perfect place for her 4th grade students to create a bird eye view of the landmarks in their town (Swanton, Vermont). Each group of students selected a landmark and then grabbed their Chromebook to locate it on Google Maps.
They then used their sketchbook to create sketches of their landmark using multiple perspective, including signs, logos, doors, windows, etc. With the help of Ms. Lumbra, the school math specialist, the students observed the number of stories each building had and talked about scale and the height of each landmark.
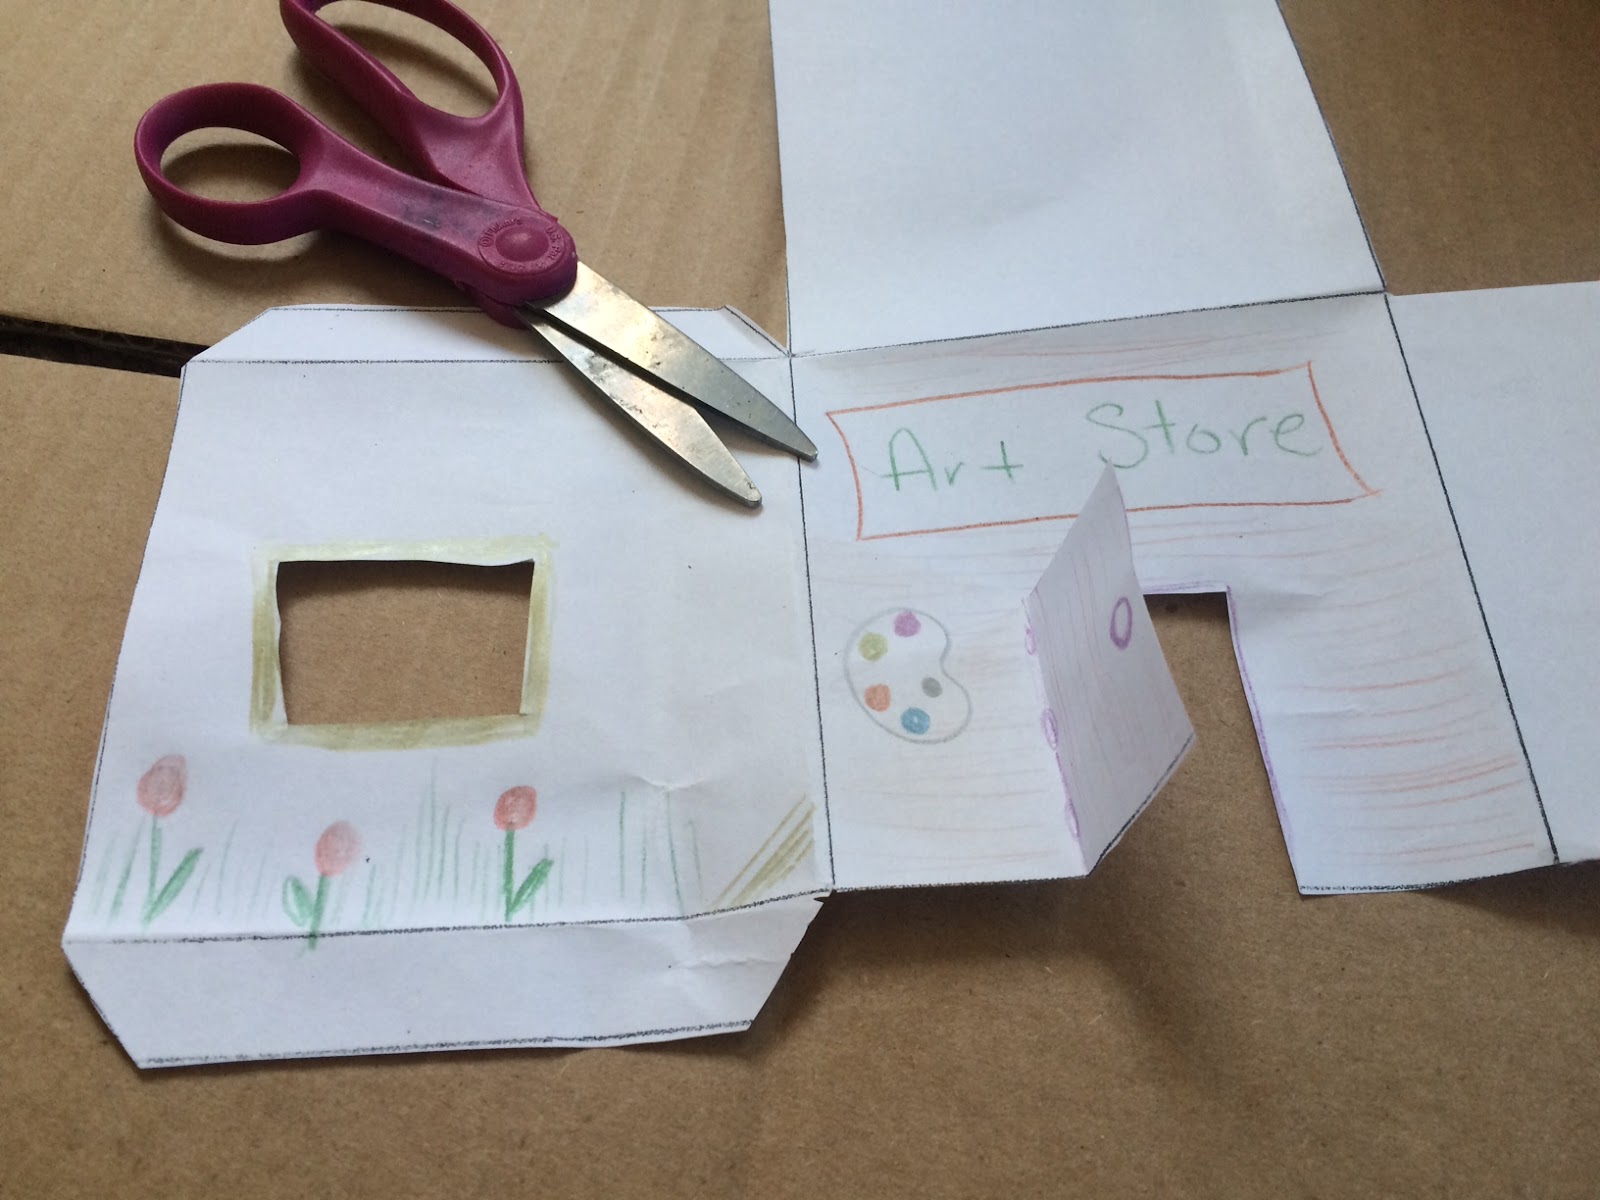
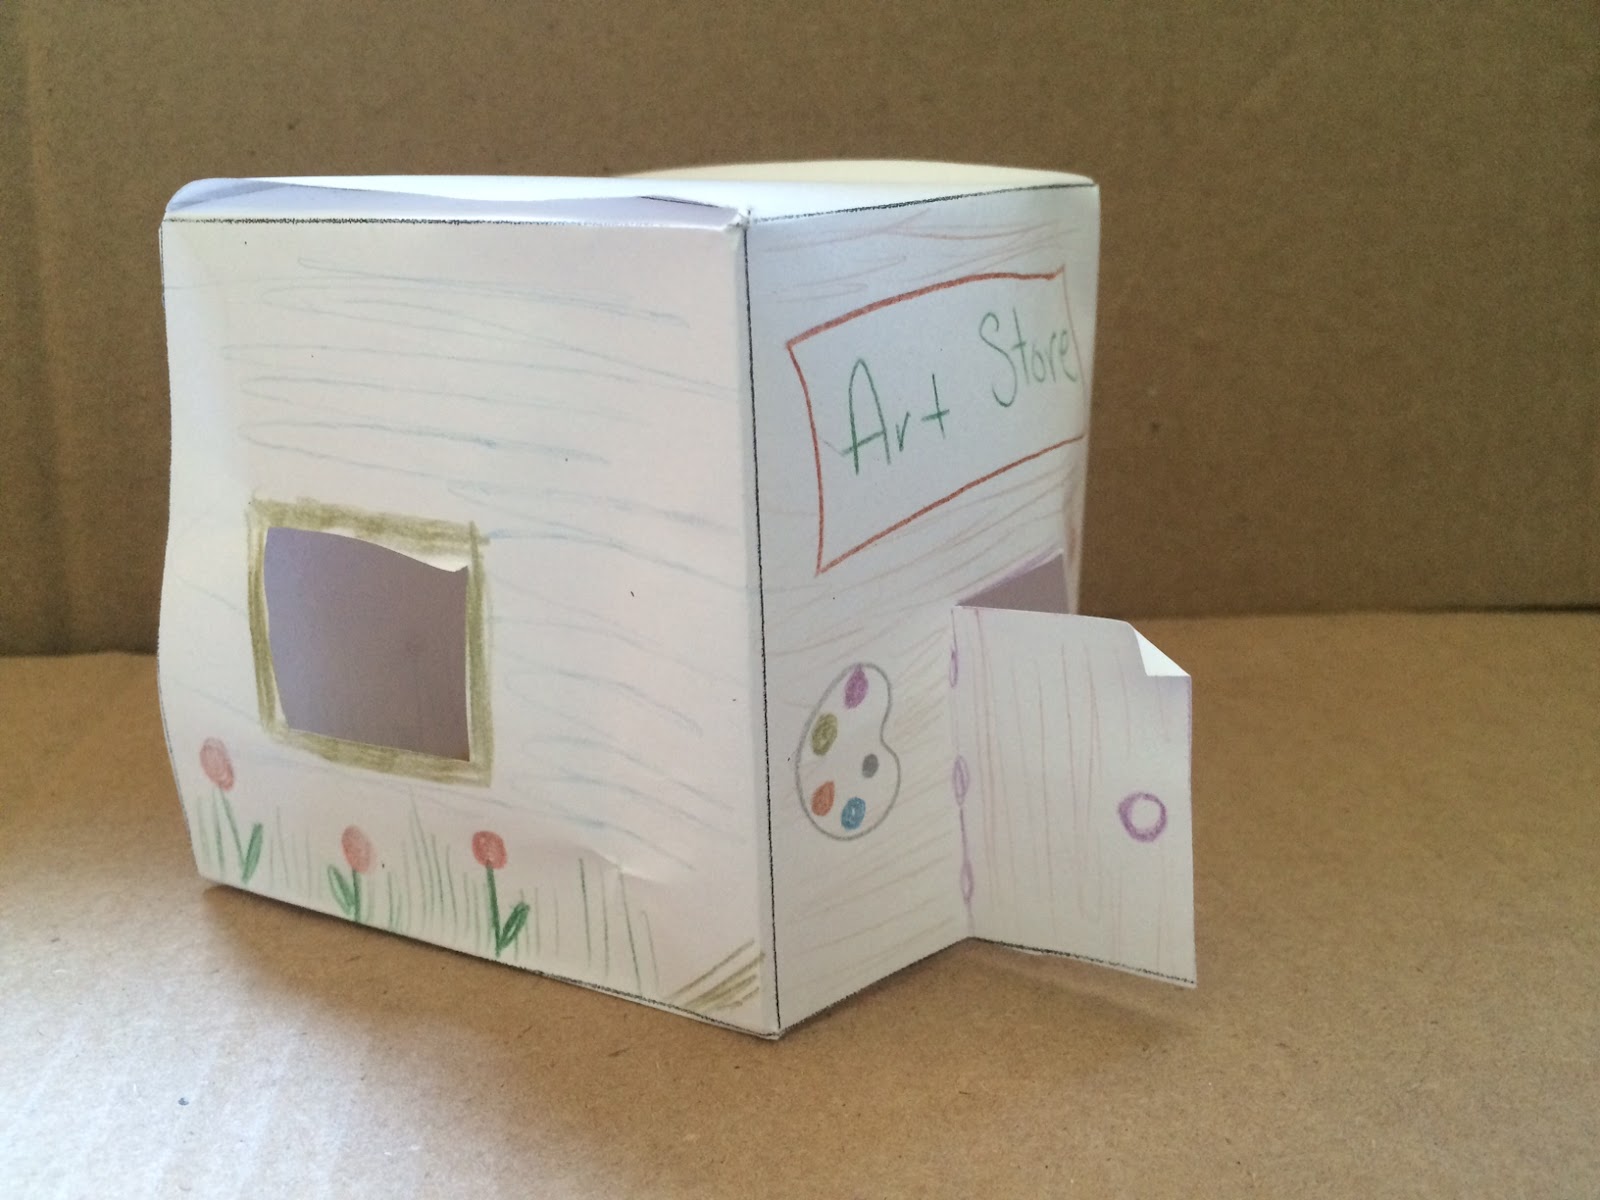
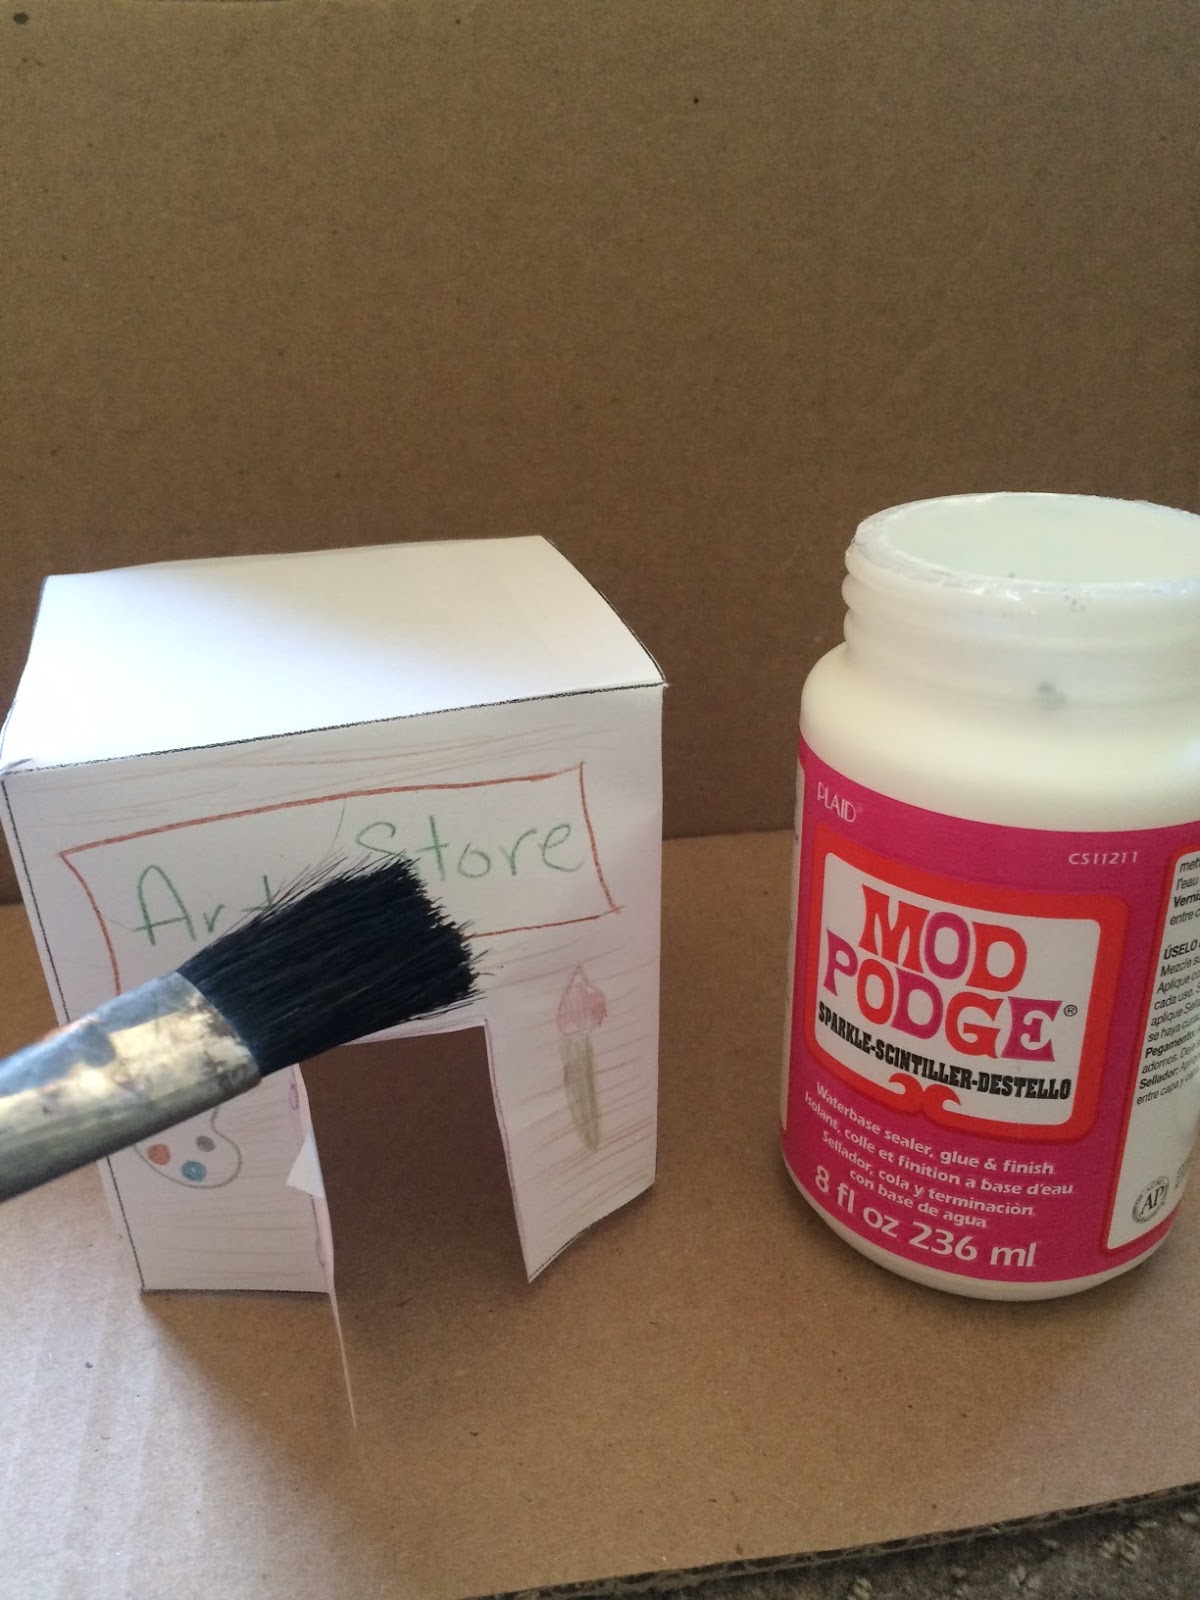
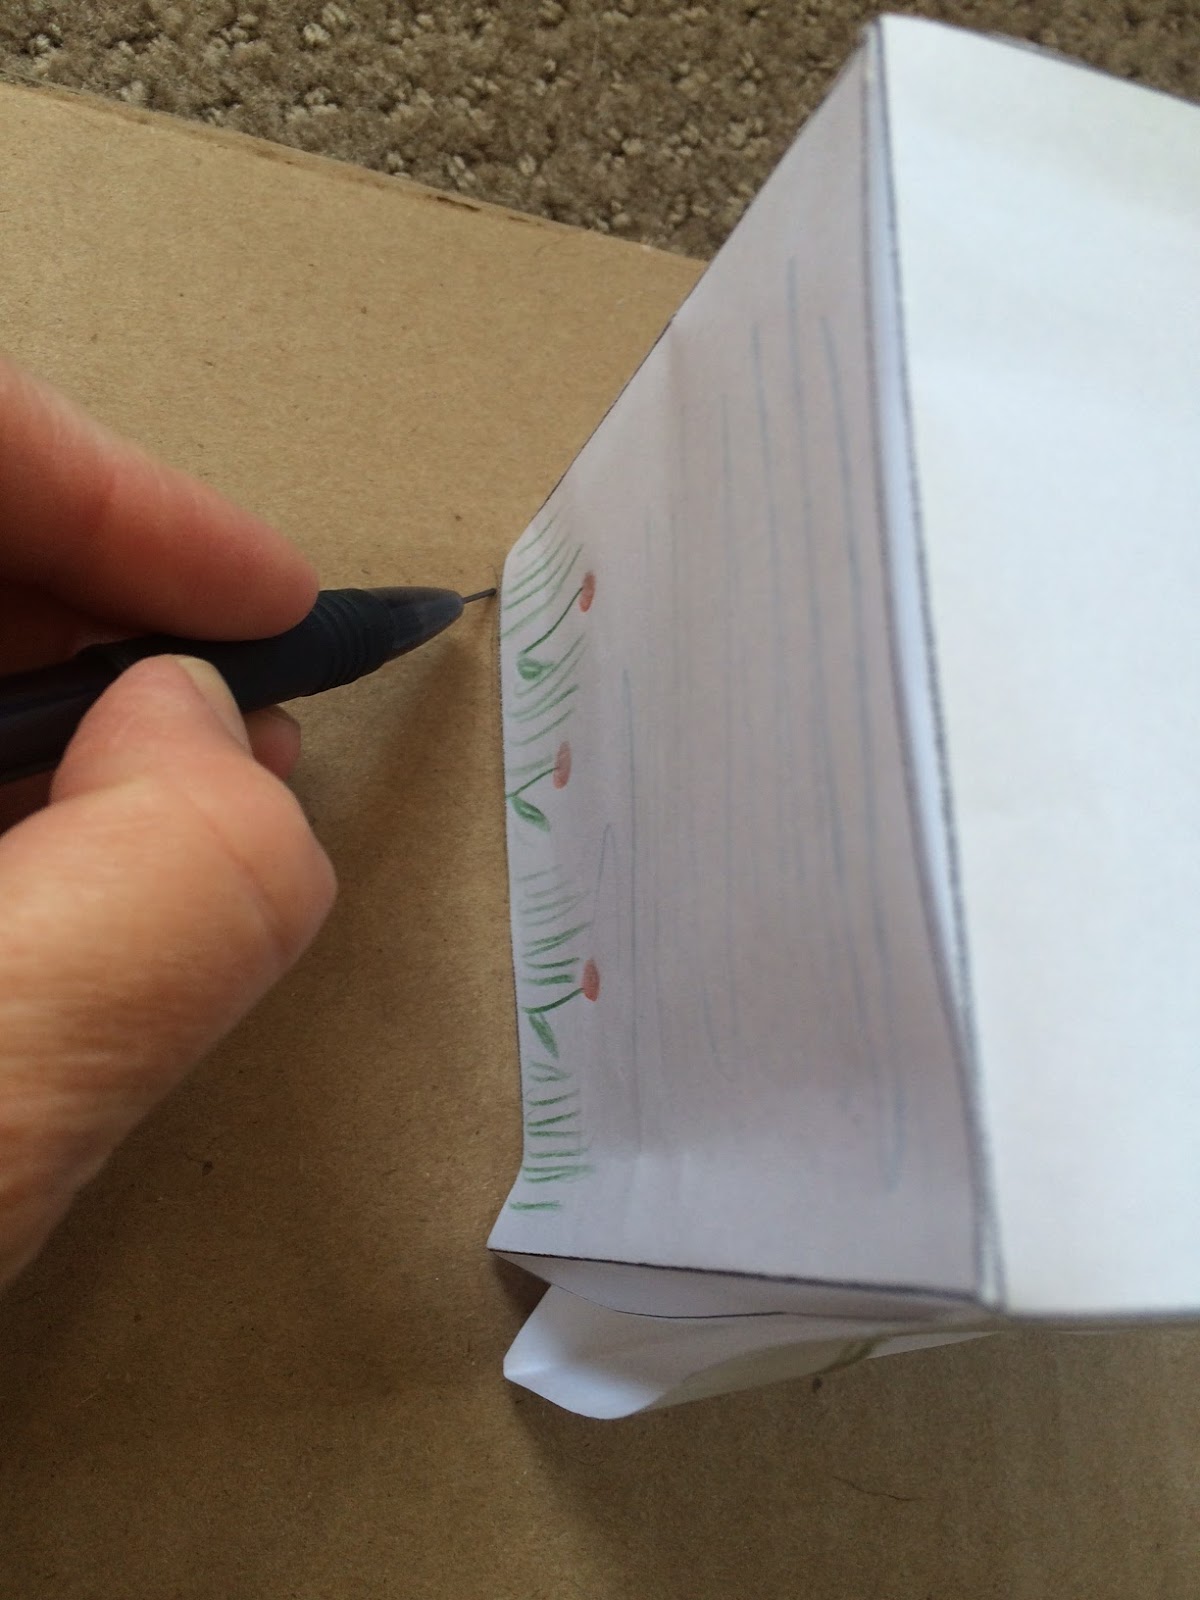
After a demo of how to create paper models and the safe use of an X-acto knife, the students worked on designing, creating, cutting, coloring a model of their landmark. It was important that each model had an empty bottom and that all the coloring and drawing on the building was complete before they added one coat of Mod Podge to strengthen their building.
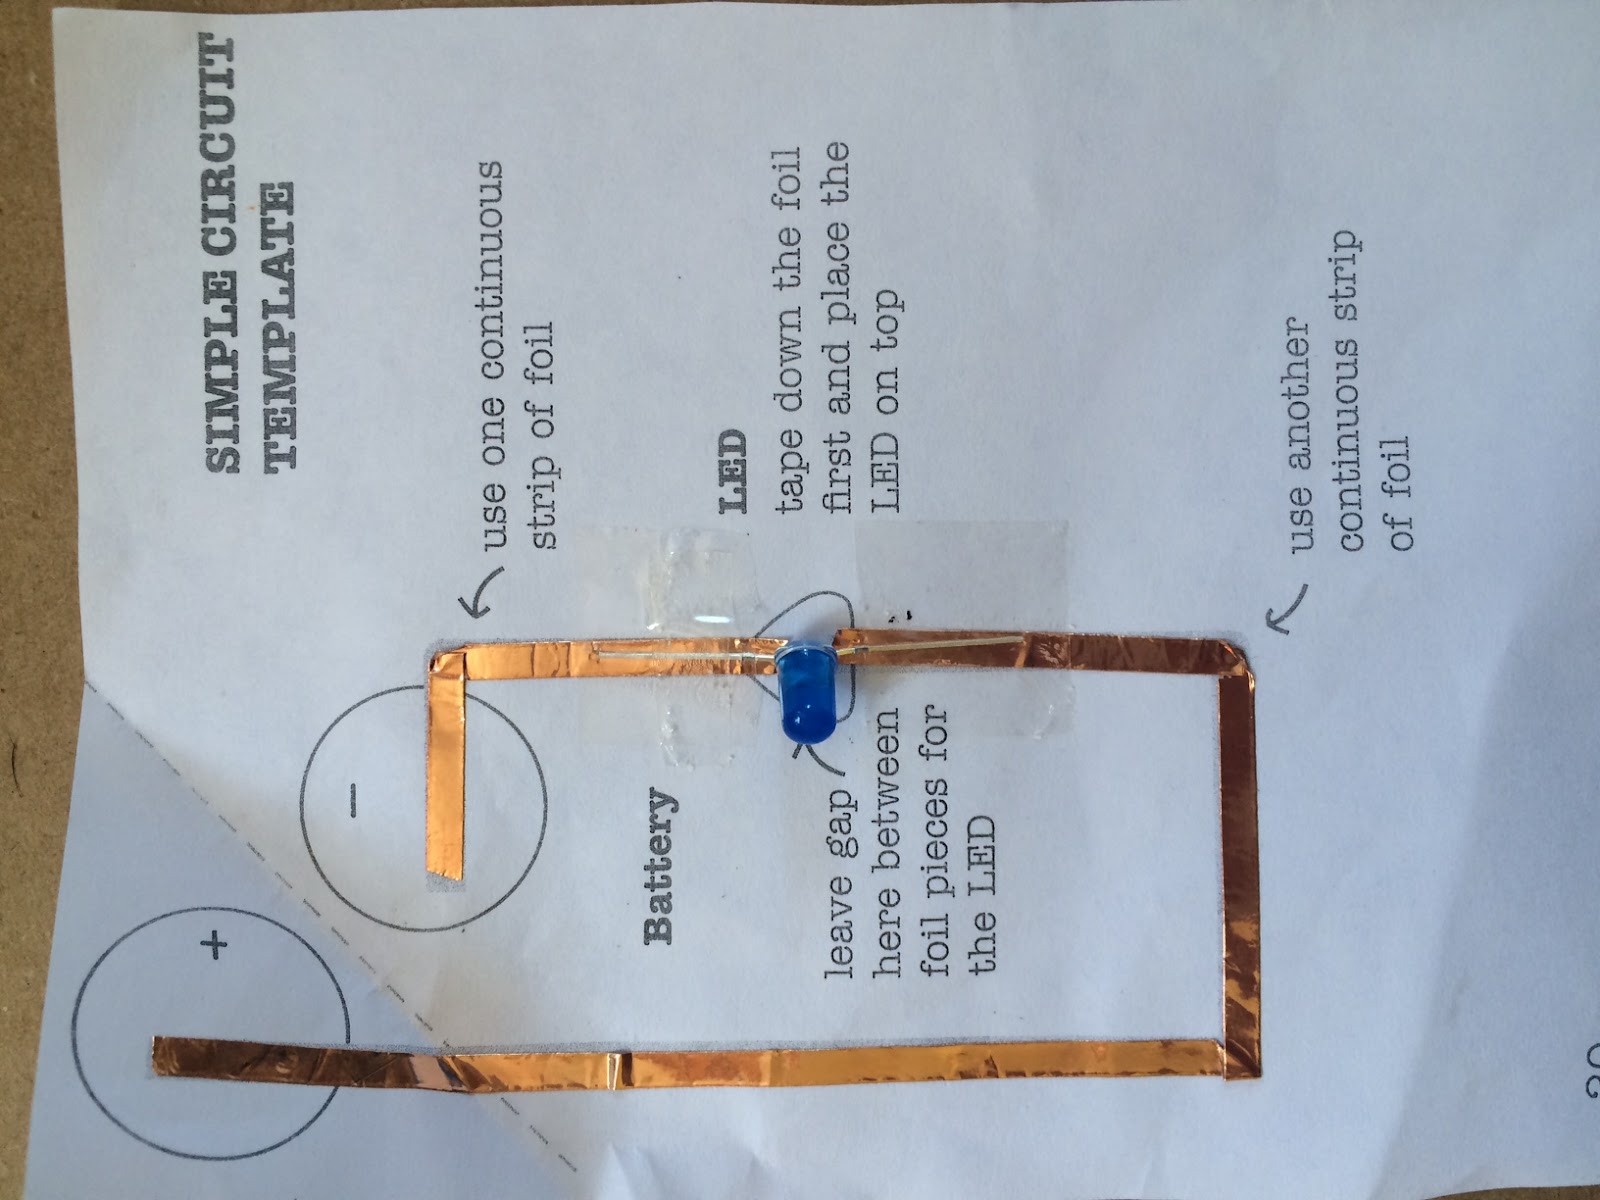
On the 4th day of the project, Ms. Jacobson showed students how to create a simple circuit with LEDs, copper tape, and a battery. The students practiced laying out painter’s tape before they were instructed to trace around the foundation of their landmark building on a piece of cardstock.
Their next step was to pick up a coin cell battery, LED, and some copper tape and use the following guideline to create a paper circuit that fit inside the box they had outlined on their cardstock.
The next step was to bring their newly created circuit and place it on a large scale cardboard outline of the town of Swanton using Hot Glue. Only the circuit (not the their building) was glued to the cardboard map.
As students waited for others to finish their building, they started to draw in additional details on their town map including trees, signs, roads, and even people.
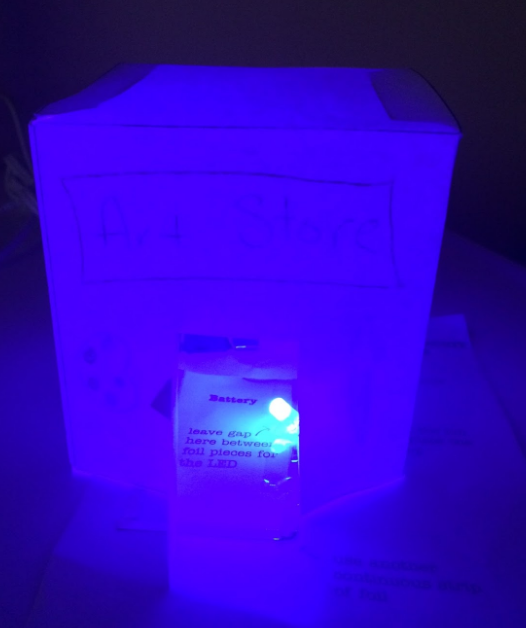
When everyone had finished their landmark and tested their circuit on the big map, it was time for the big finale!
Turn off the lights and WATCH SWANTON GLOW!
Jennifer Jacobson’s thoughtful approach in this maker centered integrated learning aligned to several standards from math, science and visual arts.
Visual Arts: VA:Cr1.1.4a (Fourth Grade) Brainstorm multiple approaches to a creative art or design problem.
Mathematics: 4.OA.1 and 4.OA.2, which is where students begin to understand multiplicative comparison.
Multiplicative comparison is foundational for understanding multiplication as scaling. Students determine, using the words, times as much, the length of one side of a rectangle as compared to its width.
4.MD.3, which is where students build understanding of area and perimeter and then apply their formulas for rectangles in real world and mathematical problems.
Next Generation Science Standards:
4-PS3 Energy
4.Energy
Disciplinary Core Idea:
PS3B: Conservation of Energy and Energy Transfer
PS3D: Energy in Chemical Processes and Everyday Life
Jennifer’s own thoughts about the maker centered learning opportunity she created during Create Make Learn 2016 really captures the importance of the “A” in STEAM!
As a consumer, you would never purchase a chair if you did not find it “aesthetically pleasing”. Of course it needs to be comfortable, ergonomic, and functional but if it is the unattractive color or an itchy material, are you really going to invest money into it?! That is why the “A” in STEAM is so significant.
In my STEAM project, “Swanton Glows” fourth grade students at Swanton Elementary are not necessarily designing and selling a product but they are recreating their hometown, which has a lot of meaning to them, especially coming from a small town in Vermont. A lot of my students find refuge at all of the engaging, free workshops the Swanton Town Library provides, or Friday night pizza at Shaggy’s Pizza Shack. And really at the center of the town is the school, Swanton Elementary.
It is my hope that this cross curricular project ignites an understanding within my students that this project is not just about the architecture or the circuits but really how multifaceted this world can be. ~ Jennifer Jacobson, Art teacher from Swanton Elementary School
An immersive 5 day institute with experts from around the world and practitioners from Vermont schools leading hands on minds on workshops to provide educators with immersive experience and skills building in maker centered learning. There are over 25 workshops to choose from in state of the art maker labs and studios. Lab fees and materials included along with the option for teams to create a Creator/Maker Station to bring back to their school. One or three graduate credit options and on-line housing available.
Strands include
- Strand 1: Join the Maker Movement with STEAM Powered Learning
Option 1 Introductory workshops for K-4 educators
Option 2 Introductory workshops for Gr 5 - 12 educators
- Strand 2: Extend your Maker Skills
For participants with previous experience interested in intermediate and advanced maker workshops
- Strand 1c: Making Media with iPads and Chromebooks
Make movies, podcast, and interactive media projects using (iMovie, WeVideo, Green Screen, eBooks, Podcasting tools and more)
A 2-day introductory workshop sponsored by Champlain Valley Educator Development Center Facilitated by Lucie DeLaBruere
June 20 & 21, 2017
WHERE: Hampton Inn & Conference Center Colchester, VT 05446
Target Audience: Innovative Teachers and Teams considering a Maker Space
You’ve heard about this Maker Space movement, perhaps even visited a maker space, and now as you are thinking about student engagement, project-based learning, coding as a language and personalized learning, you are ready to hear and do more! What do you and your team need to know?
Participants will leave with insights, opportunities, materials and the research on WHY creating a maker space will build capacity in your students and strength in your instruction. Lucie will share design ideas and give you/your team an opportunity to play with materials to see the connections.
Maker Spaces can be used to support:
· Instructional shifts
· Proficiency based learning
· Standards of Practice
· Differentiated Learning
· Creative Thinking and Student Engagement
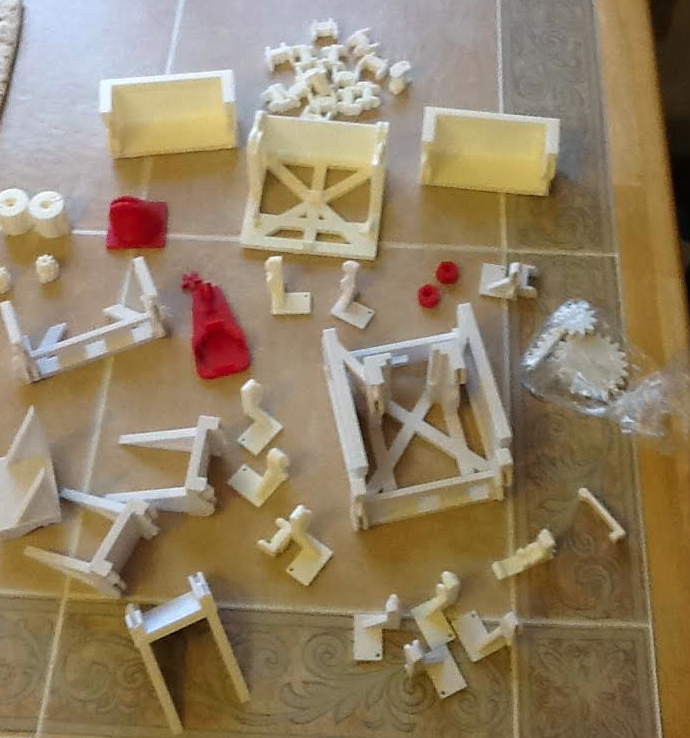
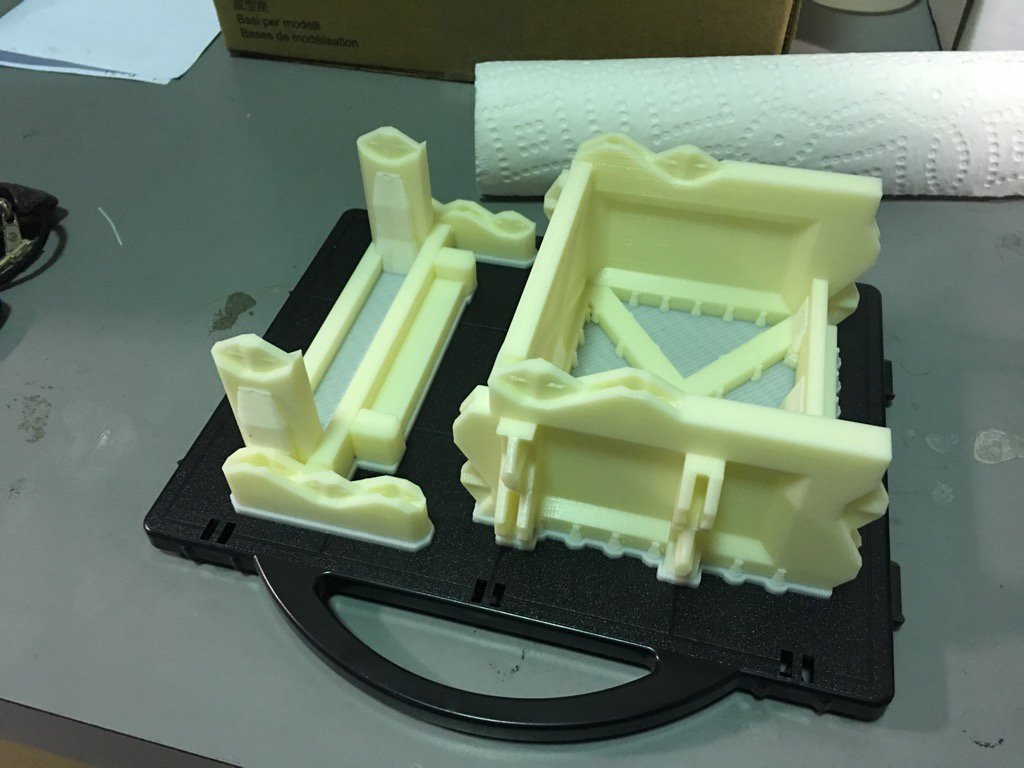
Collaborative 3D printer Build - Vermont Fest 2016
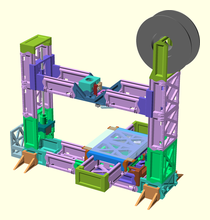
It started with a conversation between Rodney Batschelet and Lucie deLaBruere about how to engage educators around the topic of 3D printing at our annual educational technology conference - VermontFest 2016. After Lucie suggested organizing a communal collaborative 3D printer build in the Innovation Lounge, Rodney quickly added "What if we build a 3D printer from 3D printed parts?"
There was no turning back! The more challenges we experienced, the more determined we became to make this happen.
we moved forward. Rodney started organizing the parts to be printed while Lucie ordered the hardware.
Our goal were to
Engage the educational community into the spirit of making collaboratively
Create conversation amongst makers and educators about 3D printing technology
Give participants a feel of community and maker empowerment
Provide participants with some new skills - building a 3D printer is like a mini-course in mechanical engineer.
HAVE FUN building and documenting our process
End up with an artifact that can be shared by collaborators for exploration or exhibit purposes
The build was organized by Rodney Batschelet and Lucie deLaBruere to be kicked off at the Vita-Learn Educational Technology Conference (VermontFest 2016)
Our first obstacle was when we realized that printing the parts would take over 200 hours and we didn't have 200 hours left before the conference.
Rodney started printing like a madman using his Affinia 3D printer (right) while Lucie quickly learned the workflow to using the Stratsys UPrint at the Generator ~Burlington's makerspace (left).
We also reached out to the Maker-Ed Community to see who else might want to join us as collaborators in this project. Thanks to the collaborative maker spirit of our network of educators and makers, printers throughout the state started churning out parts for the SNAPPY 3D printer.
The Center for Technology at Essex and Essex High School, North Country Country Career Center, Bellows Free Academy- St. Albans, and Rutland High School quickly joined the project using their large scale 3D printers to print some of the larger parts.
Community Maker, Jon Bondy, joined us printing the 10 rails, and the Generator, Burlington's community maker space offered its use of its Stratsys uPrint to print the xy and xz joiner parts and spool holder.
Andrew Mercer, educational rep for AET Labs, picked up the last 3 parts to be printed and sent them overnight to the conference site on the eve of the printer build.
3D printed parts traveled from various corners of Vermont to the Killington Grand Hotel for the Communal 3D build which kicked off November 3-4 at VermontFest 2016. Click on the various pins in this maps to see the parts that were printed and where they came from.
On Thursday morning, Lucie deLaBruere and Rodney Batschelet kicked off the build with a Special Topic Talk in the Innovation Lounge while Lisa Cacciatore and Chris Cole from Addison Rutland Supervisory Union dove right in with Step 1 of the Build Instructions
Over the next few days conference attendees joined Rodney Batchelet and Chris Cole adding pieces, removing support materials, and moving the project along.
At one point it became obvious that we were missing a few parts and there were a few extra copies of other parts. Patricia Aigner and Jack Adams quickly stepped up with a plan for printing the missing pieces on Rutland High School's 3D printer while Rodney fired up his Affinia, making it possible for the build to continue.
By the end of Day 1 it was starting to look like a 3D printer.
Steve Liggett from Waits River Valley School joined the lead team on Day 2 as the build continued reaching a point where all 3D printed parts were assembled. Here is a short video of the Snappy 3D printer build so far!
As we reached the end of Day 2, it was obvious that the build would need extra time to get the electronics in place.
The team from Addison Rutland Supervisory Union carefully packed up the printer as we discussed next steps, including where the last few steps would be completed. Stay tuned for more info about next steps of this fun collaborative build, including where the printer will travel to next for students and educators around Vermont to enjoy. Follow next steps here.
Thank you to all the Collaborators on this fun Communal 3D printer build - including
everyone who helped print parts
educators who visited the maker lounge and also helped with various stages of the build
maker/educators who have offered to continue the build including fine tune the printer’s functionality and explore the printer’s capability, as well reflect on the process
Media Makers willing to create media documentation around the project and share it
And a special THANK YOU to some key folks who believed in this project and offered so much support.
(Click on Video Above to Listen to part of the Interactive Garden)
Flowers, Mums and Pumpkins that talk
Squash and Gourds that play a fun beat
A Ticklish Skeleton with an evil laugh
A Witches brew that makes creepy spooky sounds when stirred
A Chicken that clucks if you try to steal her eggs
A noisy pig covered in conductive mud
A cow that moos when you touch its cowbell
along with an ONOMATOPOEIA Garden and more...
were a BIG HIT at the 2016 Champlain Mini Maker Faire
not only because it was a FUN NOISY INTERACTIVE EXHIBIT
but because it was all CREATED and CODED by Vermont students Grades 5-8.
By the next time EMMA visited Mallets Bay school, a committee of 10 students had designed the most amazing garden exhibit and had already started to code it. After a mini lesson with Lucie who clarified a few coding concepts and introduced 'loops' the students design started to come to life. It was amazing to see the constructivist theories of Piaget and Seymour Papert in play where student questions naturally lead them to deeper and deeper understanding of how CODE works.
Also at play were the principles of Project Based Learning. The students were driven by their goal to have the garden ready for their school Open House in just a few days before the Champlain Mini Maker Faire at Shelburne Farms where their Garden would be seen and experienced with hundreds community members. Flexible learning was evident as Ms. Boucher and Ms. Ellingson flipped lesson times around to allow the students to meet their goal and gave students choice about how they met some of their learning goals during their daily routines.
Finally on the day of the Open House, the students took out the wire cutters and worked collaboratively to connect their props to the Makey Makey as they tested and tweeked their code. Transferrable Skills such as Problem Solving, Self Direction, and Integrated Thinking were evident throughout the morning as the interactive display came to life. Evidence of Effective Communication started with properly commented code and grew as they explained the phenomena of circuits and code to their parents and school community.
Bringing the exhibit out of their school to the Maker Faire not only gave the students a chance to further grow their communication skills, but it also brought citizenship into the mix. They helped visitors from young children to senior citizen experience grow confidence with circuits and code as they explained how their interactive garden worked.
On the second day of the Champlain Mini Maker Faire, middle school students from St. Albans City School and North Country Junior High School and the Northeast Kingdom brought their contribution to the Interactive Garden.
St. Albans City School, STEM teacher and tech integrator, Erica Bertucci, used Open House as a target to engage some students from last year's coding class (CODESMYTH) back into the coding scene. The students spelled out the word ONOMATOPOEIA with a variety of conductive material and used a Makey Makey to add sound to it, to flowers, and to an interactive fishing game.
Building on previous understanding gained from last year's coding class by introducing new elements such as the Makey Makey provided a connected learning experience that prepared these students to communicate that knowledge to visitors of the Maker Faire. Their section of the exhibit lent itself to explaining how circuits and code were used to make flowers talk, chickens cluck, and skeleton's laugh. It allowed visitors to get a look under the hood and walk away with a better understanding of circuits and code.
The clucking chicken and singing mums and musical squash were contributions of a group of middle school girls who had carried their design down all the way from the Northeast Kingdom. The girls had been introduced to the Makey Makey and Coding through TechSavvy Girls Summer Camp and were hungry for more. They are on a mission -- to increase this type of learning in their school. They will be working with Lucie deLaBruere and their teachers on a project that will bring EMMA to their school so that more students can experience this type of creating, making, and STEM/STEAM type learning. Project partners, Google, University of Vermont, and Tarrant Institute are excited about the opportunity to provide rural schools support in establishing their own spaces for students and community to CREATE and MAKE together.
With support from educators and parents and few visits from Lucie and EMMA, these middle school students were totally self directed and turned a hunk of found debris into a beautiful conductive railing for their fun noisy chicken, cow, pig, eggs, and mums that captured the attention of both YOUNG and SENIOR visitors at the Maker Faire. With tools in hand they were quickly able to make minor repairs needed to keep the display working throughout the day. They are returning home proud of their success and ready to lead a movement to create a makerspace for students in their community.
The reaction of the community was NOTHING SHORT OF AMAZING TO WATCH!
Every time I heard a comment like
“My kids go to this school or that school, are they getting this type of learning opportunity? Or Wow I wish I could have learned this way!”
and Every time I was able to respond
"Yes... MS/MR ____ at that school is doing fantastic things with STEM/STEAM or Creating and Making"
I knew that we were doing more than providing these students with a learning opportunity. I knew that we were sending out a message to our communities that amazing learning is happening in our schools.
And I can't say enough about the the Create Make Learn Institute tribe of educators who helped deliver this message to our community via the Champlain Mini Maker Faire. Each of us increased our own learning as we supported this project and are making plans to use our new knowledge to spread the experience of creating and making to others. Caty Wolfe (Center for Technology at Essex) challenged herself to learn new coding routines that allowed a single pot of flowers to generate multiple sounds as she and her children prepare to work with students at Fletcher School. Several students from Integrated Arts Academy who visited the exhibit shared how Ms. Walters had introduced them to both Scratch and Makey Makey, therefore they understood how the garden worked.
THANK YOU Kate Ellingson, Aimee Boucher, Erica Bertucci, Caty Wolfe, and Shannon Walters!
If you are thinking of attending Create Make Learn Summer Institute this summer.. here's a tip you can't miss.
If you register by April 15 there will be a $100 Bonus Toolkit waiting for you when they arrive on August 1 The content of the toolkit depends on what strand you register for


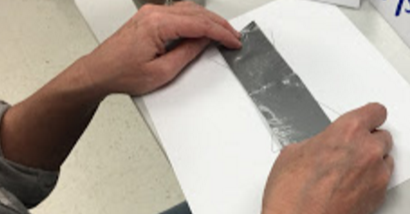 We started the day with this warm up activity to help students and teachers get their maker mindset in gear -- a design challenge to create an illuminated fashion accessory made with duct tape.