CREATE VECTOR GRAPHICS
Graphics are used everywhere - from logos and icons to photographs and illustrations. Understanding the difference between vector and raster will help students choose the right format for their needs. As more tools for creating and making (such as laser cutters, electronic cutters, 3D printers, etc) become part of our educational. landscape, there is a need for learners to understand the difference between vector graphics and raster graphics.
What are Vector Graphics?
Vector graphics are made up of lines and curves defined by mathematical formulas rather than pixels - Common vector graphic formats include SVG, EPS, AI, PDF
.Vector Graphics are resolution independent; they can scale to any size without losing quality. They have a very small file size and load quickly on websites. They contain mathematical data that can be used to fabricate physical objects with laser cutters, electronic cutting machines, CNC machines, and 3D printer.
What are Raster Graphic?
Raster graphics are made up of a grid of pixels. Common raster formats include JPEG, PNG, GIF. They are very common and great for photo-realistic images. You can engrave raster images, but raster files cannot be cut.
Here is an example of raster and vector graphics
Professional software used to create Vector Graphics, such as Adobe Illustrator and Corel Draw, is often not availableto K12 students and teachers who want to create their own designs with maker tools.
Most schools needs design tools that
1) are affordable
2) work on Chromebooks
3) have a signed student data privacy agreement
Here are some options that can work for learners who want to design vector graphics that can be used in projects that use electronic cutters (i.e. Cricut or Silhouette), laser cutters, 3D printers, or large format printers.
Option 1: Search for and download an SVG graphic from the web.
Download an SVG file from web collection of vector graphic. My favorite is The Noun Project. If you create a login you can download SVG files and use them with attribution.
They have a paid option with teacher discounts for those who would like to use the files without attribution.
Option 2: Use an SVG converstion site to convert raster graphics into Vector Graphics.
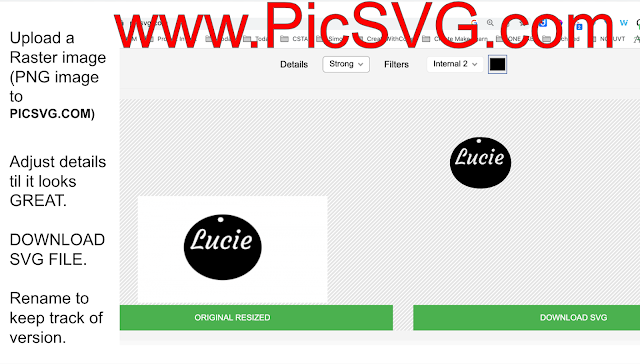
Design or find a graphic file using one of many common tools that can save as a PNG or JPG. Upload it to a site such as PICSVG.org and convert the file to an SVG.
Option 3: Use Google Slides or Google Draw to create a SIMPLE SVG graphic.
UseWord Art and Shapes to create a simple SVG Graphic. (Unfortunately you cannot merge overlapping shapes, but there is a lot you can create with simple shapes and many fonts you can use with Word Art)
Use the instructions in Slides 19 -33 to complete Challenge 1 below
Combine Options 1, 2, 3 above
Use Slides 34 - 61 to complete Challenge 2 Below.
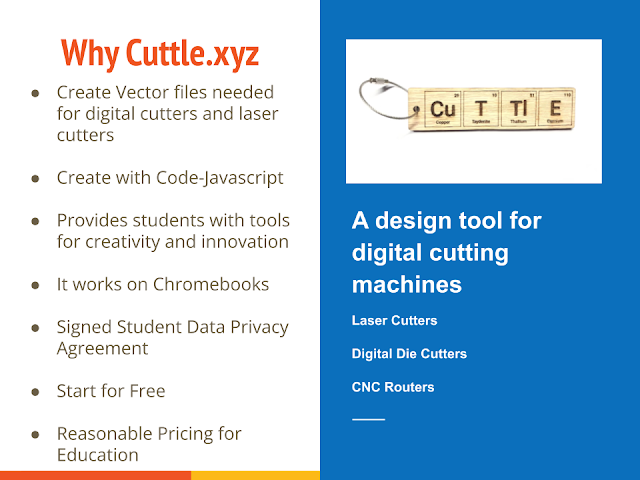
Option 4: Use a cloud based vector design program like Cuttle.xyz
Try creating an artifact using Cuttle.xyz using parts of this slide deck
Play with some Cuttle Templates such as this SnowFlake Name Template
Option 5: Use an AI Text to SVG generator
AI Text to SVG generators are starting to evolve.
GlowForge Subscription model has one built in.
Here are a couple I've tried (see me - if you want to try it during my session)
https://www.kittl.com/feature/

.png)


