

Welcome to our second annual March is for Making series,where we strive to share 30 posts in 30 days that are filled with inspiration from our #makered community.
In our third post we are inspired by Faith Horton, as she grows her confidence as a maker educator with a string art project that will make math come to life for her students. While I watched Faith's learning journey as a student in my Maker Centered Learning Class at Marlboro College, her Cambridge Elementary School students benefitted from watching their teacher exhibit a maker mindset (and growth mindset) as she worked on these two project.

"I learned a lot throughout this making journey. I have always wanted to be more comfortable with woodworking and I enjoyed the challenge to create something for myself (although I might give it to my in-laws for Christmas) instead of just creating school projects. I did much of the project after school hours or on the weekend but many students watched the progress throughout the weeks because I kept my materials at school. They, most importantly, saw me as a learner and maker. They made constant suggestions for improvement which was greatly appreciated and often followed. Many students wanted to join in on the fun and create their own. I need to gather more pieces of wood over winter break so we can get started! In the end, I was surprised that this project is perfectly accessible for all grades 1-6!"
Faith's journey through this project is evidence that learning is about the process as much as it is about the product and I want to THANK Faith for her willingness to share her journey with us, and with her students. Here are a few excerpts from that journey. You can see the rest of the journey on her well documented project including the the math, science, and ISTE standards it’s aligned to.

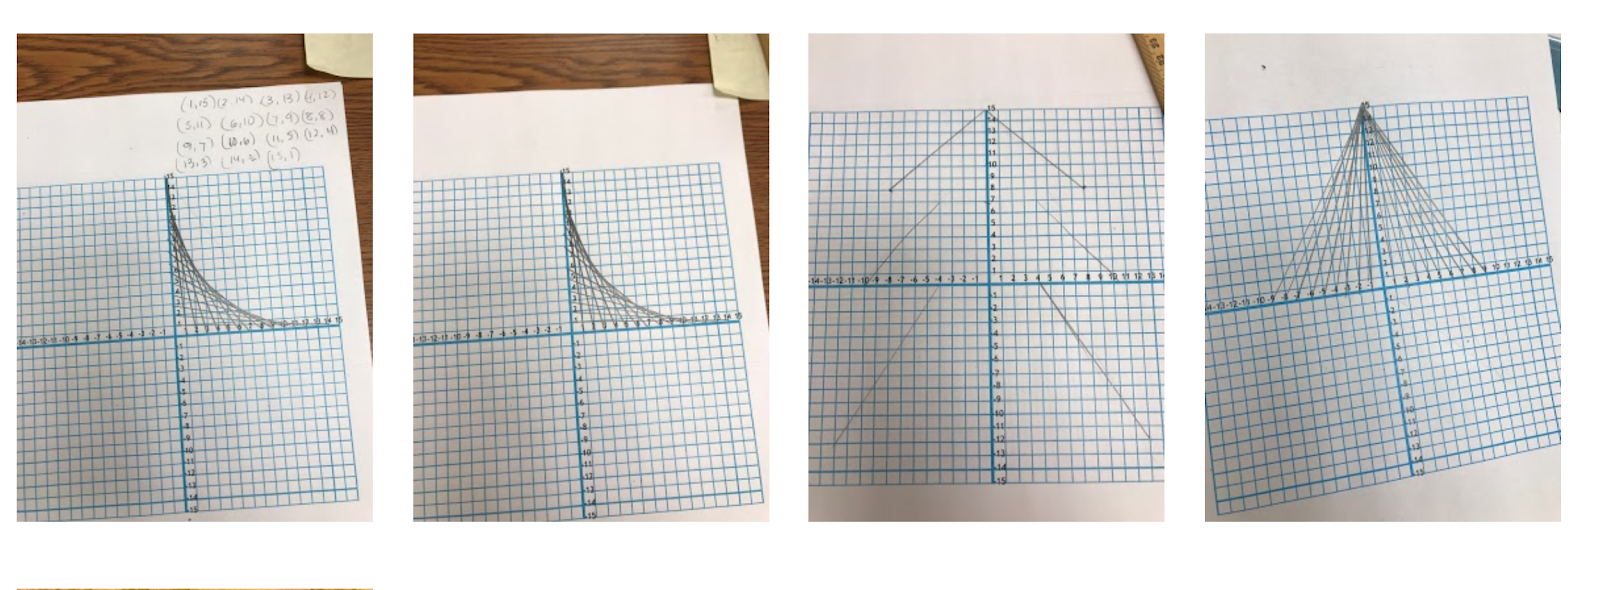
November 19: Today I tried to map out my Christmas Tree using the 4 quadrants and by plotting points. I am so confused and wondering if this is going to work. The template I was using seems to be for fabric or embroidery where strings are hidden behind. I know need to mathematically think of different way to make this design. ¨Rise and run¨, quadratic equations and middle school math memories are popping up in my dreams. Suppressed memories are more powerful than you think! Back to the drawing board tomorrow. I am thinking that I should make a prototype with corkboard before I drill any holes.

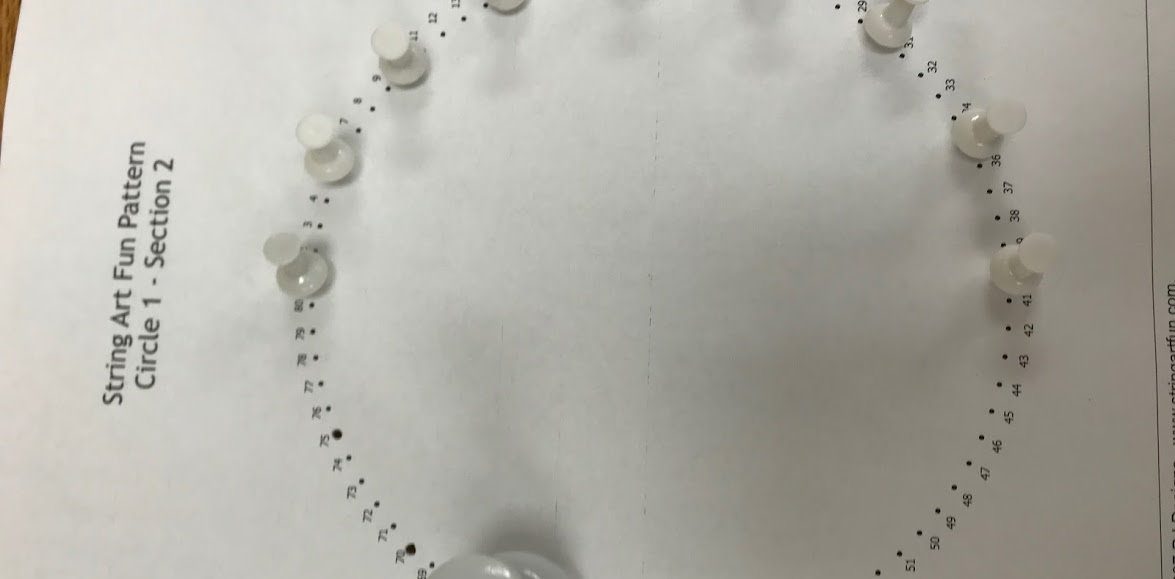
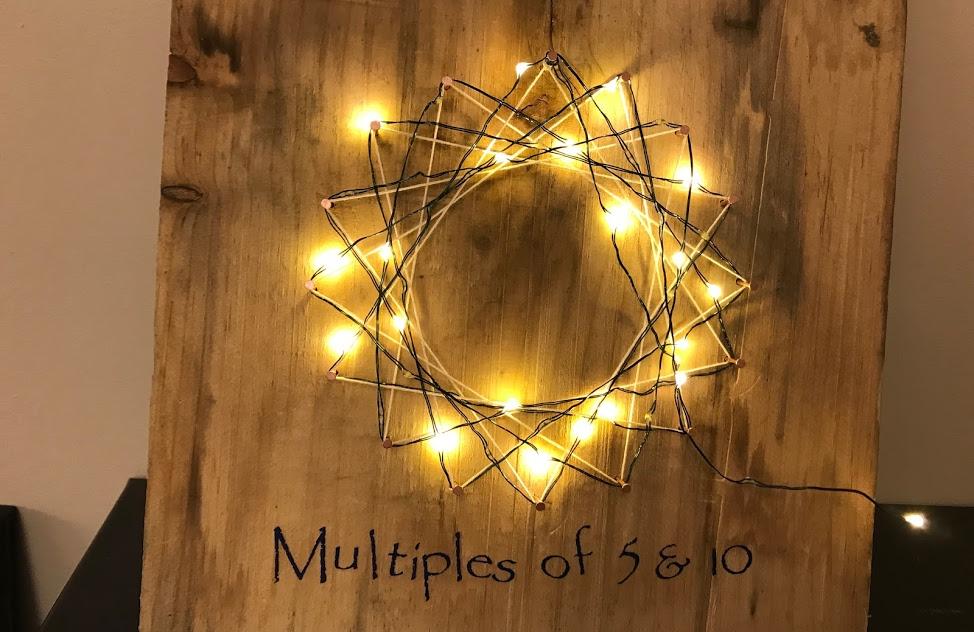
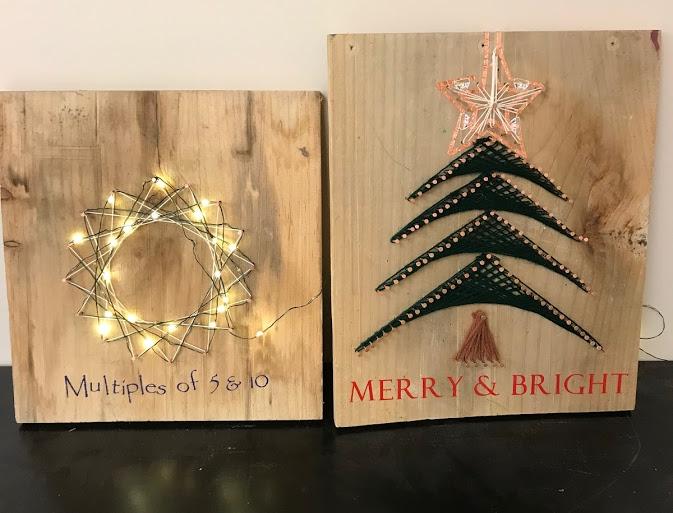
November 24: My first prototype will be a design I will use with 3rd or 4th grade students. I found a neat template for introducing multiples to students using string art. The design a circle with 80 points. Students can make a list of multiples and then use the circle to create a new design. The circle I started below will show a star-like pattern using the multiples of 5, and 10. I great connection to math class for 3/4 graders!
November 27: ...I successfully made the design of the multiples of 5 and 10s. It was so rewarding to thread the string and see a final product after such planning.
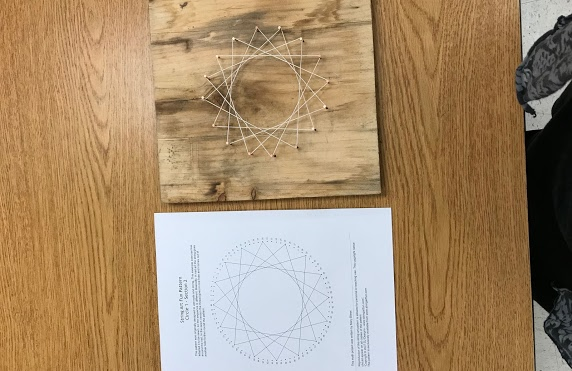
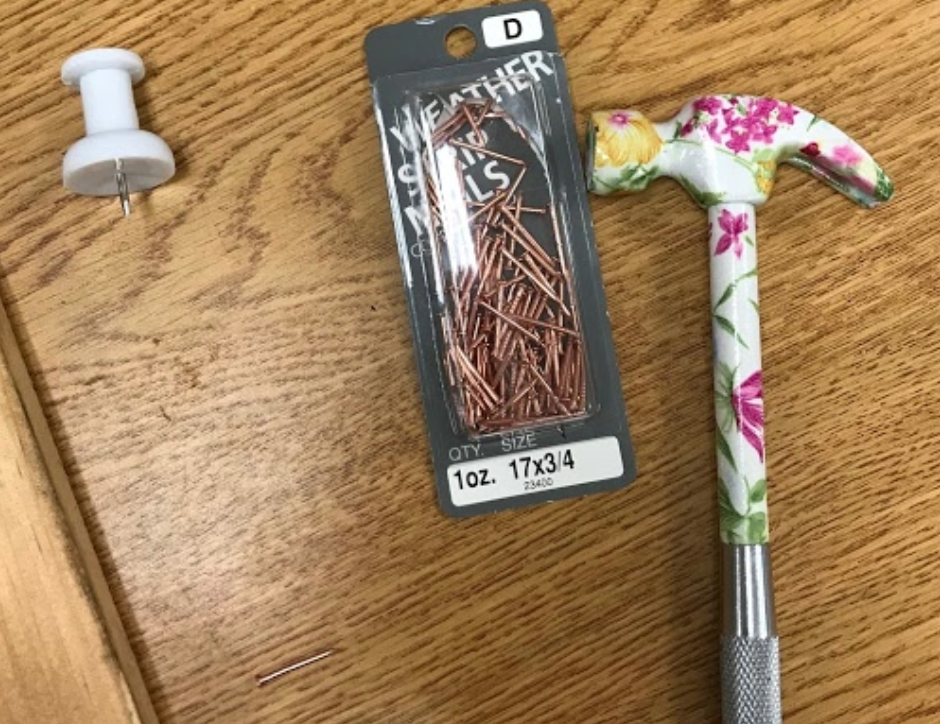
I am delighted the jumbo push pin and nails worked. I even hammered the nails with my dainty floral hammer. I am realizing that this project is completely safe and accessible for younger students. Yahoo! ...
December 1: Today I found EL wire at the hardware store and decided to thread it through my student prototype example. It really added some light to the project. More and more students are asking about multiples and how I creates the star shape.
Yesterday our Cricut came! Yahoo! It was much easier to use than I anticipated. I quickly got the hang of it and decided to add a jazzy title to finish the prototype. I also wanted to add the title so that students and teachers around me don’t just think I am hammering away creating meaningless projects but something mathematical!
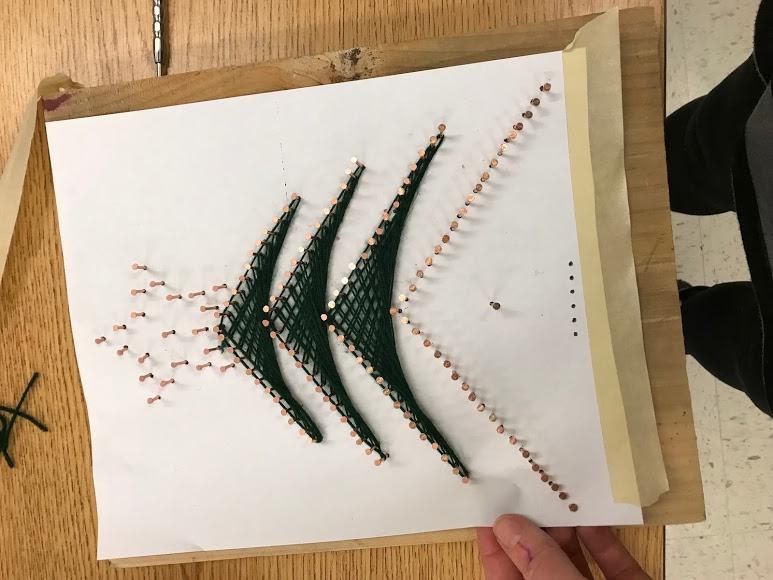
December 3: ….. Even though I didn't design the tree with my own mathematical plotting, all the leg work I did plotting parabola curves was helpful. It was much easier to control the string and the pattern with the prior knowledge. I did learn a new string tying technique after the first curve because the first tie unraveled toward the end. By the third curve, I finally got string tension and learned how to properly tie off the string!
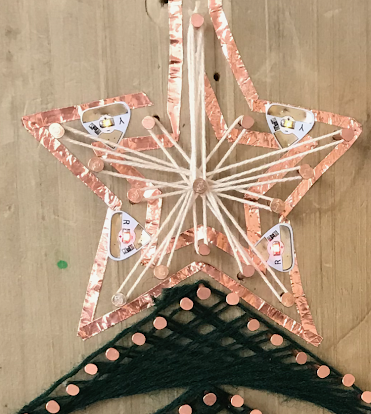
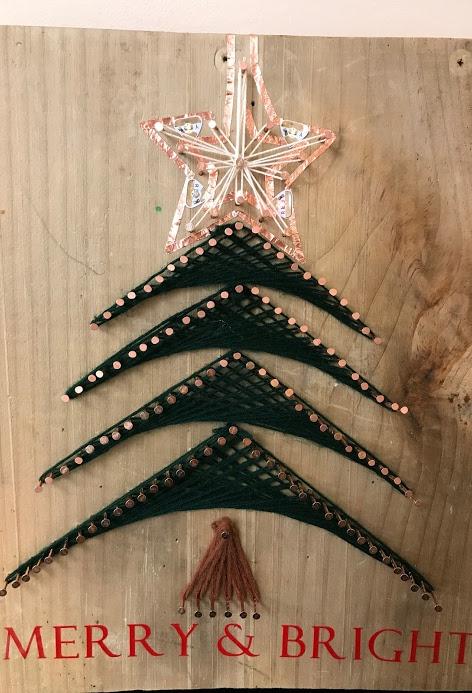
December 6: We have light! I guess I just needed to sleep on it. The copper tape was a perfect match to the color of the nails so I went with the copper tape and found LED stickers from Chibitronics. I made a parallel circuit out of the tape around the nails. I then added the stickers to four corners of the star shape. It was hard to get the stickers to stay on. The LED stickers are amazing little pieces of technology but don´t like to stick! With lots of hard pressing, I got it to work and then added the final touch of string!
To see Faith’s whole documentation of this project (including her alignment to NGSS Science Standards, Common Core Math Standards, and ISTE Student Technology standards, check out her project documentation site she prepared for the Marlboro Graduate School Innovations in Education: Maker Centered Learning course last semester.
No comments:
Post a Comment